カードサイズのマイコンボード「Adafruit PyBadge」が入荷、MakeCode ArcadeやArduinoでプログラミング
って記事を見て、
ゲームウォッチみたいじゃね?
って思いつつ、秒でポチってました。
Pythonとかarduinoで動くなにかなんだろうな、ってとこしかわかってません。

そんな予備知識でとりあえず挑んでみる記事でございます。
目次
- 向き合う
- 教材
- Bootloader
- Load a MakeCode Game
- ケースをプリント
向き合う
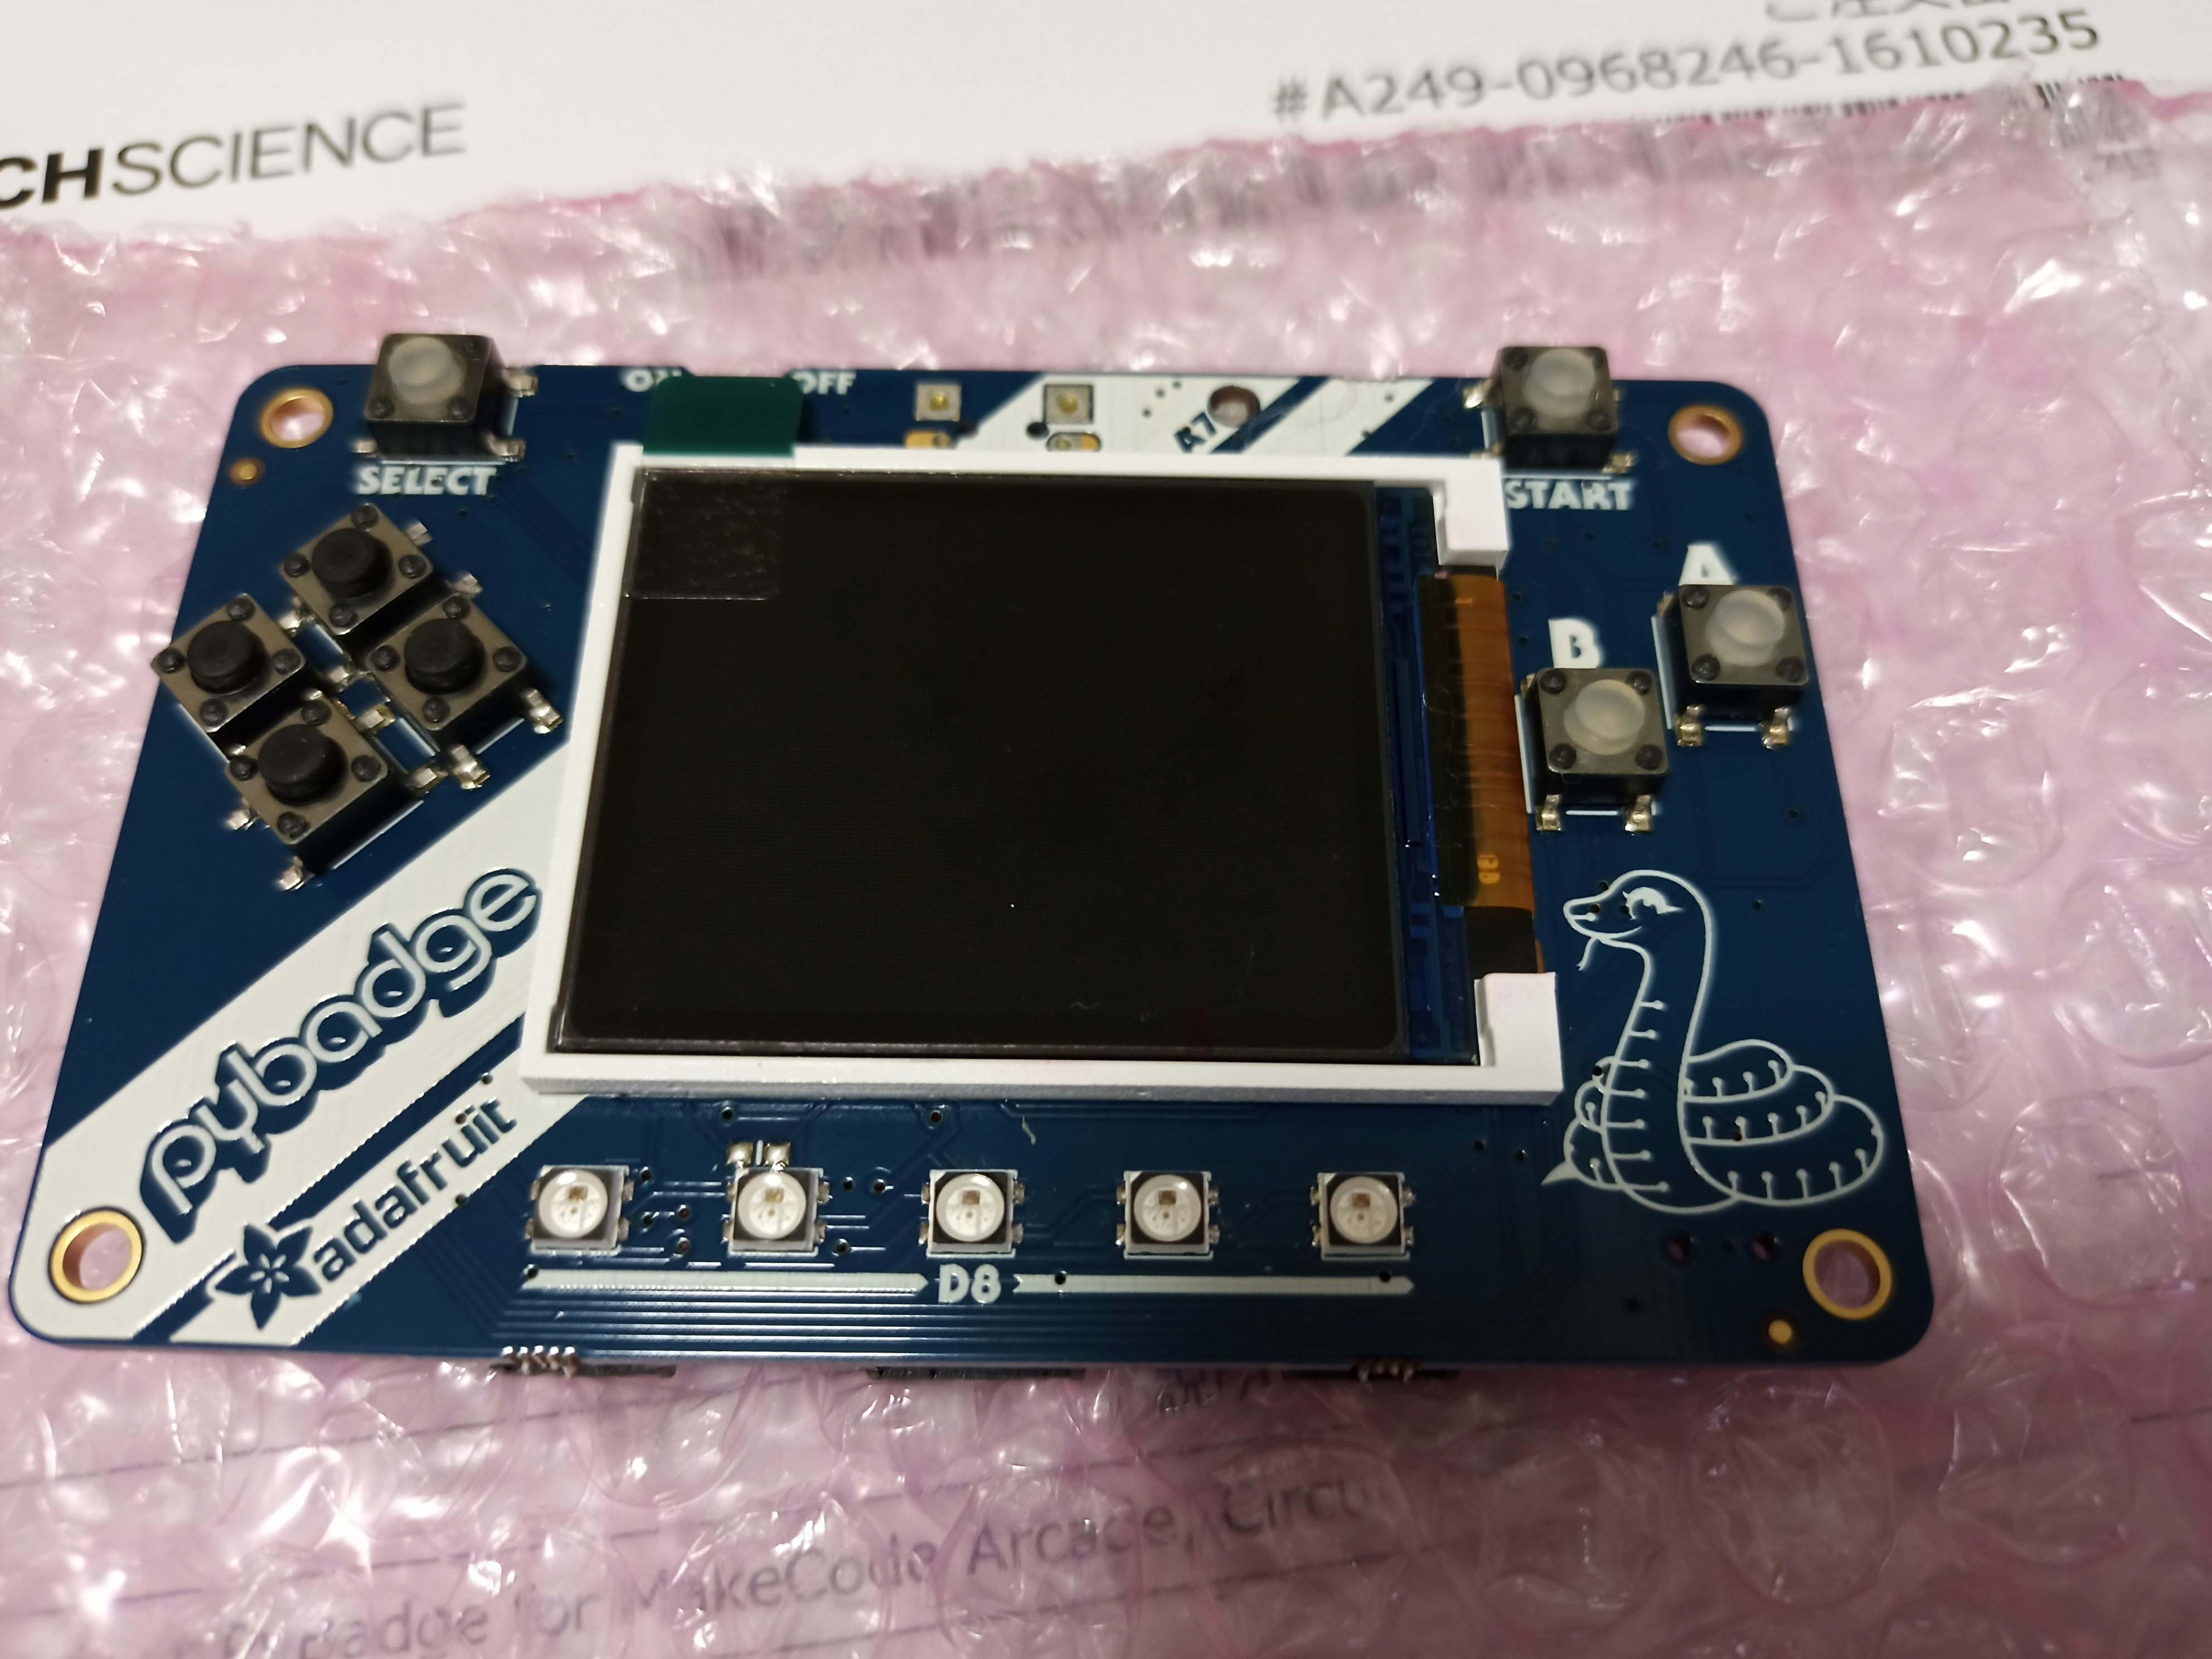
まずはブツの確認です。
これですね。
Here's a list of everything you get
ATSAMD51J19 @ 120MHz with 3.3V logic/power - 512KB of FLASH + 192KB of RAM
2 MB of SPI Flash for storing images, sounds, animations, whatever!
1.8" 160x128 Color TFT Display connected to its own SPI port
8 x Game/Control Buttons with nice silicone button tops (these feel great)
5 x NeoPixels for badge dazzle, or game score-keeping
Triple-axis accelerometer (motion sensor)
Light sensor, reverse-mount so that it points out the front
Built in buzzer mini-speaker
Mono Class-D speaker driver for 4-8 ohm speakers, up to 2 Watts
LiPoly battery port with built in recharging capability
USB port for battery charging, programming and debugging
Two female header strips with Feather-compatible pinout so you can plug any FeatherWings in
JST ports for NeoPixels, sensor input, and I2C (you can fit I2C Grove connectors in here)
Reset button
On-Off switch
ざっくりとまとめると、ちっちゃいモニタがついてて、ボタンが8個あって、LEDとかセンサーとかブザーとかがついてて、LiPoバッテリーが使えてUSBでつないで充電とか通信とかするよ。I2Cでなんかつなげるよ。
って感じでしょうか。
このへんみとくともうちょっとよくわかる。
https://learn.adafruit.com/adafruit-pybadge/pinoutshttps://learn.adafruit.com/adafruit-pybadge/pinouts
よし。完全に理解した。
教材
はい、こちらでございます。
一旦、
- Update the PyBadge Bootloader
- Load a MakeCode Game on PyGamer/PyBadge
ってあたりをやってみようかな。
あとこれもやってみたい。一応、しょぼい3Dプリンターならある。
Bootloader
なんか早速つまづきそう。
Your PyBadge may need its bootloader updated, especially if you're using MakeCode Arcade or if you're using MacOS.
win10(surface go) でやるつもりでした。macもあるんだけど、このままwin10でいってみましょうか。
Driver
で、早速繋いでみたのですが、ストレージとしては認識されなかったです。
Driverを入れないといけないっぽい。
https://learn.adafruit.com/adafruit-pybadge/troubleshooting
下記よりDriver入れてみます。
https://github.com/adafruit/Adafruit_Windows_Drivers/releases/tag/2.4.0.0
Update
だがしかし。
Driver更新しても認識しないんですよね。。
・・と小一時間。
なんかresetを Double Click せんとダメでした。
You should now be done! Test by unplugging and replugging the board. You should see the CIRCUITPY drive, and when you double-click the reset button (single click on Circuit Playground Express running MakeCode), you should see the appropriate boardnameBOOT drive.
 v3.3.0
そんなわけで無事、認識されまして、ここにupdate-bootloader-arcade_pybadge-v3.7.0.uf2を置いてみます。
置いてみると、即リブートがかかり、立ち上がってきたらv3.7.0になってました。

では次~。
win10でもぜんぜん問題なかった。
Load a MakeCode Game
おもむろに[Makecode Arcade Game: Run, Blinka, Run!]ってボタンを押してみます。
おもむろにゲームが始まりました。pythonすね。
microsoft MakeCode
Microsot MakeCodeはオープンソースのプログラミング学習プラットフォームです。ブロックを使ったビジュアルコーディングとJavaScriptによるテキストコーディングの2種類のエディタを切り替えながら、プログラミングできます。
小学生とかのプログラミングの教科で使うようなやつか。あれがノンプログラミングでできるってけっこうすごいな。
micro:bitとかLEGO MINDSTORMとかもあるし、IoTとも仲良さそうだ。
[show code]ってボタンを押すとコードがみれます。
GUI的なのだけじゃなくてCUI的な見方もできる。
Demo
まずはショボいやつを動かしてみるテストらしい。
しかし、せっかくなのでなんか別のを動かしてみよう。
- https://arcade.makecode.com/ を開く
- Tutolials > Galgaを選択
- tutolial通りにやってみる
- なんかできた https://makecode.com/_HWk3ke9KXL9C
- settings -> change board でPyBadgeを選ぶ
- .ufが落ちてくる
- 落ちてきたのをlocalのPyBadgeにドラッグ&ドロップしてみる
そんなわけでなんかできました。
キャラクター動かんけど、これはAボタンの動作しか設定してないからだよね、きっと。
意外とあさっり動いたのは面白い。
撮影したら発色がいまいちになっちゃったんだけど、実際にはちゃんと表示されてます。
主人公はひよこ。魚を口から吐き出してます。
ケースをプリント
我が家にはディアゴスティーニさんのidboxという3Dプリンタがいらっしゃいます。
で、都合のよいことにケース用のプリントデータがこちらに。
これはやってみるしかないでしょう。
そんなわけでやってみてます。
しかし、これめっちゃ時間かかるんですわ。
この後については割愛で。
そしてPyBadgeはarduino IDEでも使えるみたいなんですよね。
今度試してみよう。もしかしたらその時にはケースできてるかも。