昨日こちらの記事を投稿しました。
この記事を書いている際に、
「画像付きのPOSTが来たら画像を圧縮してstorageに保存、Getリクエストが来たらそれを解凍して返すってすればもっと安くできるのでは」
というやりすぎた考えが浮かびました。
実際にこれをするのはちょっと……とは思うのですが、できるかどうかだけでも試してみたかったので、Edge Functionsでstorageにあるgzipファイルを解凍して画像ファイルを返すという関数を試してみようかと思います。
ローカルに環境を作る
まず、supabase の CLI ツールをインストールします。
homebrewやapkなどでも取得できますが、npmが対象にあるのでこちらからインストールします
npm install supabase --save-dev
次にCLIからログインします
以下のコマンドを打つとTokenを張り付けてといわれるので、言われるがままに張り付けます
npx supabase login
initしてprojectと繋げます。
--project-refの値は、Setting > General > General settings > Reference IDにある値です。
これに気が付かなくてずっとproject nameの値を打ってて10分ほど無駄にしました。
npx supabase init
npx supabase link --project-ref <string>
実行する関数を作成
以下のコマンドで新規の関数を作成します。
npx supabase functions new <function name>
実行すると、./functions/<function name>/index.tsが生成されます。
内容はよくあるハロワのやつです。
// Follow this setup guide to integrate the Deno language server with your editor:
// https://deno.land/manual/getting_started/setup_your_environment
// This enables autocomplete, go to definition, etc.

import { serve } from "https://deno.land/std@0.168.0/http/server.ts"

console.log("Hello from Functions!")

serve(async (req) => {
  const { name } = await req.json()
  const data = {
    message: `Hello ${name}!`,
  }

  return new Response(
    JSON.stringify(data),
    { headers: { "Content-Type": "application/json" } },
  )
})

// To invoke:
// curl -i --location --request POST 'http://localhost:54321/functions/v1/' \
//   --header 'Authorization: Bearer eyJhbGciOiJIUzI1NiIsInR5cCI6IkpXVCJ9.eyJpc3MiOiJzdXBhYmFzZS1kZW1vIiwicm9sZSI6ImFub24iLCJleHAiOjE5ODM4MTI5OTZ9.CRXP1A7WOeoJeXxjNni43kdQwgnWNReilDMblYTn_I0' \
//   --header 'Content-Type: application/json' \
//   --data '{"name":"Functions"}'
インポートの仕方からわかるように、node.js ではなくDenoです。
エディタにDeno拡張を入れておかないとエラーを吐かれるので入れておきましょう。
storageからファイルを取得するにはsupabaseのurlなどの環境変数が必要です。
それらはEdge Functions側でデフォルトで取得できるようになっているので、ライブラリと合わせてDeno.env.get()で取得します。
import { createClient } from "https://esm.sh/@supabase/supabase-js@1.34.0";
// ...
const supabaseUrl = Deno.env.get("SUPABASE_URL");
const supabaseKey = Deno.env.get("SUPABASE_ANON_KEY");
const supabaseClient = createClient(supabaseUrl, supabaseKey);
// ...
Denoの場合、解凍には別途ライブラリが必要なのでこれもimport。
今回はcompressというライブラリを使います。
import { gunzip, gzip } from "https://deno.land/x/compress@v0.4.4/mod.ts";
// ...
あとは、クエリ文字列からファイル名を取得して(.が使えないので適当な文字列から置換)、Fetchして、変換して、解凍して、Content-Typeを指定して返すだけです。
import { gunzip, gzip } from "https://deno.land/x/compress@v0.4.4/mod.ts";
import { serve } from "https://deno.land/std@0.168.0/http/server.ts";
import { createClient } from "https://esm.sh/@supabase/supabase-js@1.34.0";

const supabaseBucket = "strapi";
const supabaseBucketPrefix = "images/";
const supabaseUrl = Deno.env.get("SUPABASE_URL");
const supabaseKey = Deno.env.get("SUPABASE_ANON_KEY");
const supabaseClient = createClient(supabaseUrl, supabaseKey);

serve(async (req) => {
  const url = new URL(req.url);
  const filename = `${url.searchParams.get("path")}`.replace("_", ".");
  const { data } = supabaseClient.storage
    .from(supabaseBucket)
    .getPublicUrl(`${supabaseBucketPrefix}${filename}`);
  const resGz = await fetch(
    data.publicURL
  )
    .then((response) => {
      const reader = response.body.getReader();
      return new ReadableStream({
        start(controller) {
          return pump();
          function pump() {
            return reader.read().then(({ done, value }) => {
              if (done) {
                controller.close();
                return;
              }
              controller.enqueue(value);
              return pump();
            });
          }
        },
      });
    })
    .then((stream) => new Response(stream))
    .then((response) => response.blob());
  const uncompressed = gunzip(new Uint8Array(await resGz.arrayBuffer()));
  return new Response(uncompressed, {
    headers: { "Content-Type": "type/avif" },
  });
});
以下のコマンドでデプロイします
npx supabase functions deploy <function name> --no-verify-jwt
--no-verify-jwtは、本来Authorizationヘッダーを設定しなければならないところに目をつむってもらうオプションです。
今回、<img />にはヘッダーなんてつけられないので、これを付ける必要があります。
デプロイしてダッシュボードを確認します。
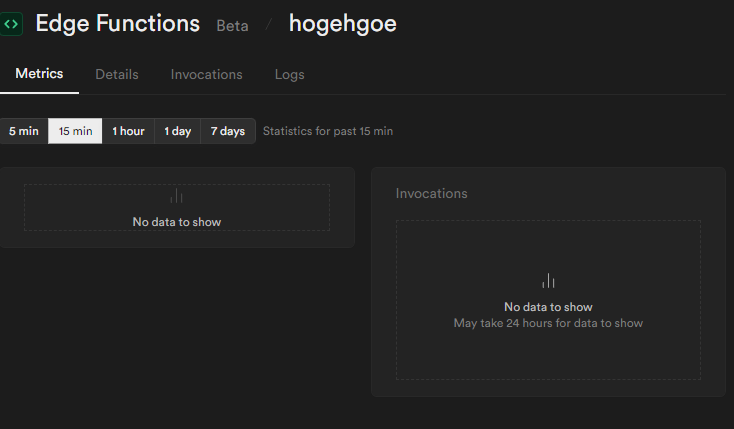
問題なくデプロイできていますね
適当にcreate-next-appしたアプリに<img />で組み込んでみます。
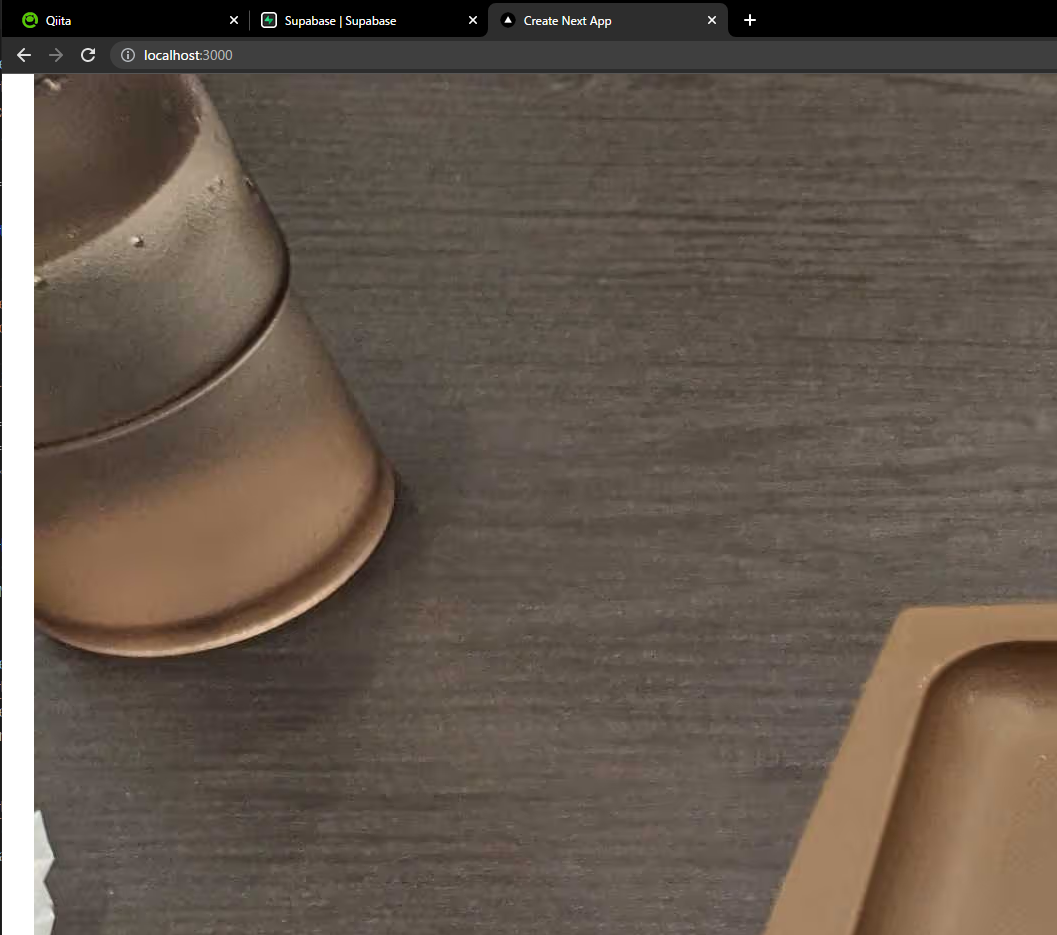
サイズ調整していないのでバカでかですが、問題なく表示できています。