LINE notify を使ってみる
概要
- 簡単にトークルームにメッセージを送信できる
- 特定のトークルームに一方的に通知するだけのシンプルな機能
- 通知してくれるアカウント名などはカスタマイズできず、「LINE notify」で固定
- シンプルで簡単!
手順
Lineのページで notify の登録
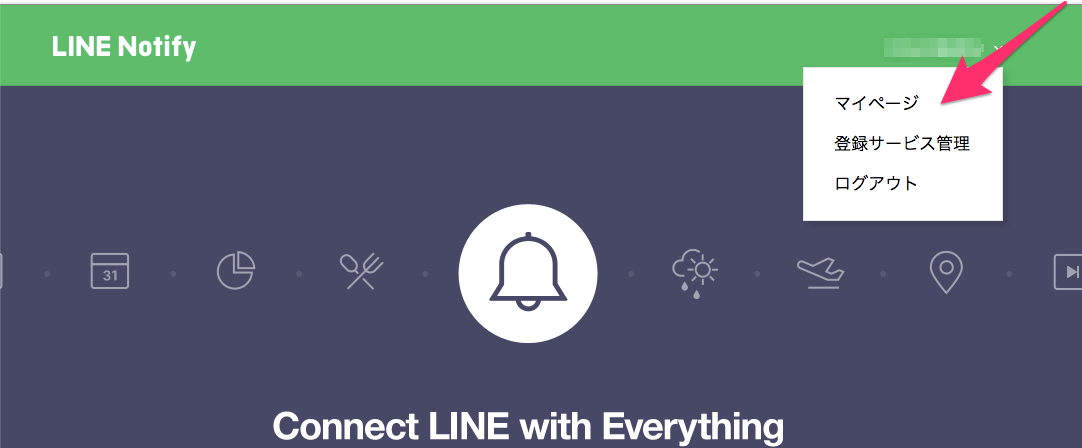
- 以下にLineIDでログイン
- ログイン後マイページを開く
https://notify-bot.line.me/ja/
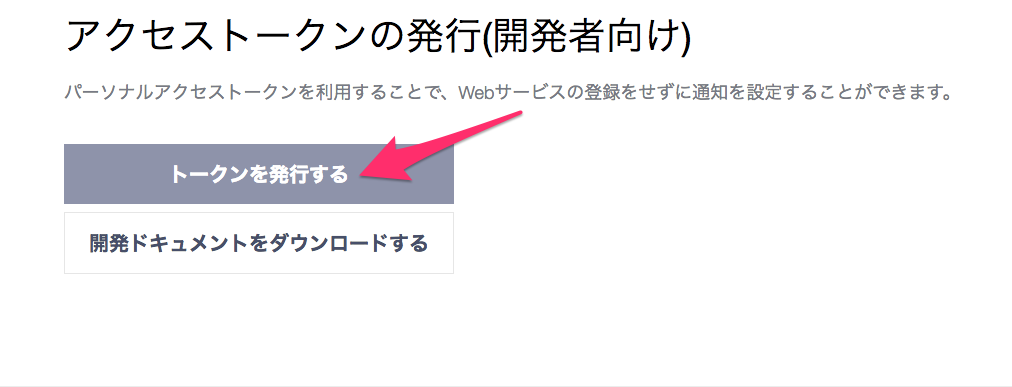
「アクセストークン発行」をクリック
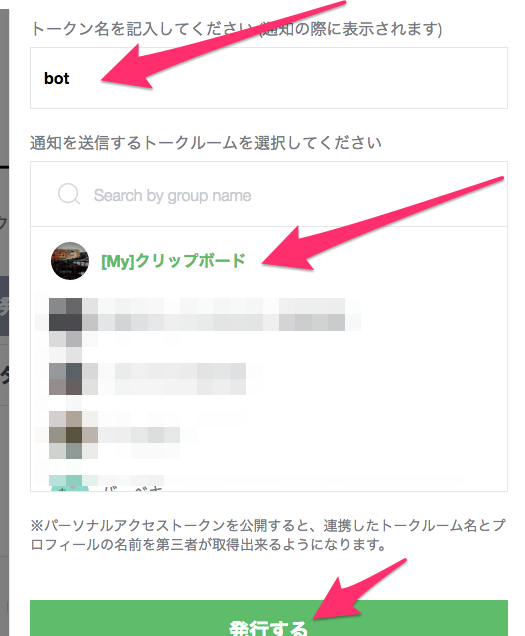
- トークン名
- メッセージの先頭に必ずつく文字です。(短い方が良いと思う)
- 通知を送信するトークルームを選択してください
- 通知先のルームです。
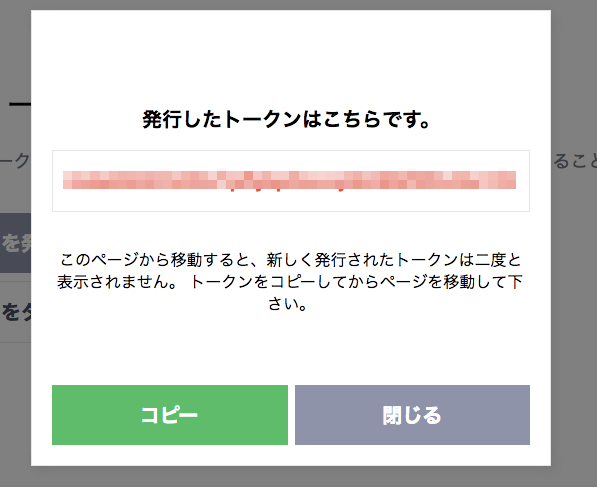
トークンをメモる
[スマフォで作業] 設定したルームに「LINE notify」 を招待する
- 通知してくれるbotくん(LINE notify)を設定したルームに招待してあげてください

1.POST する!
curl -X POST -H "Authorization: Bearer ACCESS_TOKEN" -F "message=ABC" https://notify-api.line.me/api/notify
phpで書くとざっくりこんな感じ
<?php
define('LINE_API_URL'  ,'https://notify-api.line.me/api/notify');
define('LINE_API_TOKEN','トークン');

function post_message($message){

    $data = http_build_query( [ 'message' => $message ], '', '&');

    $options = [
        'http'=> [
            'method'=>'POST',
            'header'=>'Authorization: Bearer ' . LINE_API_TOKEN . "\r\n"
                    . "Content-Type: application/x-www-form-urlencoded\r\n"
                    . 'Content-Length: ' . strlen($data)  . "\r\n" ,
            'content' => $data,
            ]
        ];

    $context = stream_context_create($options);
    $resultJson = file_get_contents(LINE_API_URL, false, $context);
    $resultArray = json_decode($resultJson, true);
    if($resultArray['status'] != 200)  {
        return false;
    }
    return true;
}

post_message('テスト投稿');
後記
超簡単!


