0.最初に
今回作るものがどういう感じで動くのか見てみたい方は、こちら(youtubeの動画)でどうぞ。
1.OpenWeatherMapAPIの設定
まずこちらのOpenWeatherMapにアクセスします。

そして、ログインをするとこのような画面が表示されるのでそこの上のAPIのところをおします。

そして、現在の気象データを取得するためにはCurrbnt Weather DataのSubscribeというところを押します。

そして、FreeのGet API Keyというところを押します。

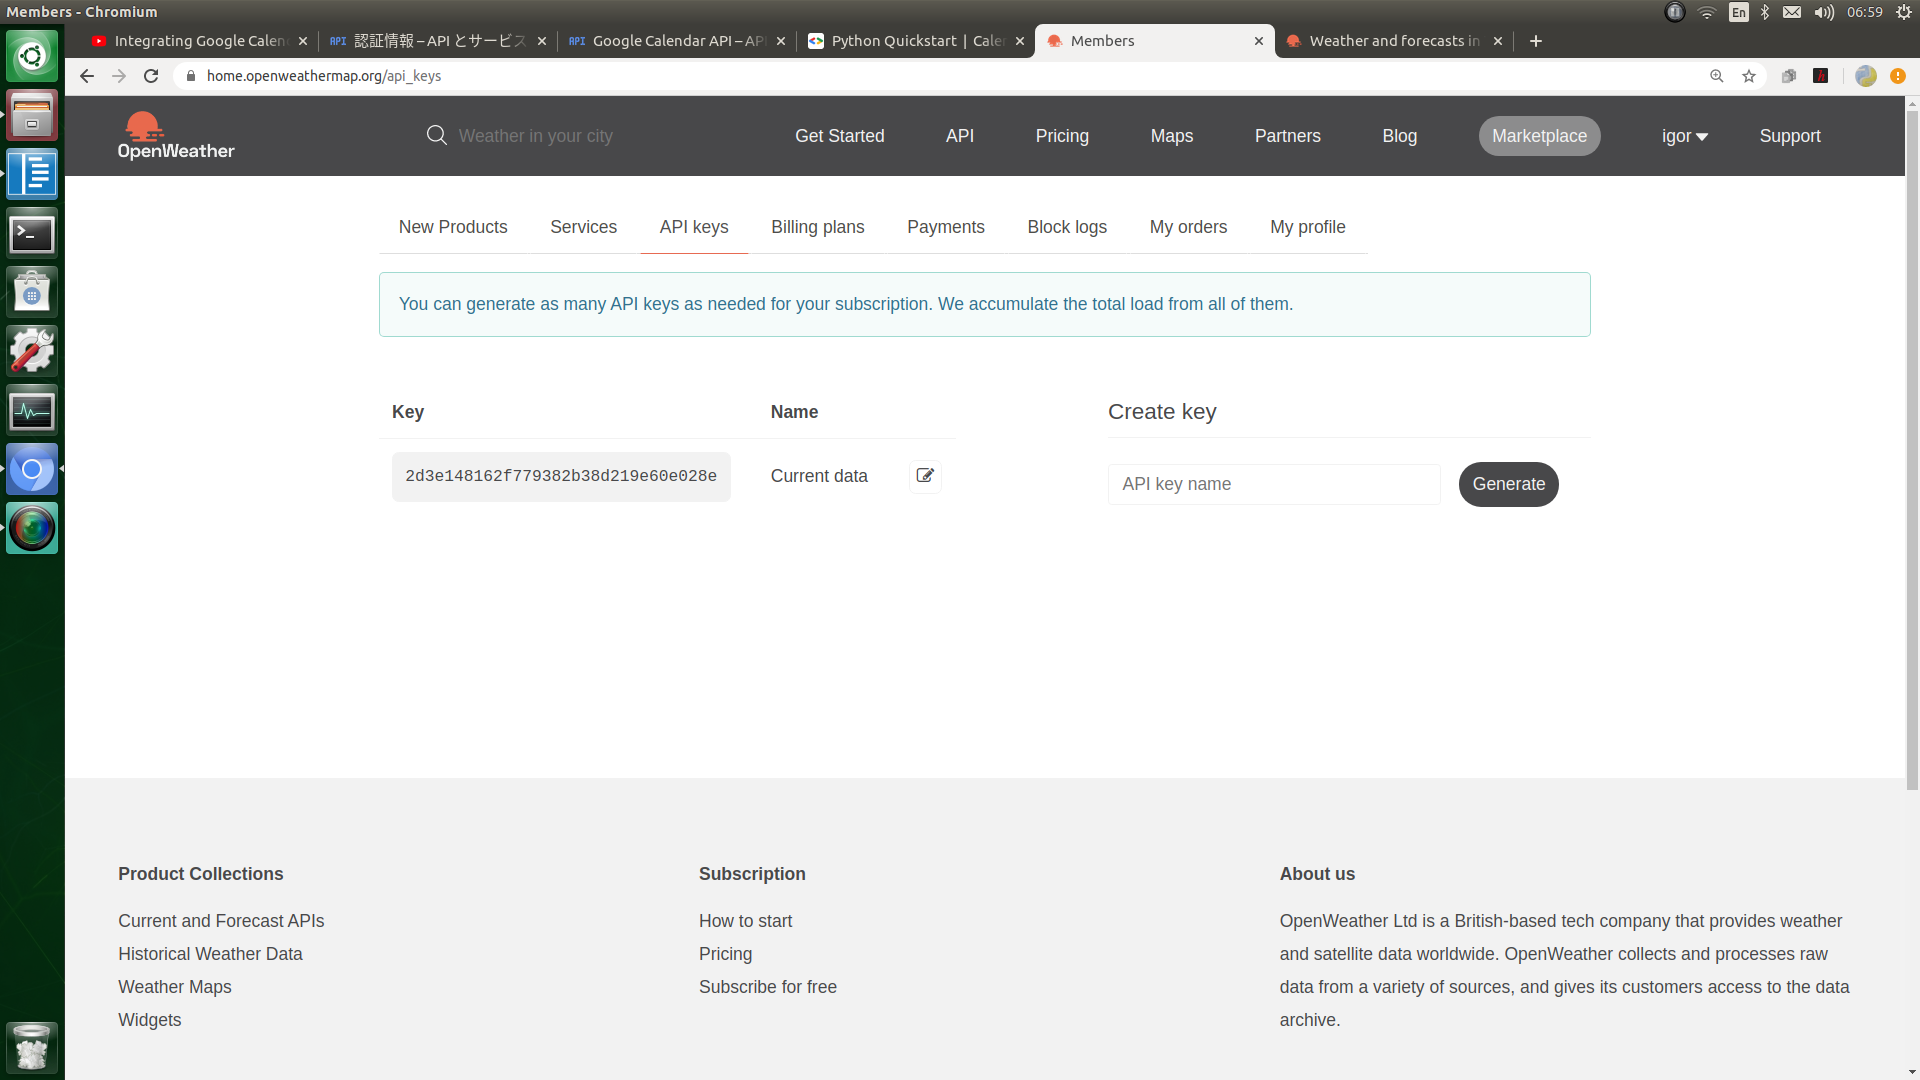
そうすると最初の画面に変わるのでAPI Keysというところを押します。

そうすると取得したAPI Keyを見ることができます。
2.気象データの取得
get_weather_data.py
import requests
import json
import schedule

api_key = '8c5752202e9c558f8d76310d5d96ee03'
city_name = 'Tokyo'
url = f'http://api.openweathermap.org/data/2.5/weather?q={city_name}&appid={api_key}&lang=ja'
response = requests.get(url)

def show_data():
    response = requests.get(url)
    data = json.loads(response.text)
    print(data)

# data['weather'][0]['description']
show_data()を実行すると以下のようなJsonデータが得られます。urlの最後にlang=jaをつけることで日本語で結果を得られます。
{'coord': {'lon': 139.69, 'lat': 35.69}, 'weather': [{'id': 500, 'main': 'Rain', 'description': '小雨', 'icon': '10d'}], 'base': 'stations', 'main': {'temp': 293.2, 'feels_like': 294.56, 'temp_min': 292.15, 'temp_max': 294.26, 'pressure': 1008, 'humidity': 93}, 'visibility': 7000, 'wind': {'speed': 2.6, 'deg': 80}, 'rain': {'1h': 0.64}, 'clouds': {'all': 75}, 'dt': 1589781754, 'sys': {'type': 1, 'id': 8077, 'country': 'JP', 'sunrise': 1589744047, 'sunset': 1589794888}, 'timezone': 32400, 'id': 1850144, 'name': '東京都', 'cod': 200}
3.表示するGUIの設定
weather.py
import requests
import json
import datetime
import tkinter as tk

class Weather:
    def __init__(self,parent):
        self.api_key = '2d3e148162f779382b38d219e60e028e'
        self.city_name = 'Tokyo'
        self.url = f"http://api.openweathermap.org/data/2.5/weather?q={self.city_name}&appid={self.api_key}&lang=ja"

        self.label = tk.Label(parent,text="weather data")
        self.label2 = tk.Label(parent,text="updated time")
        self.label.pack()
        self.label2.pack()
        self.label.after(60000,self.change_info)
        self.label2.after(60000,self.change_info)


    def show_data(self):
        response = requests.get(self.url)
        data = json.loads(response.text)
        print(data['weather'][0]['description'],datetime.datetime.now())
        return data

    def change_info(self):
        time = datetime.datetime.now()
        data = self.show_data()
        var = data['weather'][0]['description']
        self.label.configure(text=var)
        self.label2.configure(text=time)
        self.label.after(60000,self.change_info)
        self.label2.after(60000,self.change_info)


# if __name__ == '__main__':
#    root = tk.Tk()
#    weather = Weather(root)
#    root.mainloop()

run = True
while run:
    try:
        root = tk.Tk()
        weather = Weather(root)
        root.mainloop()
    except KeyboardInterrupt:
        run = False
ここでも特に難しいことはやっていません。一分ごとにchange_info()を呼び出しデータを取得しGUIのラベルを更新しています。ただ終了させるときにコメントアウトされていない方でやると次回更新時に終了するのでまだ改良が必要です。なにかいい終了のさせかたを知っている方はぜひ教えてください。お願いします。
最後に
この作り方はYoutubeでも解説しているのでそちらも良かったらご覧ください。質問等がございましたらその動画のコメント欄もしくは、この記事のコメント欄でどうぞ。また、いいなと思ったらぜひチャンネル登録お願いします。