『コンテナ』とても便利ですね。
今回はコンテナ管理ツールのデファクトスタンダードである Docker をインストールしていきます。
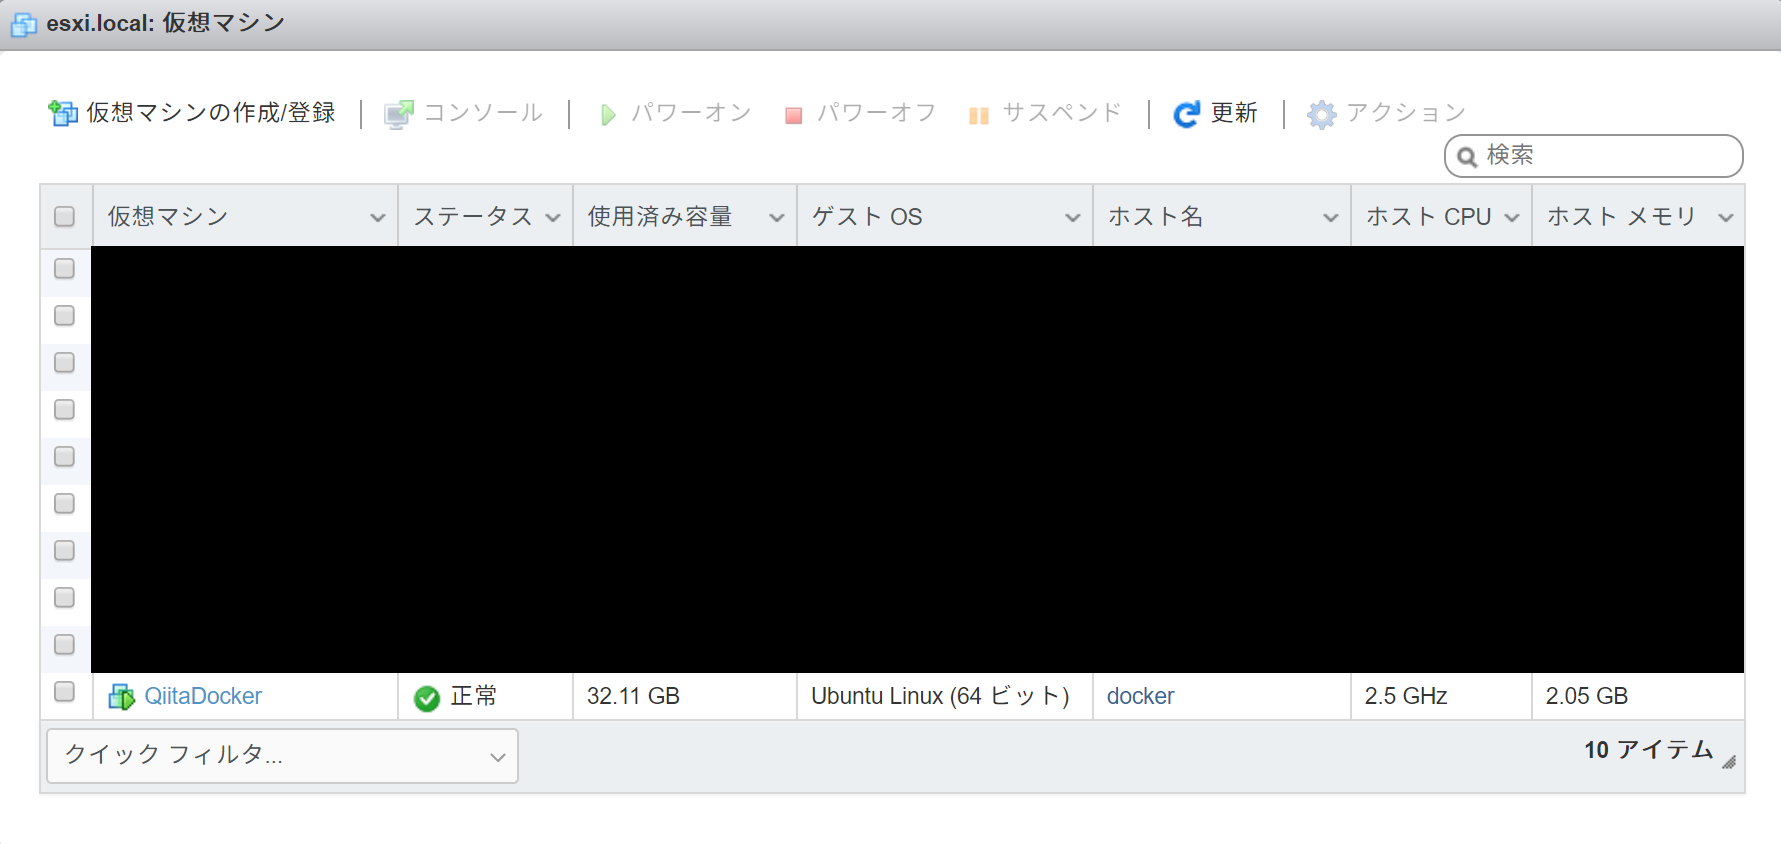
今回の環境
- VMware ESXi 上の仮想マシン (Ubuntu Server 18.04)
ワンライナーで簡単にインストール
$ curl -sSL get.docker.com | sh -
これだけです。一応結果を貼っておきます。
$ curl -sSL get.docker.com | sh -
# Executing docker install script, commit: f45d7c11389849ff46a6b4d94e0dd1ffebca32c1
+ sudo -E sh -c apt-get update -qq >/dev/null
+ sudo -E sh -c DEBIAN_FRONTEND=noninteractive apt-get install -y -qq apt-transport-https ca-certificates curl >/dev/null
+ sudo -E sh -c curl -fsSL "https://download.docker.com/linux/ubuntu/gpg" | apt-key add -qq - >/dev/null
Warning: apt-key output should not be parsed (stdout is not a terminal)
+ sudo -E sh -c echo "deb [arch=amd64] https://download.docker.com/linux/ubuntu bionic stable" > /etc/apt/sources.list.d/docker.list
+ sudo -E sh -c apt-get update -qq >/dev/null
+ [ -n  ]
+ sudo -E sh -c apt-get install -y -qq --no-install-recommends docker-ce >/dev/null
+ sudo -E sh -c docker version
Client: Docker Engine - Community
 Version:           19.03.5
 API version:       1.40
 Go version:        go1.12.12
 Git commit:        633a0ea838
 Built:             Wed Nov 13 07:29:52 2019
 OS/Arch:           linux/amd64
 Experimental:      false

Server: Docker Engine - Community
 Engine:
  Version:          19.03.5
  API version:      1.40 (minimum version 1.12)
  Go version:       go1.12.12
  Git commit:       633a0ea838
  Built:            Wed Nov 13 07:28:22 2019
  OS/Arch:          linux/amd64
  Experimental:     false
 containerd:
  Version:          1.2.10
  GitCommit:        b34a5c8af56e510852c35414db4c1f4fa6172339
 runc:
  Version:          1.0.0-rc8+dev
  GitCommit:        3e425f80a8c931f88e6d94a8c831b9d5aa481657
 docker-init:
  Version:          0.18.0
  GitCommit:        fec3683
If you would like to use Docker as a non-root user, you should now consider
adding your user to the "docker" group with something like:

  sudo usermod -aG docker qiita

Remember that you will have to log out and back in for this to take effect!

WARNING: Adding a user to the "docker" group will grant the ability to run
         containers which can be used to obtain root privileges on the
         docker host.
         Refer to https://docs.docker.com/engine/security/security/#docker-daemon-attack-surface
         for more information.
はい。インストールが完了しました。
ですが、このままだと一般ユーザーで Docker を使うことができません。
$ docker run --rm hello-world
docker: Got permission denied while trying to connect to the Docker daemon socket at unix:///var/run/docker.sock: Post http://%2Fvar%2Frun%2Fdocker.sock/v1.40/containers/create: dial unix /var/run/docker.sock: connect: permission denied.
See 'docker run --help'.
「権限が無い」と言われます。このコマンドについては後ほど解説します。
実行できない理由は docker グループに現在のユーザーが追加されていないためです。
$ sudo usermod -aG docker $USER
usermod を使って docker グループに追加します。
追加が終わったら一度再起動しておきましょう。
$ sudo reboot
実際に使ってみる
先程 usermod コマンドを使い docker グループに現在のユーザー (今回は qiita ) を追加したため Docker が実行できるはずです。実際に試してみましょう。
最初の一歩
$ docker run --rm hello-world
先程試したこのコマンドの説明をします。
docker -> Docker コマンド
run -> コンテナを実行
--rm -> コンテナを終了した際にコンテナを残さずに削除
hello-world -> コンテナの動作確認によく使われるサンプルコンテナ
このコマンドを実行しましょう。
$ docker run --rm hello-world
Unable to find image 'hello-world:latest' locally
latest: Pulling from library/hello-world
1b930d010525: Pull complete
Digest: sha256:4fe721ccc2e8dc7362278a29dc660d833570ec2682f4e4194f4ee23e415e1064
Status: Downloaded newer image for hello-world:latest

Hello from Docker!
This message shows that your installation appears to be working correctly.

To generate this message, Docker took the following steps:
 1. The Docker client contacted the Docker daemon.
 2. The Docker daemon pulled the "hello-world" image from the Docker Hub.
    (amd64)
 3. The Docker daemon created a new container from that image which runs the
    executable that produces the output you are currently reading.
 4. The Docker daemon streamed that output to the Docker client, which sent it
    to your terminal.

To try something more ambitious, you can run an Ubuntu container with:
 $ docker run -it ubuntu bash

Share images, automate workflows, and more with a free Docker ID:
 https://hub.docker.com/

For more examples and ideas, visit:
 https://docs.docker.com/get-started/
無事に動きましたね。
Docker は イメージ というものをもとにコンテナを実行します。
このコマンドだと hello-world:latest というイメージが使われています。:latest の部分は タグ といい、イメージのタイプやバージョンの識別に使われています。
イメージは最初はローカルに存在しないため Unable to find image 'hello-world:latest' locally と出力されています。なのでイメージを取得する pull という作業を行います。 latest: Pulling from library/hello-world の部分です。 latest: の部分は タグ が適用されています。
イメージを pull する際に タグ を指定せずにイメージを指定すると暗黙的に latest が使われるようになっています。また、 hello-world は公式イメージなので hello-world だけで取得ができますが、有志が作ったコンテナイメージを利用することも可能です。その場合は Author/ImageName という形式で指定することになります。
イメージの PULL
$ docker pull [Author]/[ImageName]:[Tag]
コンテナの実行
$ docker run [Author]/[ImageName]:[Tag]
コンテナ一覧
$ docker ps # 実行中のコンテナのみ表示
$ docker ps -a # 停止中も含めてすべて表示
イメージ一覧
$ docker images
コンテナ起動
$ docker start [ContainerId]
ContainerId の指定方法は複数あり、 ID をすべて打つ ID の先頭5文字程度で単一指定 コンテナ名 等があります。
$ docker ps -a
CONTAINER ID        IMAGE               COMMAND             CREATED              STATUS                      PORTS               NAMES
62cb9d062ff5        ubuntu              "/bin/bash"         About a minute ago   Exited (0) 19 seconds ago                       ubuntuQiita
こちらを使って説明します。
ID をすべて打つ -> 62cb9d062ff5
ID の先頭5文字程度で単一指定 -> 62cb
コンテナ名 -> ubuntuQiita
で指定することが可能です。
コンテナ停止
$ docker stop [ContainerId]
ContainerId の指定方法は コンテナ起動 の方法と同じです。
基本的な Docker の使い方を解説しました。
以降は応用的な内容を解説します。
応用編
コンテナを作る際に指定するイメージは自分で作ることが可能です。
Dockerfile とは
コンテナを作る際に必要となるのが Dockerfile と呼ばれるファイルです。
基礎となる ベースイメージ の指定、ファイル共有、ポート開放などなどを記述することでコンテナを作り上げることができます。
Dockerfile を作ってみよう
簡単な Dockerfile を作ってみましょう。
まずシンプルな HTML を書きます。
$ mkdir sample_nginx
$ cd sample_nginx
$ echo "Hello world !!" > index.html
次に Dockerfile を書きます。
# ベースイメージの指定
FROM nginx:latest

# ファイル共有
ADD . /usr/share/nginx/html/
これで index.html を共有した Nginx のコンテナを作成する Dockerfile が作れました。
イメージを作る
Dockerfile を作ったので実際にイメージを作成してみましょう。
$ docker build -t nginx .
build を使ってイメージを作成します。
-t は作成したイメージの名前を指定しています。
. は現在のディレクトリ内にある Dockerfile を参照させる指定です。
$ docker build -t nginx .
Sending build context to Docker daemon  38.15MB
Step 1/2 : FROM nginx:mainline-alpine
mainline-alpine: Pulling from library/nginx
89d9c30c1d48: Pull complete
24f1c4f0b2f4: Pull complete
Digest: sha256:0e61b143db3110f3b8ae29a67f107d5536b71a7c1f10afb14d4228711fc65a13
Status: Downloaded newer image for nginx:mainline-alpine
 ---> a624d888d69f
Step 2/2 : ADD . /usr/share/nginx/html/
 ---> f612730f5407
Successfully built f612730f5407
Successfully tagged nginx:latest
このように ベースイメージ の Pull から始まって各レイヤーの指示に従って構築されていきます。
作成したイメージを動かそう
では実際に作成したイメージを使ってコンテナを動かしてみましょう。
$ docker run -d -p 8080:80 --name nginx nginx
run コマンドを使ってコンテナを走らせます。
-d オプションはコンテナを作成してデタッチさせる指定です。
-p 8080:80 はホストマシンの8080番ポートにコンテナの80番ポートをアタッチさせる指定です。
$ curl localhost:8080
Hello world !!
ちゃんと表示されれば成功です。
Multi Stage Build
また別の記事で…
Docker Compose
また別の記事で…