Laravelで認証機能を作るメリット
認証機能を作る場合SQLインジェクションやCSRFなどセキュリティ対策を自分で実装しなければなりません。Laravelで用意されているmake authは対策が実装されたうえ、安全に認証機能の構築ができます。
Laravelのバージョン確認
workspaceに入りバージョンの確認をします。
今回はLaradockで動くLaravelで認証機能を構築します。
docker-compose exec --user=laradock workspace bash
aradock@1a3f8c1ad270:/var/www$ cd develop/
laradock@1a3f8c1ad270:/var/www/develop$ php artisan -V

Laravel Framework 5.5.45
make authコマンドの実行
make:authコマンでログイン、ユーザ登録、パスワードリセットのベースを構築する事が出来ます。
laradock@1a3f8c1ad270:/var/www/develop$ php artisan make:auth
Authentication scaffolding generated successfully.
モデル生成
コマンドを実行するとapp/User.phpにモデルが生成されます。
<?php

namespace App;

use Illuminate\Notifications\Notifiable;
use Illuminate\Foundation\Auth\User as Authenticatable;

class User extends Authenticatable
{
    use Notifiable;

    /**
     * The attributes that are mass assignable.
     *
     * @var array
     */
    # 更新可能な項目
    protected $fillable = [
        'name', 'email', 'password',
    ];

    /**
     * The attributes that should be hidden for arrays.
     *
     * @var array
     */
    protected $hidden = [
        'password', 'remember_token',
    ];
}
ルーティング更新
web.phpが更新されます。
Authはログインやログアウトなどのユーザー認証関連のルート情報をまとめたクラスです。
Auth::routes();
フレームワーク内の
/vendor/laravel/framework/src/Illuminate/Routing/Router.phpのauthをさしています。
public function auth()
{
    // Authentication Routes...
    $this->get('login', 'Auth\LoginController@showLoginForm')->name('login');
    $this->post('login', 'Auth\LoginController@login');
    $this->post('logout', 'Auth\LoginController@logout')->name('logout');

    // Registration Routes...
    $this->get('register', 'Auth\RegisterController@showRegistrationForm')->name('register');
    $this->post('register', 'Auth\RegisterController@register');

    // Password Reset Routes...
    $this->get('password/reset', 'Auth\ForgotPasswordController@showLinkRequestForm')->name('password.request');
    $this->post('password/email', 'Auth\ForgotPasswordController@sendResetLinkEmail')->name('password.email');
    $this->get('password/reset/{token}', 'Auth\ResetPasswordController@showResetForm')->name('password.reset');
    $this->post('password/reset', 'Auth\ResetPasswordController@reset');
}
コントローラー生成
/app/Http/Contollers/HomeController.phpが生成されます。
<?php

namespace App\Http\Controllers;

use Illuminate\Http\Request;

class HomeController extends Controller
{
    /**
     * Create a new controller instance.
     *
     * @return void
     */
    public function __construct()
    {
        $this->middleware('auth');
    }

    /**
     * Show the application dashboard.
     *
     * @return \Illuminate\Http\Response
     */
    public function index()
    {
        return view('home');
    }
}
認証用のコントローラーとして、/app/Http/Controllers/Authディレクトリに以下のファイルが生成されます。
┗app
  ┗Http
    ┗Controllers
      ┗Auth
        ┣ForgotPasswordController.php
        ┣LoginController.php
        ┣RegisterController.php
        ┗ResetPasswordController.php
テンプレート生成
resources
  ┗views
    ┣auth
    ┃┣passwords
    ┃┃┣email.blade.php
    ┃┃┗reset.blade.php
    ┃┣login.blade.php
    ┃┗register.blade.php
    ┣layouts
    ┃┗app.blade.php
    ┗home.blade.php
migarateの実行
認証で使用するマイグレーションファイルは
ユーザーテーブルとパスワードリセット用のテーブルが生成されます。
┗database
  ┗migrations
    ┣2014_10_12_000000_create_users_table.php
    ┗2014_10_12_100000_create_password_resets_table.php
migrateコマンドでテーブルを追加します。
laradock@1a3f8c1ad270:/var/www/develop$ php artisan migrate
Migration table created successfully.
Migrating: 2014_10_12_000000_create_users_table
Migrated:  2014_10_12_000000_create_users_table
Migrating: 2014_10_12_100000_create_password_resets_table
Migrated:  2014_10_12_100000_create_password_resets_table
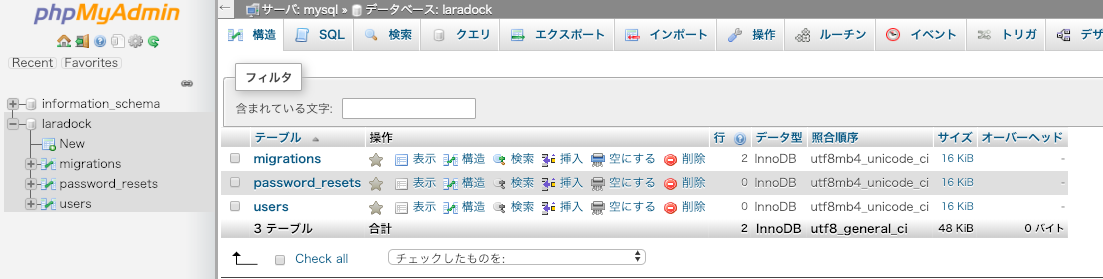
データベースの確認
認証用テーブルが生成されたことをphpMyAdminから確認します。
usersとpassword_resetsテーブルが作られていたらOK
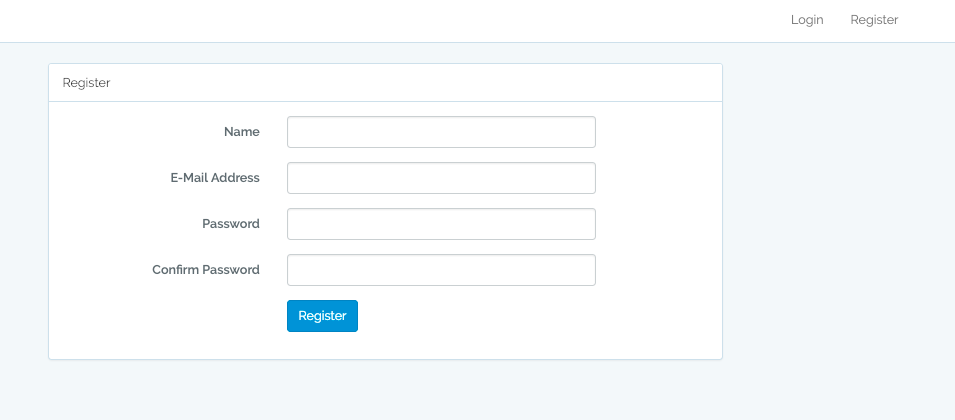
認証機能の確認
以下からユーザーを追加し、ログイン
http://localhost/register
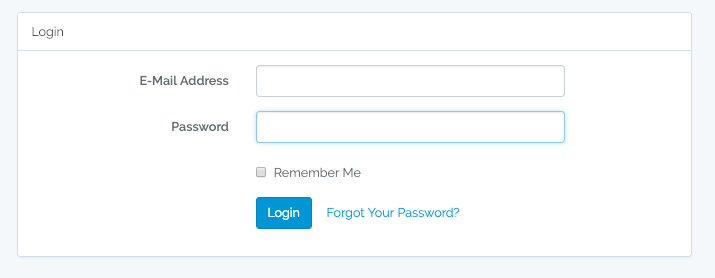
メール設定
ユーザー登録後に「Forgot Your Password?」をクリックしてリセットメールを送るとメール設定をしていない場合エラーとなります。
こちらよりアカウントを作成
https://mailtrap.io/
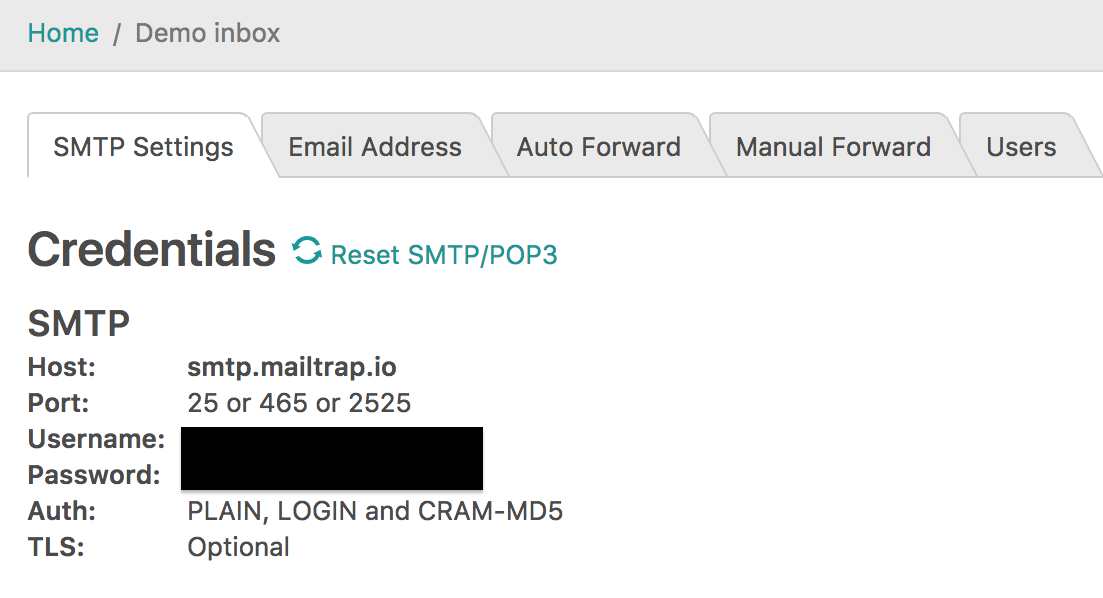
アカウント情報を.envに設定し、キャッシュをクリア
laradock@90afbecc4a0c:/var/www/develop$ vi .env

MAIL_DRIVER=smtp
MAIL_HOST=smtp.mailtrap.io
MAIL_PORT=2525
MAIL_USERNAME=[↑のUsername]
MAIL_PASSWORD=[↑のPassword]
MAIL_ENCRYPTION=null

laradock@90afbecc4a0c:/var/www/develop$ php artisan config:cache
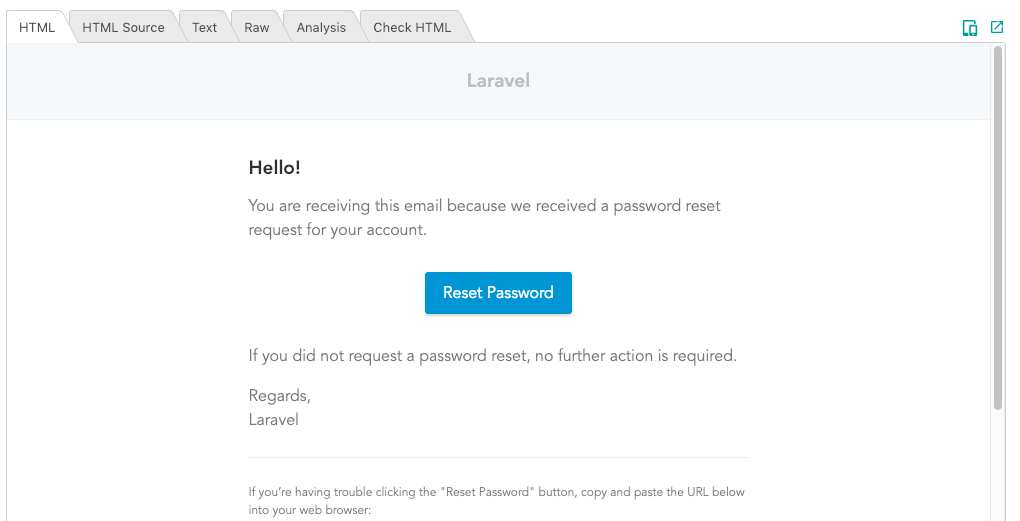
↓がhtmlメールのテンプレートで
resources/views/auth/passwords/email.blade.php
受信できてら完了