この記事はand factory.inc Advent Calendar 2022 7日目の記事です。
昨日は @chitomo12 さんの ライブラリ管理をCarthageからSwiftPackageManagerに移行する でした。
はじめに
SwiftUIでアニメーションを使っていると、
アニメーションの表現に二種類あることはすぐにわかりますが、
意識的に使い分けるには少々学習が必要だと思います。
SwiftUIのアニメーションをキャッチアップする過程で大事なことだなと思ったので下記の2つのアニメーション
-
animation(_:value:)(暗黙的アニメーション) -
withAnimation(_:_:)(明示的アニメーション)
についてサンプルコードを交えながらまとめていこうと思います。
暗黙的アニメーション
animation(_:value:)を使った実装方法についてです。
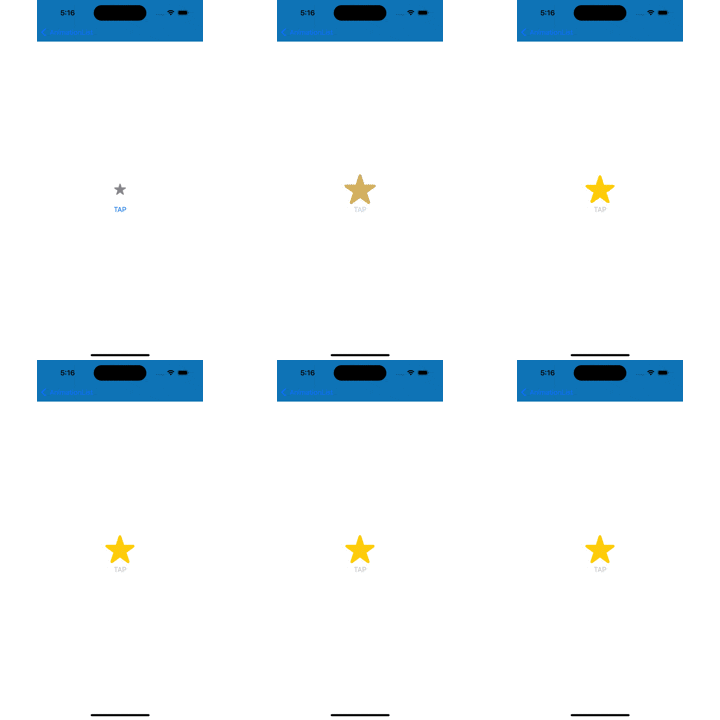
以下のようなサンプルとしてタップで星がアニメーションするコードを書きます。
struct ContentView: View {

  @State var willColorAnimate: Bool = false
  @State var willScaleAnimate: Bool = false
  @State var willOffsetAnimate: Bool = false

  var body: some View {
    VStack {
      Image(systemName: "star.fill")
        .font(.system(size: 64))
        .foregroundColor(willColorAnimate ? Color.yellow : Color.gray)
        .animation(.easeInOut(duration: 0.5), value: willColorAnimate)
        .scaleEffect(willScaleAnimate ? 1.0 : 0.4)
        .animation(
          .interpolatingSpring(
            mass: 1.0,
            stiffness: 240.0,
            damping: 12.0,
            initialVelocity: 20.0
          ),
          value: willScaleAnimate
        )
        .offset(y: willOffsetAnimate ? 10 : 0)
        .animation(.liner(duration: 0.5), value: willOffsetAnimate)

      Button {
        willScaleAnimate = true
        willOffsetAnimate = true
        willColorAnimate = true
      } label: {
        Text("TAP")
      }
      .disabled(willScaleAnimate)
    }
  }
}
星は以下のアニメーションで構成されていて、
プロパティ指定とanimation modierが近くにあって、
ぱっと見でもわかりやすいかと思います。
- カラーのアニメーション
        .foregroundColor(willColorAnimate ? Color.yellow : Color.gray)
        .animation(.easeInOut(duration: 0.5), value: willColorAnimate)
- scaleのアニメーション
        .scaleEffect(willScaleAnimate ? 1.0 : 0.4)
        .animation(
          .interpolatingSpring(
            mass: 1.0,
            stiffness: 240.0,
            damping: 12.0,
            initialVelocity: 20.0
          ),
          value: willScaleAnimate
        )
- offsetのアニメーション(見栄えの調整)
        .offset(y: willOffsetAnimate ? 10 : 0)
        .animation(.liner(duration: 0.5), value: willOffsetAnimate)
このアニメションはシンプルなアニメーションの集合でできていて、
一見して見通しがよくすっきりとしたコードに見えます。
このように暗黙的アニメーションは少ない記述でアニメーションが書けるのが大きなメリットです。
一方で複雑なアニメーションを実現しようと思ったときにデメリットもあります。
例として先程の画面にリセットボタンを追加して、
戻るときには異なるアニメーションでリセットされるようにしてみます。
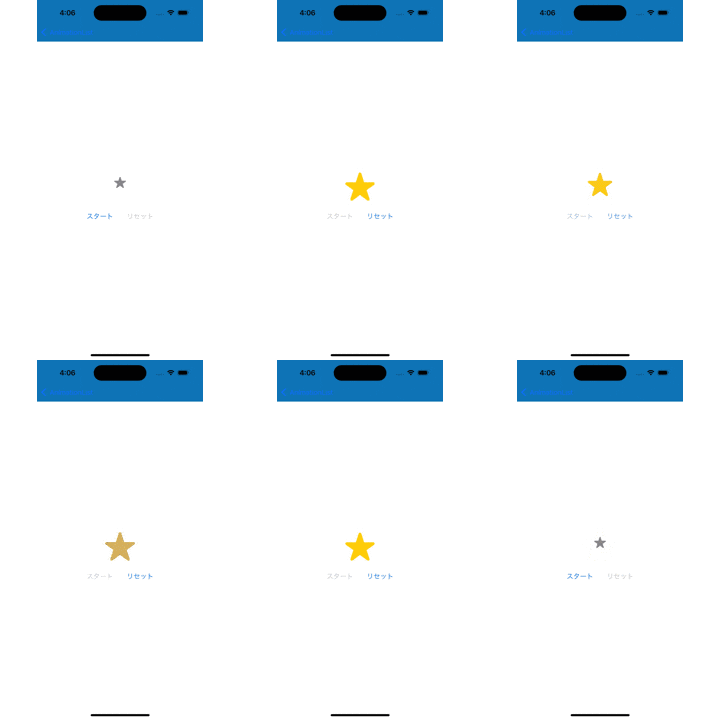
実現したいのは下記のアニメーションです。
struct ContentView: View {

  @State var willColorAnimate: Bool = false
  @State var willScaleAnimate: Bool = false
  @State var willOffsetAnimate: Bool = false

  // for reset
  @State var isResseting: Bool = false

  var body: some View {
    VStack {
      Image(systemName: "star.fill")
        .font(.system(size: 64))
        .foregroundColor(willColorAnimate ? Color.yellow : Color.gray)
        .animation(.easeInOut(duration: 0.5), value: willColorAnimate)
        .scaleEffect(willScaleAnimate ? 1.0 : 0.4)
        // ★リセット時はアニメーションの方法を変更
        .animation(
          isResseting
          ? .linear(duration: 0.5)
          : .interpolatingSpring(
            mass: 1.0,
            stiffness: 240.0,
            damping: 12.0,
            initialVelocity: 20.0
          ),
          value: willScaleAnimate
        )
        .offset(y: willOffsetAnimate ? 10 : 0)
        .animation(Easing.out.quart(duration: 0.5), value: willOffsetAnimate)

      HStack(spacing: 32) {
        Button {
          willScaleAnimate = true
          willOffsetAnimate = true
          willColorAnimate = true
        } label: {
          Text("スタート")
        }
        .disabled(willScaleAnimate)

        Button {
          // ★ リセットボタンタップ時にフラグを更新
          isResseting = true
          willScaleAnimate = false
          willOffsetAnimate = false
          willColorAnimate = false
          isResseting = false
        } label: {
          Text("リセット")
        }
        .disabled(!willScaleAnimate)
      }

    }
  }
}
主な変更点は2点で、一つはscaleのアニメーションにisRessetingでの評価を追加した点
        .scaleEffect(willScaleAnimate ? 1.0 : 0.4)
        // ★リセット時はアニメーションの方法を変更
        .animation(
          isResseting
          ? .linear(duration: 0.5)
          : .interpolatingSpring(
            mass: 1.0,
            stiffness: 240.0,
            damping: 12.0,
            initialVelocity: 20.0
          ),
          value: willScaleAnimate
        )
もう一点はリセットボタンを押したときに、
isRessetingを更新→他のフラグを更新→リセット完了としてisRessetingを初期化している点です
        Button {
          // ★ リセットボタンタップ時にフラグを更新
          isResseting = true
          willScaleAnimate = false
          willOffsetAnimate = false
          willColorAnimate = false
          isResseting = false
        } label: {
          Text("リセット")
        }
        .disabled(!willScaleAnimate)
ただし、このアニメーションでは残念ながらリセットボタンを押しても初期状態に戻ってくれません。
linearにはならず戻るときにもspringアニメーションになってしまいます。
これらの変更はすべて一つのトランザクションにまとめられ、
ビューの本体で一瞬だけisResettingがtrueであることを検知することができないからです。
この方法には以下のようにディレイを入れることで動作させる方法はありますが、
状態管理が複雑になるのは免れないので、アニメーションが複雑なケースでは避けておいたほうがベターかなと思います。
        Button {
          isResseting = true
          willScaleAnimate = false
          willOffsetAnimate = false
          willColorAnimate = false
          DispatchQueue.main.asyncAfter(deadline: .now() + 0.5) {
            isResseting = false
          }
        } label: {
          Text("リセット")
        }
        .disabled(!willScaleAnimate)
また、animation modifierによるアニメーションは、
作用させる順番などによって結果が変わったり、直感に版下挙動になることもよくある印象です。
animation(_:)メソッドがdeprecatedになったことで、
挙動が以前よりはわかりやすくなったかなとは思いますが、
複雑なアニメーションを与えるほどデバッグや実装コストが実は高くつくこともしばしばかと思います。
明示的アニメーション
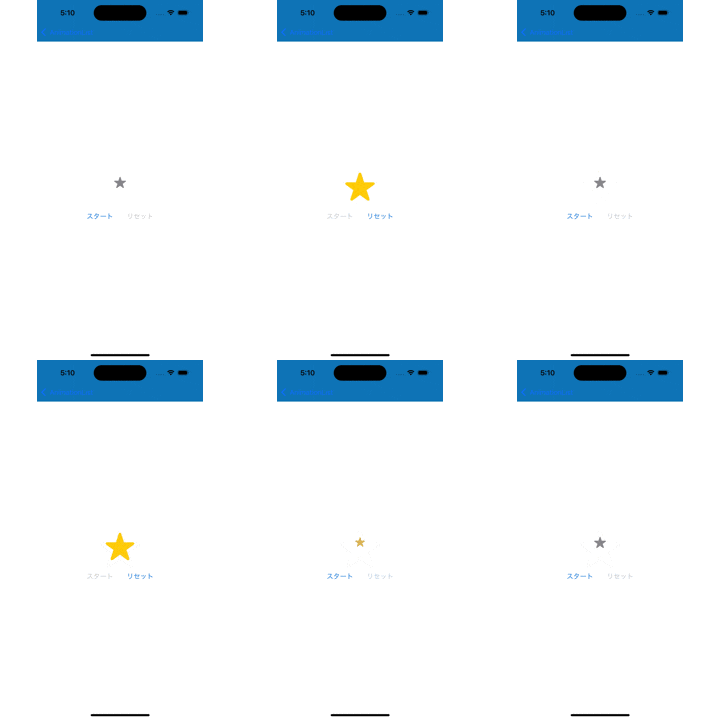
では上記のリセットボタン付きのアニメーションを
明示的なアニメーションで実装した場合です。
struct ContentView: View {

  @State var willColorAnimate: Bool = false
  @State var willScaleAnimate: Bool = false
  @State var willOffsetAnimate: Bool = false

  var body: some View {
    VStack(spacing: 32) {
      Image(systemName: "star.fill")
        .font(.system(size: 64))
        .foregroundColor(willColorAnimate ? Color.yellow : Color.gray)
      //                .animation(.easeInOut(duration: 0.5), value: willColorAnimate)
        .scaleEffect(willScaleAnimate ? 1.0 : 0.4)
      //                .animation(
      //                    isResseting
      //                    ? .linear(duration: 0.5)
      //                    : .interpolatingSpring(
      //                        mass: 1.0,
      //                        stiffness: 240.0,
      //                        damping: 12.0,
      //                        initialVelocity: 20.0
      //                    ),
      //                    value: willScaleAnimate
      //                )
        .offset(y: willOffsetAnimate ? 10 : 0)
      //                .animation(Easing.out.quart(duration: 0.5), value: willOffsetAnimate)

      HStack(spacing: 32) {
        Button {
          withAnimation(.interpolatingSpring(
            mass: 1.0,
            stiffness: 240.0,
            damping: 12.0,
            initialVelocity: 20.0
          )) {
            willScaleAnimate = true
          }

          withAnimation(.easeInOut(duration: 0.5)) {
            willColorAnimate = true
          }

          withAnimation(Easing.out.quart(duration: 0.5)) {
            willOffsetAnimate = true
          }
        } label: {
          Text("スタート")
        }
        .disabled(willScaleAnimate)

        Button {
          withAnimation(.linear(duration: 0.3)) {
            willScaleAnimate = false
          }

          withAnimation(Easing.out.quart(duration: 0.5)) {
            willOffsetAnimate = false
          }

          withAnimation(.easeInOut(duration: 0.5)) {
            willColorAnimate = false
          }
        } label: {
          Text("リセット")
        }
        .disabled(!willScaleAnimate)
      }
    }
  }
}
ここで使われているwithAnimation(_:_:)ではアニメーションとクロージャーを引数として指定して、
クロージャー内で明示的にアニメーションさせたいプロパティを指定することができます。
例では.animation(_:value:)はコメントアウトで用済みになっており、
スタート・リセットボタンのタップ時にwithAnimation(_:_:)でアニメーション方法と変更するプロパティを指定します。
また以下のようにwithAnimation(_:_:)でくくらなければアニメーションさせずに即時で変更させることも可能です。
        Button {
          withAnimation(.linear(duration: 0.3)) {
            willScaleAnimate = false
          }
          // この場合、アニメーションなしで初期化される
          willOffsetAnimate = false
          willColorAnimate = false
        } label: {
          Text("リセット")
        }
        .disabled(!willScaleAnimate)
こちらの方法は場合によっては冗長になってしまいますが、
明示的にプロパティを指定可能で管理しやすいこと、
プロパティが変更されるアニメーションの記述が近くなり挙動がわかりやすくなるのが、
この方法のメリットと言えると思います。
-
animation(_:value:)(暗黙的アニメーション)- メリット
- 短い記述量で多様なアニメーションを表現できる
- アニメーションの状態管理が簡単な場合はコードが簡潔になる
- デメリット
- アニメーションと変化させるプロパティの変更箇所が離れるためわかりづらいことがある
- アニメーションの順序や変更するプロパティの組み合わせによって比較的デバッグが難しくなりがち
- メリット
-
withAnimation(_:_:)(明示的アニメーション)- メリット
- modifierとして組み合わせる必要がなく、アニメーションの挙動が直感的
- 複雑なアニメーションの状態管理がしやすい
- デメリット
- 記述量は多くなりがちなので、シンプルなアニメーションには向かないかもしれない
- メリット
最後に
ここまで書きましたが、以下の記事がとってもわかりやすく、大変理解につながったのでこちらを読んだらすっごくいいと思います


