経緯
kintoneのOutlookを連携してスケジュール管理をしたい。
けど検索して出てくる記事が古いため、アレンジしてなるべく最新のものに対応する。
要するに「Outlook連携 - kintoneからOutlookスケジュールを登録しよう!!」のOutlook連携をほぼサンプルのまま使っていたのだけど、先日急に動かなくなったので最新化対応したいということ。
やりたいこと
- MSAL v2 に対応してkintoneとOutlookのスケジュールを連携させたい。
- kintone UI Component v1 対応したUIを構築したい。
- FullCalendar.js を導入してカレンダー表示させたい。
参考サンプル
こちらの2つのサンプルを参考にOutlook連携カスタマイズを行います。
- Outlook連携 - kintoneからOutlookスケジュールを登録しよう!!
- クイックスタート: PKCE 対応の承認コード フローを使用して JavaScript SPA 内でユーザーをサインインさせ、アクセス トークンを取得する
今回(本記事)のゴール
サインアウトとボタン表示制御
記事一覧
- #01.ボタンを表示
- #02.サインイン
- #03.サインアウトとボタン表示制御 ← 当記事
サインイン後にサインアウトボタンを表示する
前回まででサインインできることが確認できました。
サインインに成功したらサインインボタンは非表示にし、サインアウトボタンを表示するようにします。
サインアウト処理の実装
まずはサインアウトの処理をMicrosoftのサンプルから実装します。
サインインの処理が終了したらサインアウトのボタンを表示させたいので、signIn をPromiseにします。
またusername を authPopupService の中にいれ、 sessionStorage から取得するようにも変更しています。
const myMSALObj = new msal.PublicClientApplication(msalConfig);

let authPopupService = {
    username: sessionStorage.getItem('username') ? sessionStorage.getItem('username') : '',

    // サインイン情報による制御
    selectAccount: function () {
        const currentAccounts = myMSALObj.getAllAccounts();
        if (currentAccounts.length === 0) {
            return;
        } else if (currentAccounts.length > 1) {
            console.warn('Multiple accounts detected.');
        } else if (currentAccounts.length === 1) {
            this.username = currentAccounts[0].username;
            sessionStorage.setItem('username', this.username);
        }
    },

    // サインイン後の処理
    handleResponse: function (response) {
        if (response) {
            this.username = response.account.username;
            sessionStorage.setItem('username', this.username);
        } else {
            this.selectAccount();
        }
    },

    // サインイン
    signIn: function () {
        return new kintone.Promise(function (resolve, reject) {
            myMSALObj.loginPopup(loginRequest)
                .then(function(response) {
                    authPopupService.handleResponse(response);
                    resolve();
                })
                .catch(function(error) {
                    console.log(error);
                });
        })
    },

    // サインアウト
    signOut: function () {
        const logoutRequest = {
            account: myMSALObj.getAccountByUsername(this.username),
            postLogoutRedirectUri: msalConfig.auth.redirectUri,
            mainWindowRedirectUri: msalConfig.auth.redirectUri
        };

        myMSALObj.logoutPopup(logoutRequest);
    },
}
サインイン後のボタン作成定義 uiSignedCreateForIndex を追加します。
この中にサインイン前のボタン領域を非表示にするため、削除する処理も入れています。
また、サインインしたユーザーを確認するためにユーザー名を表示するように追加しています。
サインインの呼び出しではPromiseの結果を受け取り、正常終了であれば作成したサインイン後のボタン表示領域の作成処理を実行するようにします。
// カスタマイズのメイン処理
let uiService = {
...
    // サインイン前のボタン表示設定
    uiNotSignCreateForIndex: function (kintoneHeaderSpace) {
        if (typeof kintoneHeaderSpace === 'undefined') {
            return;
        }

        // ボタン配置領域を作成
        this.data.ui.HeaderNotSigned = document.createElement('div');

        // サインイン前のボタン表示
        this.data.ui.btnSignIn = this.createButton(this.setting.ui.buttons.signIn, this.setting.i18n.button);
        this.data.ui.btnSignIn.addEventListener('click', function (event) {
            authPopupService.signIn()
            .then(function() {
                // サインイン後のボタンを表示
                uiService.uiSignedCreateForIndex(kintone.app.getHeaderSpaceElement());
            });
        });
        this.data.ui.HeaderNotSigned.appendChild(this.data.ui.btnSignIn);

        // 要素を配置
        kintoneHeaderSpace.appendChild(this.data.ui.HeaderNotSigned);
    },

    // サインイン後のボタン表示設定
    uiSignedCreateForIndex: function (kintoneHeaderSpace) {
        if (typeof kintoneHeaderSpace === 'undefined') {
            return;
        }

        // サインインボタン表示領域を削除
        if ($('.header-not-signed ')) {
            $('.header-not-signed ').parent().remove();
        }

        // ボタン配置領域を作成
        this.data.ui.HeaderSigned = document.createElement('div');

        // ユーザー名
        this.data.ui.userName = document.createElement('p');
        this.data.ui.userName.className = 'signed-user-name';
        this.data.ui.userName.innerText = authPopupService.username;
        this.data.ui.HeaderSigned.appendChild(this.data.ui.userName);

        // サインアウトボタン
        this.data.ui.btnSignOut = this.createButton(this.setting.ui.buttons.signOut, this.setting.i18n.button);
        this.data.ui.btnSignOut.addEventListener('click', function (event) {
            authPopupService.signOut();
        });
        this.data.ui.HeaderSigned.appendChild(this.data.ui.btnSignOut);

        // 要素を配置
        kintoneHeaderSpace.appendChild(this.data.ui.HeaderSigned);
    },

    // ボタンを作成
    createButton: function (setting, lang) {
        if (typeof setting === 'undefined' || !setting) {
            return null;
        }

        let uiButton;
        let text = lang ? lang[setting.text] || setting.text || '' : setting.text || '';
        let type = setting.type;
        let className = setting.className ? setting.className : '';

        uiButton = new Kuc.Button({ text: text, type: type, className: className });
        return uiButton;
    },
};
...
キントーンの一覧画面表示時にログイン状態を確認して、サインイン前ならサインインボタンを表示、サインイン後ならサインアウトボタンを表示するようにします。
myMSALObjからサインイン情報を取得し判断します。
...
// 画面表示時イベント
kintone.events.on('app.record.index.show', function (event) {
    const currentAccounts = myMSALObj.getAllAccounts();

    // 初期処理
    uiService.init();

    if (currentAccounts.length === 0) {
        // サインインボタンを表示
        uiService.uiNotSignCreateForIndex(kintone.app.getHeaderSpaceElement());
        uiService.signInProcess();
    } else if (currentAccounts.length > 1) {
        console.warn("Multiple accounts detected.");
    } if (currentAccounts.length === 1) {
        // サインイン後
        uiService.uiSignedCreateForIndex(kintone.app.getHeaderSpaceElement());
    }
});
...
ボタンを追加しているのでCSSも定義します。(こちらは見た目なのでお好みで)
.header-not-signed > button {
  display: inline-block;
  margin: 0 15px 15px 15px;
}

.header-signed > button {
  display: inline-block;
  margin: 0 15px 15px 15px;
}

.signed-user-name {
  display: inline-block;
  margin: 0 15px 15px 15px;
  vertical-align: bottom;
}
動作確認
サインインして動作を確認しましょう。
サインインボタンが消え、ユーザー名とサインアウトボタンが表示されればOKです。
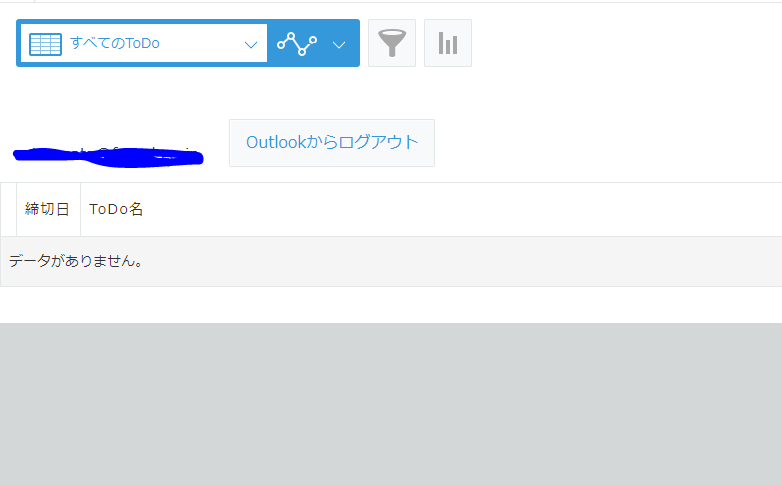
逆にログアウトした場合はサインインボタンが表示され、サインアウトボタンは表示されないことも確認しましょう。
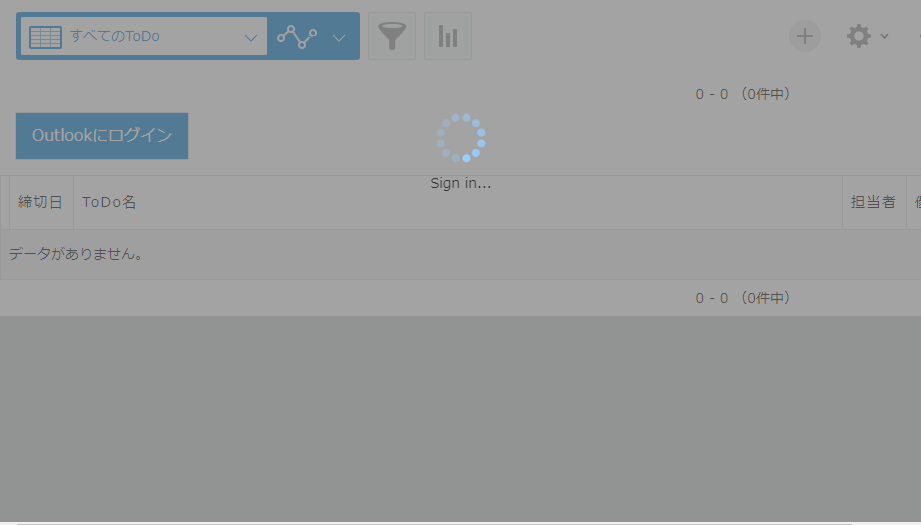
スピナーと通知
画面が無機質に切り替わるだけなので、ユーザーに処理中であることや処理結果を通知するようにします。
ui.js の uiService にスピナーと通知の作成、表示処理を追加します。
...
    // スピナーを作成
    spinner: function (message) {
        return new Kuc.Spinner({
            text: message
        });
    },

    // 通知を作成
    notification: function (text, type, className) {
        return new Kuc.Notification({
            text: text,
            type: type,
            className: className,
        });
    },

    // 通知を表示
    notificationOpen: function (notification) {
        if (!notification || typeof notification.localName === 'undefined' || notification.localName !== 'kuc-notification') {
            return;
        }
        notification.open();
        setTimeout(function () { notification.close() }, 3000);
    },
...
サインインボタン作成時にスピナーと通知も作成します。
サインイン処理の開始時にスピナーを表示し、終了したら非表示にして通知を表示します。
...
    // サインイン前のボタン表示設定
    uiNotSignCreateForIndex: function (kintoneHeaderSpace) {
        if (typeof kintoneHeaderSpace === 'undefined') {
            return;
        }

        // スピナー作成
        this.data.ui.signInSpinner = this.spinner('Sign in...');

        // 通知領域を作成
        this.data.ui.signInNotification = this.notification('サインインしました!', 'success', 'options-class');
        this.data.ui.signInErrNotification = this.notification('サインインしていません!', 'danger', 'options-class');

        // ボタン配置領域を作成
        this.data.ui.HeaderNotSigned = document.createElement('div');

        // サインイン前のボタン表示
        this.data.ui.btnSignIn = this.createButton(this.setting.ui.buttons.signIn, this.setting.i18n.button);
        this.data.ui.btnSignIn.addEventListener('click', function (event) {
            // スピナーを表示
            this.data.ui.signInSpinner.open();
            // サインイン
            authPopupService.signIn()
                .then(function () {
                    // サインイン後のボタン表示
                    uiService.uiSignedCreateForIndex(kintone.app.getHeaderSpaceElement());
                    // スピナーの非表示と通知を表示
                    uiService.data.ui.signInSpinner.close();
                    uiService.notificationOpen(uiService.data.ui.signInNotification);
                });
        });
        this.data.ui.HeaderNotSigned.appendChild(this.data.ui.btnSignIn);

        // 要素を配置
        kintoneHeaderSpace.appendChild(this.data.ui.HeaderNotSigned);
    },
...
サインインをキャンセルしたり失敗した場合も、スピナーの非表示と通知の表示を追加します。
    // サインイン
    signIn: function () {
        return new kintone.Promise(function (resolve, reject) {
            myMSALObj.loginPopup(loginRequest)
                .then(function (response) {
                    authPopupService.handleResponse(response);
                    resolve();
                })
                .catch(function (error) {
                    console.log(error);
                    // スピナーの非表示と通知の表示
                    uiService.data.ui.signInSpinner.close();
                    uiService.notificationOpen(uiService.data.ui.signInErrNotification);
                });
        })
    },
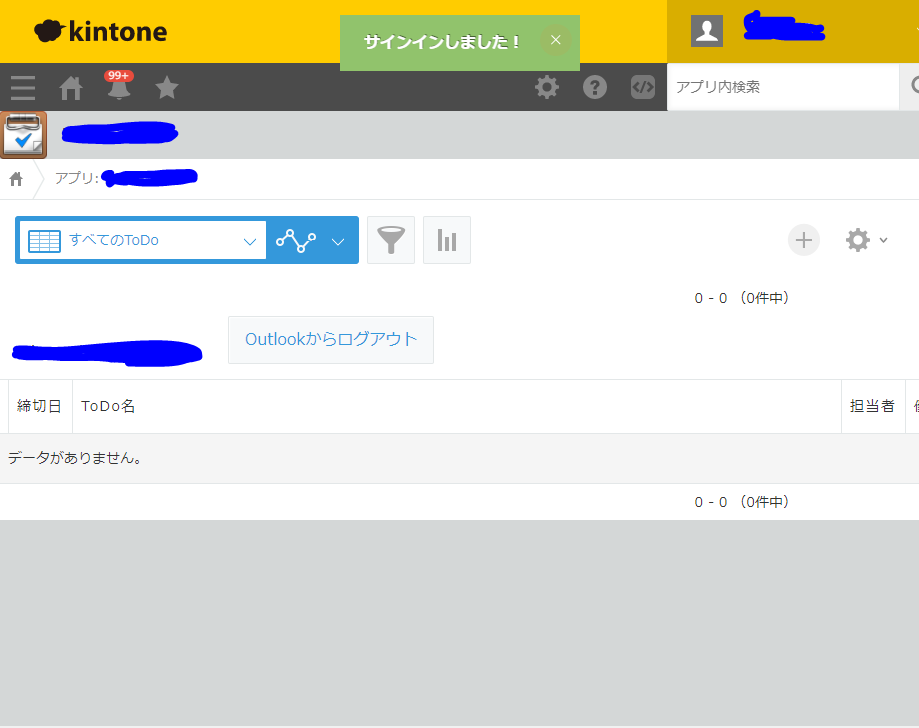
スピナーと通知が表示されるようになりました。
次回
MSGraphでOutlookからスケジュールを取得