概要
.NET Confで紹介されていた.NET Aspireを実際に触ってみた記録です
準備
Visual Studio
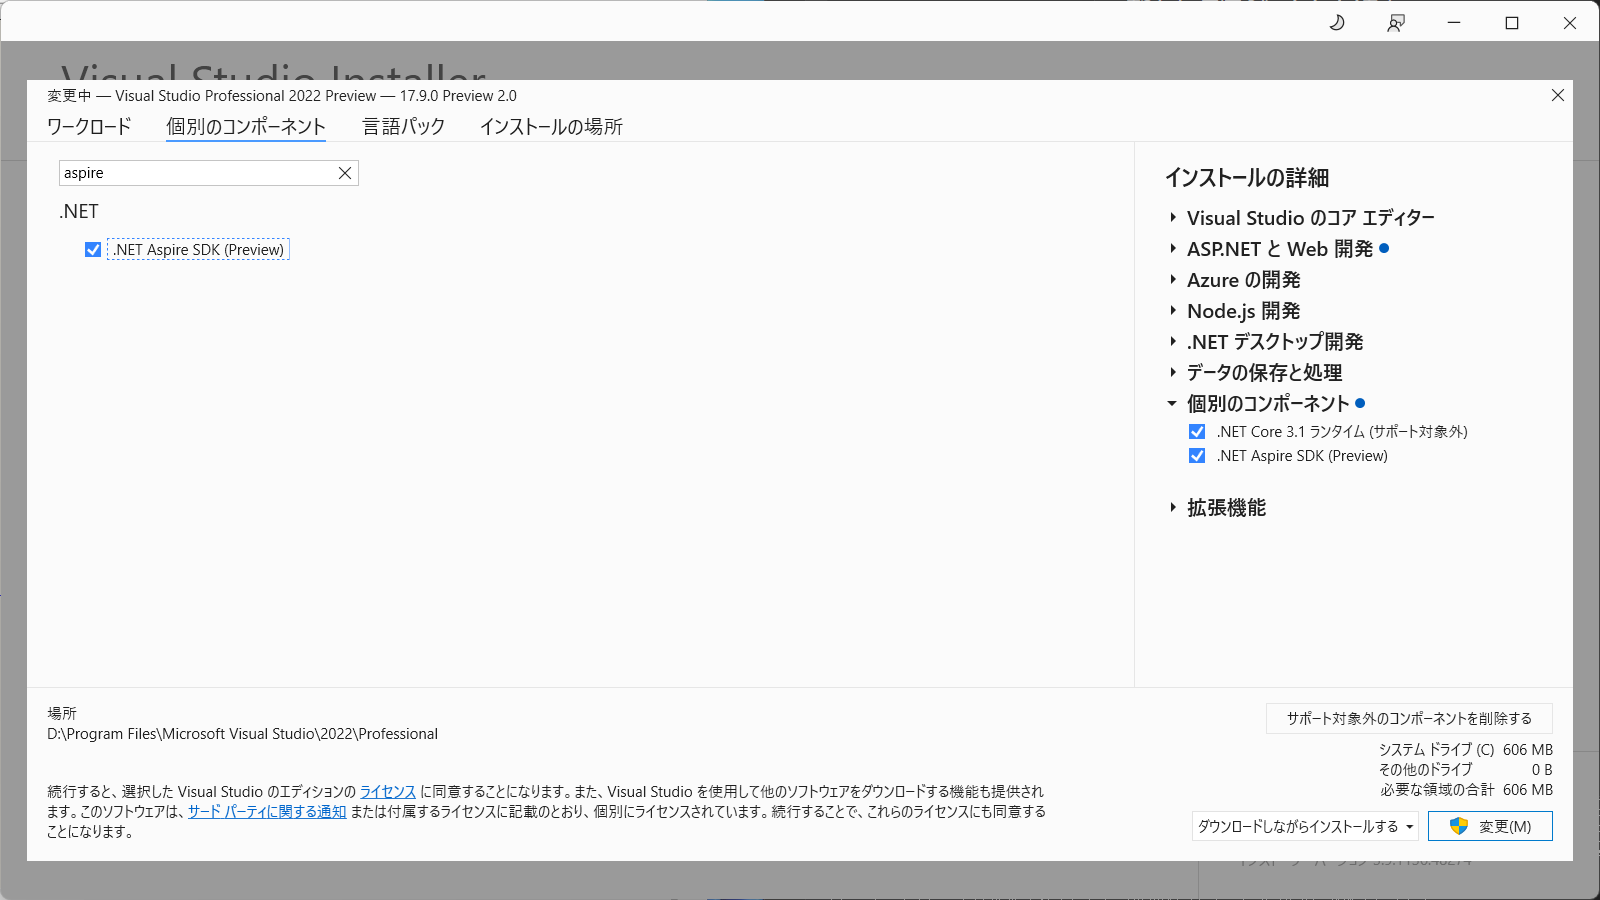
Preview版をインストールします。
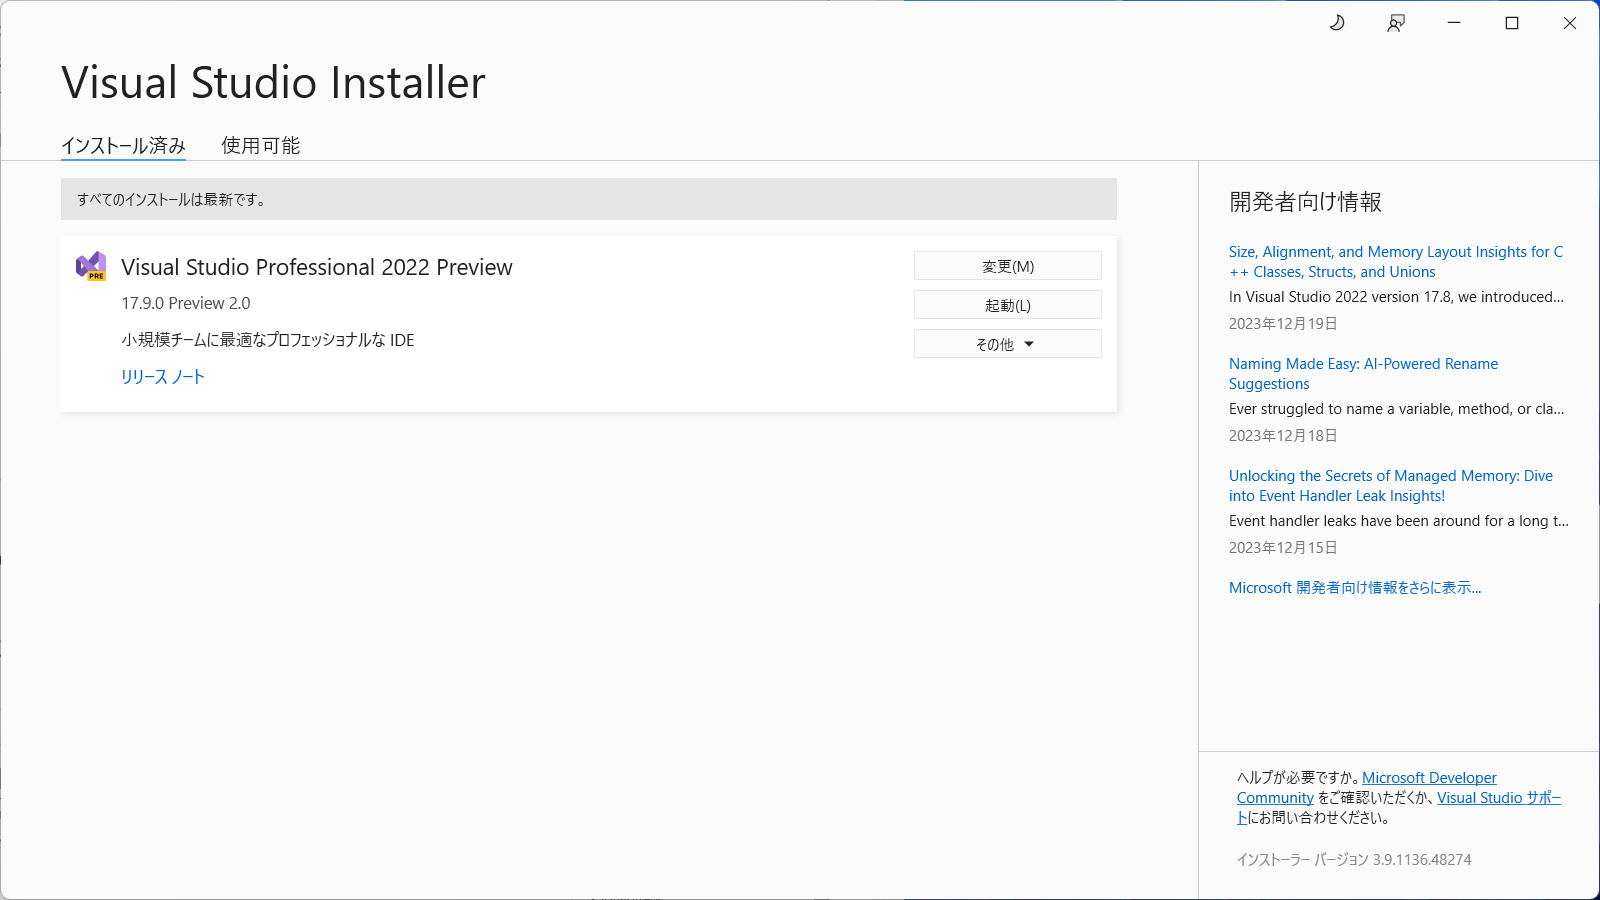
Preview版
-
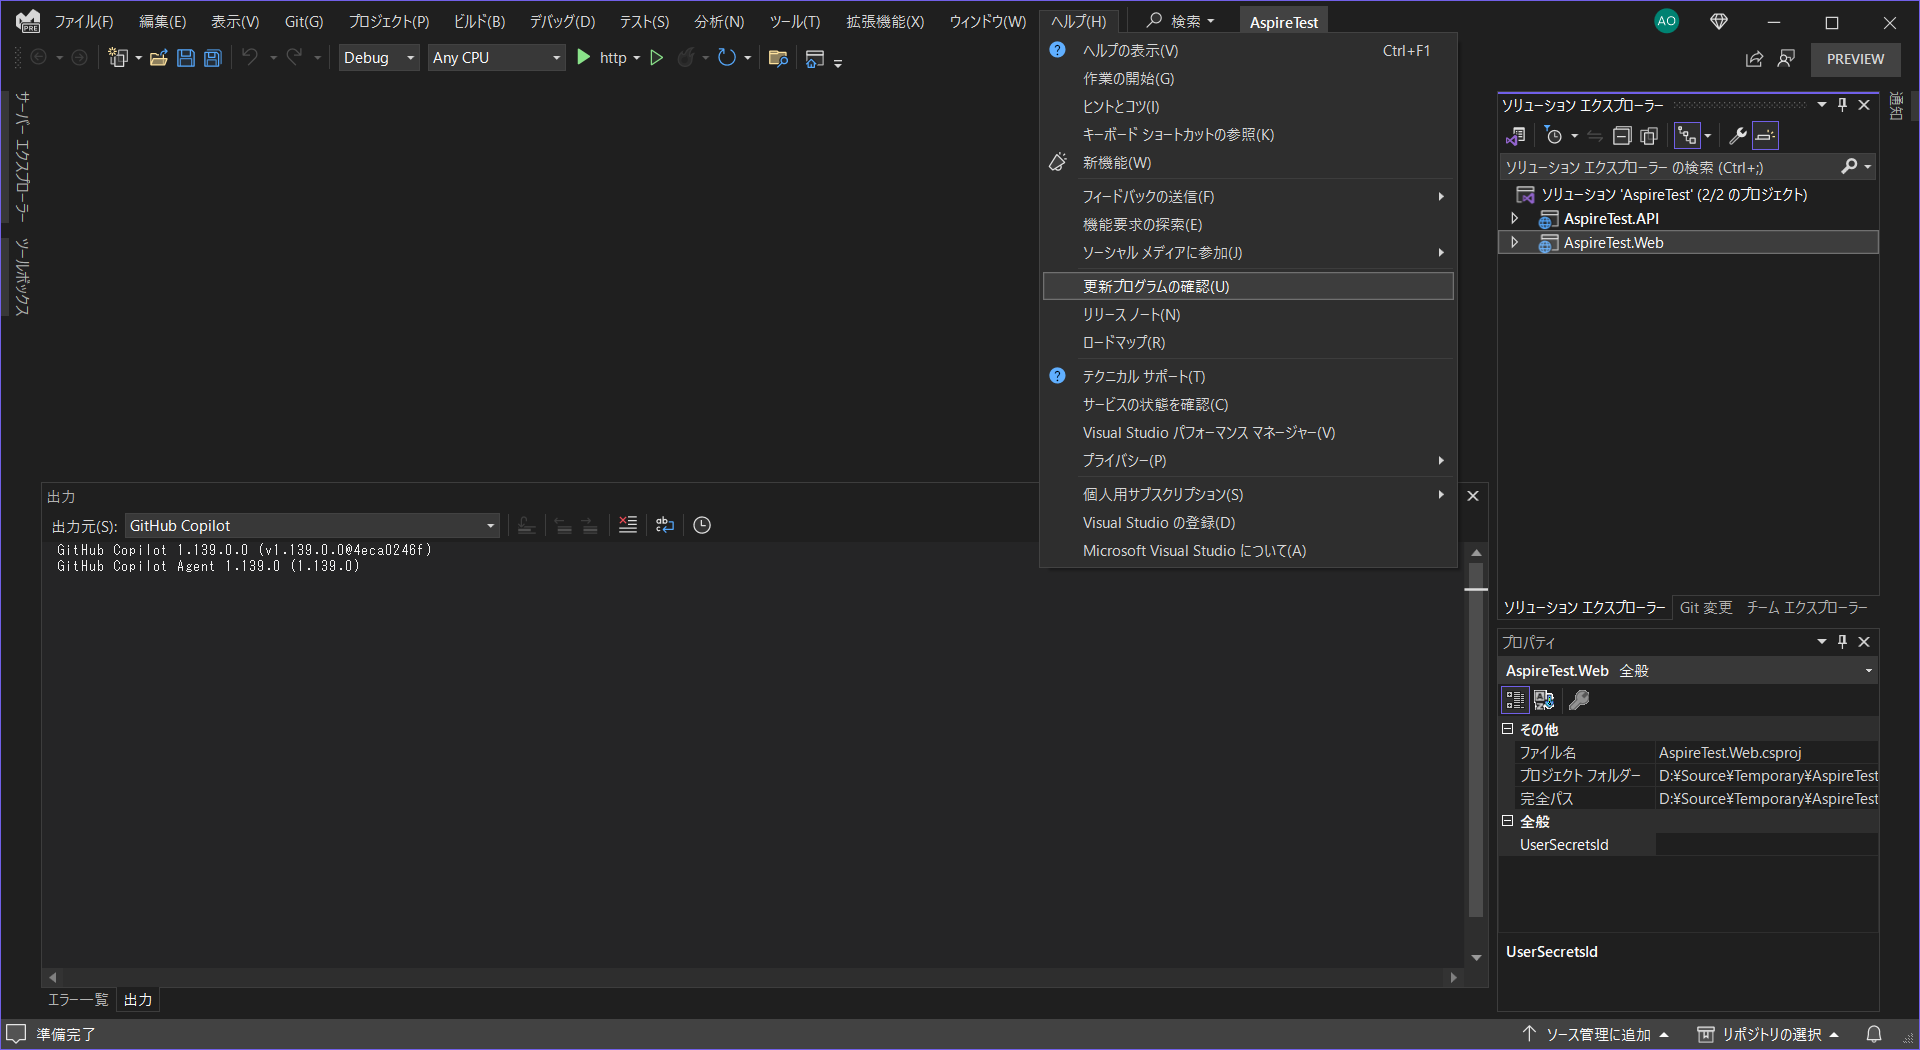
ヘルプ→更新プログラムの確認
-
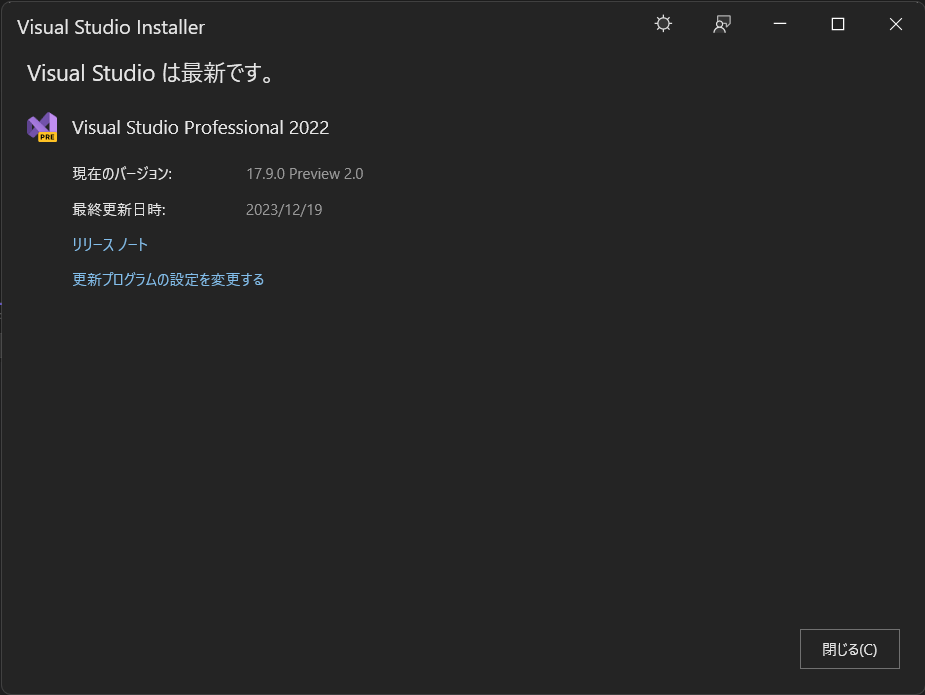
更新プログラムの設定を変更する
-
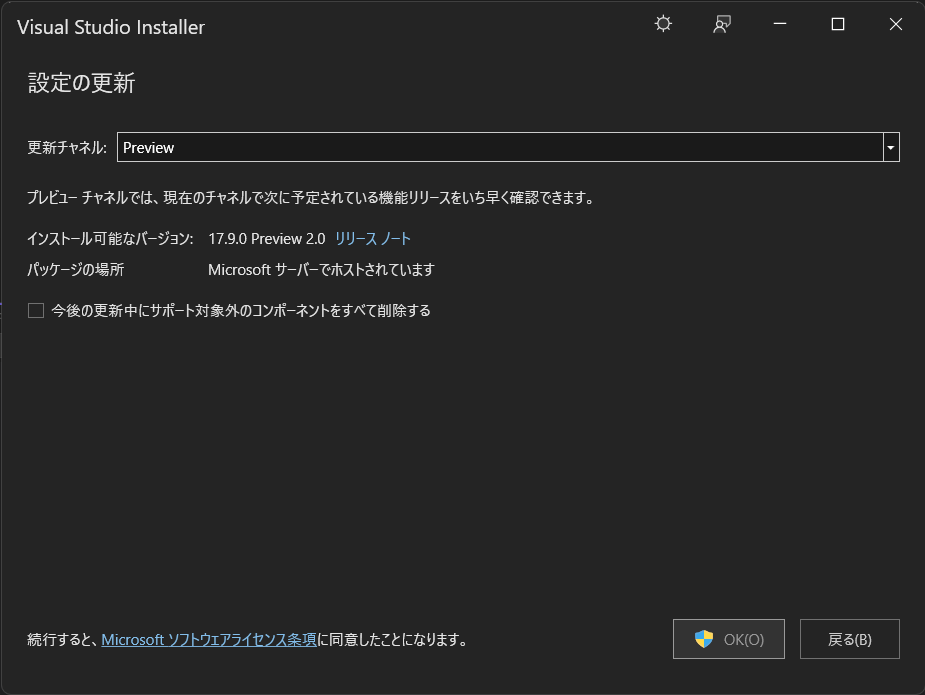
更新チャネルを「Preview」に変更する
-
コンポーネントを追加する
プロジェクト作成
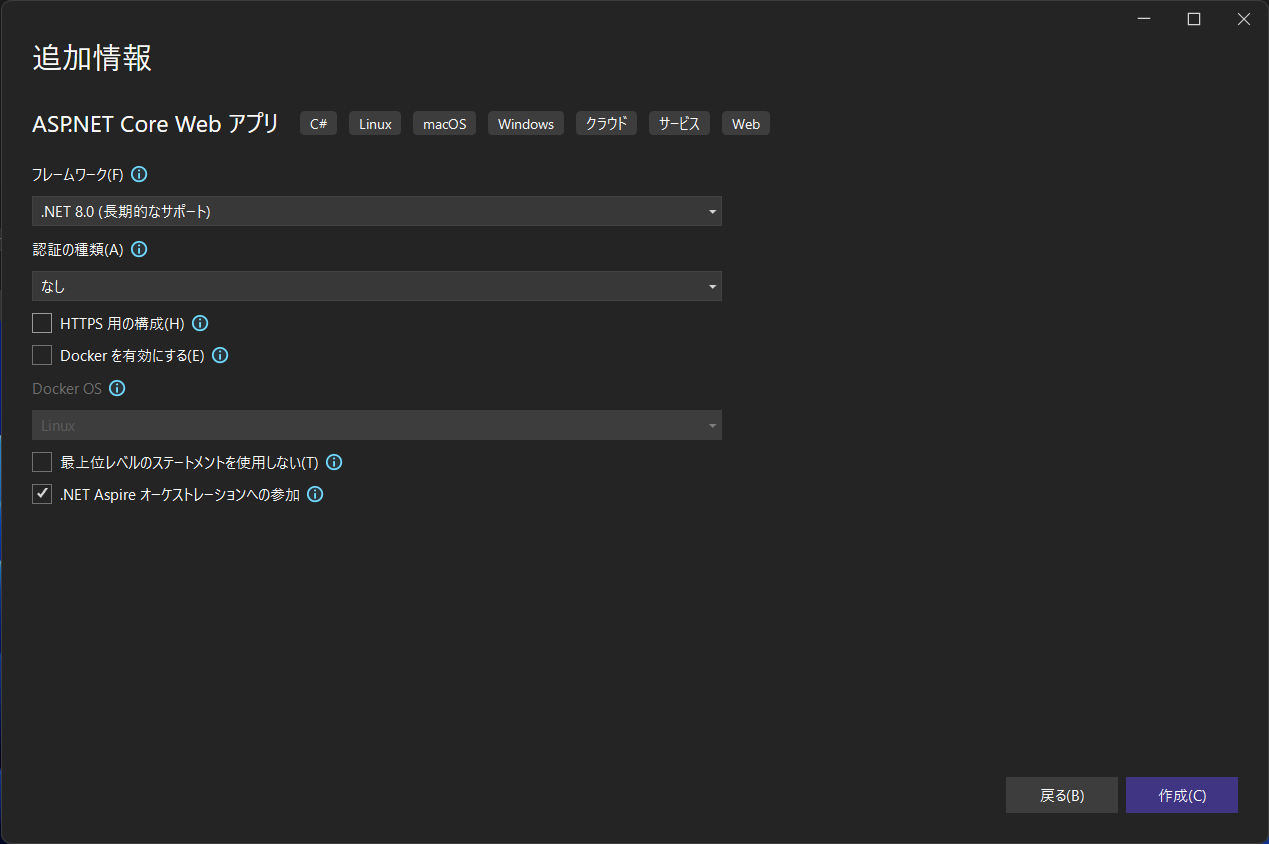
まずは「ASP.NET Core Webアプリ」を「AspireTests.Web」という名前で新規追加します。
デモでは、プロジェクト作成の際の「.NET Aspire オーケストレーションへの参加」をオフにしてスタートしていたので、ここではオンにしてスタートしてみます。
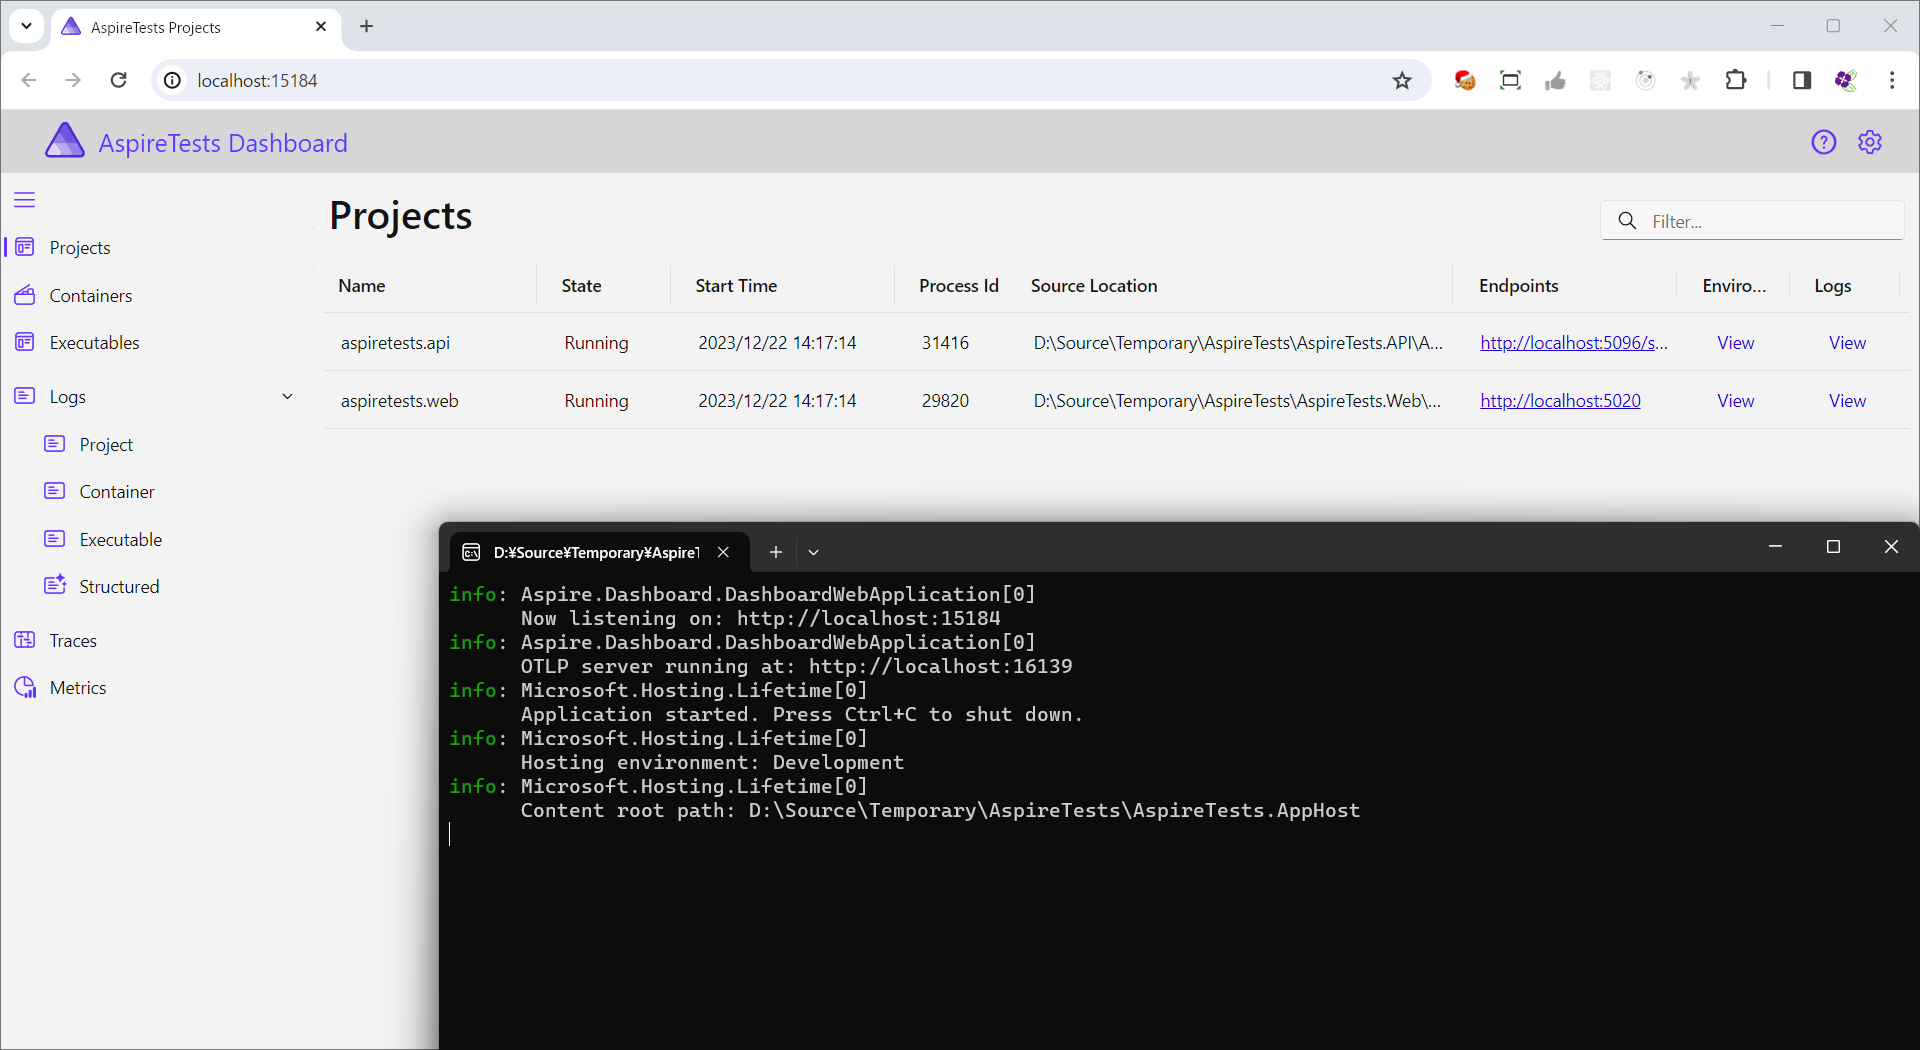
初期状態
Aspireプロジェクトが自動で追加されていました。

そのままデバッグ実行するとAspireの管理画面が立ち上がります。
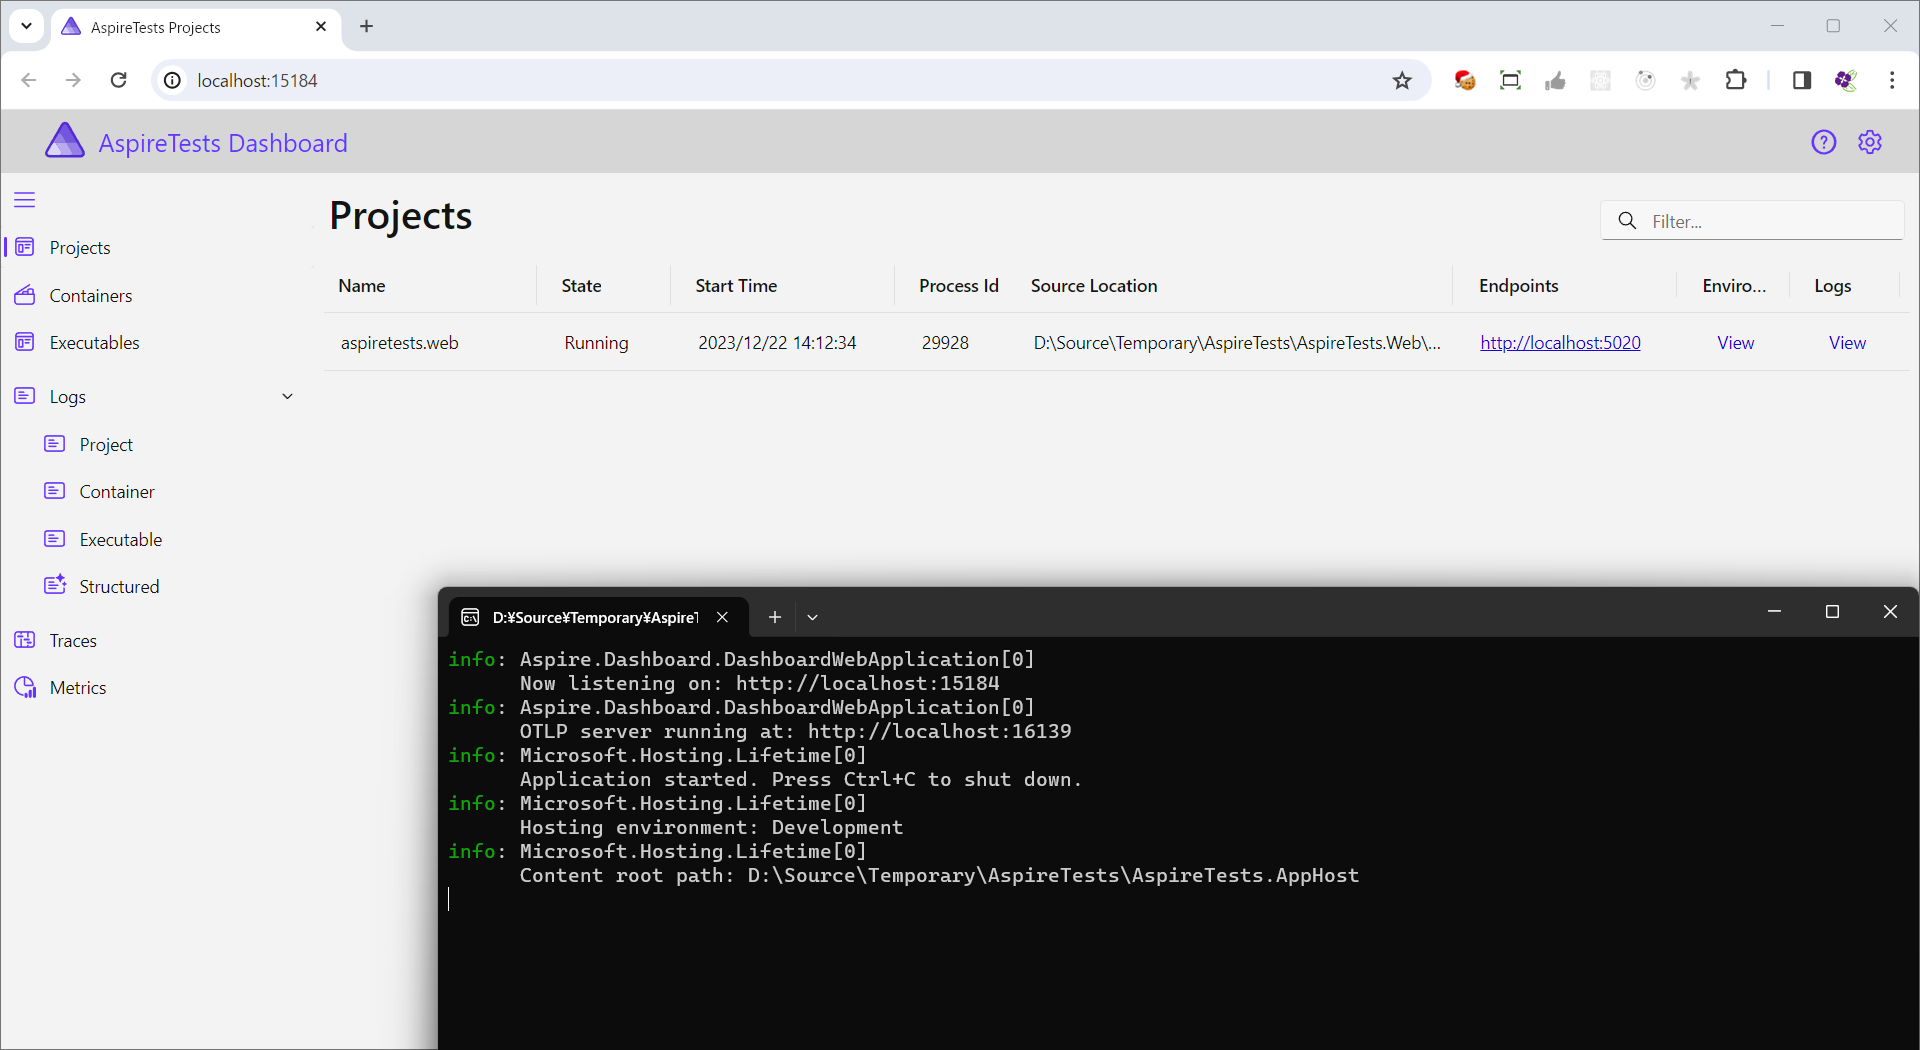
素晴らしい。
APIプロジェクト追加
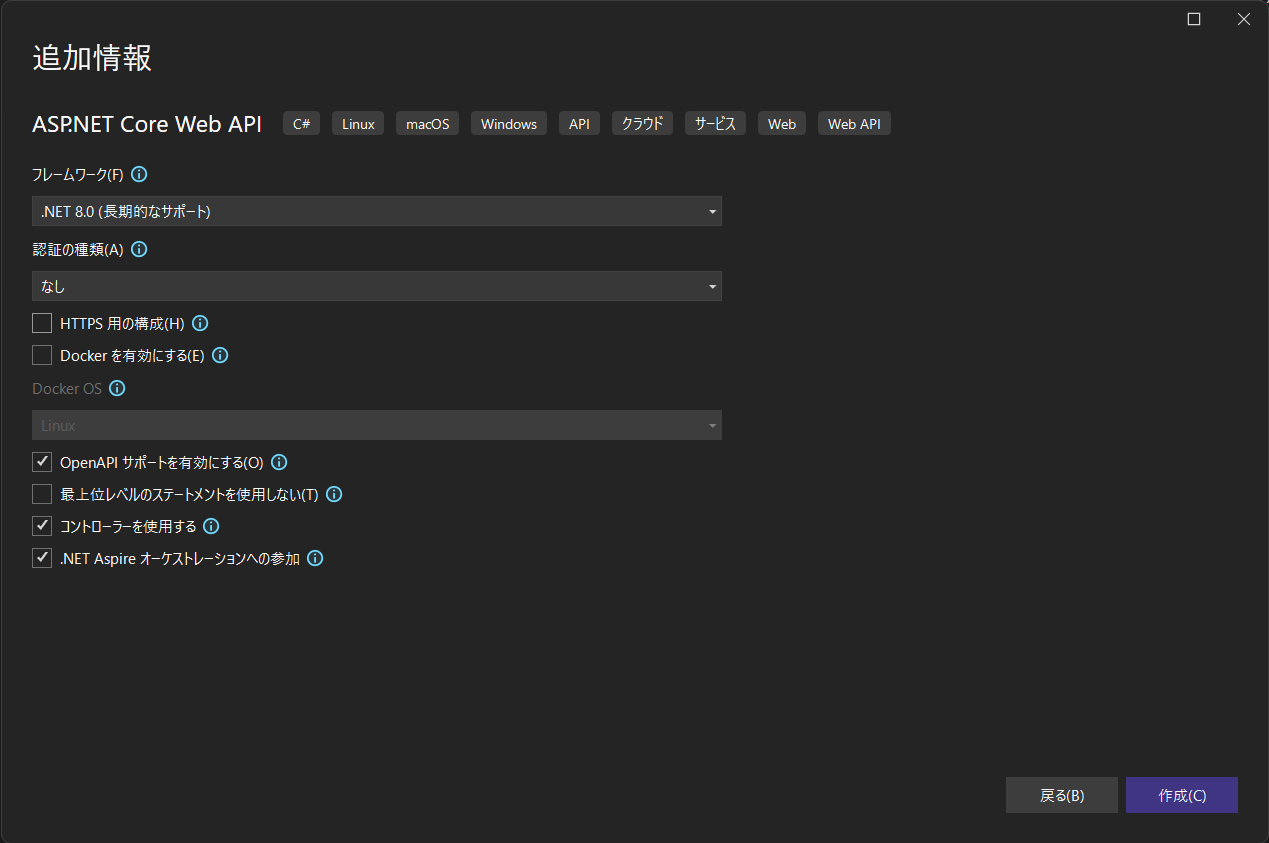
「ASP.NET Core Web API」を「AspireTests.API」という名前で追加し、Webから呼ぶように変更します。
こちらでも「.NET Aspire オーケストレーションへの参加」をオンにしてスタートします。
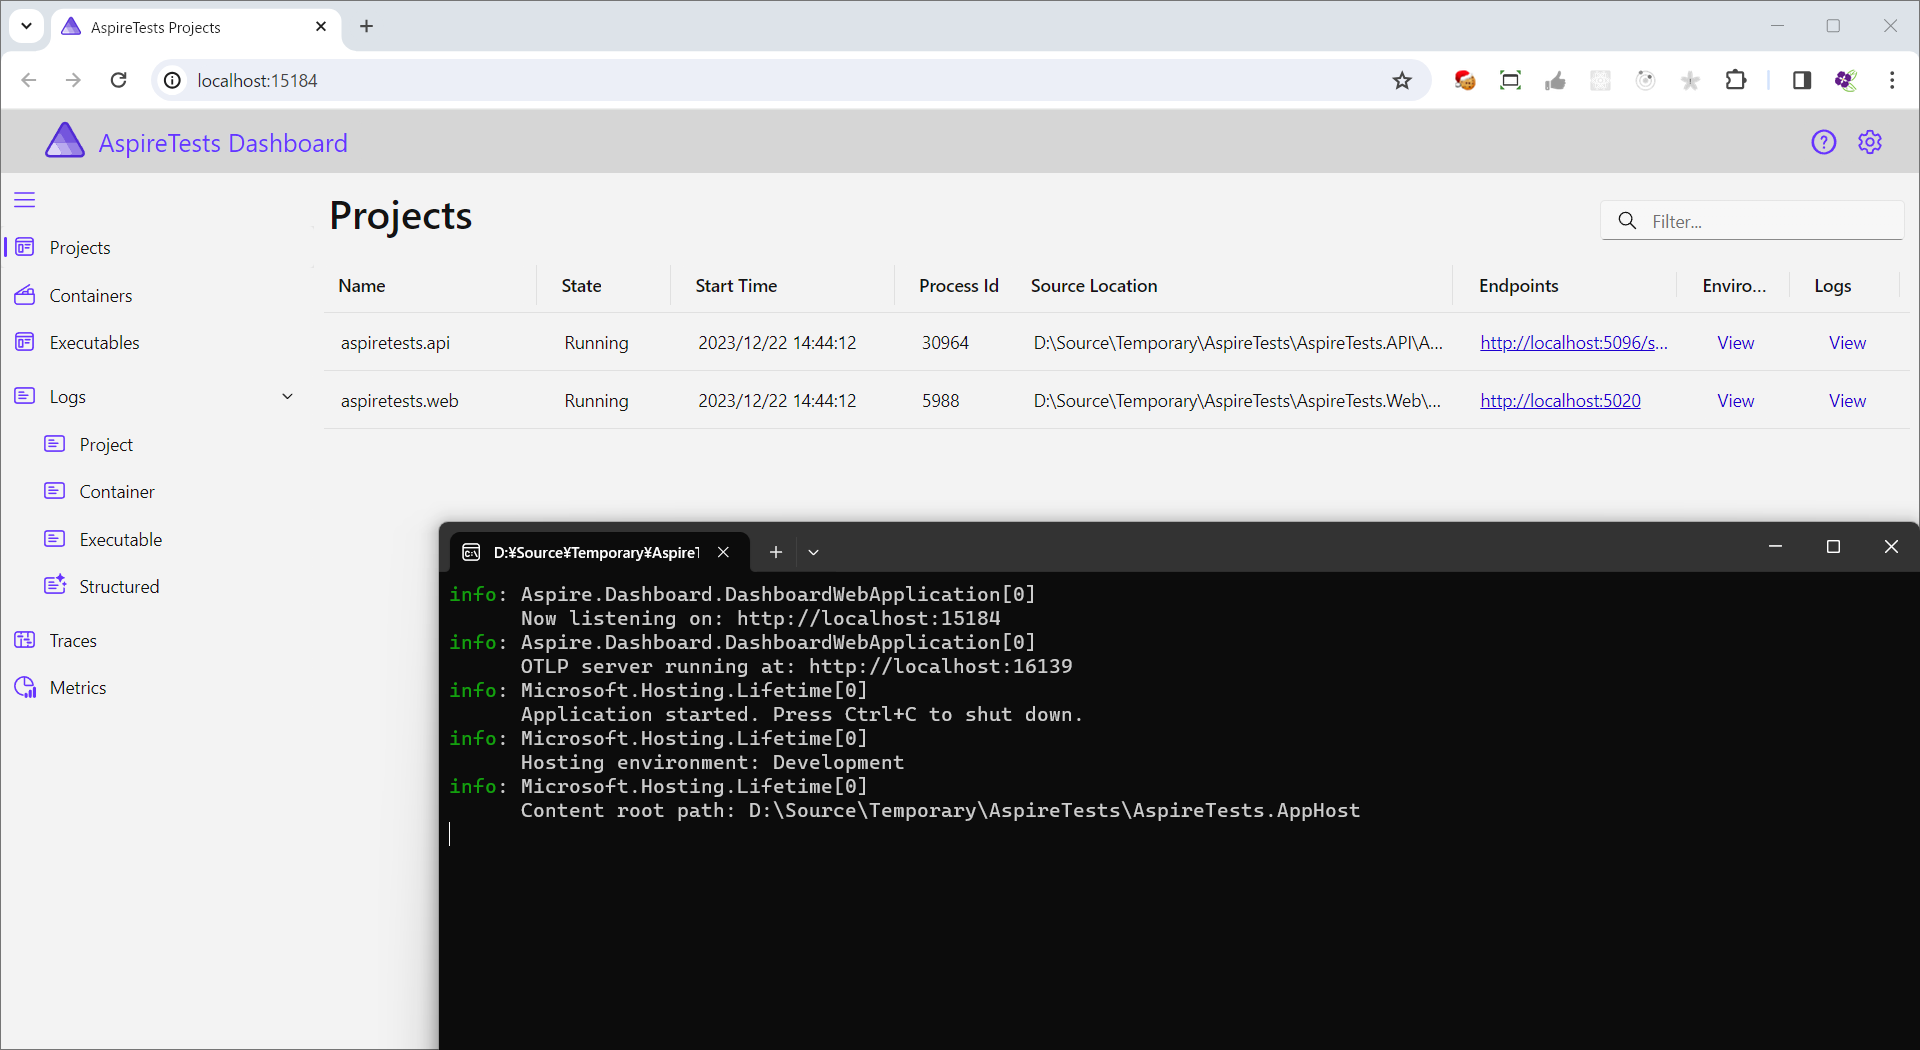
とりあえず、どちらのプロジェクトも起動できているようです。
素晴らしい。
WebとAPIの連携
Web側からAPIを呼ぶ変更を加えてみます。
APIから取得したデータをテーブル表示する
@page
@model IndexModel
@{
    ViewData["Title"] = "Home page";
}

<div class="text-center">
    <h1 class="display-4">Welcome</h1>
    <p>Learn about <a href="https://learn.microsoft.com/aspnet/core">building Web apps with ASP.NET Core</a>.</p>
</div>
<!--以下追加-->
<div>
    <table>
        <thead>
            <tr>
                <th>date</th>
                <th>temperatureC</th>
                <th>temperatureF</th>
                <th>summary</th>
            </tr>
        </thead>
        <tbody>
            @foreach (var weatherForecast in Model.Forecasts)
            {
                <tr>
                    <td>@weatherForecast.Date.ToShortDateString()</td>
                    <td>@weatherForecast.TemperatureC</td>
                    <td>@weatherForecast.TemperatureF</td>
                    <td>@weatherForecast.Summary</td>
                </tr>
            }
    </table>
</div>
APIからJSONデータを受け取り、モデルとしてIndex.cshtmlへ受渡しする
using Microsoft.AspNetCore.Mvc.RazorPages;

namespace AspireTests.Web.Pages;

public class IndexModel : PageModel
{
    private readonly ILogger<IndexModel> _logger;

    public IndexModel(ILogger<IndexModel> logger)
    {
        _logger = logger;
    }

    public void OnGet()
    {
        HttpResponseMessage response = new HttpClient().GetAsync("http://localhost:5096/WeatherForecast").Result;
        Forecasts = response?.Content?.ReadFromJsonAsync<List<WeatherForecast>>().Result ?? new();
    }

    internal List<WeatherForecast> Forecasts { get; set; } = new();
    internal class WeatherForecast
    {
        public DateTime Date { get; set; }

        public int TemperatureC { get; set; }

        public int TemperatureF => 32 + (int)(TemperatureC / 0.5556);

        public string? Summary { get; set; }
    }
}
AspireTests.AppHost > Program.csを変更する
Webを動かすためにはAPIが動いていないとダメですが、Webを先に追加した都合上、起動順序が逆になっています。どちらも起動するので実運用上はほとんど問題ないはずですが、一応直しておきます。
var builder = DistributedApplication.CreateBuilder(args);
//APIを先に起動する
builder.AddProject<Projects.AspireTests_API>("aspiretests.api");

builder.AddProject<Projects.AspireTests_Web>("aspiretests.web");

builder.Build().Run();
なお、"aspiretests.api"の部分はAspireで表示されるだけの文字列であるため、変更可能。
起動結果
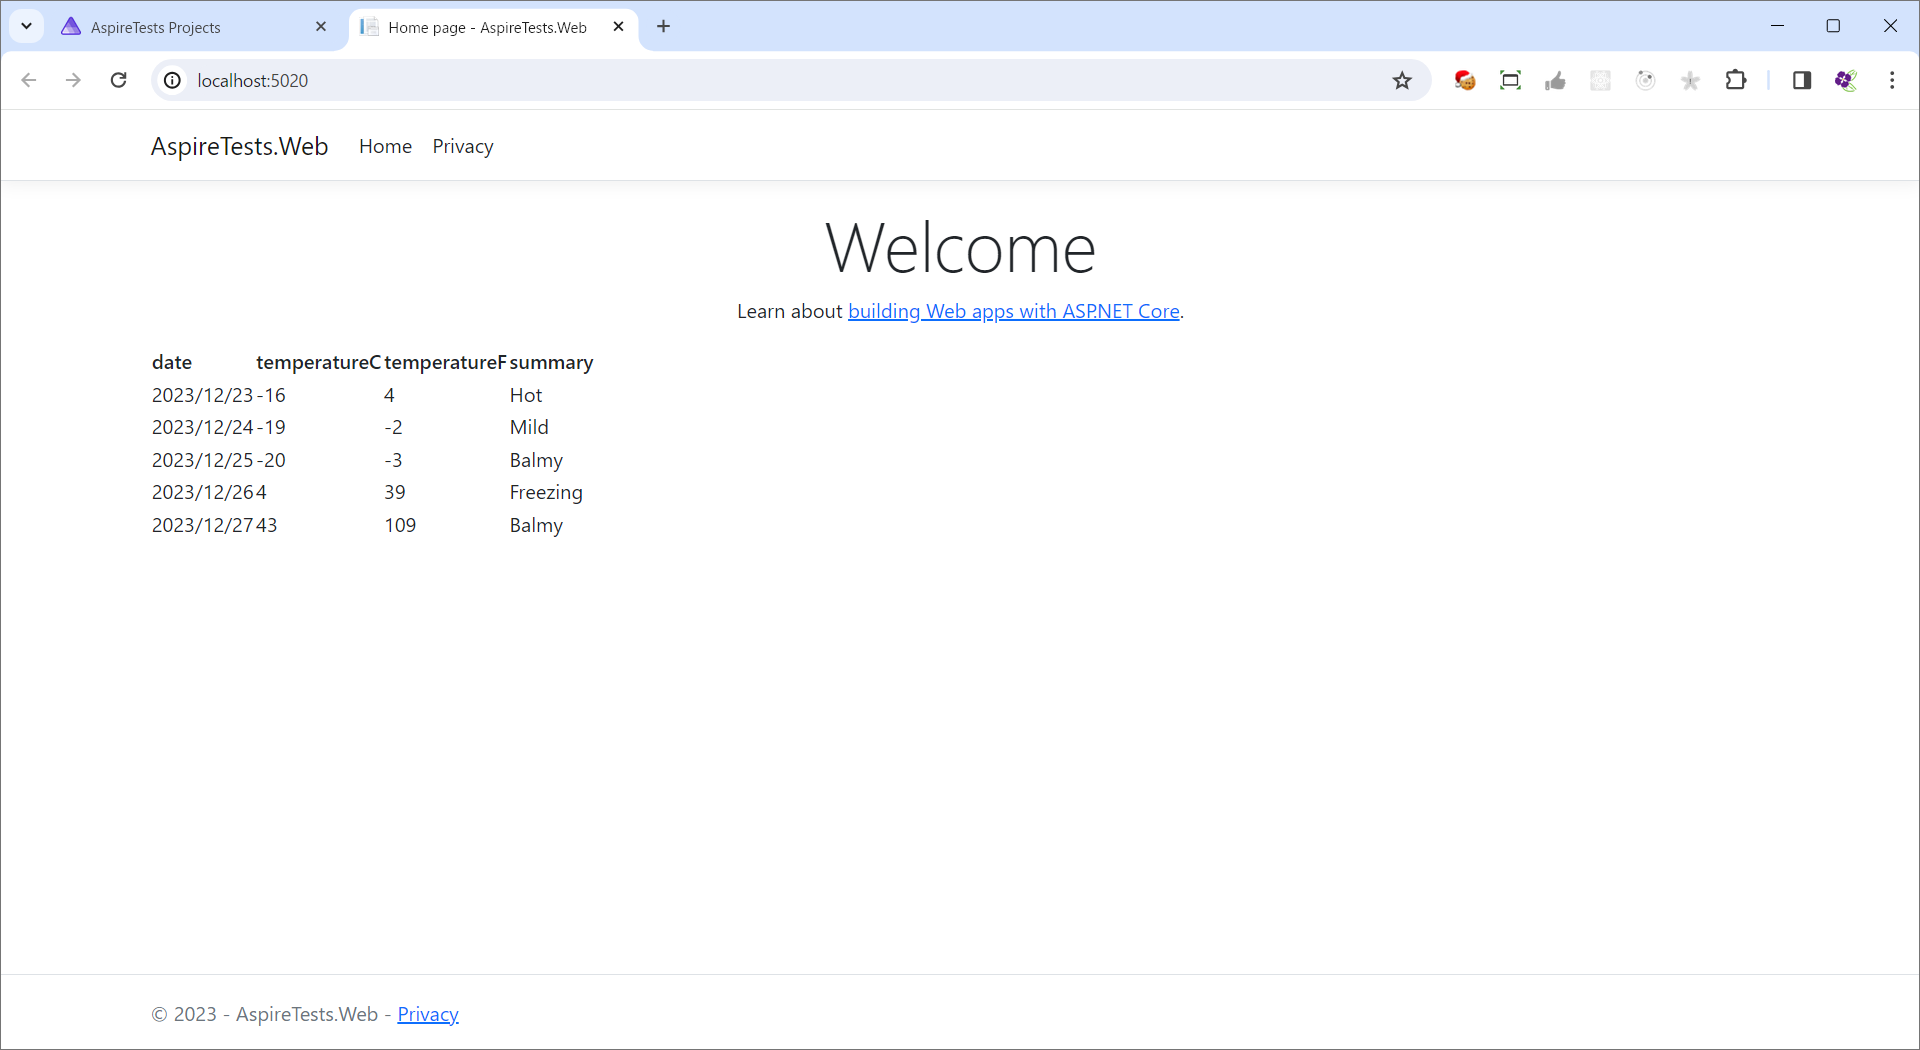
とりあえず上手くいった模様。
素晴らしい。
ログの確認
APIにDIされている_loggerを使ってログを出力し、Aspire上から確認してみます。
ログの出力
データ返却しているところにログを仕込んでみます。
少し分かりやすいよう生成するデータを5から50に変更しました。
    [HttpGet(Name = "GetWeatherForecast")]
    public IEnumerable<WeatherForecast> Get()
    {
        _logger.LogInformation("GetWeatherForecast: called");
        var data = Enumerable.Range(1, 50).Select(index => new WeatherForecast
        {
            Date = DateOnly.FromDateTime(DateTime.Now.AddDays(index)),
            TemperatureC = Random.Shared.Next(-20, 55),
            Summary = Summaries[Random.Shared.Next(Summaries.Length)]
        })
        .ToArray();
        _logger.LogInformation($"GetWeatherForecast: data created");
        return data;
    }
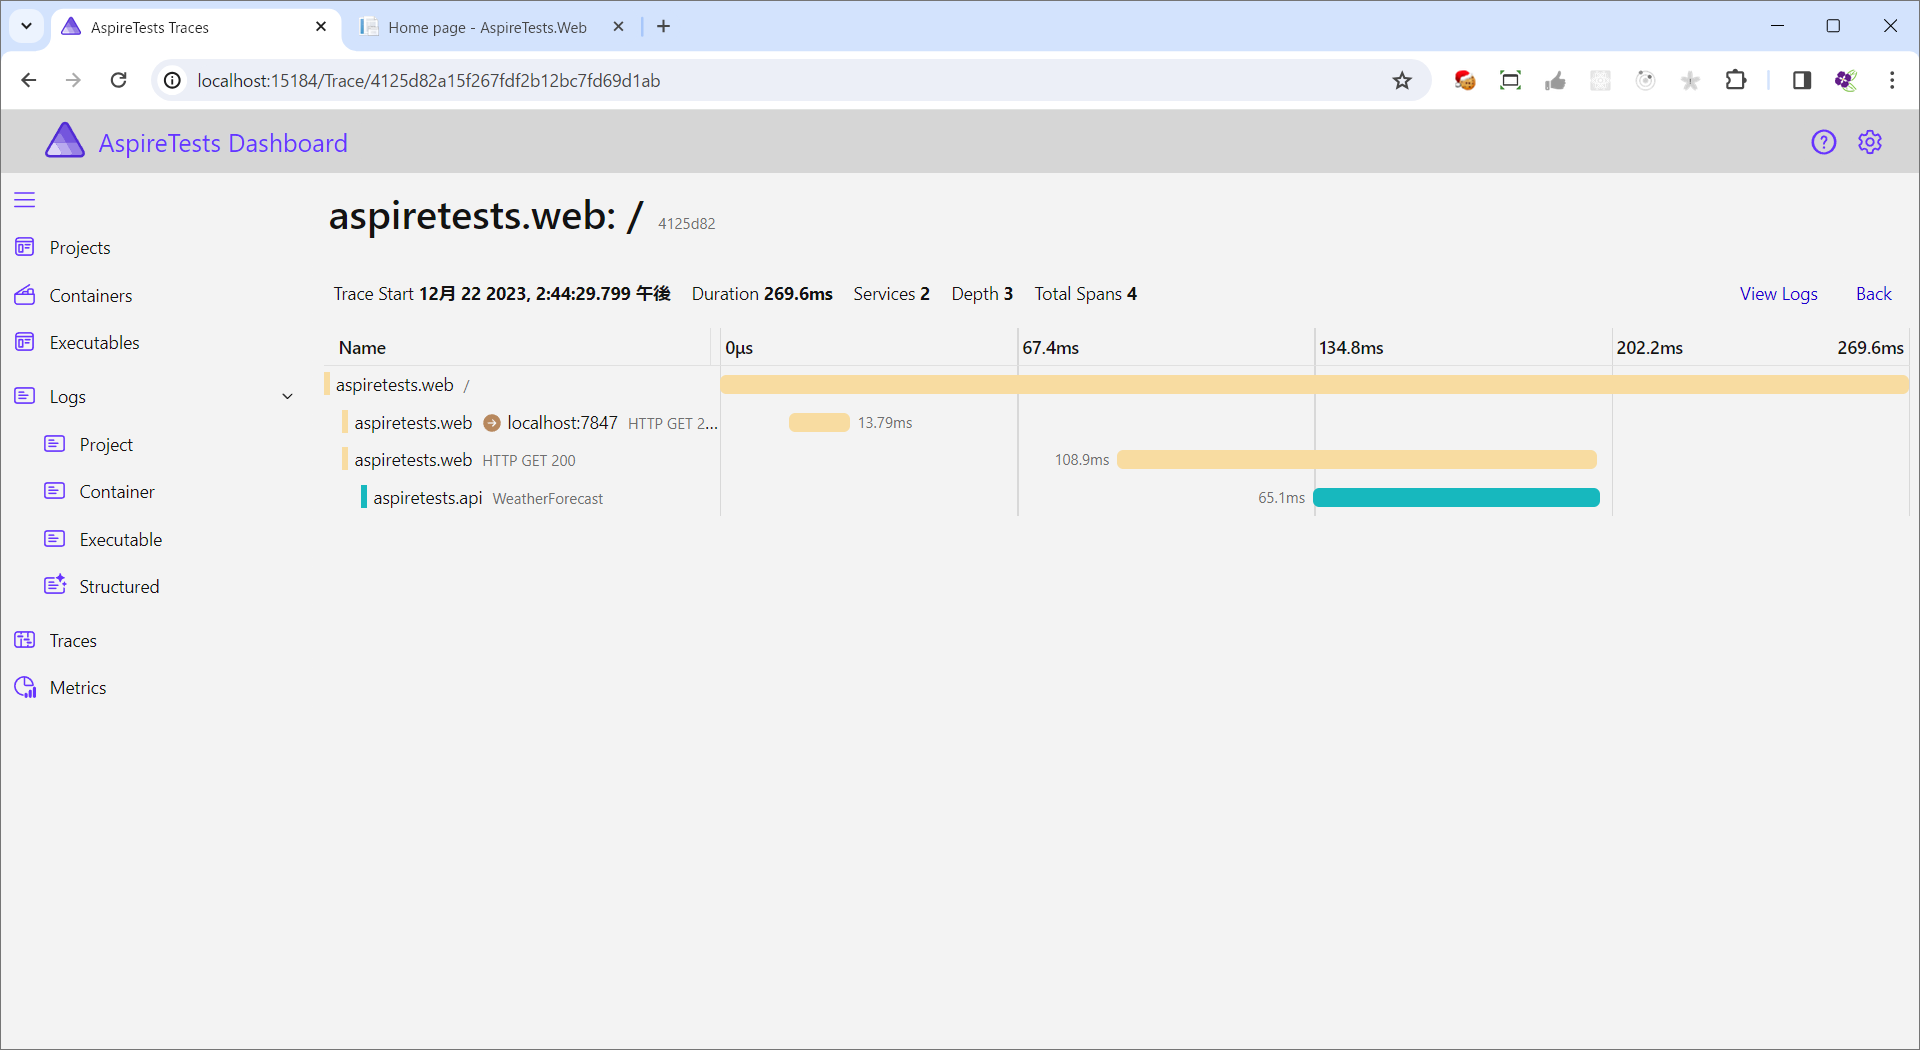
ログの確認方法
-
Traces→View
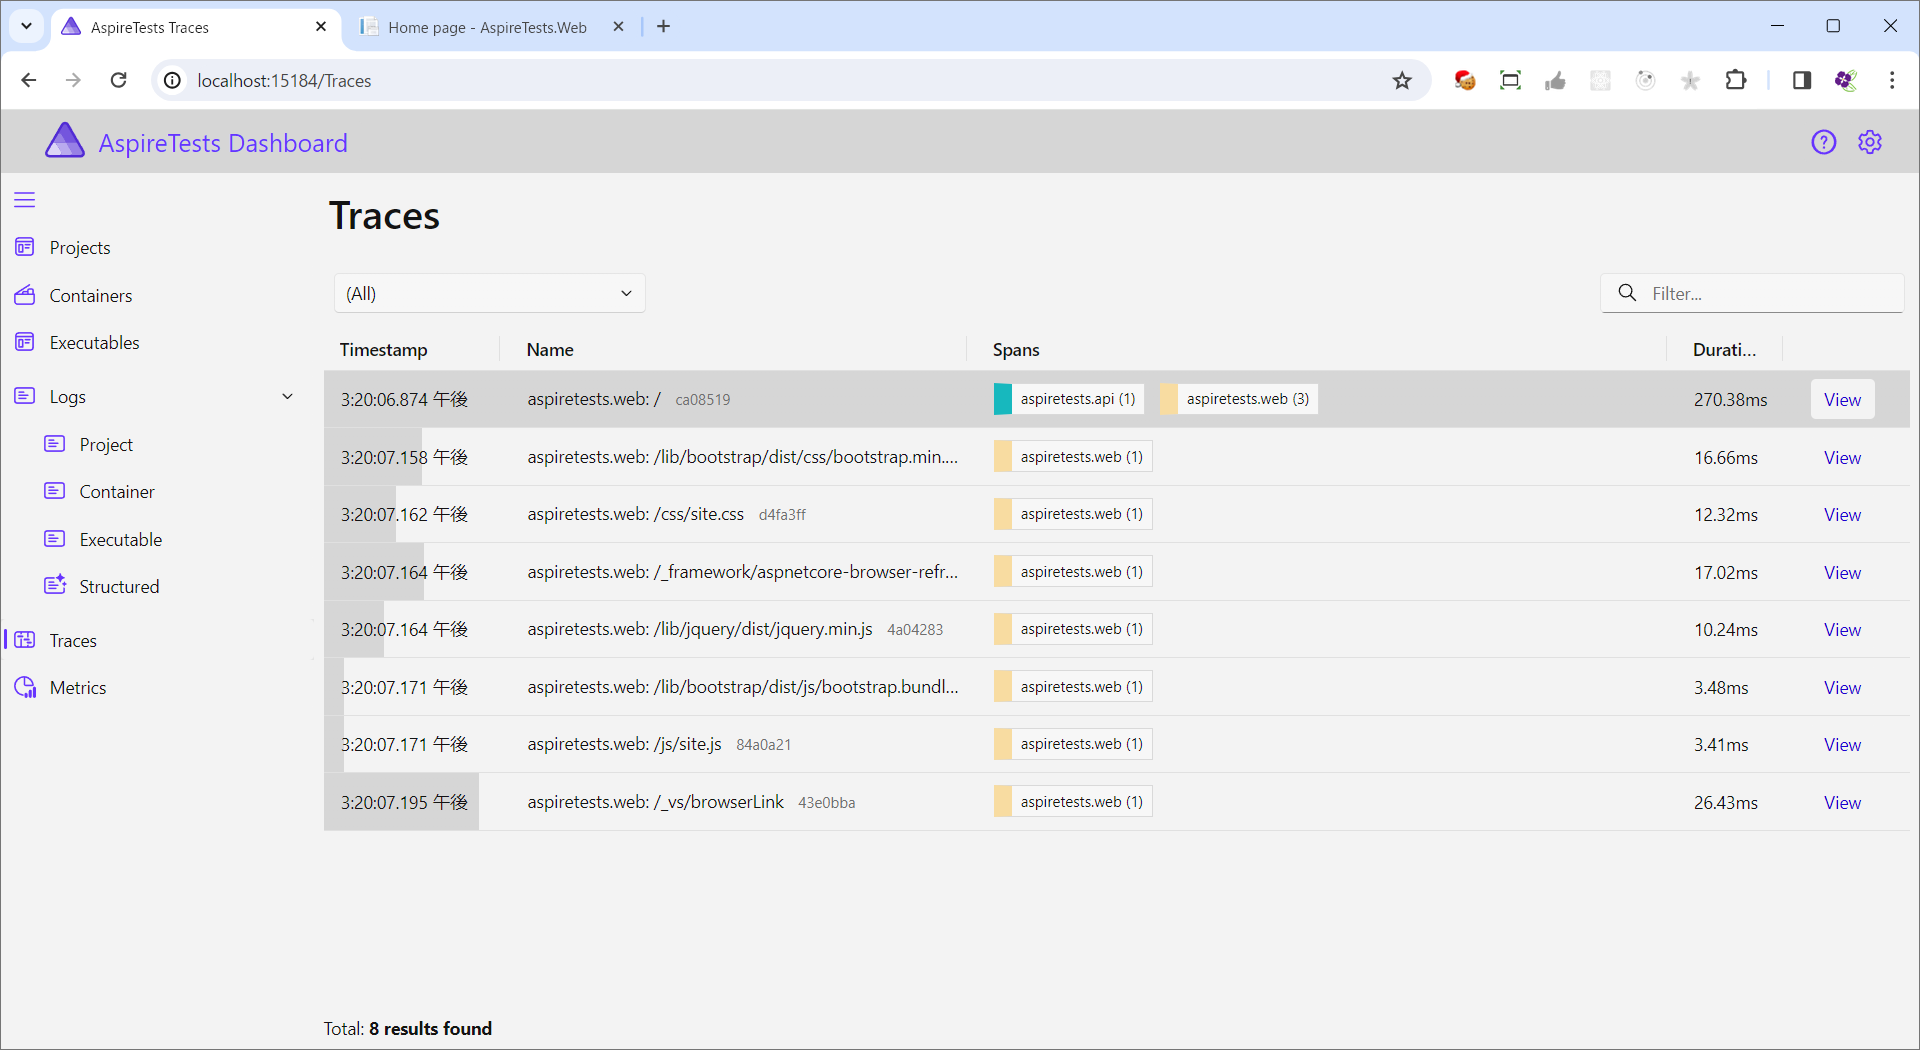
-
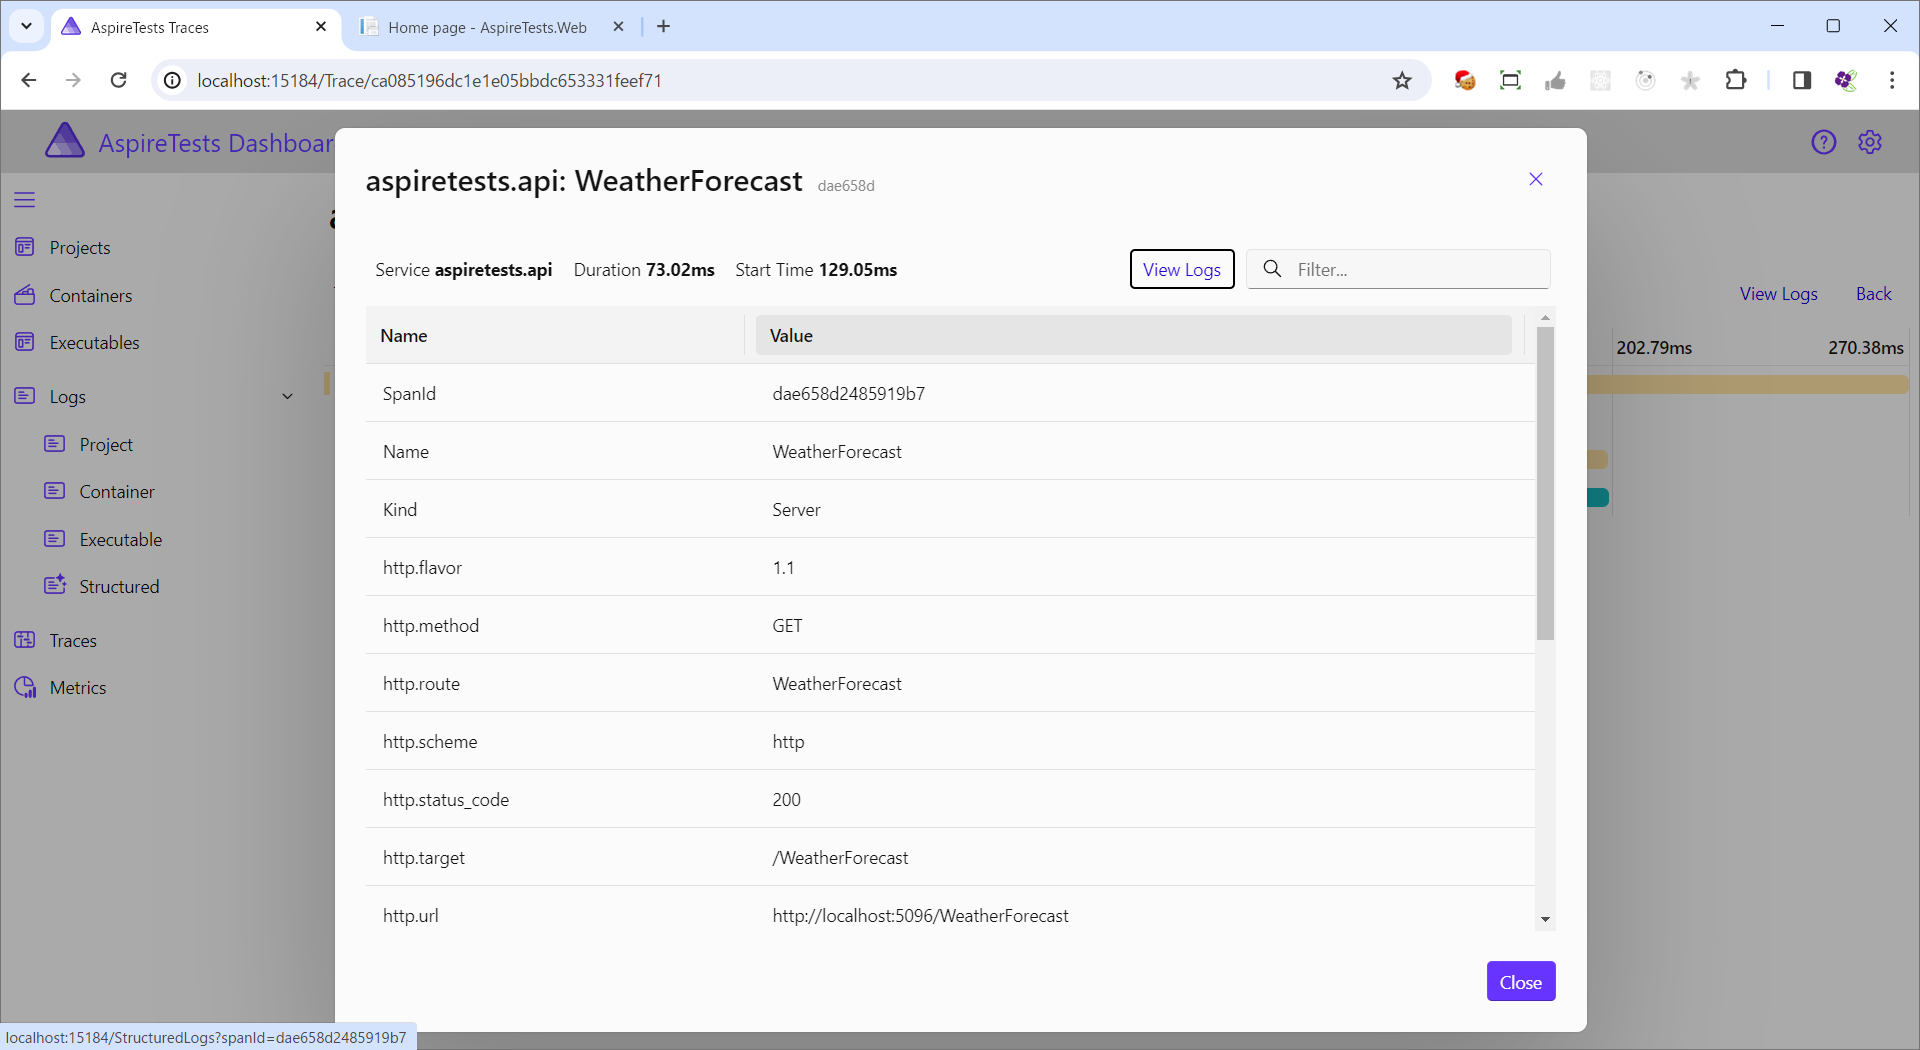
aspiretests.apiをクリック
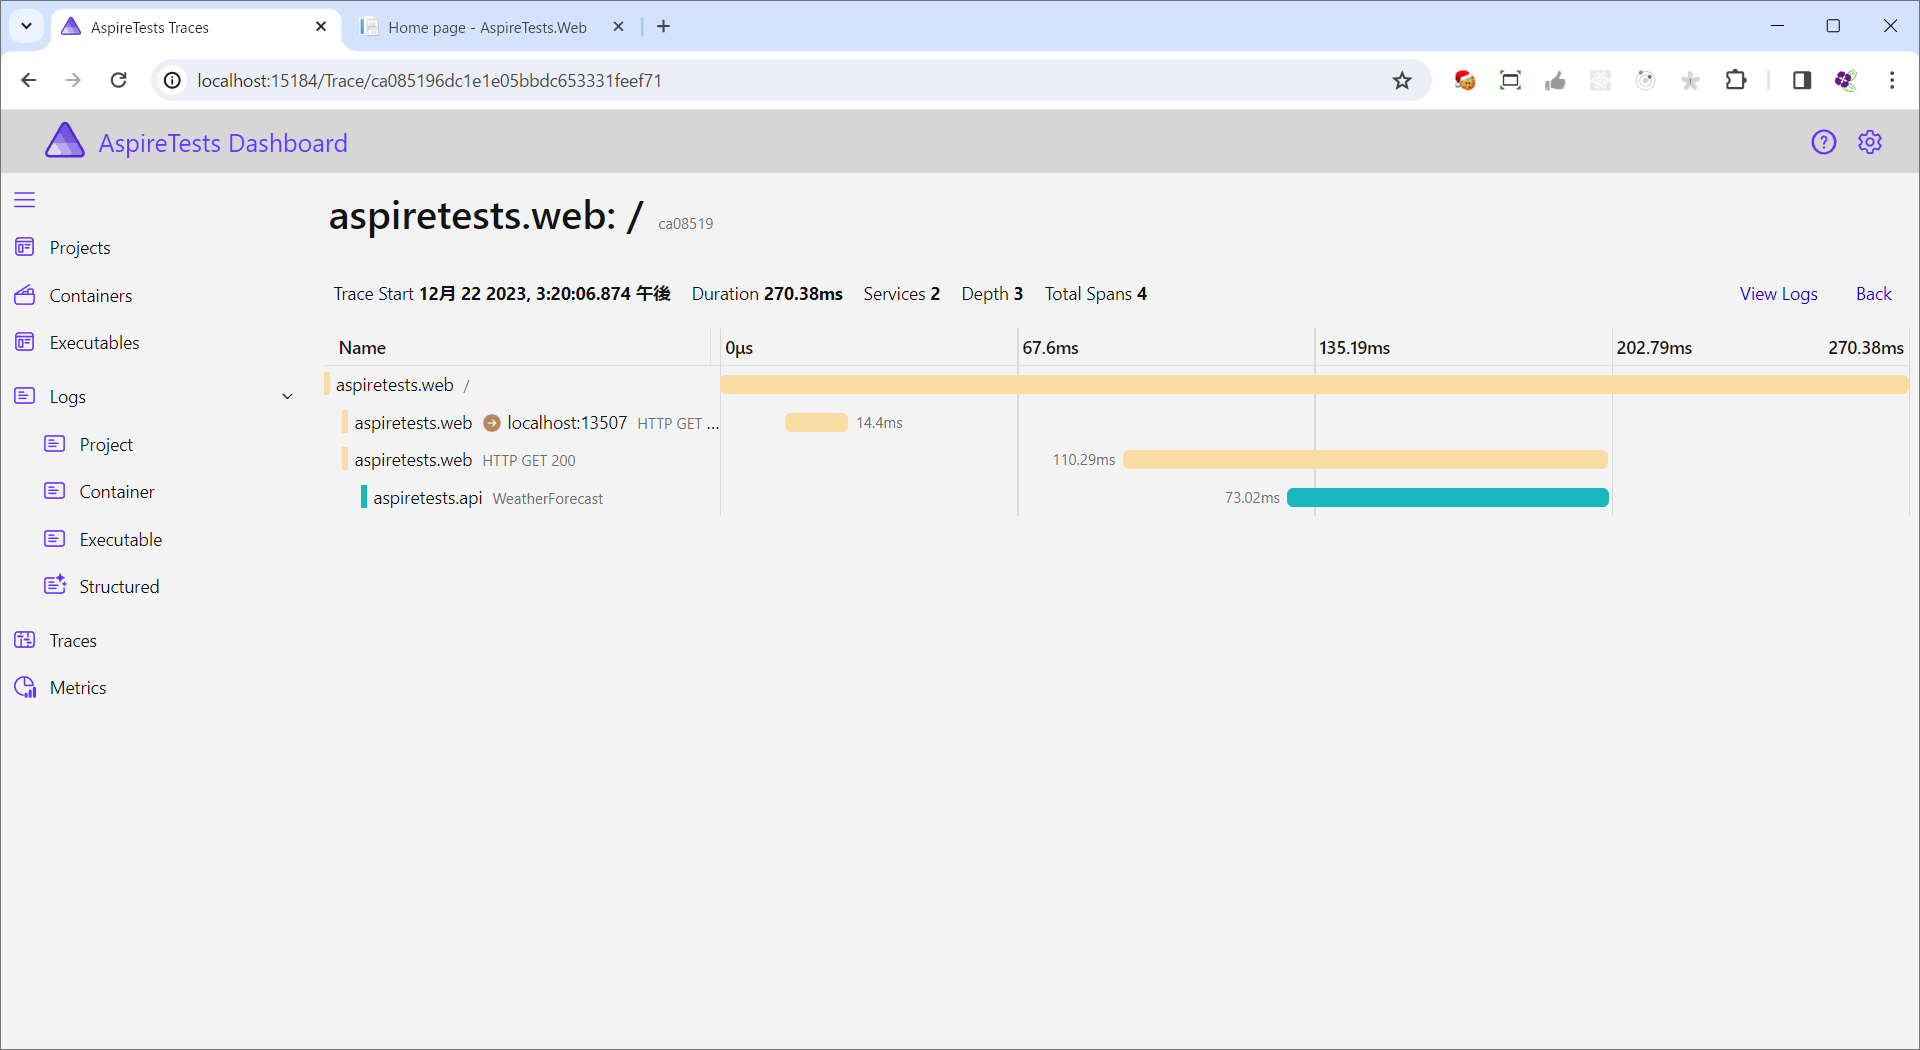
-
View Logsをクリック
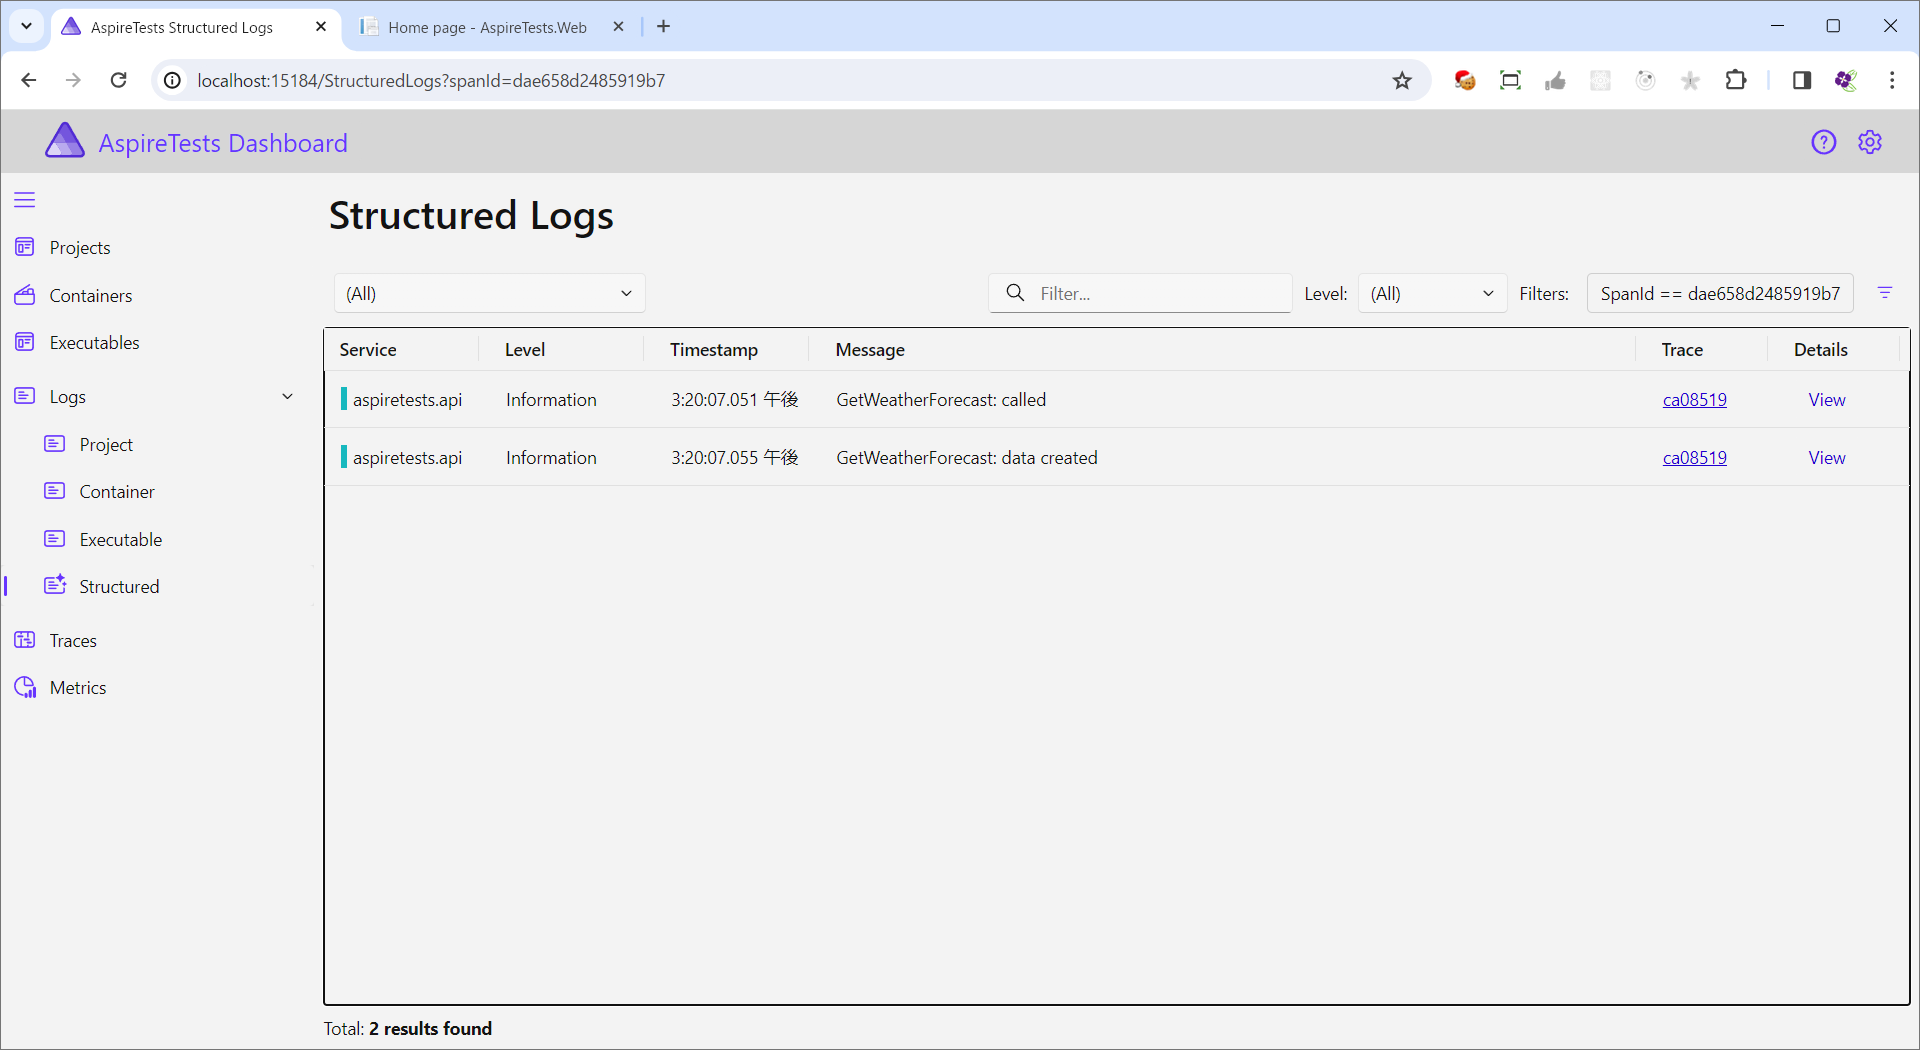
50件を作成するのに4msかかっている模様、とか、printfデバッグはここからでもできるよ、と。
所感
とりあえず起動したまでなので、まだ便利さを感じ取れてはいない。が、ログが見やすくなっていたり、起動順序などをプログラムで表現できたりと、しっかり使えれば便利になりそうな予感がする。