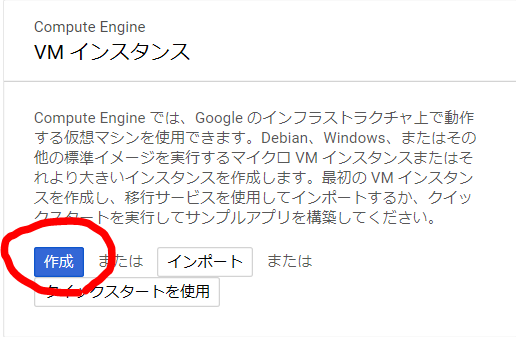
SSH鍵作成
- GCPとは直接関係ないのですがBOTを起動するOSはLinuxを想定していたため、あらかじめ(本当は試行錯誤した結果ですが...)作成しました
- ブラウザ上のコンソールから接続する方法もあるようですが、使い慣れたTeraTermで接続するようにしました
- わたしはWindows端末を使用しておりGit for Windowsをインストール済みだったため、Git内のssh-keygenを使用して鍵を作成しました
- 以下、
Powershellより(passphraseは適宜入力します)
PS C:\Users\{username}> ssh-keygen
Generating public/private rsa key pair.
Enter file in which to save the key (C:\Users\{username}/.ssh/id_rsa):
Created directory 'C:\Users\{username}/.ssh'.
Enter passphrase (empty for no passphrase):
Enter same passphrase again:
Your identification has been saved in C:\Users\{username}/.ssh/id_rsa.
Your public key has been saved in C:\Users\{username}/.ssh/id_rsa.pub.
The key fingerprint is:
SHA256:...
The key's randomart image is:
+---[RSA 2048]----+
:
+----[SHA256]-----+
- C:\Users\{username}\.sshフォルダに以下が作成されます
- id_rsa(秘密鍵)
- id_rsa.pub(公開鍵=認証鍵)
VPC作成
-
VPC「default」を使用する場合、本項の作業は不要です
-
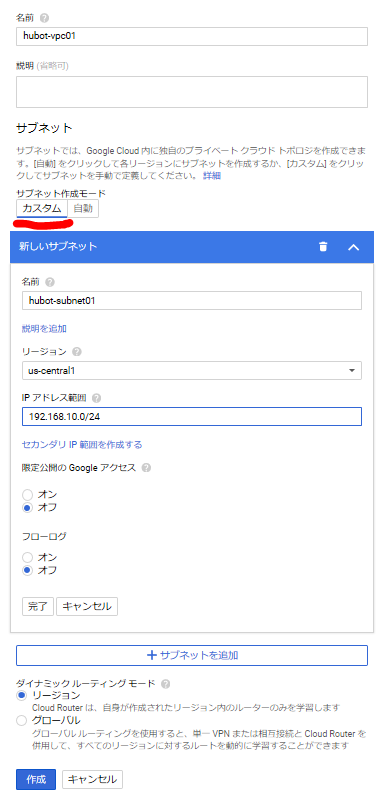
わたしは他の方とプロジェクトを共有しているため、VPCを個別に作成してみました
-
リージョンをまたいだVPCを作成できるのがGCPの素晴らしいところですが、ひとつのリージョン内に収まるように作成してみました
-
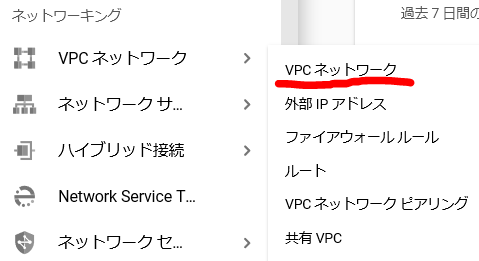
VPC「default」が見えますが(複数のリージョン:サブネットが含まれています!)、「VPCネットワークを作成」をクリックします

VPCにファイアウォールルール追加
-
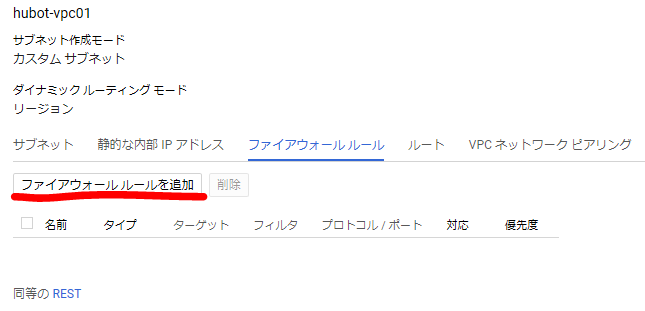
VPC「default」にはsshやRDPを通すルールがデフォルトで追加されているのですが、自分で作成したVPNには無いようです
「ファイアウォールルールを追加」をクリックします
-
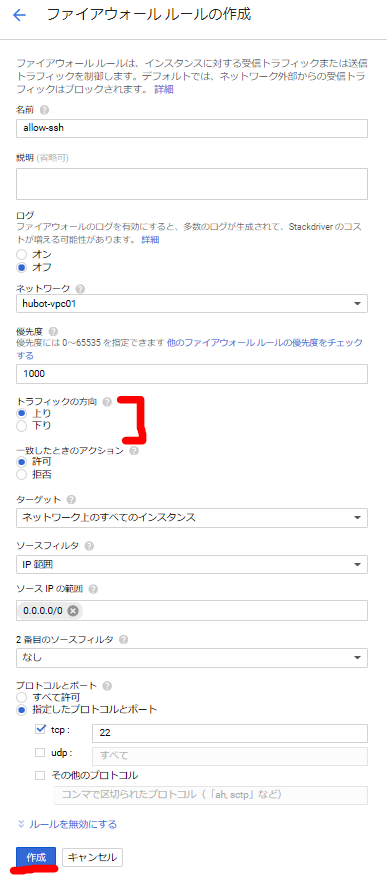
ひとまずsshのデフォルトポートtcp:22を許可するルールを作成します
トラフィックの方向は「上り」(=受信トラフィック)を選択します
VMインスタンス作成
-
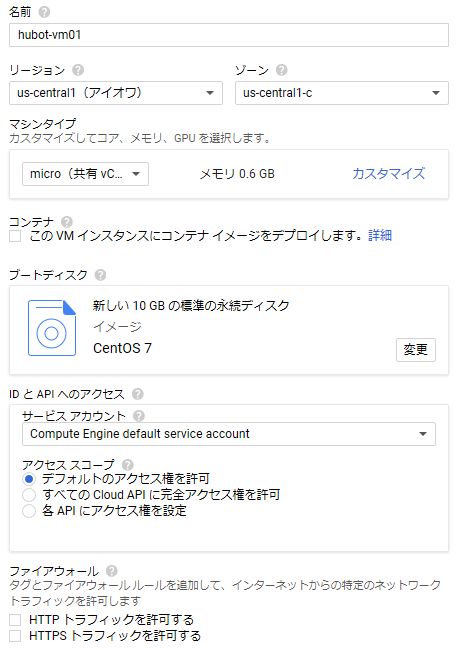
以下の設定(リージョン、マシンタイプ)の場合、Always Freeの範囲で収まるようです
OSは慣れているCentOSにしました
-
先ほど作成した認証鍵(id_rsa.pub)を開き、すべて("ssh-rsa"を含む)をコピペします
コピペ欄の左側に認証鍵を作成したユーザー名が表示されます
CentOSにログインする時に使用します

-
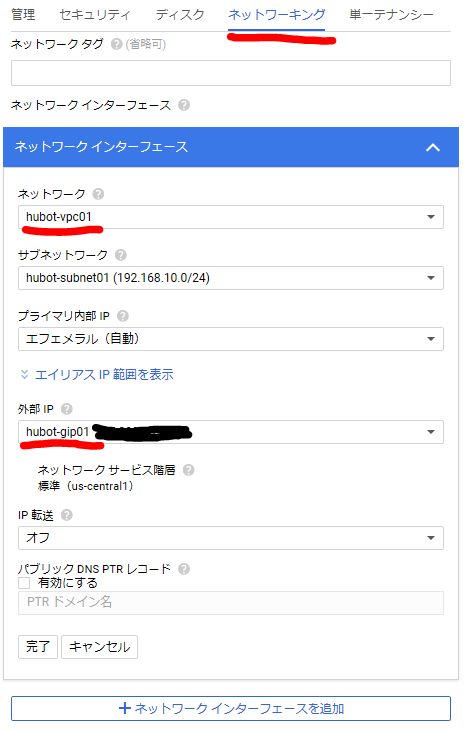
「ネットワーク」をクリックします
先ほど作成したVPCを選択します
また、Global IP addressを固定するために外部IPを作成しました
