株式会社Neverのshoheiです。
株式会社Neverは「NEVER STOP CREATE 作りつづけること」をビジョンに掲げ、理想を実現するためにプロダクトを作り続ける組織です。モバイルアプリケーションの受託開発、技術支援、コンサルティングを行っております。アプリ開発のご依頼や開発面でのお困りの際はお気楽にお問合せください。
弊社のアプリ開発はFlutterを利用していますが、PJによってはiOSネイティブで開発しています。そこで得た知見を共有します。
本記事は新しい発見とかではないですが、誰かの悩みを解決できるものであれば幸いです。
概要
メモアプリ等でよくある、一覧画面から詳細画面へ遷移後、データを更新して一覧画面に戻るとちゃんと更新されたデータが反映される実装例を紹介します。
今回紹介するコードはこちらにまとめてます。
https://github.com/never-inc/iOSAdventCalendar2023
実装例のアプリ
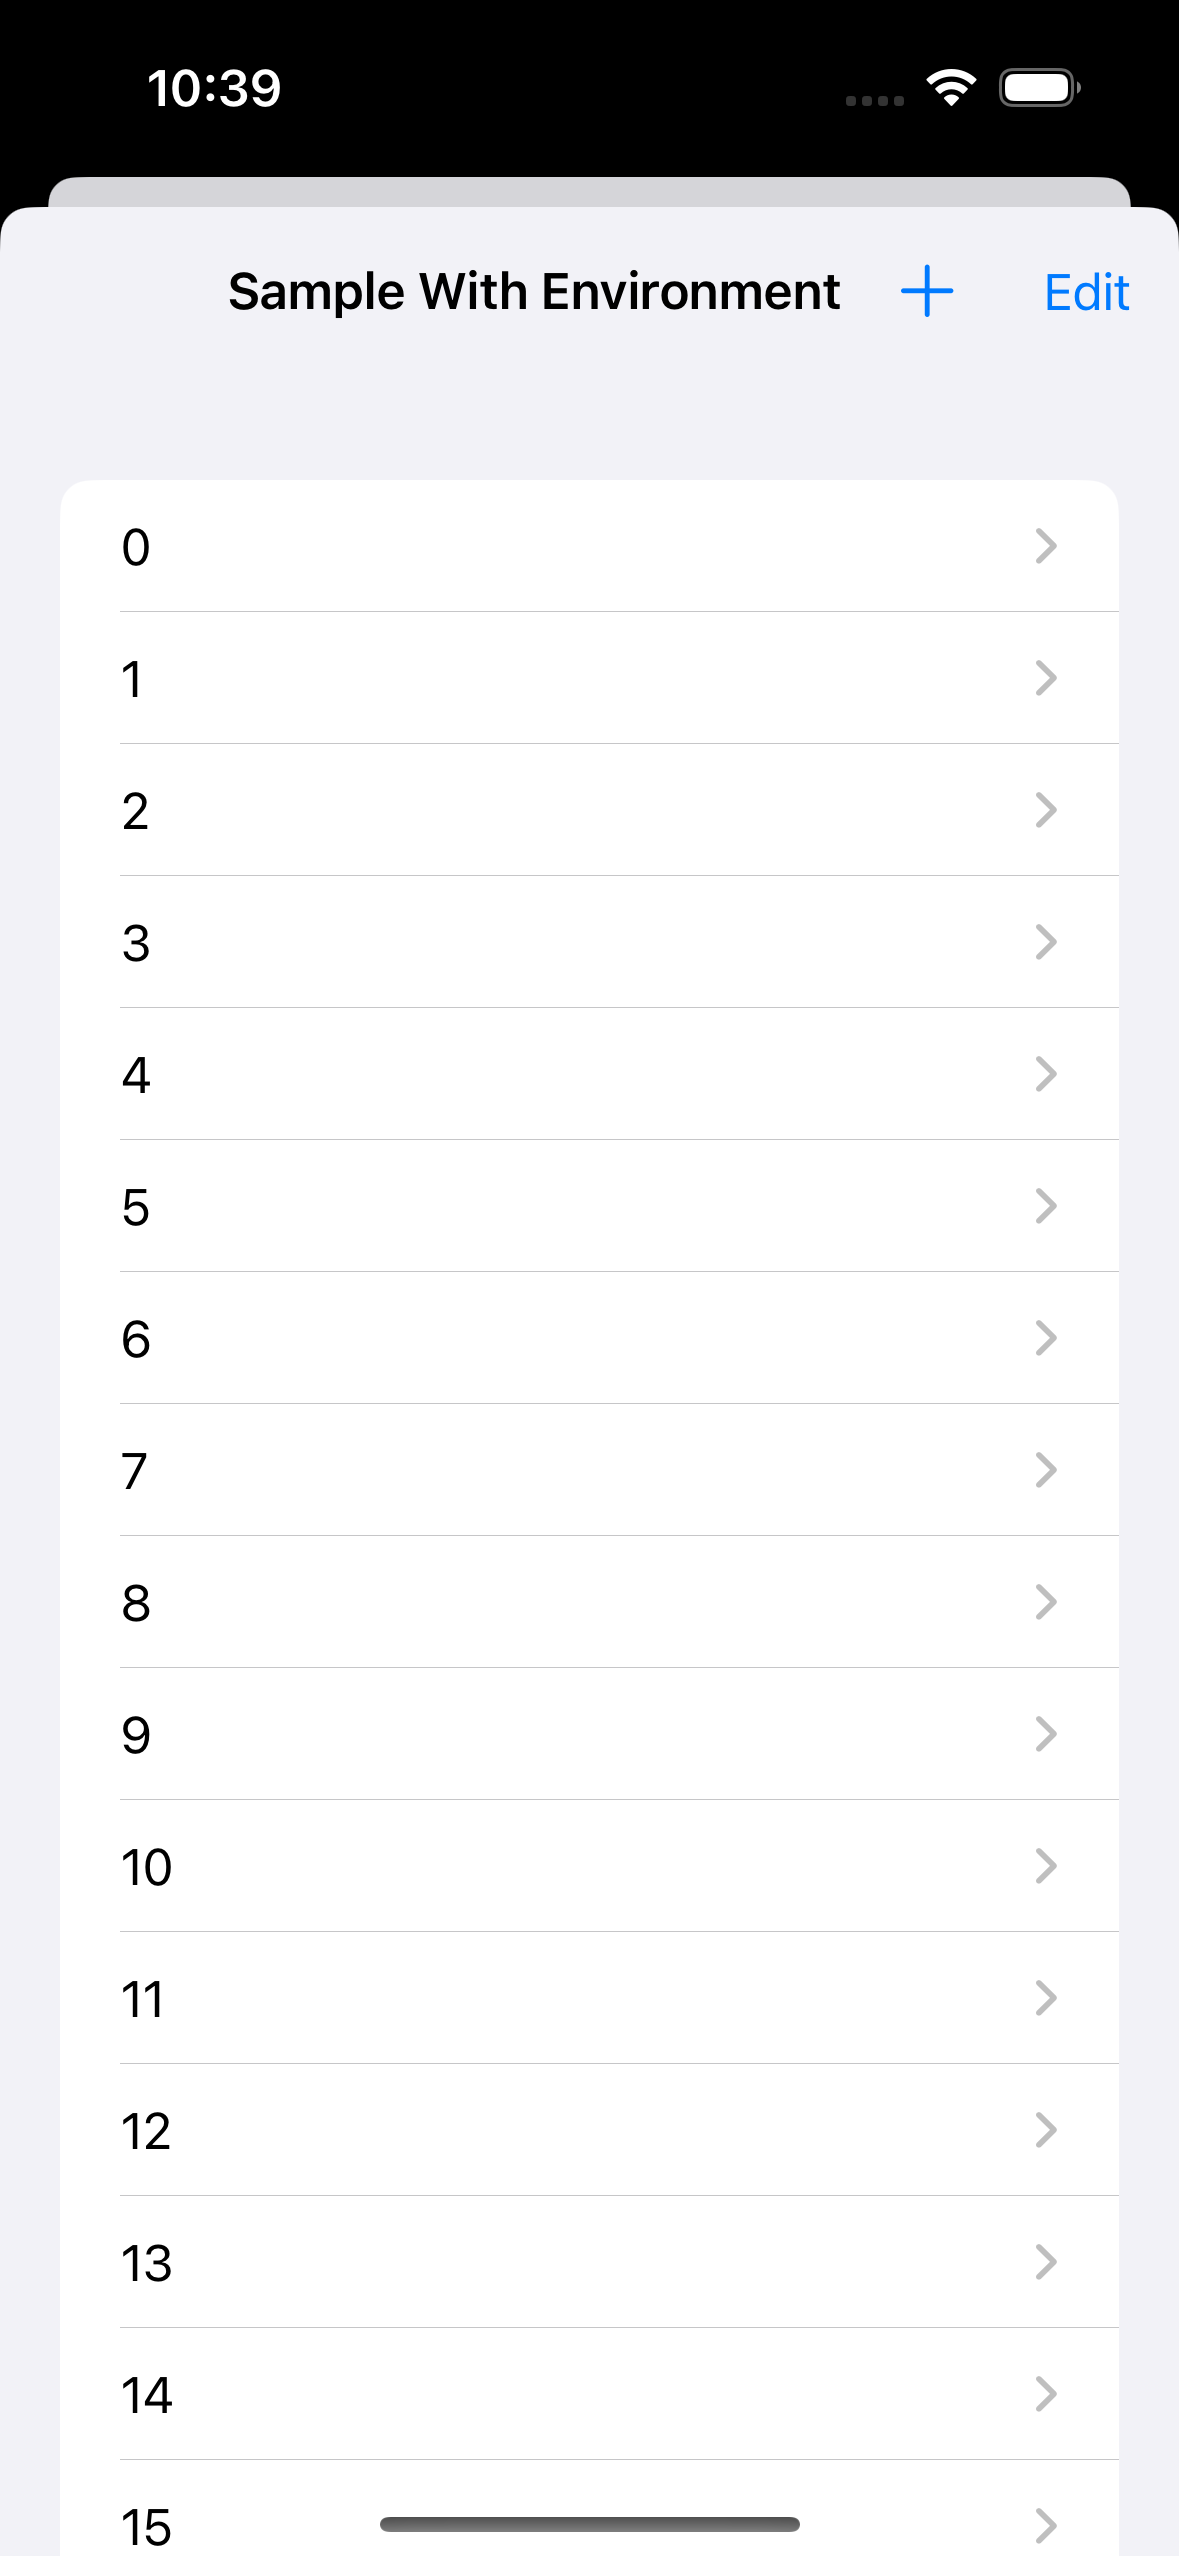
一覧画面でダミーデータを表示し、選択すると詳細画面へ遷移します。詳細画面でデータを更新すると一覧画面にも反映されるものです。
一覧画面
詳細画面

詳細画面で変更すると
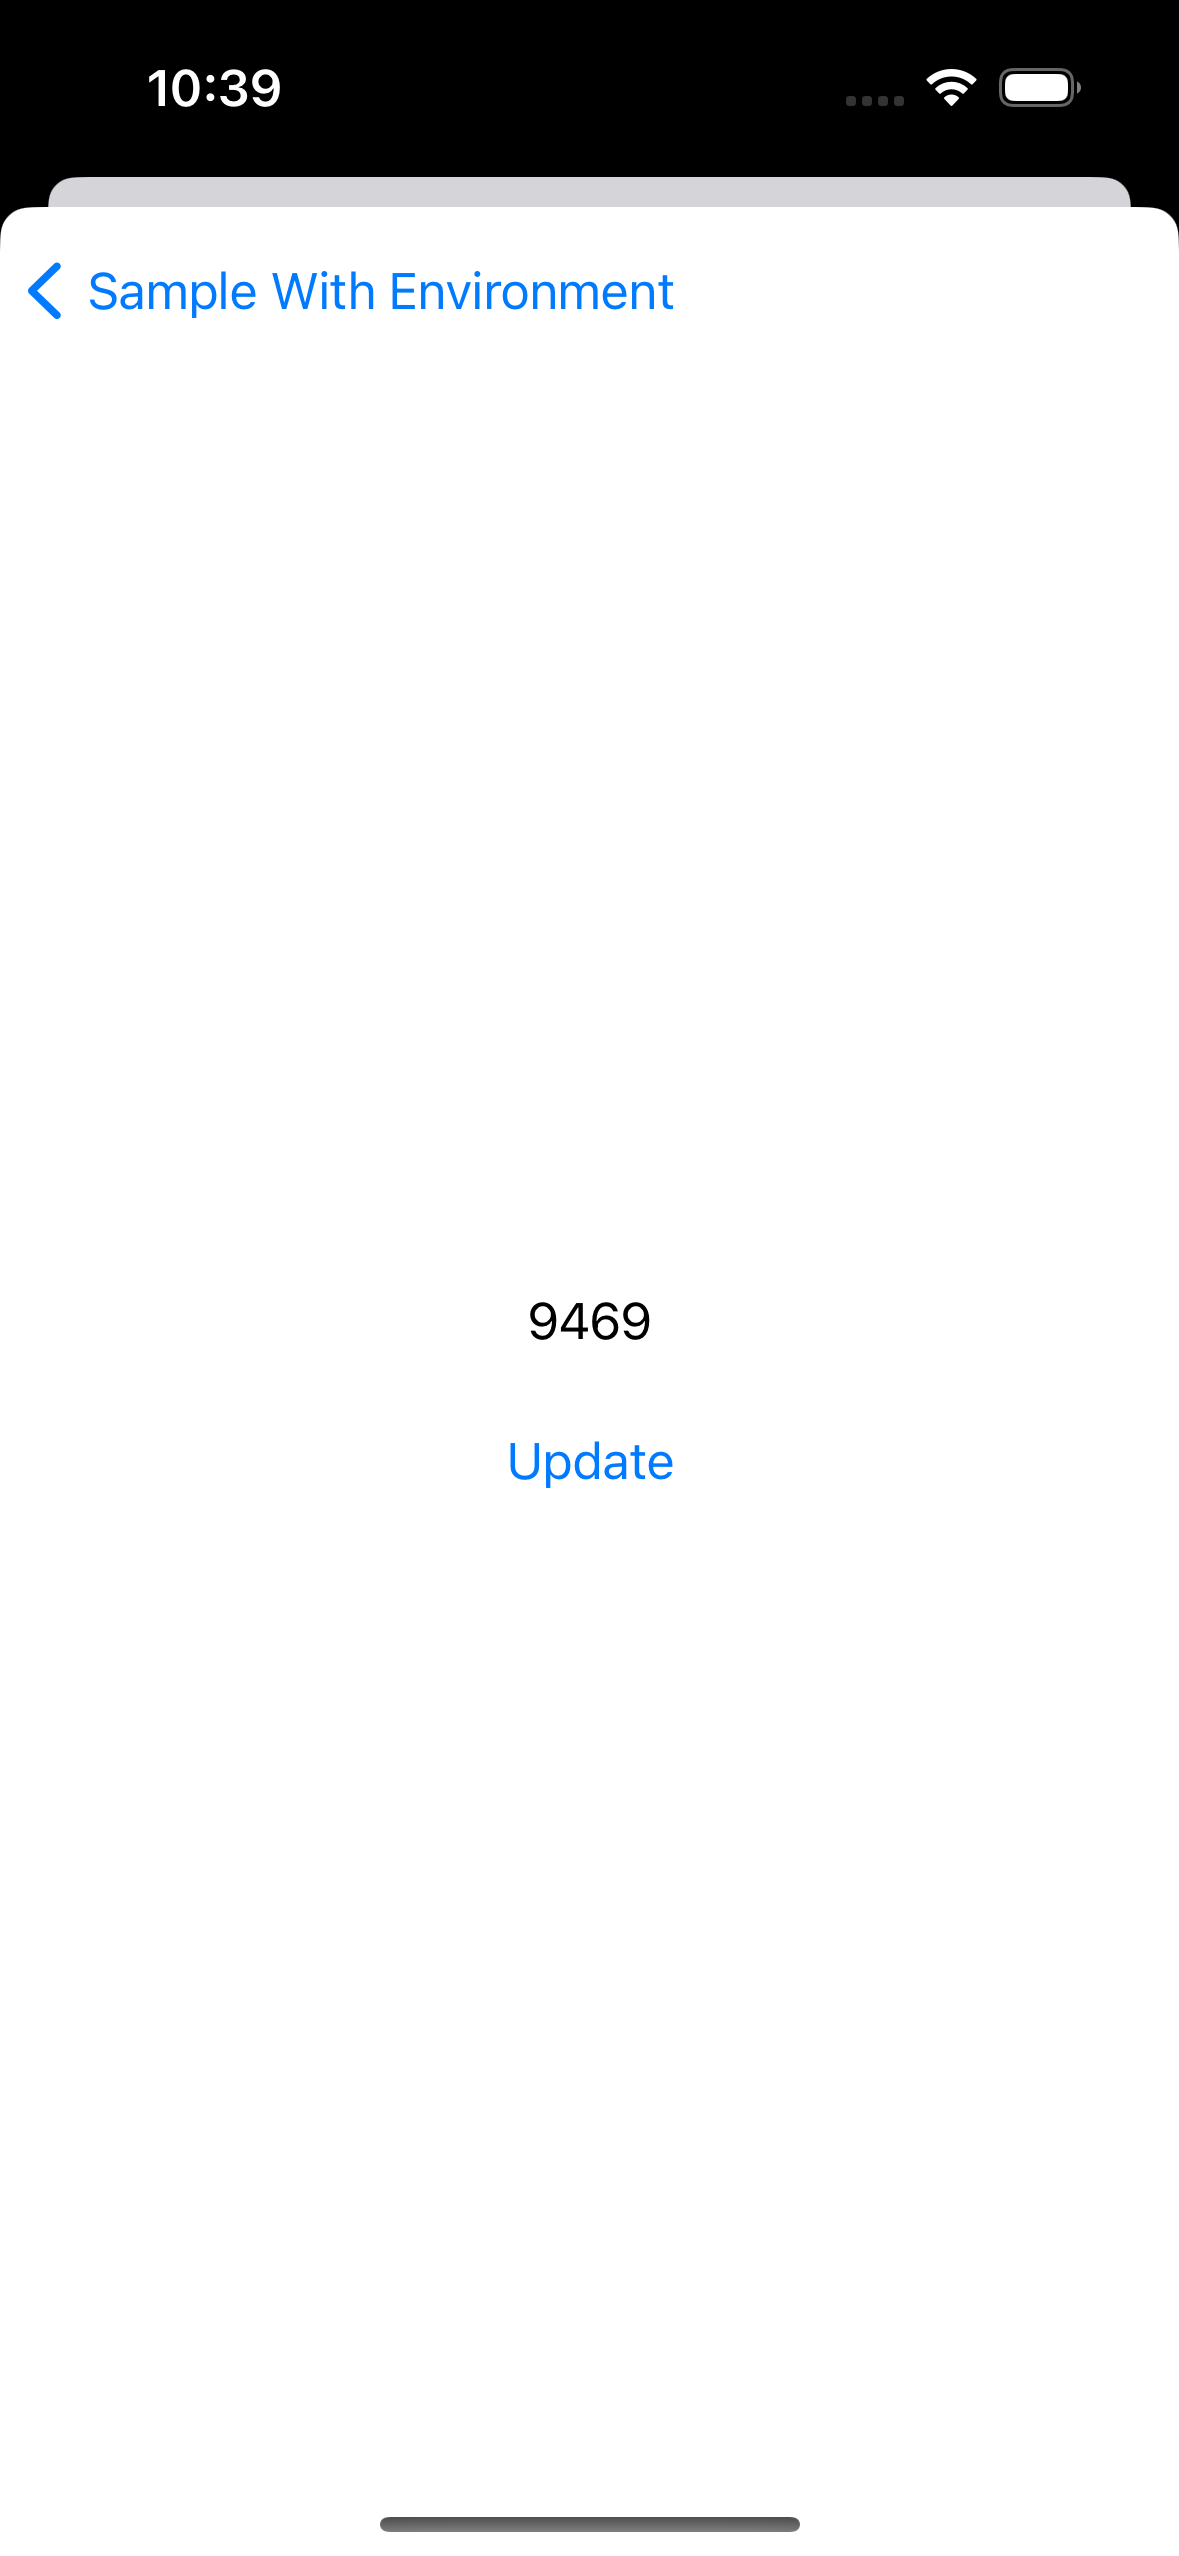
一覧画面も反映される

登場人物
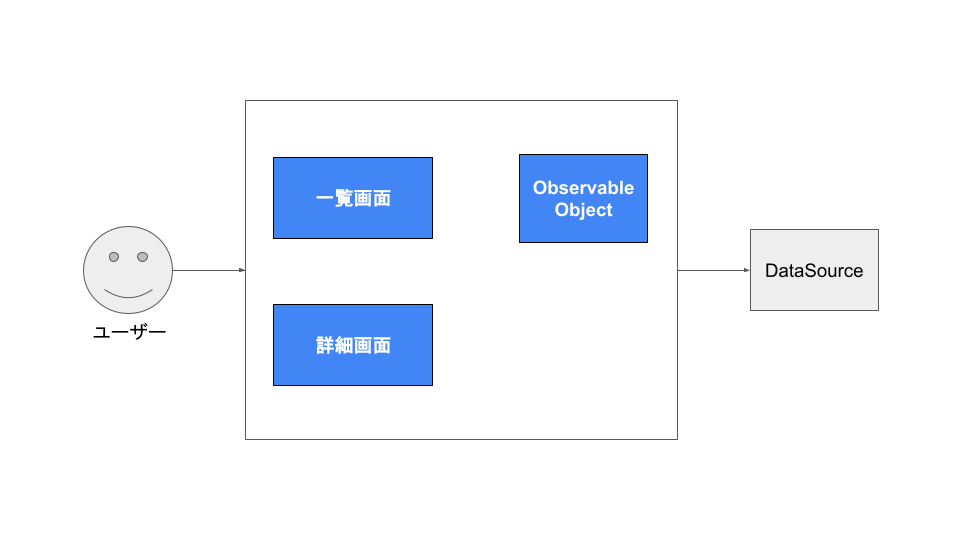
DataSource
今回、DBは使いたくなかったので、データはメモリキャッシュ上で管理します。DataSourceというクラスを用意してシングルトンとして扱います。
↑の図では枠からはみ出てます、外部から提供されるものだと思ってもらえればと。
// APIやローカルDBの代わりとなるもの
final class DataSource {
    static let shared = DataSource()
    private(set) var items: [[String: Any]] = (0...19).map { index in ["todoId": UUID().uuidString, "text": "\(index)"] }

    func addTodo(_ todo: [String: Any]) {
        items = [todo] + items
    }

    func fetchTodo(_ todoId: String) -> [String: Any]? {
        items.first(where: { $0["todoId"] as? String == todoId })
    }

    func updateTodo(_ todo: [String: Any]) {
        guard let todoId = todo["todoId"] as? String else {
            return
        }
        items = items.map { $0["todoId"] as? String == todoId ? todo : $0 }
    }

    func deleteTodo(_ todoId: String) {
        items = items.filter { $0["todoId"] as? String != todoId }
    }

    func clear() {
        items = (0...19).map { index in ["todoId": UUID().uuidString, "text": "\(index)"] }
    }
}
ObservableObject
DataSourceから取得したデータを、ObservableObjectのクラスTodoControllerで管理します。
final class TodoController: ObservableObject {

    @Published private(set) var items: [Todo] // 👈 一覧画面に表示するデータ

    private let dataSource = DataSource.shared

    init() {
        items = dataSource.items.compactMap { Todo.fromDic($0) }
    }

    func addTodo(_ todo: Todo) {
        items = [todo] + items
        dataSource.addTodo(todo.toDic())
    }

    func fetchTodo(_ todoId: String) -> Todo? {
        if let todo = items.first(where: { $0.todoId == todoId }) {
            return todo
        }
        // もしitemsに存在しなければ、データソースから取得する
        if let dic = dataSource.fetchTodo(todoId), let todo = Todo.fromDic(dic) {
            // TODO: ユースケースよってはitemsにセットする(しないケースもあるけど)
            return todo
        }
        return nil
    }

    func updateTodo(_ todo: Todo) {
        items = items.map { $0.todoId == todo.todoId ? todo : $0 }
        dataSource.updateTodo(todo.toDic())
    }

    func deleteTodo(_ todoId: String) {
        items = items.filter { $0.todoId != todoId }
        dataSource.deleteTodo(todoId)
    }
}
Todoのデータクラスは以下のとおりです。
struct Todo: Codable, Hashable {
    let todoId: String
    let text: String

    // Dic -> Todo
    static func fromDic(_ dic: [String: Any]) -> Todo? {
        let decoder = JSONDecoder()
        if let data = try? JSONSerialization.data(withJSONObject: dic),
           let todo = try? decoder.decode(Todo.self, from: data) {
            return todo
        }
        return nil
    }

    // Todo -> Dic
    func toDic() -> [String: Any] {
        let encoder = JSONEncoder()
        if let data = try? encoder.encode(self),
            let dic = try? JSONSerialization.jsonObject(with: data, options: []) as? [String: Any] {
            return dic
        }
        return [:]
    }
}
実装例
3つの実装例を紹介します。
EnvironmentObjectを使う
一覧画面で生成したTodoControllerのインスタンスを、.environmentObjectを使って詳細画面へ渡す方法です。

struct EnvironmentContentView: View {

    @StateObject private var todoController = TodoController()

    private var items: [Todo] {
        todoController.items
    }

    var body: some View {
        NavigationStack {
            List {
                ForEach(items, id: \.self) { item in
                    NavigationLink {
                        EnvironmentDetailView(todoId: item.todoId)
                            .environmentObject(todoController) // 👈 ココ
                    } label: {
                        Text(item.text)
                    }
                }
                .onDelete(perform: deleteItems)
            }
            .navigationTitle("Sample With Environment")
            .navigationBarTitleDisplayMode(.inline)
            .toolbar {
                ToolbarItem(placement: .navigationBarTrailing) {
                    EditButton()
                }
                ToolbarItem {
                    Button(action: addItem) {
                        Label("Add Item", systemImage: "plus")
                    }
                }
            }
        }
    }
    ...
}
struct EnvironmentDetailView: View {

    let todoId: String
    @State private(set) var item: Todo?
    @EnvironmentObject private var todoController: TodoController // 👈 ココ

    var body: some View {
        VStack {
            Text(item?.text ?? "")
            Button(action: {
                guard let item = self.item else {
                    return
                }
                let newTodo = item.copyWith(text: Todo.randomText())
                self.item = newTodo
                todoController.updateTodo(newTodo) // 👈 ココ
            }) {
                Text("Update")
            }
            .padding()
        }
        .onAppear {
            item = todoController.fetchTodo(todoId)
        }
    }
}
一覧画面と詳細画面は同じインスタンスのTodoControllerを参照できるので、詳細画面でTodoControllerが持つitemsデータを更新したら一覧画面にも反映されます。
なお、 iOS17から登場したObservationの@Observable + Enviroment を利用しても同じことができます。
NotificationCenterのpublisherを使う
NotificationCenterのpublisherを使えば、データを更新したことを他の画面へ通知できます。 詳細画面でTodoControllerのインスタンスに依存しなくても利用できます。

更新通知であることを判断できるようNotification.NameにupdateTodoを定義します。
extension Notification.Name {
    static var updateTodo: Notification.Name {
        Notification.Name("updateTodo")
    }
}
一覧画面でupdateTodoからの通知を受け取り、通知がきたらTodoControllerの持つitemsを更新します。
struct NotificationCenterContentView: View {
    ...

    var body: some View {
        NavigationStack {
            List {
                ForEach(items, id: \.self) { item in
                    NavigationLink {
                        NotificationCenterDetailView(todoId: item.todoId)
                    } label: {
                        Text(item.text)
                    }
                }
                .onDelete(perform: deleteItems)
            }
            // 👇 ココ
            .onReceive(NotificationCenter.default.publisher(for: .updateTodo)) { value in
                guard let todo = value.object as? Todo else {
                    return
                }
                todoController.updateTodo(todo)
            }
            .navigationTitle("Sample With NotificationCenter")
            ...
        }
    }
    ...
}
詳細画面でデータを更新したら、NotificationCenter.default.postを使いupdateTodoに対して通知します。通知する際に新しいデータnewTodoを送ります。
struct NotificationCenterDetailView: View {

    let todoId: String
    @State private(set) var item: Todo?
    private let dataSource = DataSource.shared

    var body: some View {
        VStack {
            Text(item?.text ?? "")
            Button(action: {
                guard let item = self.item else {
                    return
                }
                let newTodo = item.copyWith(text: Todo.randomText())
                self.item = newTodo
                dataSource.updateTodo(newTodo.toDic())
                // 👇 ココ
                NotificationCenter.default.post(name: .updateTodo, object: newTodo)
            }) {
                Text("Update")
            }
            .padding()
        }
        .onAppear {
            // データソースから取得
            if let dic = dataSource.fetchTodo(todoId), let todo = Todo.fromDic(dic) {
                item = todo
            }
        }
    }
}
onReceiveではなくTodoControllerで監視する
一覧画面のonReceiveではなくTodoControllerで通知を受け取り、データを更新できます。
final class TodoController: ObservableObject {
    ...
    // 👇 disposerが必要
    private var cancellables = Set<AnyCancellable>()

    init() {
        ...
        // 👇 ココ
        NotificationCenter.default.publisher(for: .updateTodo)
            .sink { [weak self] value in
                guard let todo = value.object as? Todo else {
                    return
                }
                self?.updateTodo(todo)
            }
            .store(in: &cancellables)
    }
    ...
}
CombineのPassthroughSubjectを使う
CombineのPassthroughSubjectを使うことで、NotificationCenterのようなことができます。PassthroughSubjectを使う理由として、状態を保持せずに通知のみを行うためです。

Observerを作ります。受け取る側も通知する側も同じインスタンスを扱わないといけないため、シングルトンで扱います。
final class Observer {
    static let shared = Observer()
    let todoSubject = PassthroughSubject<Todo, Never>()
}
一覧画面でObserver.shared.todoSubjectからの通知を受け取り、通知がきたらTodoControllerの持つitemsを更新します。
struct PassthroughSubjectContentView: View {
    ...

    var body: some View {
        NavigationStack {
            List {
                ForEach(items, id: \.self) { item in
                    NavigationLink {
                        PassthroughSubjectDetailView(todoId: item.todoId)
                    } label: {
                        Text(item.text)
                    }
                }
                .onDelete(perform: deleteItems)
            }
            // 👇 ココ
            .onReceive(Observer.shared.todoSubject) { todo in
                todoController.updateTodo(todo)
            }
            .navigationTitle("Sample With PassthroughSubject")
            ...
        }
    }
    ...
}
詳細画面でデータを更新したら、Observer.shared.todoSubject.sendを使い、新しいデータnewTodoを送ります。
struct PassthroughSubjectDetailView: View {

    let todoId: String
    @State private(set) var item: Todo?
    private let dataSource = DataSource.shared

    var body: some View {
        VStack {
            Text(item?.text ?? "")
            Button(action: {
                guard let item = self.item else {
                    return
                }
                let newTodo = item.copyWith(text: Todo.randomText())
                self.item = newTodo
                dataSource.updateTodo(newTodo.toDic())
                // 👇 ココ
                Observer.shared.todoSubject.send(newTodo)
            }) {
                Text("Update")
            }
            .padding()
        }
        .onAppear {
            // データソースから取得
            if let dic = dataSource.fetchTodo(todoId), let todo = Todo.fromDic(dic) {
                item = todo
            }
        }
    }
}
onReceiveではなくTodoControllerで監視する
一覧画面のonReceiveではなくTodoControllerで通知を受け取り、データを更新できます。
final class TodoController: ObservableObject {
    ...
    // 👇 disposerが必要
    private var cancellables = Set<AnyCancellable>()

    init() {
        ...
        // 👇 ココ
        Observer.shared.todoSubject
            .sink { [weak self] todo in
                self?.updateTodo(todo)
            }
            .store(in: &cancellables)
    }
    ...
}
終わりに
実装例を紹介しました。
余談ですが、一覧画面から詳細画面へ渡す引数はStringのtodoIdにしています。
理由として渡す引数はプリミティブ型で管理した方が、一覧画面以外(通知バナータップなど)の所から遷移がしやすいからです。
他にも良いやり方がありましたら教えてください。
ありがとうございました!