はじめに
今回はReact Navigationの基礎的な実装方法を備忘録として書いていきます。
React Navigationとは
React Navigationは、React Nativeで画面遷移やナビゲーションを管理する時に使うライブラリです。
React Navigationはこのフレームワークにおいて画面遷移とナビゲーションを実装するためのコンポーネントとAPIを提供しています。
React Navigatinoを始める
まずは、React Navigationをインストールしていきます。
npm install @react-navigation/native
yarn add @react-navigation/native
次に、App.jsxファイルに以下の記述をしてきます。
以下のように書くと、React Navigationがアプリケーションに適用されます。
import * as React from 'react';
import { NavigationContainer } from '@react-navigation/native';

export default function App() {
  return (
    <NavigationContainer>{/* Rest of your app code */}</NavigationContainer>
  );
}
画面遷移を実装
画面遷移を実装していきます。
まずはStack Navigatorから紹介します。
今回は、二つの簡単な画面を作り、ボタンで画面遷移してみましょう。
screensフォルダを作り、「HomeScreen.jsx」と「DetailScreen.jsx」を作成します。
import * as React from "react";
import { SafeAreaView, StyleSheet, View } from "react-native";
import { Button } from "react-native";
import { createNativeStackNavigator } from "@react-navigation/native-stack";

export const HomeScreen = ({ navigation }) => {
  return (
    <View style={styles.container}>
      <Button
        title="Go to Details"
        onPress={() =>
          navigation.navigate("Detail")
        }
      />
    </View>
  );
};

const styles = StyleSheet.create({
  container: {
    flex: 1,
  },
  scrollView: {
    flex: 1,
    backgroundColor: "pink",
    alignItems: "center",
    justifyContent: "center",
  },
});
import React from "react";
import { Button, Text, View } from "react-native";

export const DetailScreen = ({ navigation }) => {
  return (
    <View>
      <Button title="Go to Home" onPress={() => navigation.navigate("Home")} />
      <Text>{itemId}</Text>
    </View>
  );
};
コードの説明をしていきます。
まずは、以下のコードでcreateNativeStackNavigatorをインポートします。
import { createNativeStackNavigator } from "@react-navigation/native-stack";
次に、navigationを引数にセットします。
navigationを使うことで、画面遷移に必要な機能をコード上で使えるようにします。
export const HomeScreen = ({ navigation }) => {
そして、画面遷移するためのボタンを設置します。
ユーザーがボタンを押したときのイベントを定義するには、React NativeではonPressを使います。
onPressの中身に、引数にあるnavigationからnavigateを指定して、その引数に"Detail"(画面名)を指定します。
<Button
    title="Go to Details"
    onPress={() => navigation.navigate('Detail')}
/>
すると、ボタンを押すことで、Detail画面に遷移することができます。
☟
次からは、様々なNavigatorsを紹介します。
Bottom Tabs Navigator
こちらは、以下の画像のようなNavigationを実装できます。
☟
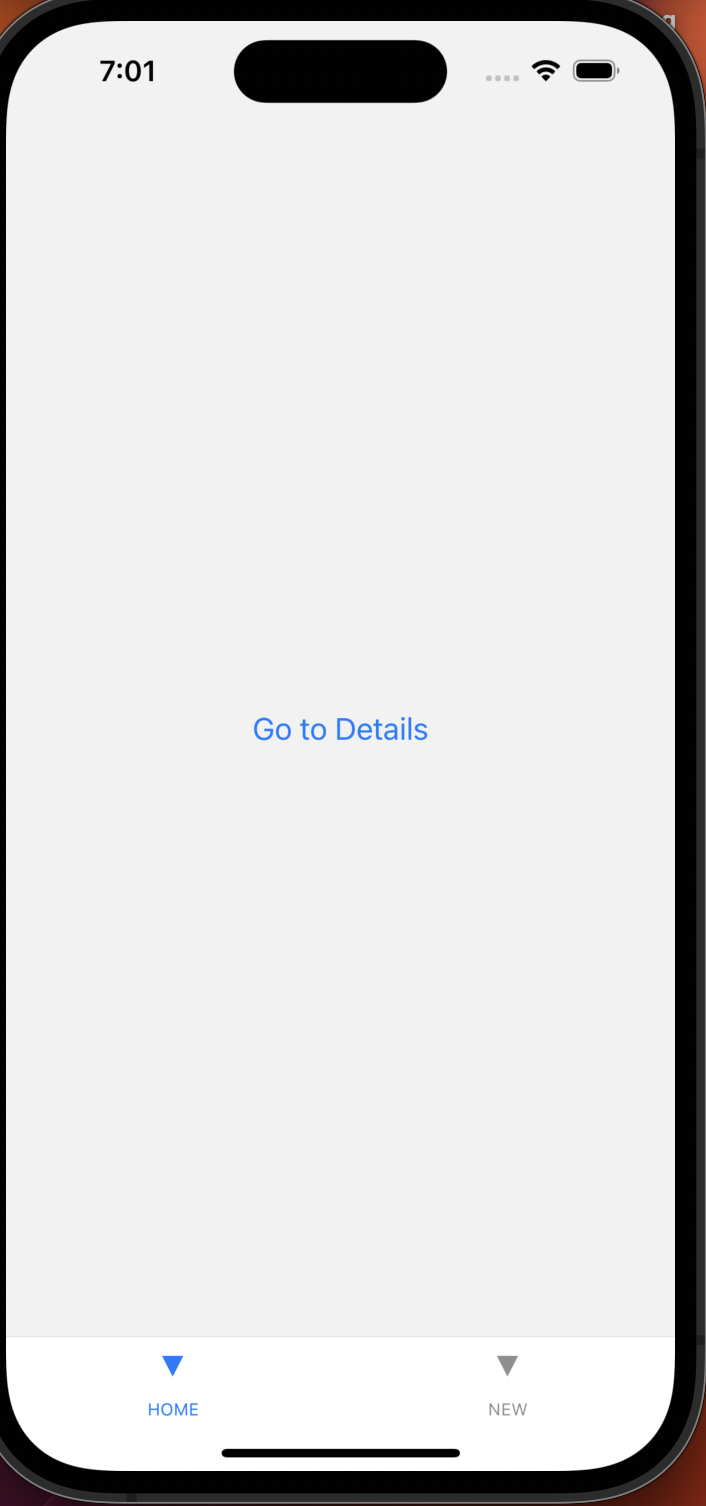
import { NavigationContainer } from "@react-navigation/native";
import { createBottomTabNavigator } from "@react-navigation/bottom-tabs";
import { HomeScreen } from "./screens/HomeScreen";
import { NewMemoScreen } from "./screens/NewMemoScreen";

const Tab = createBottomTabNavigator();

export default function App() {
  return (
    <NavigationContainer>
      <Tab.Navigator>
        <Tab.Screen
          name="HomeTab"
          component={MemoStack}
          options={{ headerShown: false, title: "HOME" }}
        />
        <Tab.Screen
          name="NewMemoScreen"
          component={NewMemoScreen}
          options={{ headerShown: false, title: "NEW" }}
        />
      </Tab.Navigator>
    </NavigationContainer>
  );
}
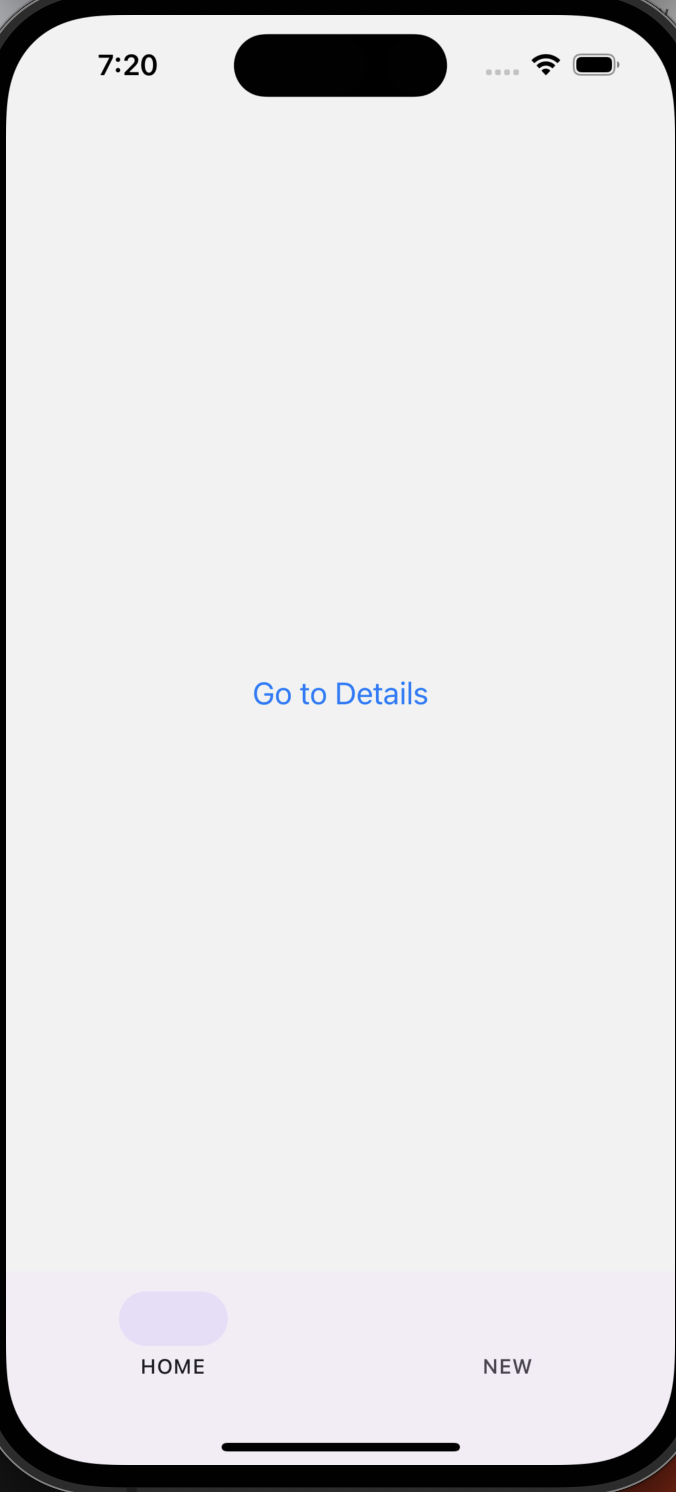
Material Bottom Tabs Navigator
インストールは以下のコマンドになります。
npm install @react-navigation/material-bottom-tabs react-native-paper react-native-vector-icons
サンプルコードは以下のようになります。
<NavigationContainer>
      <Tab.Navigator>
        <Tab.Screen
          name="HomeTab"
          component={MemoStack}
          options={{ headerShown: false, title: "HOME" }}
        />
        <Tab.Screen
          name="NewMemoScreen"
          component={NewMemoScreen}
          options={{ headerShown: false, title: "NEW" }}
        />
      </Tab.Navigator>
    </NavigationContainer>
すると以下のような画面になります。
アイコンは表示されていませんが、許してください...
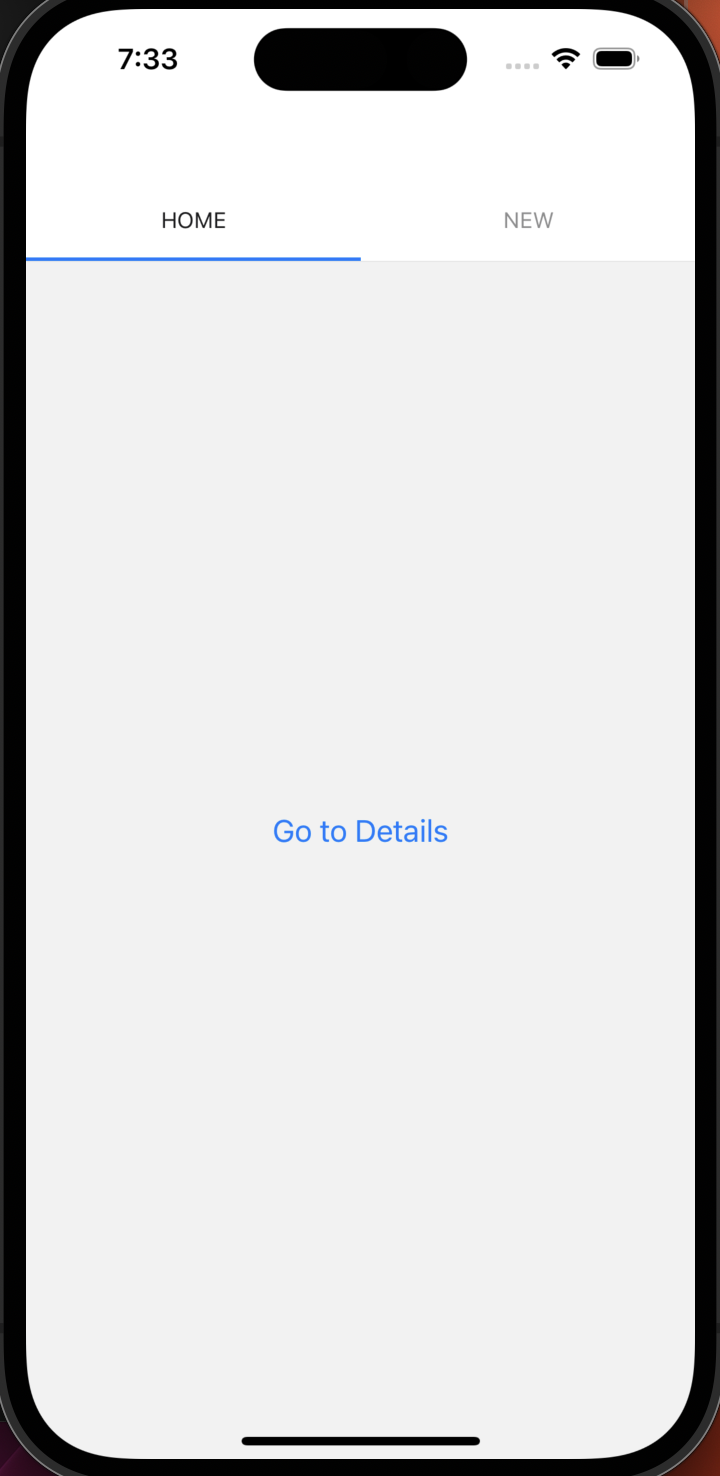
Material Top Tabs Navigator
こちらはスライドすると、ページが切り替わるTabNavigationになります。
<NavigationContainer>
  <Tab.Navigator
    screenOptions={{
      tabBarItemStyle: { width: 100 },
      tabBarItemStyle: { marginTop: 100 },
    }}
  >
    <Tab.Screen
      name="HomeTab"
      component={MemoStack}
      options={{ headerShown: false, title: "HOME" }}
    />
    <Tab.Screen
      name="NewMemoScreen"
      component={NewMemoScreen}
      options={{ headerShown: false, title: "NEW" }}
    />
  </Tab.Navigator>
</NavigationContainer>
画面表示としては以下のようになります。
参考
参考にしたドキュメントは以下になります。
最後に
他にも色々な記事を書いているので、よければ読んでいってください、、、