概要
pythonのflaskを使って、Auth0を用いたログイン機能を実装します。
インフラはなるべくシンプルにしたいと思って、いくつか試したのですが、
cloud run で動かすのが個人的にはうまくいったので、今回記しておこうと思います。
実装開始!
動作環境の用意
以下のようなDockerfileを作成します。
FROM python:3.8
COPY . /app
WORKDIR /app
RUN pip install -r requirements.txt
CMD exec gunicorn --bind :$PORT --workers 1 --threads 8 --timeout 0 app:app
必要なライブラリはこちら。
Flask==1.1.4
gunicorn==19.10.0
python-dotenv
requests
authlib
six
flaskのコード作成
ドメインやクライアント情報は、適宜、Auth0の管理画面から確認して、
自分の登録情報で書き換えてください。
また、Auth0公式のサンプルコードには記載されていませんが、
app.secret_keyの設定が漏れているとエラーが発生するので、忘れず記載しましょう。
from functools import wraps
import json
from os import environ as env
from werkzeug.exceptions import HTTPException

from dotenv import load_dotenv, find_dotenv
from flask import Flask
from flask import jsonify
from flask import redirect
from flask import render_template
from flask import session
from flask import url_for
from authlib.integrations.flask_client import OAuth
from six.moves.urllib.parse import urlencode

app = Flask(__name__)
app.secret_key = 'xxxxxxx'

oauth = OAuth(app)

auth0 = oauth.register(
    'auth0',
    client_id='YOUR_CLIENT_ID',
    client_secret='YOUR_CLIENT_SECRET',
    api_base_url='https://sample.us.auth0.com',
    access_token_url='https://sample.us.auth0.com/oauth/token',
    authorize_url='https://sample.us.auth0.com/authorize',
    client_kwargs={
        'scope': 'openid profile email',
    },
)
続いて、コールバックとログインです。
YOUR_CALLBACK_URLは、Auth0の管理画面で設定したものと一致しないと動作しません。
CloudRunにデプロイするとURLが取得できるので、その値を入れるようにしましょう。
ローカルで実行する際は、YOUR_CALLBACK_URLをlocalhostなどに切り替えてください。
@app.route('/callback')
def callback_handling():
    # Handles response from token endpoint
    auth0.authorize_access_token()
    resp = auth0.get('userinfo')
    userinfo = resp.json()

    # Store the user information in flask session.
    session['jwt_payload'] = userinfo
    session['profile'] = {
        'user_id': userinfo['sub'],
        'name': userinfo['name'],
        'picture': userinfo['picture']
    }
    return redirect('/dashboard')


@app.route('/login')
def login():
    return auth0.authorize_redirect(redirect_uri='YOUR_CALLBACK_URL')
ログイン画面に行くためのページを作成します。
@app.route('/')
def home():
    return render_template('home.html')
<div class="login-box auth0-box before">
    <h3>Auth0 Example</h3>
    <p>Zero friction identity infrastructure, built for developers</p>
    <a class="btn btn-primary btn-lg btn-login btn-block" href="/login">Log In</a>
</div>
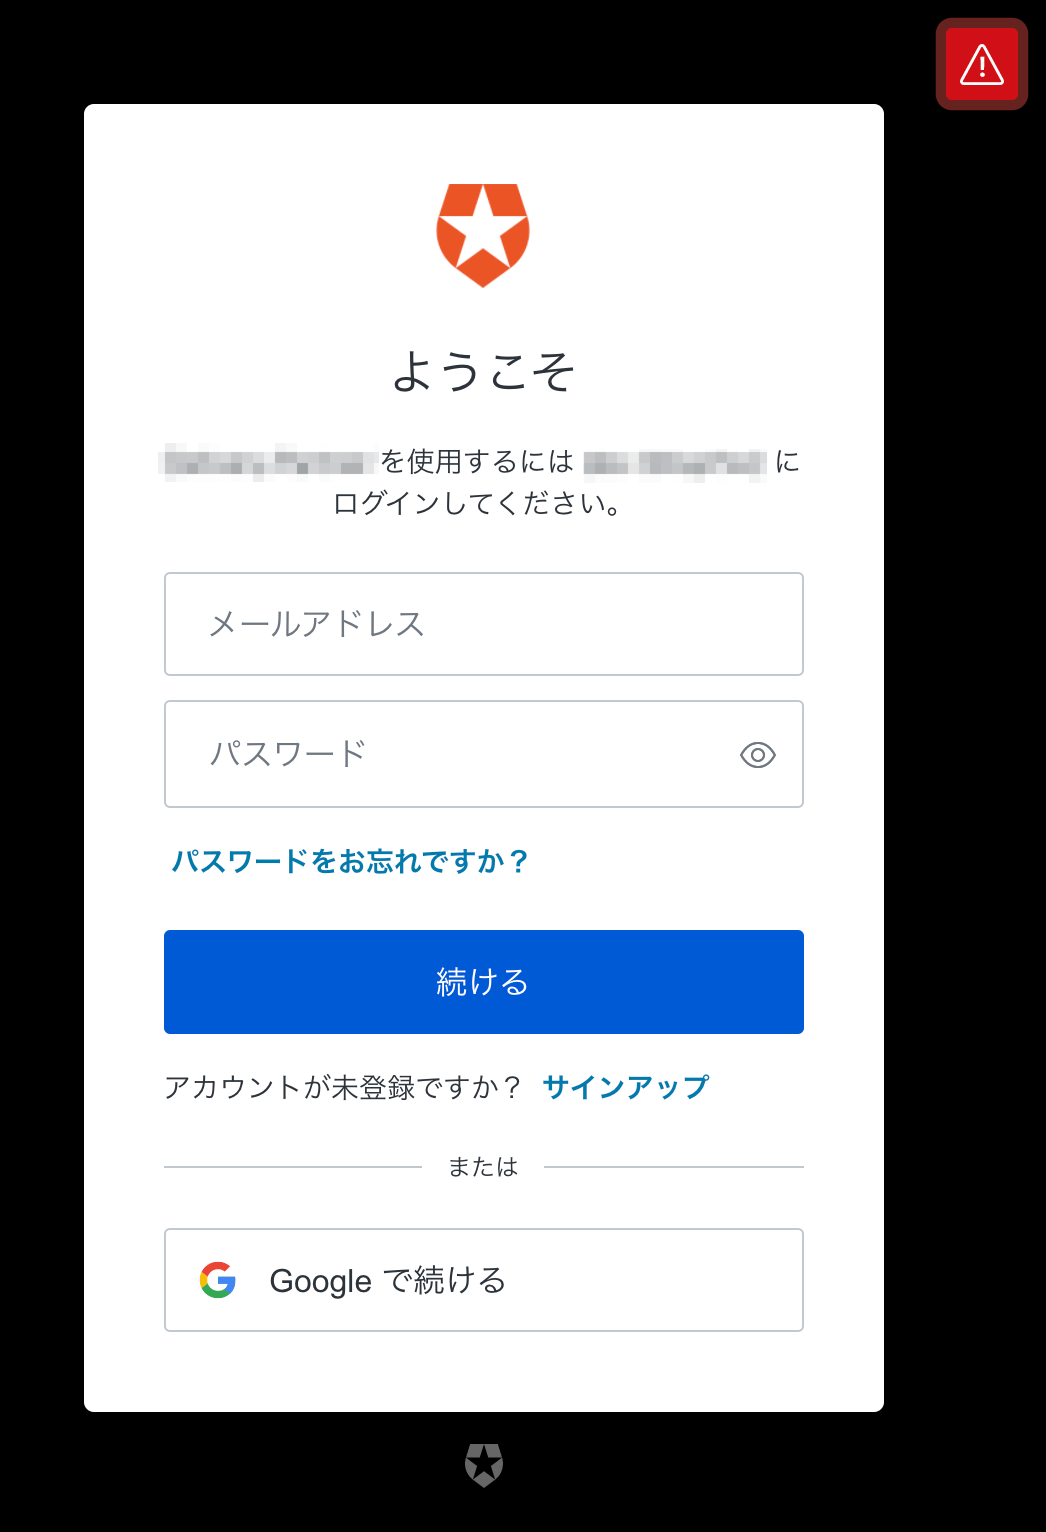
Log Inをクリックすると、以下のようなAuth0側で用意しているログイン画面に遷移します。
ログイン状態の確認
次は、ユーザーがログインしているかどうかチェックする関数を作成します。
この関数は、例えば、以下のようにパス指定のあとに入れることで、
ログイン確認をおこない、ログインしていないユーザーをトップにリダイレクトしてくれます。
@app.route('/dashboard')
@requires_auth
def requires_auth(f):
  @wraps(f)
  def decorated(*args, **kwargs):
    if 'profile' not in session:
      # Redirect to Login page here
      return redirect('/')
    return f(*args, **kwargs)

  return decorated
ログインしているユーザーの情報表示
ログインしているかどうか確認しやすいように、
ログイン中のユーザーの情報を表示してみます。
@app.route('/dashboard')
@requires_auth
def dashboard():
    return render_template('dashboard.html',
                           userinfo=session['profile'],
                           userinfo_pretty=json.dumps(session['jwt_payload'], indent=4))
情報を表示するページのHTML。
次の項目で実装するログアウトボタンも設置してあります。
<div class="logged-in-box auth0-box logged-in">
    <img class="avatar" src="{{userinfo['picture']}}"/>
    <h2>Welcome {{userinfo['name']}}</h2>
    <pre>{{userinfo_pretty}}</pre>
    <a class="btn btn-primary btn-lg btn-logout btn-block" href="/logout">Logout</a>
</div>
ログアウトをする
ログアウトは、Auth0側のサイトに遷移して、
URLパラメータで指定したURLで戻ってくるようになっています。
ここで要注意なのが、
ログアウト後に戻ってくるサイトのURLです。
url_for()で生成されるアドレスは、基本は http になっているようで、
redirect()で生成されるパラメータのURLも http から始まるものになっています。
CloudRunで生成された https から始まるアドレスを、そのまま Auth0 の Allowed Logout URLs に設定する場合、戻り先も https から始まるURLになっている必要があります。
url_for() で、 _scheme='https' を指定するとhttpsのURLを生成することができます。
ちなみに、私はパラメータのURLがhttpから始まっていることになかなか気づけず、
ローカルでは動くのに、CloudRunにデプロイすると動かない、という状態になり、頭を抱えました…
@app.route('/logout')
def logout():
    # Clear session stored data
    session.clear()
    # Redirect user to logout endpoint
    params = {'returnTo': url_for('home', _external=True, _scheme='https',), 'client_id': 'YOUR_CLIENT_ID'}
    return redirect(auth0.api_base_url + '/v2/logout?' + urlencode(params))
CloudRun向けの動作設定
動作ポートを8080に指定します。
if __name__ == "__main__":
    app.run(debug=False, threaded=True, host="0.0.0.0", port=int(os.environ.get("PORT", 8080)))
CloudRunにデプロイする
ビルドする
デプロイしたいGCPのプロジェクトIDを確認して、
ビルドします。
% gcloud projects list
PROJECT_ID                     NAME               PROJECT_NUMBER
....

% gcloud builds submit --tag gcr.io/PROJECT_ID/flask-auth0-sample
Creating temporary tarball archive of xx file(s) totalling xx.0 KiB before compression.
Some files were not included in the source upload.
(中略)
DONE
------------------------------------------------------------------------------------------------------------------------------
ID                       CREATE_TIME                DURATION  SOURCE                                                                  IMAGES                                                 STATUS
xxx-xxx-xxxx-xxxx-xxxxx  2021-11-26T22:46:42+00:00  45S       gs://PROJECT_ID_cloudbuild/source/xxx.tgz  gcr.io/PROJECT_ID/flask-auth0-sample (+1 more)  SUCCESS
ビルドに成功したら、次はデプロイをおこないます。
Service nameは、カッコ内に表示されている文字列を同じでOKです。
リージョンはどこでも構いませんが、今回は1にしました。
% gcloud run deploy --image gcr.io/PROJECT_ID/flask-auth0-sample
Service name (flask-auth0-sample): flask-auth0-sample
Please specify a region:
 [1] asia-east1
 [2] asia-east2
 [3] asia-northeast1
 (中略)
 [28] us-west3
 [29] us-west4
 [30] cancel
Please enter your numeric choice:  1
To make this the default region, run `gcloud config set run/region asia-east1`.

Allow unauthenticated invocations to [flask-auth0-sample] (y/N)? y

Deploying container to Cloud Run service [flask-auth0-sample] in project [PROJECT_ID] region [asia-east1]
✓ Deploying new service... Done.
  ✓ Creating Revision...
  ✓ Routing traffic...
  ✓ Setting IAM Policy...
Done.
Service [flask-auth0-sample] revision [flask-auth0-sample-xxx] has been deployed and is serving 100 percent of traffic.
Service URL: https://flask-auth0-sample-xxxxxx.a.run.app
あとは、Service URLに記載されたURLにアクセスして、ログインできれば、成功です!

