この記事では、GoogleのCoral EdgeTPUテクノロジーによって可能になった高速なパフォーマンスを備えたオブジェクト検出REST APIを提供する予算AIクラウドを作成する方法を学習します。
バックエンドサーバーアプリケーションを作成するとき、パフォーマンスの観点から考えることがよくあります。 パフォーマンスは高度に最適化されたソフトウェアで実現できますが、ボトルネックは多くの場合、ハードウェア機能の制限が原因です。 AIをミックスに追加します。マルチエクストリームコアプロセッサ上で、極度に電力を消費するメガトロンGPUを話しています。
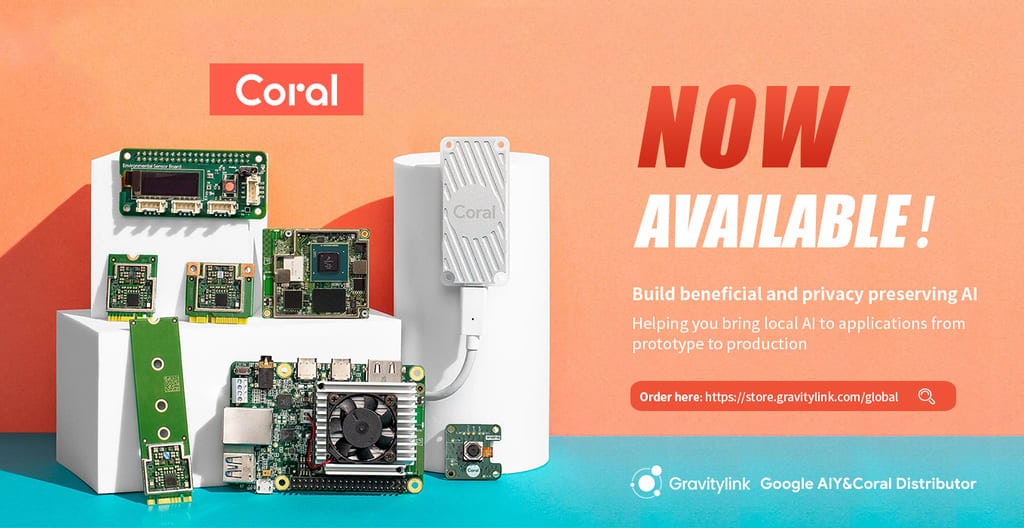
プラグアンドプレイUSBハードウェアを1つだけ使用して、独自の高性能AIクラウドサーバーをセットアップできることを想像してみましょう。 最大稼働容量で約900mAのピーク電流を引き出します。 これは、GoogleのCoral EdgeTPUテクノロジーによって可能になったためです。 このチュートリアルで確認するハードウェアは、Coral USB Acceleratorです。 想像力に従って、独自の予算AIクラウドを構築しましょう!!!
Coralのどの製品でもこのプロジェクトに使用できますが、このチュートリアルのプラグアンドプレイの目的でのみアクセラレータを使用していることに注意してください。
要件
Coral USBアクセラレーター
コードをビルドするために使用できるDebianベースのx86_64ホストマシン(自宅のデスクトップでDebian10を実行し、ラップトップでUbuntu 18.04を実行していますが、他のマシンではビルドしようとしませんでした)
バイナリを実行するサーバーは、arm64またはx86_64であり、ビルドマシンと同じマシンである可能性があります
CoralのWebページからスタートガイドを読むことをお勧めします(コードを実行しているガイドからlibedgetpuパッケージをインストールする必要もあります)
このガイドは、読者がAI、テンソルフロー、Linux、バックエンドアプリケーション、REST API、およびgitの基本的な知識を持っていることを前提としています。
プロジェクト修復の紹介
restorは、EdgeTPUプラットフォームによって高速化されたオブジェクト検出用のREST APIを提供する私の個人的なプロジェクトです(名前はちょっとおかしいと思いました)。 ここからプロジェクトにアクセスできます:https://github.com/namburger/restor
restorは、パフォーマンスをさらに向上させるために最新のC ++で記述されており、GoogleのEdgeTPUオブジェクト検出エンジンに依存しています。 現在、restorには4つのエンドポイントがありますが、これは拡張されます:
POSTメソッドは、クライアントがサーバーに画像データを送信するために使用されるものです。 json文字列の「データ」フィールドでは、データは.bmp画像からのbase64エンコードデータである必要があり、このデータはオブジェクトを検出するために復元サーバーによって処理されます。 心配しないで、クライアントアプリケーションの例をいくつか含めます:)
先週の岩山で、私の猫、Maxiumと私と何人かの友人のこの美しい画像を見てみましょう:
準備:
# Let's First install some deps
$ sudo apt update
$ sudo apt install wget curl jq imagemagick
# Secondly you can download the same image
$ wget https://srv-file5.gofile.io/download/2rC4jJ/maximum.jpg
# Then this image needs to be reformatted to a .bmp file instead of .jpg
$ mogrify -format bmp maximum.jpg
# at this point, a maximum.bmp file should be generated.
# Next, turn this image data into a base64 encoded json string and save it as a tmp file:
$ echo "{\"data\":\"`cat maximum.bmp|base64 -w0`\"}" > /tmp/maximum.json
送り出し:
# send it to the server (you need to set the server up first)
$ curl -d@/tmp/maximum.json -H "Content-Type: application/json" -X POST http://localhost:8888/detects | jq
{
  "req_id": 627,
  "result1": {
    "candidate": "dog",
    "score": 0.91015625
  },
  "result2": {
    "candidate": "person",
    "score": 0.66015625
  },
  "result3": {
    "candidate": "person",
    "score": 0.41796875
  }
}
ちょっと待って、先ほど「猫」と言いましたか?!? Restorは、Maximumは犬o_0であると確信しているためです。 この場合、restorは実際には正しいかもしれません¯\ (ツ) /¯
セットアップ復元
まず、プロジェクトをビルドするためにビルド必須パッケージをインストールしましょう:
# If you are running the server on the same machine as your build machine, install this:
$ sudo apt-get install -y build-essential
# If you are running the server on another machine that does not have the same CPU architecture, install this:
$ sudo apt-get install -y crossbuild-essential-armhf crossbuild-essential-arm64
次に、プロジェクトを設定しましょう:
# clone the project:
$ git clone https://github.com/namburger/restor && cd restor
# download some dependencies:
$ python3 install_thirdparty.py
次に、プロジェクトをビルドします:
480/5000
#サーバーを同じマシンで実行している場合:
$ make
#サーバーを別のマシンで実行している場合、これを実行しているマシンのCPUアーキテクチャを指定する必要があります。例:
$ make CPU = aarch64
**現在、amd64にはCPU = k8、arm64にはCPU = aarch64があり、CPU = armv7aを使用してarm32ビット用にバイナリを構築できますが、libedgetpuは32ビットアーキテクチャをサポートしなくなったため、古いバージョンをインストールする必要があります libedgetpu.soの
すべてが正しくビルドされると、プロジェクトのルートから「out / {k8 || aarch64 || arm v7a} / restore」ディレクトリに復元バイナリが表示されます。
サーバーを実行する
構成
restorは、CLI引数解析またはyaml configを介して実行できます。 config / restor.yamlに設定例があります:
restor:
  modelFile: test_data/mobilenet_ssd_v2_coco_quant_postprocess_edgetpu.tflite
  labelFile: test_data/coco_labels.txt
  numResults: 5
  numThreads: 4
  port: 8888
各フィールド名は非常にわかりやすいので、説明しませんが、modelFileとlabelFileについては、異なるディレクトリからバイナリを実行している場合に備えて、フルパスを指定することをお勧めします。
**注:この例で使用するモデルは、90種類のオブジェクトを検出できるgoogle-coralのedgetpuリポジトリから直接取得しています。
復元サーバーの実行
サーバーをネイティブに実行するには、config_pathを指定します。上記の構成で実行する例を次に示します:
$ ./out/k8/restor --config_path config/restor.yaml
I0106 14:13:02.776759 53679 main.cc:27] RESTOR
I0106 14:13:02.806629 53679 main.cc:34] found 1 TPU(s)
I0106 14:13:02.806658 53679 main.cc:35] config: config/restor.yaml
I0106 14:13:05.524688 53679 server.cc:38] Engine initialized
I0106 14:13:05.524776 53679 server.cc:39] model: test_data/mobilenet_ssd_v2_coco_quant_postprocess_edgetpu.tflite
I0106 14:13:05.524821 53679 server.cc:40] label: test_data/coco_labels.txt
I0106 14:13:05.524849 53679 server.cc:41] num_results: 5
I0106 14:13:05.524873 53679 server.cc:42] num_threads: 4
I0106 14:13:05.524894 53679 server.cc:43] input_tensor_shape: [1,300,300,3]
I0106 14:13:05.524971 53679 server.cc:58] End points registered
I0106 14:13:05.525341 53679 server.cc:60] Serving on port: 8888
別のマシンで実行するには、実行するマシンにモデル、ラベルファイル、構成、およびバイナリをコピーしてから実行します。
それがすべての人々です。オブジェクト検出タスクに取り組むことができる独自のAIクラウドを構築しました。 似たようなものはたくさんありますが、これはあなたのものです:)
上記のプレビューセクションにループバックして、サーバーをテストできます。 個人用AIクラウドのセットアップのみに関心がある場合、チュートリアルはここで終了しますが、いくつかのクライアントプログラムと/ metricsモニタリングエンドポイントも含めました。 あなたがそれをチェックアウトしたいなら、ボーナスセクションを読み続けてください!
メトリック監視
より高度なユーザーの場合、何らかの監視システムが必要になる場合があります。 メトリックの収集は、サーバーがどのような種類のストレスに対処しているかを知る1つの方法です。 そのために、プロメテウス/ metricsエンドポイントを組み込みました。 復元サーバーを実行することにより、このエンドポイントはデフォルトですぐに利用できます:
$ curl localhost:8888/metrics
# HELP server_request_total Number of total http requests handled
# TYPE server_request_total counter
server_request_total{endpoint="metrics",method="GET"} 63.000000
server_request_total{endpoint="version",method="GET"} 84.000000
server_request_total{endpoint="detects",method="POST"} 84.000000
# HELP process_open_fds Number of open file descriptors
# TYPE process_open_fds gauge
process_open_fds 18.000000
# HELP process_resident_memory_bytes Process resident memory size in bytes.
# TYPE process_resident_memory_bytes gauge
process_resident_memory_bytes 441085952.000000
# HELP process_virtual_memory_bytes Process virtual memory size in bytes.
# TYPE process_virtual_memory_bytes gauge
process_virtual_memory_bytes 704843776.000000
# HELP process_virtual_memory_max_bytes Process peak virtual memory size in bytes.
# TYPE process_virtual_memory_max_bytes gauge
process_virtual_memory_max_bytes 911925248.000000
これらのメトリクスをより見やすく表示するために、プロメテウスドッカーイメージをセットアップできます。 ここでprometheus.yaml構成とDockerfileを提供しました。 サーバーのIPアドレスと一致するように、prometheus.yamlのIPアドレス値を変更してください。 それから:
$ cd config
# modify the prometheus.yaml here
$ docker build -t prometheus .
$ docker run -p 9090:9090 prometheus
すべてが成功したら、Webブラウザでlocalhost:9090 / graphにアクセスして、次のようなものを表示できるはずです:

サーバーに画像を送信するcppクライアントの例
また、ここで復元者のすべてのエンドポイントにアクセスできるクライアントの例を作成しました:cpp_cli_client。 クイック使用:
# go to it
$ cd example_client/cpp_cli_client
# install some deps
$ make install
... not showing this output ...
# build
$ make
g++ -Iinclude -std=c++17 -Wall -Wextra -pthread -o restor_client main.cc
# should see all these files
$ ls
include  install_dependencies.sh  main.cc  Makefile  restor_client
# example run
$ ./restor_client --host localhost --port 8888 --method post --endpoint /detects --image /tmp/maximum.bmp
Sending POST @data={"data": base64_encode(/tmp/maximum.bmp)} to localhost:8888/detects
{
  "req_id": 1,
  "result1": {
    "candidate": "dog",
    "score": 0.91015625
  },
  "result2": {
    "candidate": "person",
    "score": 0.66015625
  },
  "result3": {
    "candidate": "person",
    "score": 0.41796875
  }
}
restor_clientは他のエンドポイントを見ることができますが、それを理解するのはあなた次第です:)
画像を取得してサーバーに送信するためのPythonクライアントの例
サンプルのPythonクライアントは、opencvに依存して写真を撮影し、検出のために復元者に送信します。
# go to it
$ cd example_client/cv_client
# run it
$ python3 cv_client.py --host localhost --port 8888
これですべてです。プラグアンドプレイデバイスを使用して独自のAIクラウドを正常に構築できました。(Nam Vu 著)
Google Coral製品、および大量販売または大量販売(ボリュームディスカウント)の詳細に興味がある場合は、ようこそCoral 海外代理店 Gravitylink : https://store.gravitylink.com/global


