完全に自分用
なんでこれをするのか
最近macの人とかがdocker for macでdockerを動かしているのを見て、やっぱり仮想マシンを動かすのってマシンリソースを酷使しているなって思ったので、「良い感じだよ」って風の噂で聞いたWSL2環境の構築を真剣にやろうと思った次第です。
やる内容
実現したいのは以下
- 過去に作った開発環境をWSL2環境で動かせるようにする
- ターミナルは普段の奴が良いのでSSHで繋がるようにする
- local環境なのでフランクにsudoはしたい
環境
windows 11 Pro 22H2
WSL install
入れるのはUbuntu
やり方は公式さんを参照
https://learn.microsoft.com/ja-jp/windows/wsl/install
って思ったらPowerShellのバージョンが古いと怒られた
Windows PowerShell
Copyright (C) Microsoft Corporation. All rights reserved.

新機能と改善のために最新の PowerShell をインストールしてください!https://aka.ms/PSWindows
普段PowerShellを使わないので、サクッとmsiでinstallしていきます
気を取り直してinstall
サクッと実行
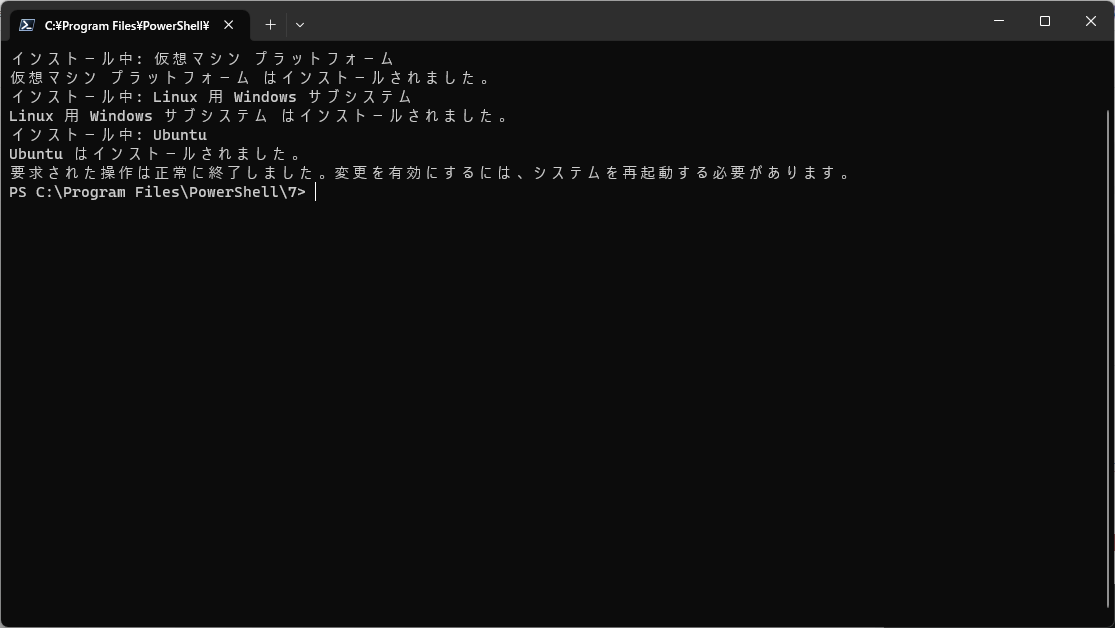
wsl --install
ユーザーの作成
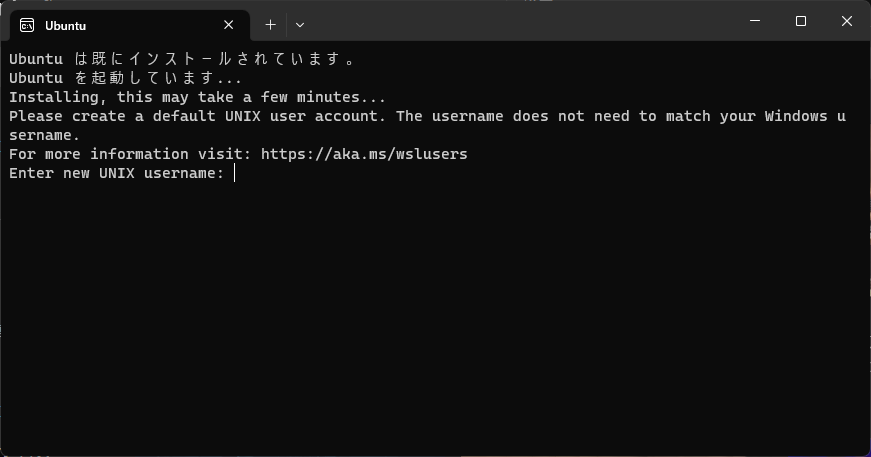
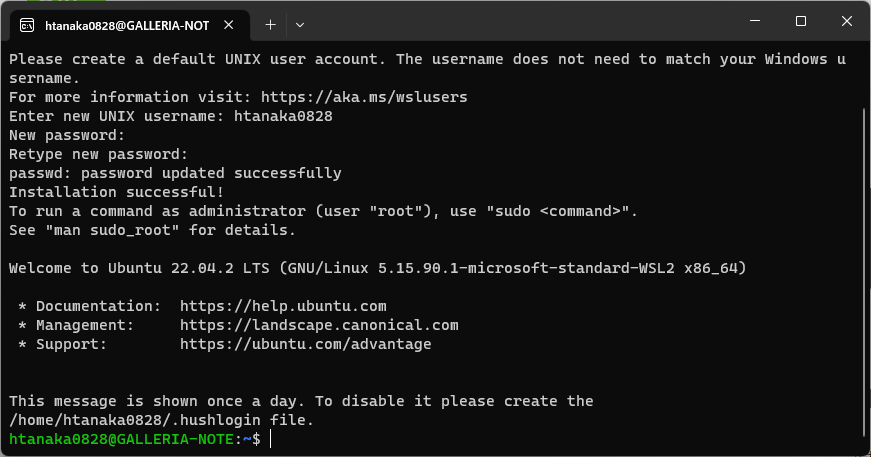
再起動をしたら勝手にターミナルが立ち上がってアカウントの作成を求められるので作成

SSHの設定
こちらを参考にしました
https://tech-lab.sios.jp/archives/33655
WSL設定ファイルの作成
中身をみたら普通に書いてあったのでスキップ
$ sudo cat /etc/wsl.conf
[boot]
systemd=true
SSHの起動
とりあえずコマンド打ったら
$ sudo systemctl enable ssh
Failed to enable unit: Unit file ssh.service does not exist.
ないやん・・・
ってわけでinstallします
ついでにパッケージの更新もしておきます
# packageの更新
$ sudo apt -y update
$ sudo apt -y upgrade

# SSHのinstall
$ sudo apt -y install openssh-server

# 起動設定
$ sudo systemctl enable ssh

# 起動
$ sudo systemctl start ssh

# statusの確認をしておく
$ sudo systemctl status ssh
● ssh.service - OpenBSD Secure Shell server
     Loaded: loaded (/lib/systemd/system/ssh.service; enabled; vendor preset: enabled)
     Active: active (running) since Thu 2023-10-05 01:48:19 JST; 53s ago
       Docs: man:sshd(8)
             man:sshd_config(5)
   Main PID: 10075 (sshd)
      Tasks: 1 (limit: 19102)
     Memory: 1.8M
     CGroup: /system.slice/ssh.service
             └─10075 "sshd: /usr/sbin/sshd -D [listener] 0 of 10-100 startups"

Oct 05 01:48:19 GALLERIA-NOTE systemd[1]: Starting OpenBSD Secure Shell server...
Oct 05 01:48:19 GALLERIA-NOTE sshd[10075]: Server listening on 0.0.0.0 port 22.
Oct 05 01:48:19 GALLERIA-NOTE sshd[10075]: Server listening on :: port 22.
Oct 05 01:48:19 GALLERIA-NOTE systemd[1]: Started OpenBSD Secure Shell server.
起動までいったのでsshでlogin出来るように設定の変更をしていきます
鍵認証は使う予定がないので今回はパス
# パスワード認証の有効化
sudo sed -i -e 's/^PasswordAuthentication no/PasswordAuthentication yes/' /etc/ssh/sshd_config

# sshdの再起動
sudo systemctl restart ssh
これでlocalマシンのターミナルから
- host: 127.0.0.1
- user: 作ったユーザー
- password: 設定したパスワード
でログインできるようになりました
dockerを立ち上げるまでの設定
sudoの設定
とりあえずパスワード無しでsudoが出来るように設定変更をします
参考
https://www.rough-and-cheap.jp/linux/ubuntu-sudo-without-password/
ただ、defaultだとvisudoで使うエディタが慣れていないnanoで立ち上がってしまうので、先にvimに設定しなおしておきます
$ sudo update-alternatives --config editor
There are 4 choices for the alternative editor (providing /usr/bin/editor).

  Selection    Path                Priority   Status
------------------------------------------------------------
* 0            /bin/nano            40        auto mode
  1            /bin/ed             -100       manual mode
  2            /bin/nano            40        manual mode
  3            /usr/bin/vim.basic   30        manual mode
  4            /usr/bin/vim.tiny    15        manual mode

Press <enter> to keep the current choice[*], or type selection number: 3
update-alternatives: using /usr/bin/vim.basic to provide /usr/bin/editor (editor) in manual mode
選択肢を確認して3 を入れてエンターを押したら、visudoで使うエディタがvimに切り替わりました
sudo visudo
sudoの設定を書き換えたら保存して完了です。
dockerのinstallとか
虎の子の初期設定ファイルがあるので適当にコピーして編集して使います
https://github.com/htanaka0828/devbase_for_lamp_template/blob/master/init.sh
不要な記述もそこそこあるので整理してfileを作ったら雑に実行していきます。
#!/bin/sh
sudo curl -fsSL https://get.docker.com/ | sh
sudo usermod -aG docker htanaka0828
curl -L https://github.com/docker/compose/releases/download/v2.20.2/docker-compose-`uname -s`-`uname -m` > docker-compose
sudo mv docker-compose /usr/local/bin/docker-compose
sudo chmod +x /usr/local/bin/docker-compose
sudo service docker start

sudo apt-get install -y sl zip unzip jq expect
dockerのinstallをしようとすると Docker Desctop for Windowsを使おう! (意訳)と言われますが無視します
pathの疎通のためにログインをし直して、dockerコマンド達が通るかどうか確認しておきます
$ docker -v
Docker version 24.0.6, build ed223bc
$ docker-compose -v
Docker Compose version v2.20.2
通ったのでヨシ!
SSH鍵の設定
githubに登録しているsshファイルを、元の環境からコピーしても良いし新規に登録しても良いし
良い感じに設定、配置したら疎通確認をしておきます
$ ssh -T git@github.com
Hi htanaka0828! You've successfully authenticated, but GitHub does not provide shell access
これで今回やりたかった作業は完了です!
扱いの諸注意
調べたらすぐ出てくるけど念のため
- hostマシンの起動時には通常はWSL2は起動していません
- スタートアップに入れておくか
Win + Sでwslと入力してwslを起動してあげる必要がある
- スタートアップに入れておくか
- hostマシンのエクスプローラーからは
\\wsl$で接続出来ます- VSCodeから参照する時にはプラグインを入れても良いしディレクトリ参照でも良さそう
- リモート扱いになるので許可を出す必要がある
- Vagrant環境との共存も可能だけどバージョン依存があるみたいなので、うまくいかない人はぐぐって欲しい
- ちなみにうちのVirtualBoxのバージョンは7.0でした
- VagrantとWSL2でどっちが軽いかって言われたら体感はそんなに変わらない
- 気持ちはWSLの方が気楽
- 何より起動が速い
- 検証環境がメモリモリモリマシンで、元々Vagrantマシンへの割り当ても潤沢だったせいだと思う
- 割り当てメモリをどれぐらいにするか問題は仮想環境の難しいところ
- 比較検証をしている人が世の中にいるのでぜひぐぐってみてください
- 気持ちはWSLの方が気楽
お疲れさまでした
様々な文献で助けてくださった先人に感謝!
これからも頑張って開発します!

