概要
Srping WebFluxとSpring Data R2DBCを利用したデータ操作について、サンプルを使いながら解説します。
また、mockit-kotlinとStep Verifierを利用したユニットテストについても解説します。
RDBMSを前提としたWebFluxによるシステムで導入〜実装〜テストまで通しでやるにはどうすれば良いのか、のイメージを掴むための位置付けの記事として役立てていただければ幸いです。
実際のサンプルは、下記のリポジトリからクローンしてください!
https://github.com/shota-hizawa/webflux-r2dbc-sample
Spring WebFluxを利用すると、リアクティブプログラミングを実践できたり、ノンブロッキングな処理によるリソース最適化が可能になったり、非同期処理を比較的簡単に行えたり等のメリットを享受できます。
従来のアプリケーション実装との比較によるパフォーマンス解説・検証については、下記の記事が詳しかったです。
SpringBoot2のBlocking Web vs Reactive WebについてLTしてきた
本稿では、Mono/Fluxについて基本的な事項の解説を省略しますが、下記の連載記事(英語)がわかりやすかったです。
[Reactor Java #1] How to create Mono and Flux ?
本編
プロジェクトセットアップ
Spring Initializrを利用してプロジェクトの雛形を作成します。
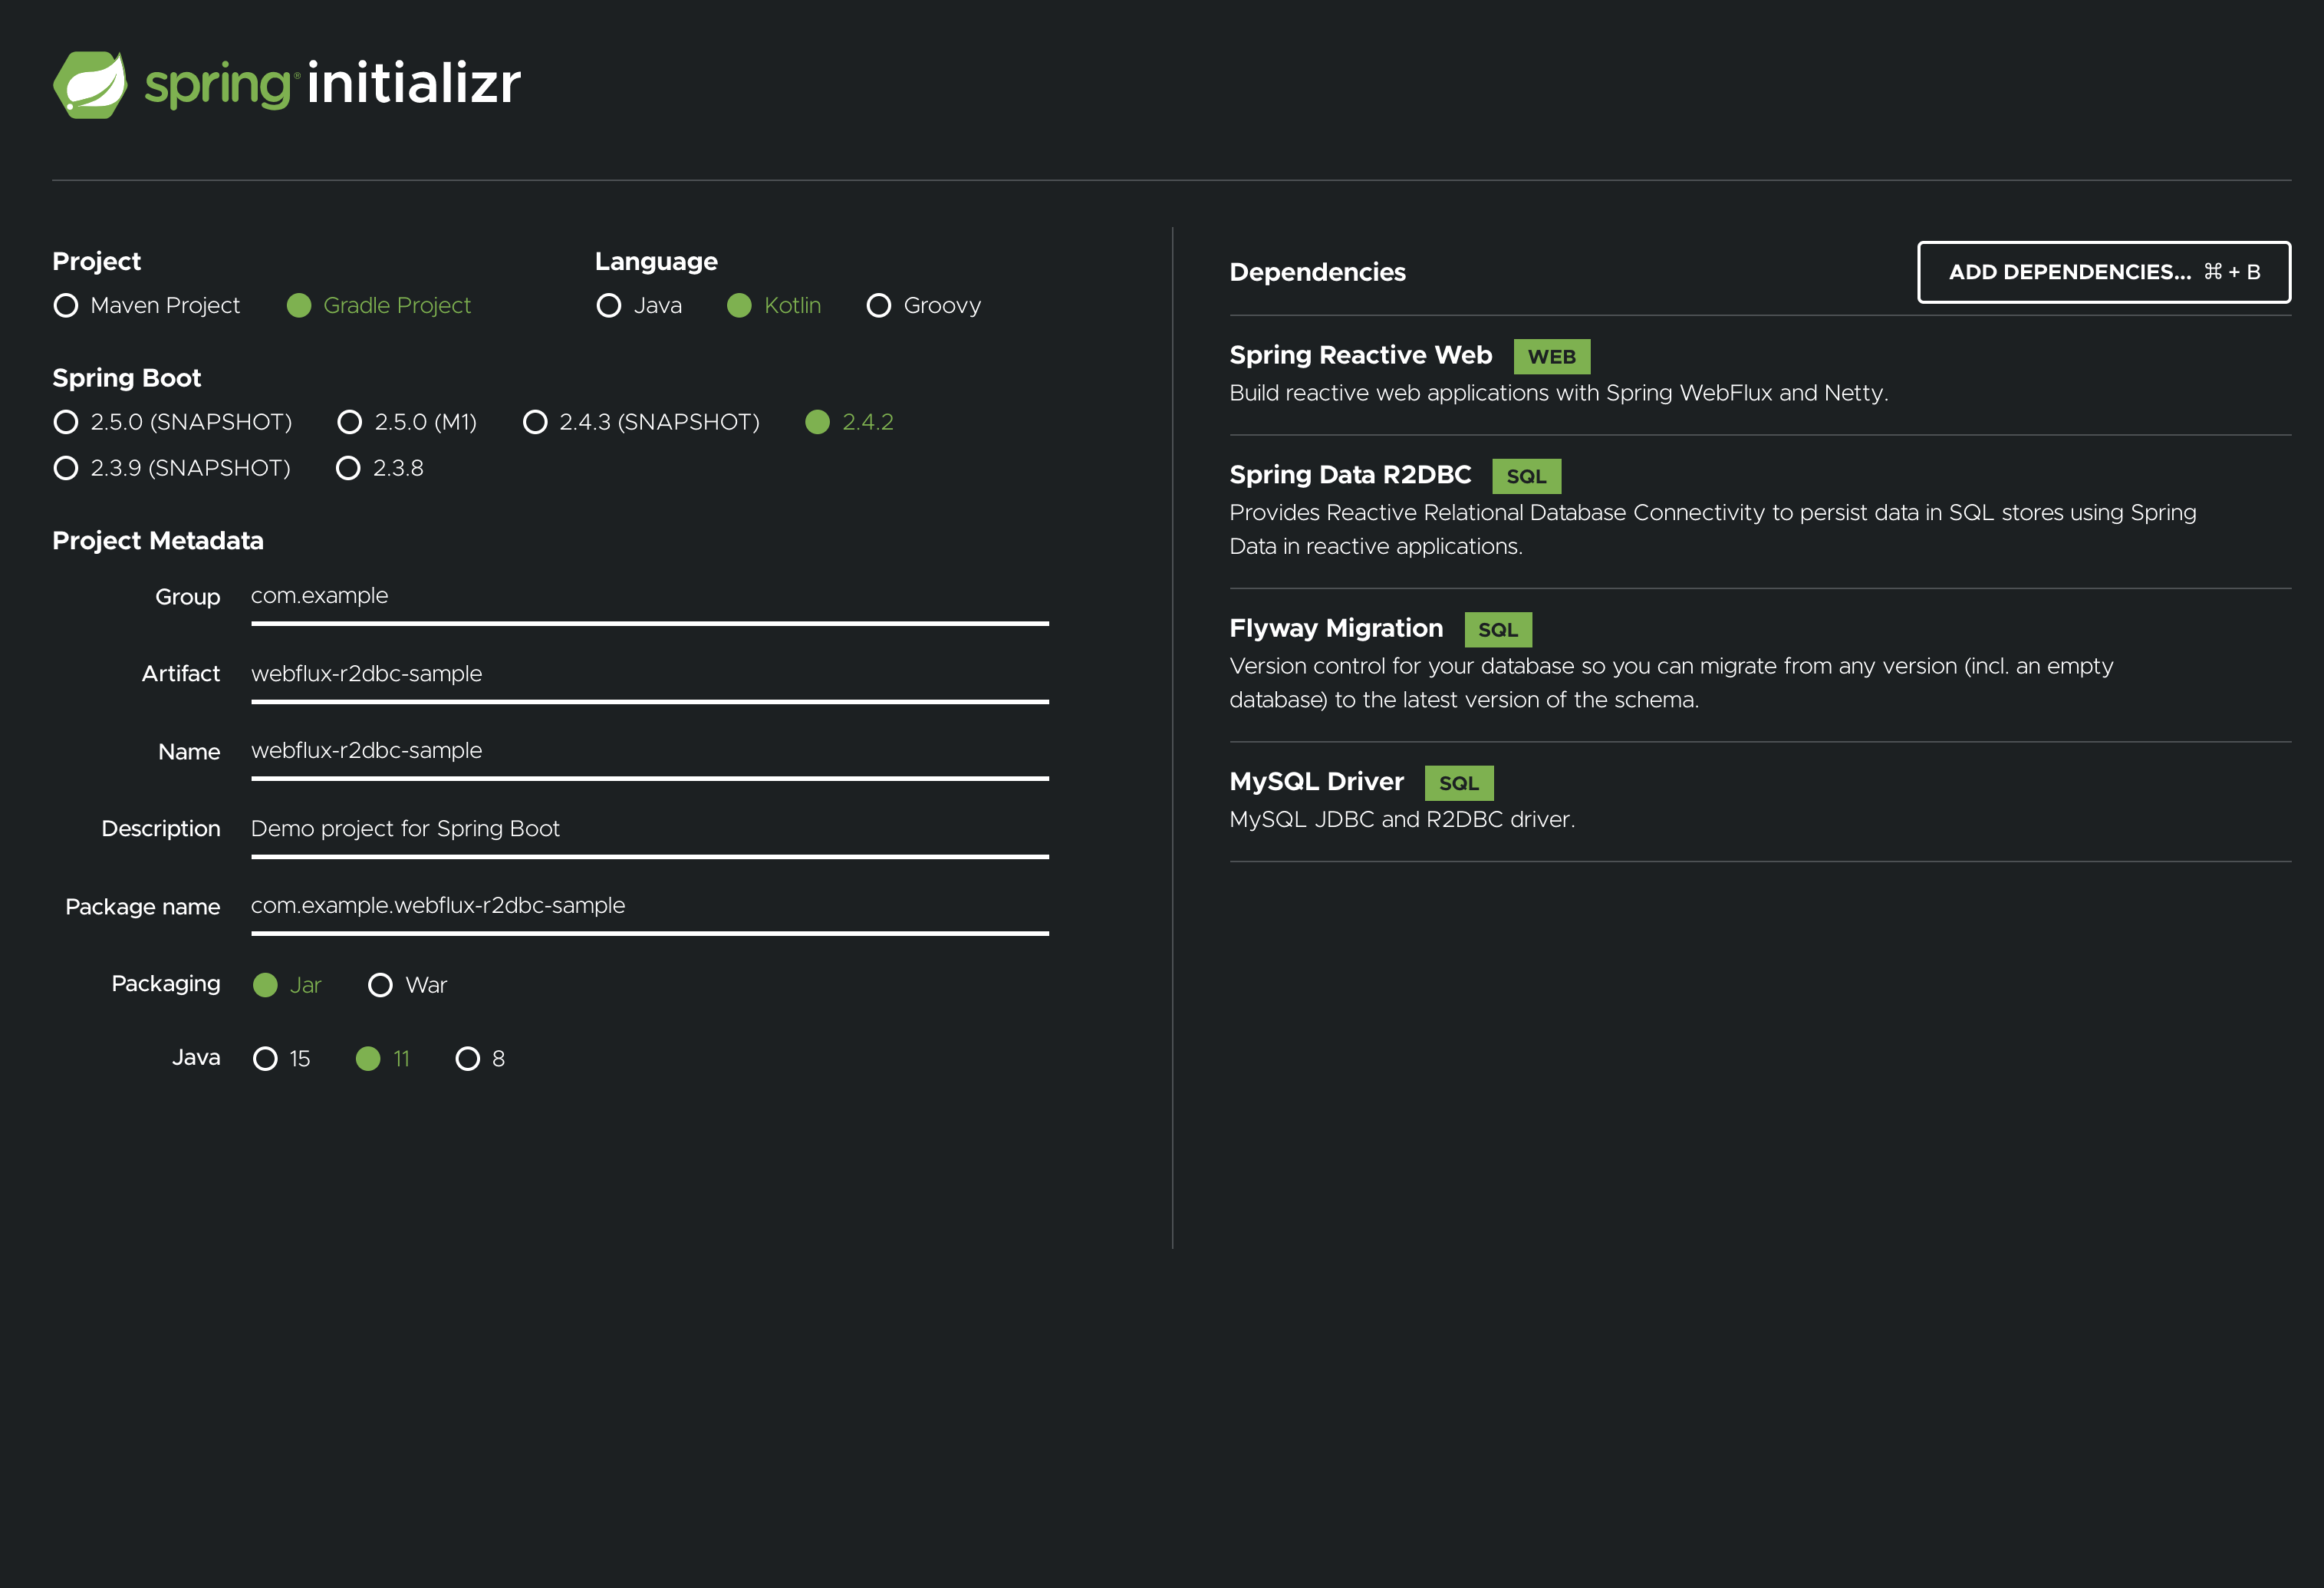
今回は、
- Gradle
- kotlin
- Java 11
を使用しています。
同じプロジェクトのダウンロードは、こちらのURLからも可能です。
ダウンロードしたzipを解凍し、各種IDEでプロジェクトを開いてください。
Intellij IDEAを利用している場合、build.gradle.ktsからプロジェクトを開くことで自動的にGradleプロジェクトして読み込まれます。
この時点におけるbuild.gradle.ktsは下記のような構成になっています。
import org.jetbrains.kotlin.gradle.tasks.KotlinCompile

plugins {
	id("org.springframework.boot") version "2.4.2"
	id("io.spring.dependency-management") version "1.0.11.RELEASE"
	kotlin("jvm") version "1.4.21"
	kotlin("plugin.spring") version "1.4.21"
}

group = "com.example"
version = "0.0.1-SNAPSHOT"
java.sourceCompatibility = JavaVersion.VERSION_11

repositories {
	mavenCentral()
}

dependencies {
	implementation("org.springframework.boot:spring-boot-starter-data-r2dbc")
	implementation("org.springframework.boot:spring-boot-starter-webflux")
	implementation("com.fasterxml.jackson.module:jackson-module-kotlin")
	implementation("io.projectreactor.kotlin:reactor-kotlin-extensions")
	implementation("org.flywaydb:flyway-core")
	implementation("org.jetbrains.kotlin:kotlin-reflect")
	implementation("org.jetbrains.kotlin:kotlin-stdlib-jdk8")
	implementation("org.jetbrains.kotlinx:kotlinx-coroutines-reactor")
	runtimeOnly("dev.miku:r2dbc-mysql")
	runtimeOnly("mysql:mysql-connector-java")
	testImplementation("org.springframework.boot:spring-boot-starter-test")
	testImplementation("io.projectreactor:reactor-test")
}

tasks.withType<KotlinCompile> {
	kotlinOptions {
		freeCompilerArgs = listOf("-Xjsr305=strict")
		jvmTarget = "11"
	}
}

tasks.withType<Test> {
	useJUnitPlatform()
}
また、開発用のデータベースをdocker-composeで用意しましょう。
version: "2"
services:
  db:
    build: webflux-r2dbc-sample-db
    ports:
      - "33306:3306"
    environment:
      - TZ=Asia/Tokyo
      - MYSQL_DATABASE=webflux_r2dbc_sample
      - MYSQL_ROOT_PASSWORD=password
Build用のDockerfile等については下記ディレクトリを参照してください。
https://github.com/shota-hizawa/webflux-r2dbc-sample/tree/master/webflux-r2dbc-sample-db
ホストの33306ポートでDBを起動するようにしています。
ボリュームのマウントは行っていないので、コンテナを再起動するとデータは初期化される点について注意してください。
アプリケーションを実装する
それでは、サンプルアプリケーションを実装していきましょう。
設定を行う
application.propertiesをymlに変更して、下記記述を追加します。
サーバを8080番ポートで立ち上がるように指定し、またFlyway及びR2DBCの設定を追加しました。
R2DBCについては、この設定のみで基本的な動作が可能です。
server:
  port: 8080

spring:
  flyway:
    url: jdbc:mysql://localhost:33306/webflux_r2dbc_sample?useSSL=false
    user: root
    password: password
    locations: classpath:db/migration
  r2dbc:
    url: r2dbc:mysql://localhost:33306/webflux_r2dbc_sample?useSSL=false
    username: root
    password: password
Flywayについては、追加で下記のようなConfigurationが必要です。
@Configuration
class FlywayConfig() {
    @Value("\${spring.flyway.url}")
    private lateinit var url: String

    @Value("\${spring.flyway.user}")
    private lateinit var user: String

    @Value("\${spring.flyway.password}")
    private lateinit var password: String

    @Bean(initMethod = "migrate")
    fun flyway(): Flyway? {
        return Flyway(
            Flyway.configure()
                .baselineOnMigrate(false)
                .dataSource(url, user, password)
        )
    }
}
テーブルの作成
まずは、データベース上に今回のサンプルアプリケーションで使用するテーブルを2つ作成します。
企業情報を保存するCompanyテーブルと、製品情報を保存するProductテーブルを作成します。
サンプルコードでは、Flywayを利用したマイグレーションでテーブルを作成していますが、必要に応じてSQLなどで作成してください。
create table company
(
    id   bigint unsigned auto_increment,
    name varchar(255) not null comment '企業名',
    constraint company_pk
        primary key (id)
) comment '企業情報';
create table product
(
    id         bigint unsigned auto_increment,
    name       varchar(255) not null comment '製品名',
    company_id bigint unsigned not null comment '製造企業ID',
    constraint product_pk
        primary key (id),
    constraint product_company_id_fk
        foreign key (company_id) references company (id)
            on update cascade
) comment '製品情報';
モデル・リポジトリの実装
続いて、作成したテーブルに対応するモデルクラスとリポジトリを実装します。
今回は、フィールドを定義しただけのシンプルなデータクラスをモデルとして実装します。この際、プライマリキーとなるフィールドには@Idアノテーションを付与します。
data class Company(
    @Id
    val id: Int?,
    val name: String
)
Companyクラスに対応するリポジトリは下記の通りです。
interface CompanyRepository: ReactiveCrudRepository<Company, Int> {
}
ReactiveCrudRipositoryインターフェースを実装するだけで、Spring Data JPAのように、基本的なCRUDが実装されます。
カスタムクエリについても、クエリメソッドをほとんど同じような形式で宣言するだけで使用可能です。
詳細は、公式リファレンスの「14.2. クエリメソッド」をご覧ください。
今回のサンプルアプリケーションにおいては基本的なCRUDが行えれば十分なので、これ以上の実装は不要です。
同様の実装を、Productについても行います。
https://github.com/shota-hizawa/webflux-r2dbc-sample/blob/master/src/main/kotlin/com/example/webfluxr2dbcsample/models/Product.kt
https://github.com/shota-hizawa/webflux-r2dbc-sample/blob/master/src/main/kotlin/com/example/webfluxr2dbcsample/repositories/ProductRepository.kt
なお記事執筆時点において、Spring Data R2DBCではSpring Data JPAにおける@OneToManyなどのような、リレーションを定義する機能がサポートされていないようです。
この件については以下のIssueで議論されており、ノンブロッキングな動作を保証するためには従来とは異なるアプローチが必要となるため試行錯誤している最中である様子?
https://github.com/spring-projects/spring-data-r2dbc/issues/356
サービス・コントローラの実装
Spring WebFluxでは、RouterFunctionsを利用した方法とSpring MVCのように@Contoroller等のアノテーションベースで実装する方法の2通りがありますが今回は後者で実装を進めます。
まず、Companyの登録・参照を行う機能を実装します。
@Service
class CompanyService {
    @Autowired
    private lateinit var companyRepository: CompanyRepository

    fun getAllCompanies(): Flux<Company> = companyRepository.findAll()

    fun registerNewCompany(name: String): Mono<Void> = companyRepository.save(
        Company(
            null,
            name
        )
    )
        .then()
}
Spring Data R2DBCの機能により、デフォルトでfindAll()や、save()メソッドを利用することで全てのデータの取得や、保存が可能です。
Flux<T> findAll()
全てのエンティティを返却します。
Mono<T> findById(ID id)
探索対象のプライマリキーを引数に取り、エンティティが存在する場合Monoで返却し、存在しなかった場合Mono.empty()を返却します。
<S extends T> Mono<S> save(S entity)
エンティティを引数に取り、データの保存に成功した場合保存結果のエンティティをMonoで返却します。
ただし、プライマリーキーに該当するフィールドの値がnullか、isNewが返す値がfalseである場合必ずINSERTクエリを実行します。
public <S extends T> Mono<S> save(S objectToSave) {

		Assert.notNull(objectToSave, "Object to save must not be null!");

		if (this.entity.isNew(objectToSave)) {
			return this.entityOperations.insert(objectToSave);
		}

		return this.entityOperations.update(objectToSave);
	}
IDを指定してINSERTクエリを実行したいをしたい場合は、Persistableインターフェースを実装する必要があります。
詳細については、公式リファレンスの「14.2.3. エンティティ状態検出戦略」に記載があるとおりで、エンティティクラスのisNew()に状態検出が委譲されています。
Persistableインターフェースの実装において、Kotlinではフィールド名によってデフォルトで生成されるgetterとメソッド名がコンフリクトする場合がありますが、そのような場合、「Handling signature clashes with @JvmName」に記載があるようなワークアラウンドを行う必要があるようです。
サービスクラスが実装できたら、あとはコントローラを下記のように実装すればAPIが実行できます!
@RestController
@RequestMapping("/company")
class CompanyController {
    @Autowired
    private lateinit var companyService: CompanyService

    /**
     * 全企業情報を取得する
     */
    @GetMapping
    fun getAllCompany(): Flux<Company> = companyService.getAllCompanies()

    /**
     * 新しい企業を登録する。
     */
    @PostMapping
    fun registerCompany(@RequestBody registerCompanyRequest: RegisterCompanyRequest): Mono<Void> = companyService.registerNewCompany(registerCompanyRequest.name)
}


data class RegisterCompanyRequest(
    val name: String
)
Spring WebFluxでは、コントローラの戻り値までリアクティブな処理が到達した時点で、Mono/Fluxが購読されます。
アプリケーションを起動して、動作確認を行なってみてください。
// Companyの登録
curl -X POST -H "Content-Type: application/json" -d '{"name":"Apple"}' localhost:8080/company
curl -X POST -H "Content-Type: application/json" -d '{"name":"Google"}' localhost:8080/company
// Companyの参照
curl 'localhost:8080/company'
続いて、Productについてもサービスとコントローラを実装しましょう。
@Service
class ProductService {
    @Autowired
    private lateinit var productRepository: ProductRepository

    @Autowired
    private lateinit var companyRepository: CompanyRepository

    fun getAllProducts(): Flux<Product> = productRepository.findAll()

    fun registerNewProduct(productName: String, companyId: Int): Mono<Void> {
        return companyRepository.findById(companyId)
            .flatMap {
                productRepository.save(
                    Product(null, productName, companyId)
                )
            }
            .switchIfEmpty(Mono.error(Exception("company not found")))
            .then()
    }
}
Productでは、company_idはCompanyのIDという外部キー制約が課されているので、コントローラから受け取ったCompanyIdに該当するCompanyが存在しているかのバリデーションを実装してみました。
companyRepository.findById(companyId)で指定したIDのCompanyが存在しなかった場合、その戻り値はMono.empty()となるので
.switchIfEmpty(Mono.error(Exception("company not found")))に流れて例外を発生させるようになっています。
Controllerは基本的にCompanyと同じです。下記のように実装してください。
https://github.com/shota-hizawa/webflux-r2dbc-sample/blob/master/src/main/kotlin/com/example/webfluxr2dbcsample/controllers/ProductController.kt
動作確認をしてみましょう。
// 成功
curl -X POST -H "Content-Type: application/json" -d '{"name":"iPhone", "companyId": 1}' localhost:8080/product

// ID3であるCompanyは存在しないので失敗
// ExceptionHandlerを実装しないとSpringではすべてステータス500のエラーとして処理されてしまいますがその点については本項では割愛します
curl -X POST -H "Content-Type: application/json" -d '{"name":"Surface", "companyId": 3}' localhost:8080/product

// Productの参照
curl 'localhost:8080/product'
ユニットテストを実装してみる
では最後に、mockit-kotlinとStep Verifierを利用してProductサービスのユニットテストを実装してみましょう。
Step Verifier
MonoやFluxが、どのようなイベントを発火し、どのように振る舞うのかをテストするために、Project ReactorではStepVerifierというヘルパが用意されています。
6.1. Testing a Scenario with StepVerifier
@Test
public void testAppendBoomError() {
  Flux<String> source = Flux.just("thing1", "thing2");

  StepVerifier.create(
    appendBoomError(source))
    .expectNext("thing1")
    .expectNext("thing2")
    .expectErrorMessage("boom")
    .verify();
}
上記は、公式リファレンスからの抜粋です。
StepVerifierでは、
- 最初に"thing1"が発火される
- 次に"thing2"が発火される
- 次にエラーメッセージ"boom"が発火される
ことをアサートしています。
今回の例では、Flux.just("thing1", "thing2")は、3番目のステップでAssertionFailureとなります。
mockito-kotlin
Mockitoといえば、Javaのユニットテストにおいてモックを注入するために利用される非常に著名なライブラリで、そのままでもKotlinで利用することができます。
しかし、anyがそのまま使えなかったり、もともと記述がわかりにくかったりとさまざまな問題を抱えていました。
mockito-kotlinはKotlinで実装していてMockitoを使用したい場合に推奨されるライブラリで、公式のMockito Organizationにも統合されています。
mockito-kotlin was created and developed by nhaarman@ after which the repository was integrated into the official Mockito GitHub organization.
詳細な使用方法については公式Wikiを参照ください。
テストを実装する
まず、依存モジュールを追加してJUnit5とmockito-kotlinを利用できるようにします。
StepVerifierはReactorに含まれているので特に何もしなくてもそのまま利用できます。
dependencies {
    implementation("org.springframework.boot:spring-boot-starter-data-r2dbc")
    implementation("org.springframework.boot:spring-boot-starter-webflux")
    implementation("com.fasterxml.jackson.module:jackson-module-kotlin")
    implementation("io.projectreactor.kotlin:reactor-kotlin-extensions")
    implementation("org.flywaydb:flyway-core")
    implementation("org.jetbrains.kotlin:kotlin-reflect")
    implementation("org.jetbrains.kotlin:kotlin-stdlib-jdk8")
    implementation("org.jetbrains.kotlinx:kotlinx-coroutines-reactor")
    runtimeOnly("dev.miku:r2dbc-mysql")
    runtimeOnly("mysql:mysql-connector-java")
    testImplementation("org.springframework.boot:spring-boot-starter-test")
    testImplementation("io.projectreactor:reactor-test")
    // ↓↓↓↓↓↓↓追加↓↓↓↓↓↓↓↓
    testImplementation("junit:junit:4.12")
    testImplementation(group = "org.junit.jupiter", name = "junit-jupiter", version = "5.7.0")
    testImplementation(group = "com.nhaarman.mockitokotlin2", name = "mockito-kotlin", version = "2.+")
}
今回は、Productサービスクラスを対象に
- 製品情報を取得する
- 製品を登録する
- 製品の登録に失敗する
の3ケースを実装してみます。
テストコード全体は以下のようなものです。
@SpringBootTest
@DisplayName("ProductServiceのテスト")
class ProductServiceTests {

    val productRepository = mock<ProductRepository> {
        on { findAll() } doReturn Flux.just(
            Product(1, "iPhone", 1),
            Product(2, "MacBook Pro", 1),
            Product(3, "Pixel5", 2)
        )
        on { save(any()) } doReturn Mono.just(Product(1, "Dummy Product", 1))
    }

    val companyRepository = mock<CompanyRepository> {
        on { findAll() } doReturn Flux.just(
            Company(1, "Apple"),
            Company(2, "Google"),
        )
        on { findById(1) } doReturn Mono.just(Company(1, "Apple"))
        on { findById(2) } doReturn Mono.just(Company(2, "Google"))
        on { findById(3) } doReturn Mono.empty()
    }

    @InjectMocks
    private lateinit var productService: ProductService

    @Before
    fun setup() {
        MockitoAnnotations.openMocks(this)
    }

    @Nested
    @DisplayName("参照テスト")
    inner class GetTests {
        @Test
        fun `正常系 すべての製品情報を取得する`() {
            // test
            val result = productService.getAllProducts()
            StepVerifier.create(result)
                .expectNext(Product(1, "iPhone", 1))
                .expectNext(Product(2, "MacBook Pro", 1))
                .expectNext(Product(3, "Pixel5", 2))
                .expectComplete()
                .verify()
        }
    }

    @Nested
    @DisplayName("登録テスト")
    inner class RegisterTests {
        @Test
        fun `正常系 登録に成功する`() {
            val result = productService.registerNewProduct("iPhone", 1)
            StepVerifier.create(result)
                .expectNext()
                .expectComplete()
                .verify()
        }

        @Test
        fun `異常系 存在しないcompanyIdがリクエストされていた場合登録に失敗する`() {
            val result = productService.registerNewProduct("SurfaceBook", 3)
            StepVerifier.create(result)
                .expectErrorMatches { error -> error.message === "company not found" }
                .verify()
        }
    }

}
まず、最初の部分について。
 val productRepository = mock<ProductRepository> {
        on { findAll() } doReturn Flux.just(
            Product(1, "iPhone", 1),
            Product(2, "MacBook Pro", 1),
            Product(3, "Pixel5", 2)
        )
        on { save(any()) } doReturn Mono.just(Product(1, "Dummy Product", 1))
    }
ProductRepositoryのfindAll()メソッドとsave()メソッドについてモックの振る舞いを定義しています。
findAll()をした場合、3つのプロダクト情報が返却され、またsave()メソッドはどのようなエンティティを引き受けてもダミーとなるプロダクトが返却されるようになっています。
    val companyRepository = mock<CompanyRepository> {
        on { findAll() } doReturn Flux.just(
            Company(1, "Apple"),
            Company(2, "Google"),
        )
        on { findById(1) } doReturn Mono.just(Company(1, "Apple"))
        on { findById(2) } doReturn Mono.just(Company(2, "Google"))
        on { findById(3) } doReturn Mono.empty()
    }
こちらでは、CompanyRepositoryのfindAll()メソッドとfindById()について振る舞いを定義しました。
Companyは、IDが1と2の2社しか登録されていない状況を想定しています。
そのため、findById(3)では、Mono.empty()を返却する振る舞いが定義されています。
    @InjectMocks
    private lateinit var productService: ProductService

    @Before
    fun setup() {
        MockitoAnnotations.openMocks(this)
    }
モックのインジェクト対象となるクラスの指定(ProductService)と、Mockitoの初期化処理です。
@Beforeアノテーションによって各テストの前に初期化処理が行われるようにしています。
あとは、サービスクラスの各メソッドを呼び出してStepVerifierによってその戻り値を検証しています。
例えば、異常系 存在しないcompanyIdがリクエストされていた場合登録に失敗するでは、
@Test
fun `異常系 存在しないcompanyIdがリクエストされていた場合登録に失敗する`() {
    val result = productService.registerNewProduct("SurfaceBook", 3)
    StepVerifier.create(result)
        .expectErrorMatches { error -> error.message === "company not found" }
        .verify()
}
registerNewProductを実行して、companyIdが3の製品を登録するケースを行なっています。
前述の通り、CompanyリポジトリではIDが3の企業が存在しないような振る舞いが定義されているのでこの戻り値はMono.emptyとなり、
メッセージがcompany not foundである例外が捕捉されることを想定しています。
まとめ
- Flux/Monoを使う必要がある
- Spring Data JPAとは異なる部分が存在する
のような点を理解する必要があるものの、基本的にはSpring Web MVCに近いような感覚でWebFluxとR2DBCを利用することができそうであるということがご理解いただけたかと思います。
まだまだ事例や情報が豊富ではないため、つまづいた時に結構苦労するのは正直否めないかなと思います。
ですが、Mono/Fluxにさえ慣れてしまえばそこまで壁が高い技術ではないと感じたのではないでしょうか。
本稿は以上となります。
質問や、誤っている点に関するご指摘等ありましたらコメントをどうぞよろしくお願いします。
最後まで読んでいただきありがとうございました!