Google Colaboratoryはとても便利ですが、ファイルのやりとりが若干めんどくさいのが難点。Google Drive公式のpython APIを利用して、ファイルのアップロード、ダウンロードを便利にしましょう。
2018/9/19更新{
ColaboratoryでのGoogle Driveへのマウントが簡単になっていたお話
https://qiita.com/k_uekado/items/45b76f9a6f920bf0f786
めっちゃ便利になって、一瞬でマウント出来るようになったらしい。
例えばcolaboratoryのフォルダにcolab_tmpというフォルダを作成のうえ、
下記の通りマウント、認証、カレントディレクトリの変更を行うことで、
google driveとcolabolatoryの間でファイルをやり取りできる。
個人的にgoogle driveのファイルの管理のためのapi作ろうかと思っていたが、
マウント後にlinuxのコマンドを使うだけで片付く模様。
from google.colab import drive
drive.mount('/content/drive')
import os
os.chdir("/content/drive/My Drive/Colab Notebooks/colab_temp")
}
大まかな流れとしては、APIを作成し認証用のjsonファイルを作成し、そのファイルやライブラリをインストールしたうえで、クエリを使用してファイルやフォルダのGoogle Drive上でのidを取得し、ファイルのダウンロードやアップロードを行うという流れになります。
記事が長くなるため、3記事に分けて投稿します。
0.Google Colaboratoryを使う
1.CLI APIを作成する
2.必要なライブラリのインストール
3.serviceの作成
4.queryの実行によるidの取得
5.Goole Driveからのファイルのダウンロード、アップロード
6.Githubを利用した方法
0.Google Colaboratoryを使う
Chromeで"Google Colaboratory"と検索して
Hello, Colaboratory - Colaboratory - Google
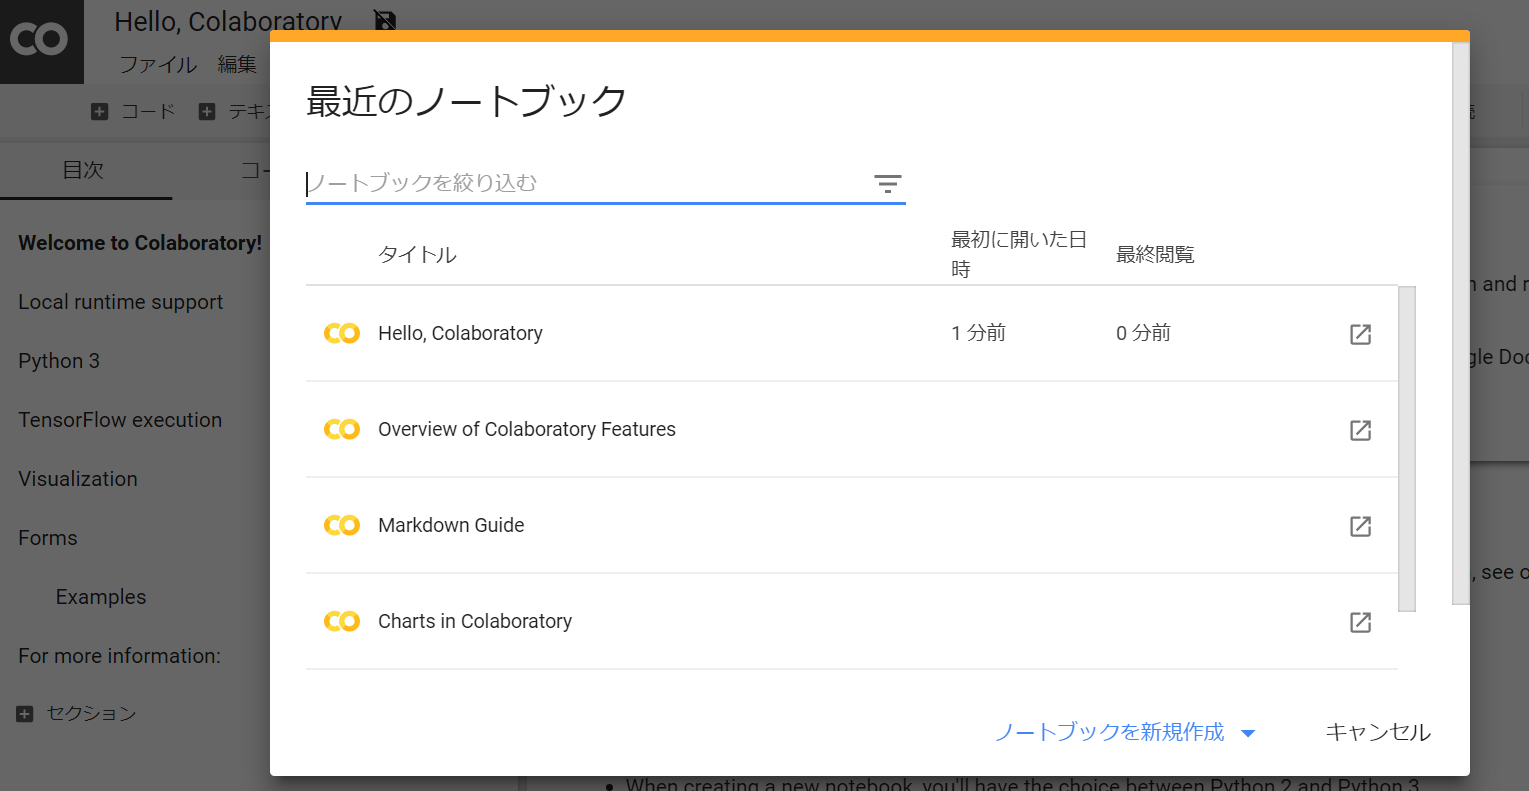
を開くと下記のような画面が出てくるので、「ノートブックを新規作成」、
「PYTHON3 の新しいノートブック」を選ぶ。
ノートブックの名前が「Untitled0.ipynb」など適当な名前になっているので、
タイトルを「gdrive.ipynb」などにする。
Google Driveを確認すると
「Colab Notebooks」というフォルダが作成され、その中に「gdrive.ipynb」
が作成されています。
次回からはGoogle Drive上で「gdrive.ipynb」を右クリックして、「アプリで開く」、
「Collaboratory」と選ぶだけでJupyter Notebookが使えます。(ちなみにAndroid端末やipadでも最初に書いたGoogle検索経由でアクセスすればColaboratoryが使えます。)

1.CLI APIを作成する(STEP 1 Turn on the Drive API)
google Google Drive REST API Overview
https://developers.google.com/drive/v3/web/about-sdk
quick start for python
https://developers.google.com/drive/v3/web/quickstart/python
quick start for pythonのリンク先を開くと、
Step 1: Turn on the Drive API
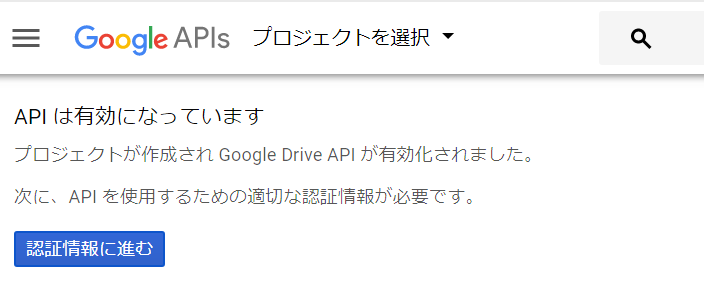
Use this wizard to create or select a project in the Google Developers Console and automatically turn on the API. Click Continue, then Go to credentials.
と書いてあるので、"this wizard"の部分のリンク
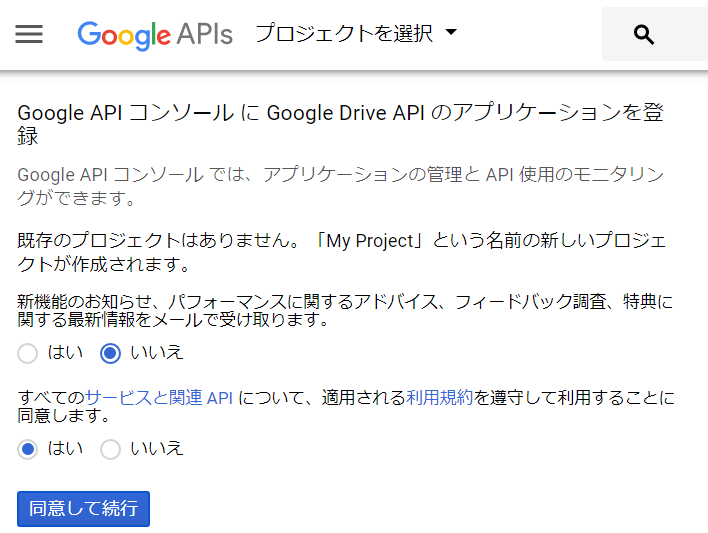
「同意をはいにする」「同意して続行」
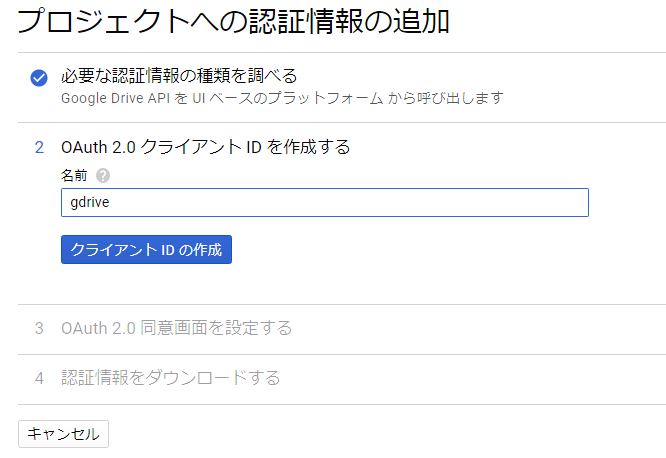
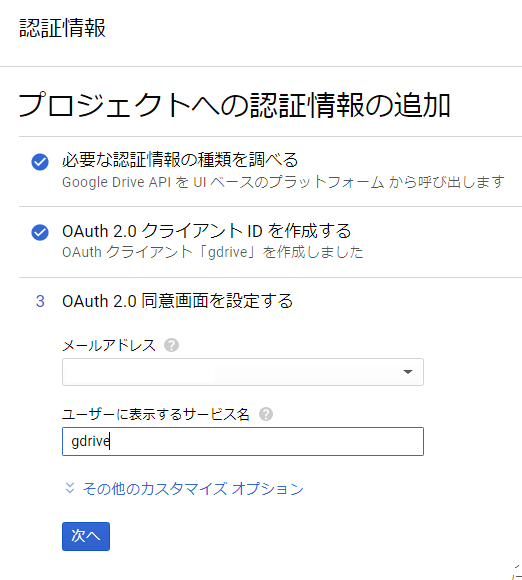
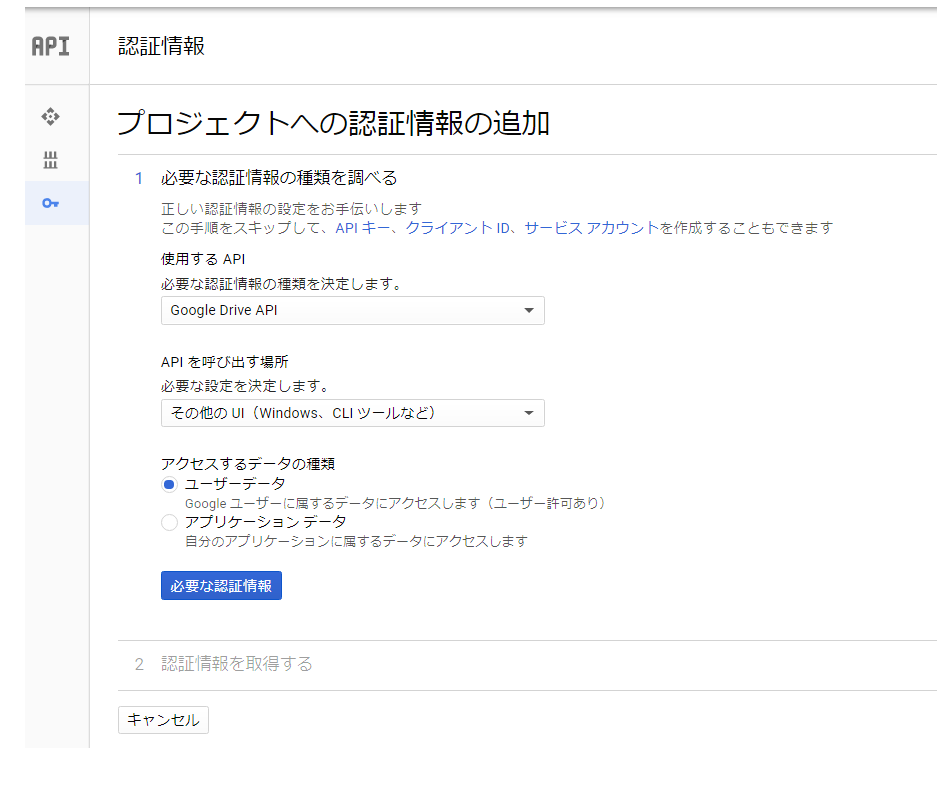
「Google Drive API」「その他のUI」「ユーザーデータ」②
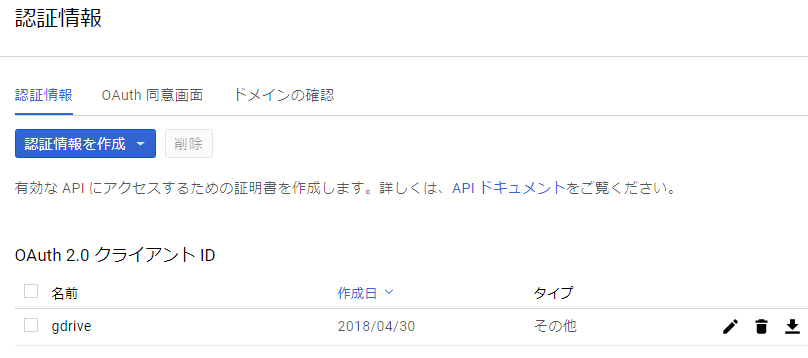
ごみ箱の右に、ダウンロードっぽいボタンがあるのでクリック。⑥
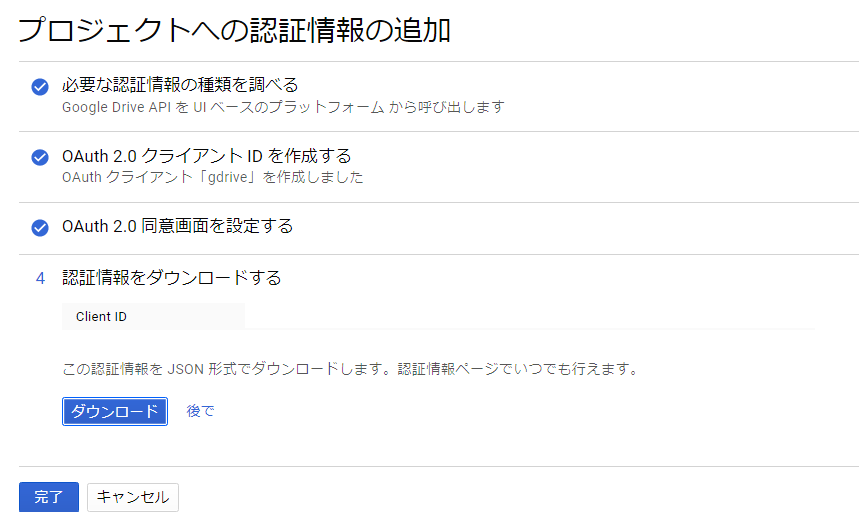
名前を、”client_secret.json”に直しておく。
