ソフトウェアラスタライザー基本実装編 03.クリッピング
前回はワイヤフレームで描画をおこないました。
その際に画面外にはみ出るポリゴンは破棄するという簡単な方法を取っていましたが、
そのままというわけにもいかないので画面外にはみ出る場合の対応を行います。
リポジトリ
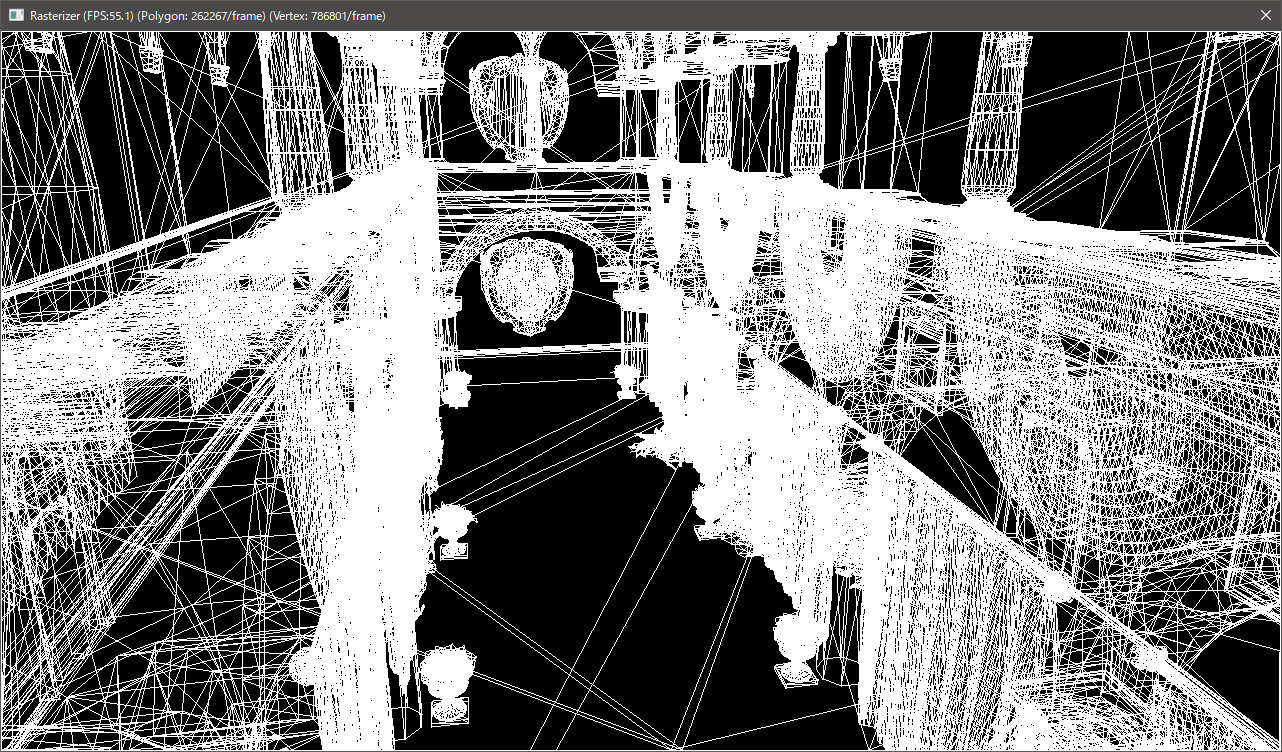
今回のビルド結果は以下のような感じです。
画面外にはみ出た部分がちゃんとクリップされているのが見て取れます。
Sutherland–Hodgmanアルゴリズム
極端に言えば点を打つごとに画面外かどうかを判定していけばいいんですが、
それだとif文が多量に呼ばれるのと、XY方向はともかくZ方向の処理に対応できません。
そんなわけで有名なクリッピングのアルゴリズムであるSutherland–Hodgmanを利用します。
ざっくりいうと線分ABのAが内側ならそのまま追加し、外側ならBとの線分が面との交点を求めて交差すれば交点を新しい頂点に、交差しなければ破棄、Aが内側でBが内側ならそのまま追加し、外側なら面との交点を求めて新しい頂点に、といった感じの処理を繰り返して行きます。
Renderer.h
template <typename FUNC>
int32 ClipPoints(Vector4 Dst[], const Vector4 Src[], const int32 PointCount, FUNC Compare)
{
	static const uint8 index_table[8][8] = {
		{ 0, 0, 0, 0, 0, 0, 0 },	// 0: -
		{ 0, 0, 0, 0, 0, 0, 0 },	// 1: 0
		{ 1, 0, 0, 0, 0, 0, 0 },	// 2: 0 1 0
		{ 1, 2, 0, 0, 0, 0, 0 },	// 3: 0 1 2 0
		{ 1, 2, 3, 0, 0, 0, 0 },	// 4: 0 1 2 3 0
		{ 1, 2, 3, 4, 0, 0, 0 },	// 5: 0 1 2 3 4 0
		{ 1, 2, 3, 4, 5, 0, 0 },	// 6: 0 1 2 3 4 5 0
		{ 1, 2, 3, 4, 5, 6, 0 },	// 7: 0 1 2 3 4 5 6 0
	};
	auto table = index_table[PointCount];

	int32 NewPointCount = 0;

	for (int32 i = 0; i < PointCount; ++i)
	{
		const auto& v1 = Src[i];
		const auto& v2 = Src[table[i]];	// [(i + 1) % PointCount]

		const auto d1 = Compare(v1);
		const auto d2 = Compare(v2);

		const auto Intersect = [&](Vector4& v)
		{
			const fp32 rate = d1 / (d1 - d2);
			Vector_Lerp(v, v1, v2, rate);
		};

		if (d1 > 0.0f)
		{
			if (d2 > 0.0f)
			{
				Dst[NewPointCount++] = v2;
			}
			else
			{
				Intersect(Dst[NewPointCount++]);
			}
		}
		else
		{
			if (d2 > 0.0f)
			{
				Intersect(Dst[NewPointCount++]);
				Dst[NewPointCount++] = v2;
			}
		}
	}

	return NewPointCount;
}
この際にプロジェクション変換後の同時座標系の頂点はwで割って-1~+1になりますので、
wで割る前の状態で考えると-w~+wとなります。
ですので比較はシンプルに±wと行うことができます。
各軸でそれぞれ比較し新しい頂点を取得します。
これをXYZそれぞれ6面に対して行うことで正しくクリッピングすることができます。
Renderer.cpp
PointCount = ClipPoints(TempB, TempA, PointCount, [](const Vector4& v) { return v.w - v.y; });
PointCount = ClipPoints(TempA, TempB, PointCount, [](const Vector4& v) { return v.w + v.y; });
PointCount = ClipPoints(TempB, TempA, PointCount, [](const Vector4& v) { return v.w - v.x; });
PointCount = ClipPoints(TempA, TempB, PointCount, [](const Vector4& v) { return v.w + v.x; });
PointCount = ClipPoints(TempB, TempA, PointCount, [](const Vector4& v) { return v.w - v.z; });
PointCount = ClipPoints(TempA, TempB, PointCount, [](const Vector4& v) { return v.w + v.z; });
最後に
今回はポリゴンのクリッピング処理を行いました。
この辺りまではラスタライザー制作的にはまだまだ事前準備という感じかと思います。
次回はいよいよポリゴンの描画を行います。