概要
このエントリでは、Cordovaでアプリ起動時の初期化処理について眺めてみます。
想定読者
このエントリの読者は、以下の方を想定しています。
- Cordovaで"Hello World"程度のアプリは作って動かしたことがある方
- Objective-Cをマスターしている必要はないですが、なんとなくコードの雰囲気が分かっている方で、iOSのライフサイクルについても少し知識がある方
- 言われてみれば、中の動きってどうなってるんだっけ、ということに関心がある方
こんのエントリの内容は、ブレークポイントを貼って追えばわかるものと同等ですが、さっと土地勘を知る目的で使えるかもしれません。
前提
下記を使用しています。
| 項目 | 内容 |
|---|---|
| OS | macOS 10.13.6(High Sierra) |
| cordova | 9.0.0 (cordova-lib@9.0.1) |
| Xcode | 10.1 |
準備
cordovaをインストール
$ npm install -g cordova
カラのプロジェクトを作る
$ cordova create gawaNativeTrial io.hrkt.gawaNativeTrial gawaNativeTrial
platformを追加する
$ cd gawaNativeTrial
$ cordova platform add ios
動きを確認して見る
Xcodeのプロジェクトを開く
以下の位置にある、ワークスペースのファイルを開きます。
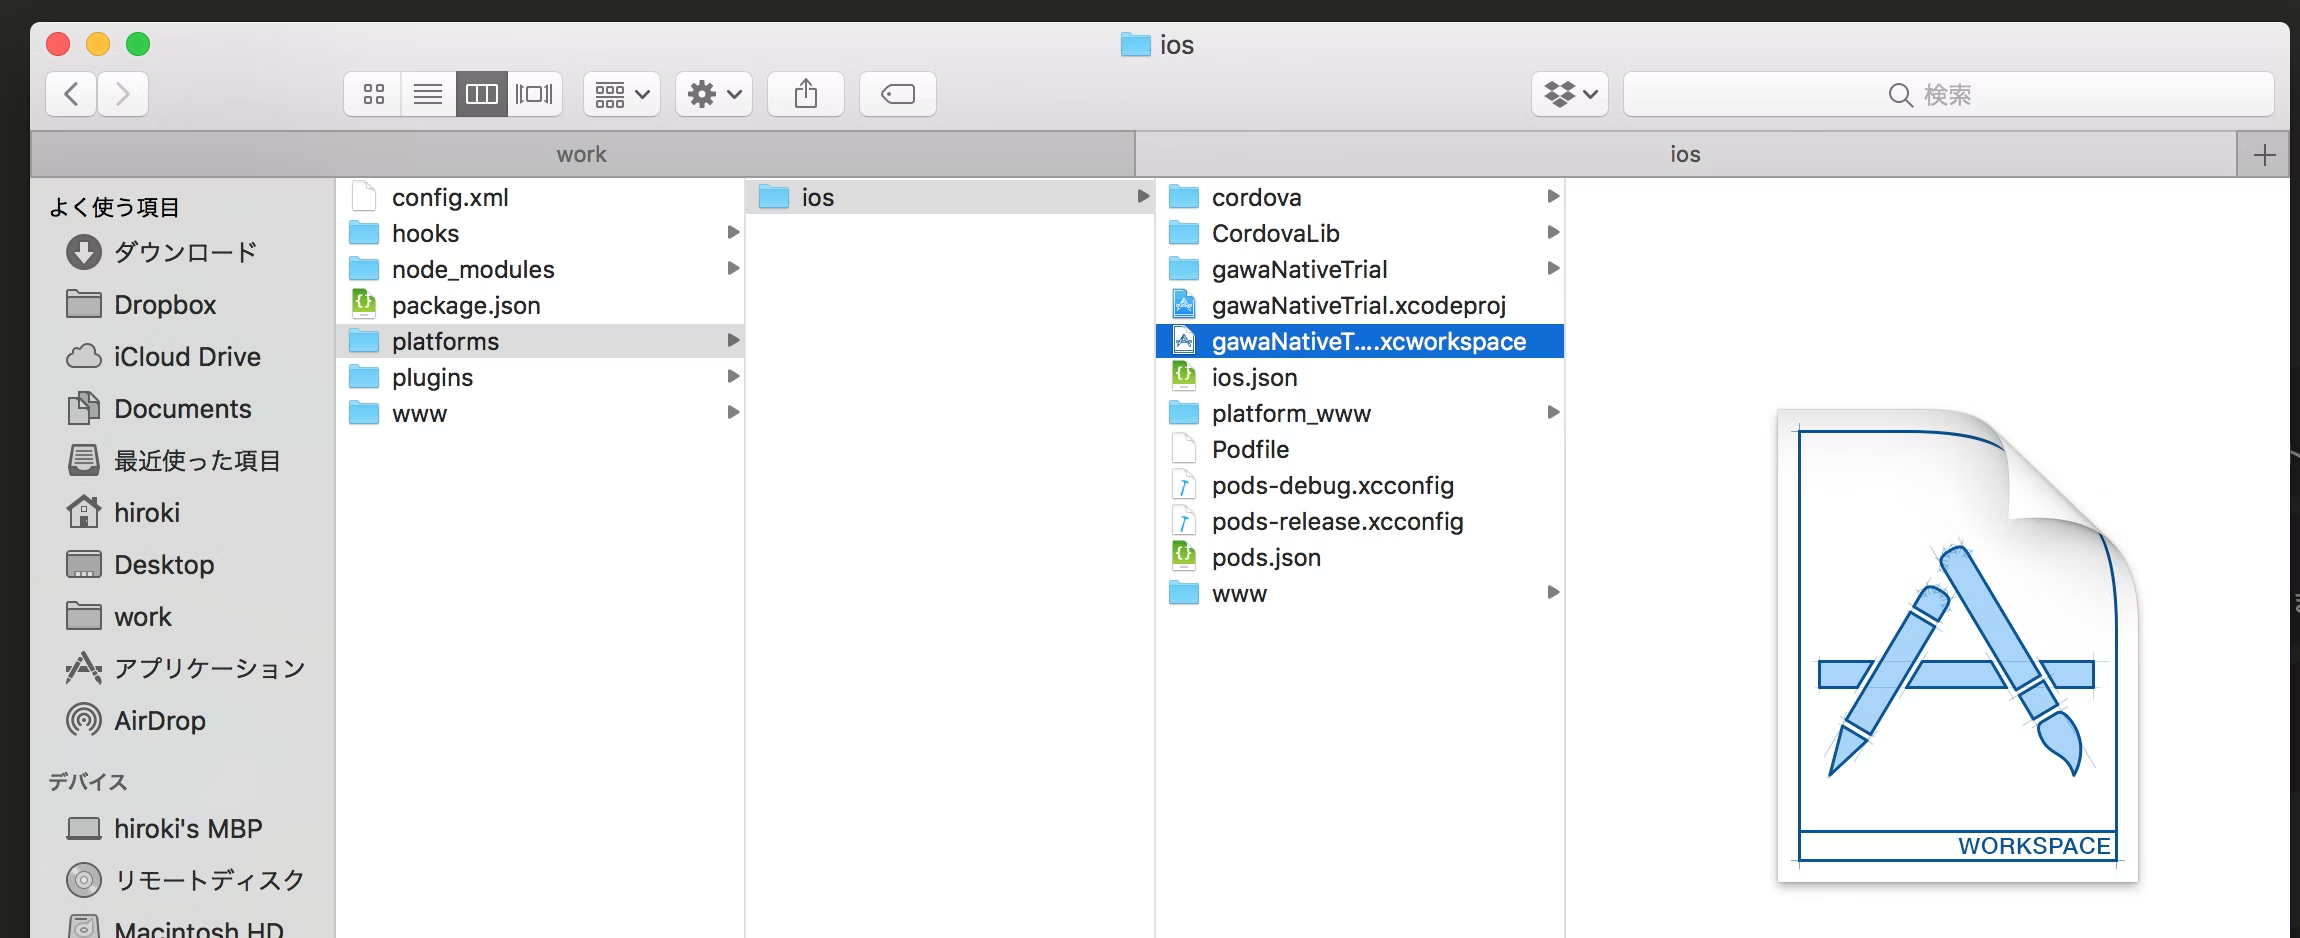
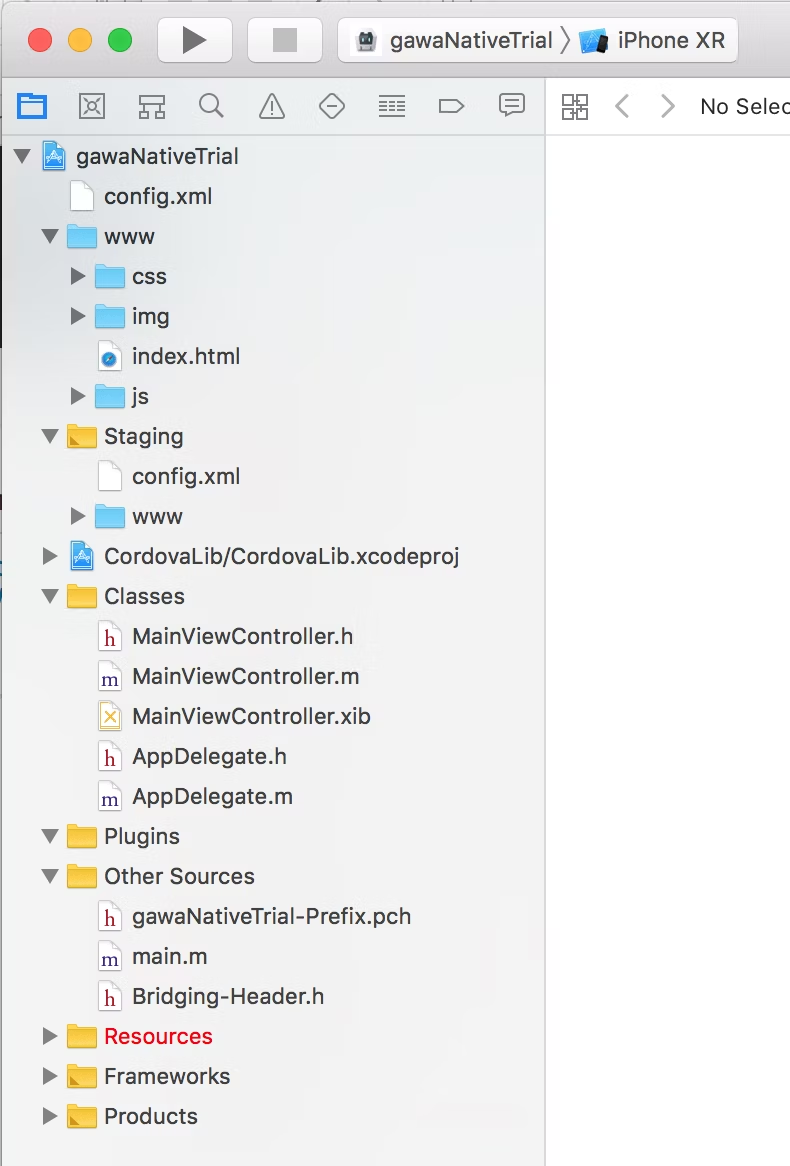
Xcodeではこのような見た目になるでしょう。
AppDelegate
iOSのアプリは、AppDelegateがエントリポイントになります。まずここを確認しましょう。
# import "AppDelegate.h"
# import "MainViewController.h"

@implementation AppDelegate

- (BOOL)application:(UIApplication*)application didFinishLaunchingWithOptions:(NSDictionary*)launchOptions
{
    self.viewController = [[MainViewController alloc] init];
    return [super application:application didFinishLaunchingWithOptions:launchOptions];
}

@end
MainViewController
どんなものなのか知るために、ヘッダファイル(MainViewController.h)を眺めていましょう。
# import <Cordova/CDVViewController.h>
# import <Cordova/CDVCommandDelegateImpl.h>
# import <Cordova/CDVCommandQueue.h>

@interface MainViewController : CDVViewController

@end

@interface MainCommandDelegate : CDVCommandDelegateImpl
@end

@interface MainCommandQueue : CDVCommandQueue
@end
CDVViewControllerが親クラスですね。さて、実装クラス(MainViewController.m)はどうなっているでしょうか。
init
- (id)init
{
    self = [super init];
    if (self) {
        // Uncomment to override the CDVCommandDelegateImpl used
        // _commandDelegate = [[MainCommandDelegate alloc] initWithViewController:self];
        // Uncomment to override the CDVCommandQueue used
        // _commandQueue = [[MainCommandQueue alloc] initWithViewController:self];
    }
    return self;
}
アプリをテンプレートから生成した初期状態では特に何もしておらず、親クラスが処理を実施してくれています。
実際のところ、Cordovaの想定した使い方を外れていない時には、こういったフレームワーク側のコードの中に自分で何か書くことはないでしょう。
親クラスは、開いているワークスペースで、下記の位置にあります。
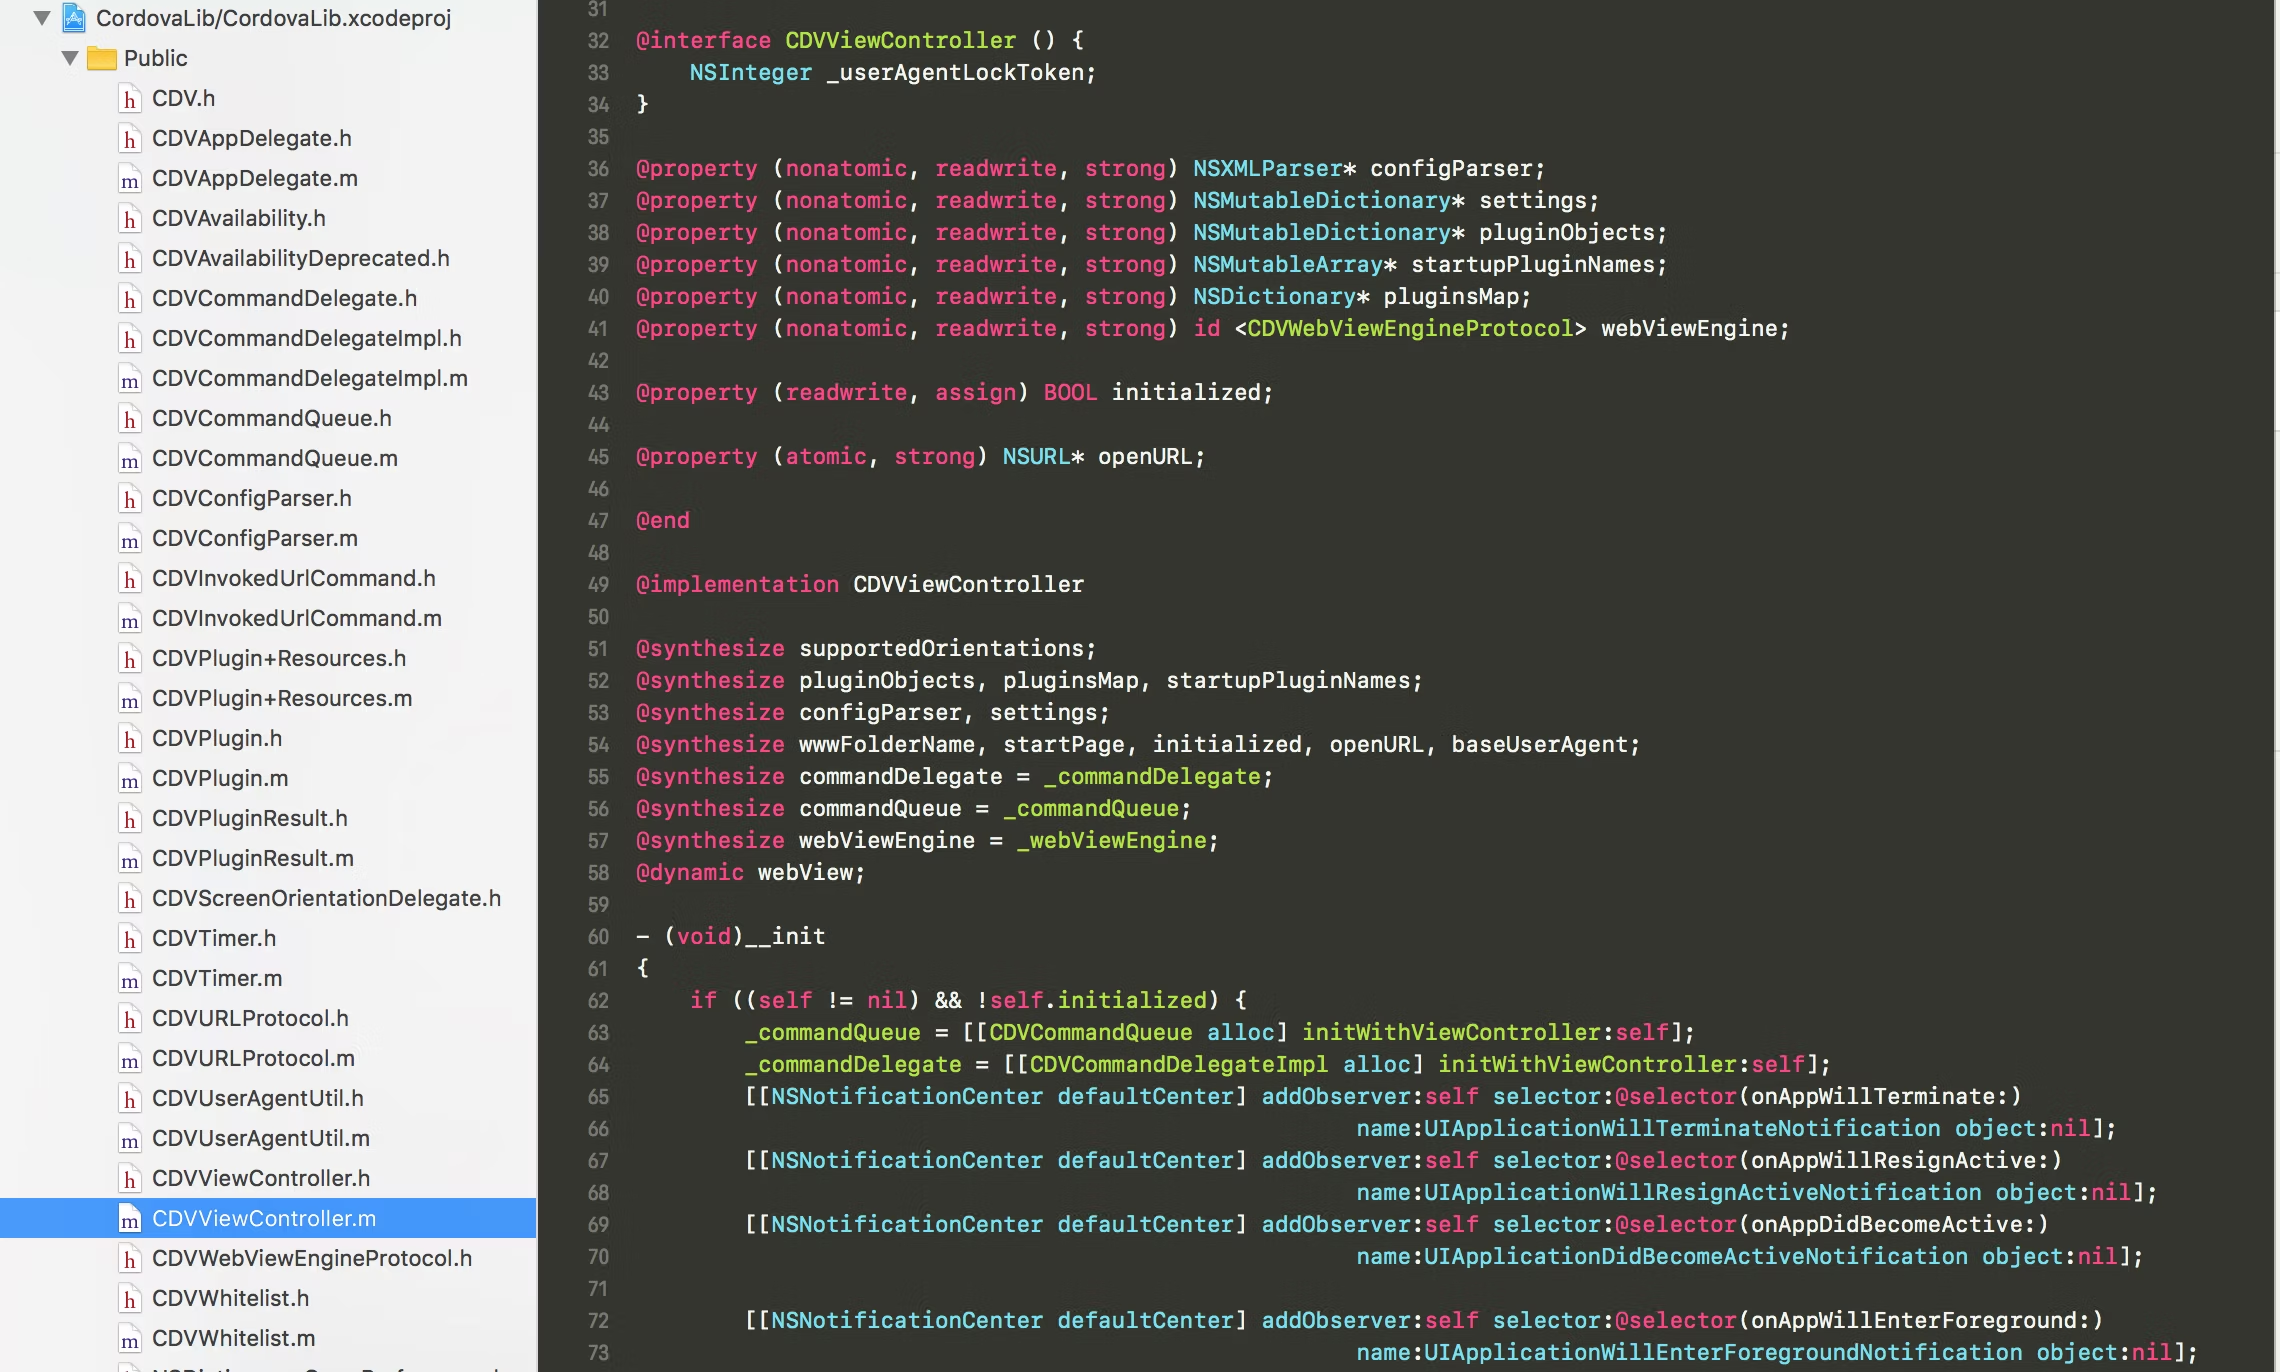
https://github.com/apache/cordova-ios/blob/master/CordovaLib/Classes/Public/CDVViewController.m
initは下記のようになっており、別のメソッドを呼んでいます。
- (id)init
{
    self = [super init];
    [self __init];
    return self;
}
さて、__initですが、
- (void)__init
{
    if ((self != nil) && !self.initialized) {
まず、2つのオブジェクトを作っていますね。コマンド実行のためのキュート、実行のためのデリゲートです。アプリ内でのメッセージ受け渡しのためのNSNotificationCenterに、
        _commandQueue = [[CDVCommandQueue alloc] initWithViewController:self];
        _commandDelegate = [[CDVCommandDelegateImpl alloc] initWithViewController:self];
その後、アプリ内でのイベントの通知機構のNSNotificationCenterに対して、ライフサイクルでの各イベントの時に何を実施したいかについて、一連のハンドラを登録しています。
        [[NSNotificationCenter defaultCenter] addObserver:self selector:@selector(onAppWillTerminate:)
                                                     name:UIApplicationWillTerminateNotification object:nil];
        [[NSNotificationCenter defaultCenter] addObserver:self selector:@selector(onAppWillResignActive:)
                                                     name:UIApplicationWillResignActiveNotification object:nil];
        [[NSNotificationCenter defaultCenter] addObserver:self selector:@selector(onAppDidBecomeActive:)
                                                     name:UIApplicationDidBecomeActiveNotification object:nil];

        [[NSNotificationCenter defaultCenter] addObserver:self selector:@selector(onAppWillEnterForeground:)
                                                     name:UIApplicationWillEnterForegroundNotification object:nil];
        [[NSNotificationCenter defaultCenter] addObserver:self selector:@selector(onAppDidEnterBackground:)
                                                     name:UIApplicationDidEnterBackgroundNotification object:nil];
それぞれ、selectorで指定された先のメソッドを読むとどんなことをしているのかが観察できます。一つだけ例をとり、"onAppWillTerminate"を眺めて見ましょう。
/*
 This method lets your application know that it is about to be terminated and purged from memory entirely
 */
- (void)onAppWillTerminate:(NSNotification*)notification
{
    // empty the tmp directory
    NSFileManager* fileMgr = [[NSFileManager alloc] init];
    NSError* __autoreleasing err = nil;

    // clear contents of NSTemporaryDirectory
    NSString* tempDirectoryPath = NSTemporaryDirectory();
    NSDirectoryEnumerator* directoryEnumerator = [fileMgr enumeratorAtPath:tempDirectoryPath];
    NSString* fileName = nil;
    BOOL result;

    while ((fileName = [directoryEnumerator nextObject])) {
        NSString* filePath = [tempDirectoryPath stringByAppendingPathComponent:fileName];
        result = [fileMgr removeItemAtPath:filePath error:&err];
        if (!result && err) {
            NSLog(@"Failed to delete: %@ (error: %@)", filePath, err);
        }
    }
}
アプリが終了する時に、一時ディレクトリを消す処理が入っています。
このような形で、随所でCordova側が「いい感じの」処理を実行してくれているので、Cordovaの開発者はJavaScript側の実装だけ書けば良い(ことをCordovaは目指している)わけですね。
「CordovaがiOSアプリケーションのライフサイクルで何やってるんだっけ?」ということについて知りたい場合は、このあたりから読み始めるとヒントがあります。
で、そのあとはいくつかのINFOレベルの情報をログに書いて__initはおしまいです。
viewDidLoad
アプリのライフサイクルにより、コントローラのviewDidLoadが呼ばれます。
まず、loadSettingsにて、Cordovaの設定を読み込んでいます。
// Implement viewDidLoad to do additional setup after loading the view, typically from a nib.
- (void)viewDidLoad
{
    [super viewDidLoad];

    // Load settings
    [self loadSettings];
loadSettings
loadSettingsの中では、CDVConfigParserを使い、Cordovaの設定ファイルを読み込んでいます。使用プラグインや、指定がなかった場合の各種デフォルト値などが設定されます。このあたりで、デフォルトでは、wwwフォルダ内のindex.htmlを使うことなどが指定されています。
- (void)loadSettings
{
    CDVConfigParser* delegate = [[CDVConfigParser alloc] init];

    [self parseSettingsWithParser:delegate];

    // Get the plugin dictionary, whitelist and settings from the delegate.
    self.pluginsMap = delegate.pluginsDict;
    self.startupPluginNames = delegate.startupPluginNames;
    self.settings = delegate.settings;

    // And the start folder/page.
    if(self.wwwFolderName == nil){
        self.wwwFolderName = @"www";
    }
    if(delegate.startPage && self.startPage == nil){
        self.startPage = delegate.startPage;
    }
    if (self.startPage == nil) {
        self.startPage = @"index.html";
    }

    // Initialize the plugin objects dict.
    self.pluginObjects = [[NSMutableDictionary alloc] initWithCapacity:20];
}
そうこうして、viewDidLoadの続きに戻ります。
ついに、WebViewを作る時がきたようです。
    // // Instantiate the WebView ///////////////

    if (!self.webView) {
        [self createGapView];
    }
飛び先のメソッドは、
- (void)createGapView
{
    CGRect webViewBounds = self.view.bounds;

    webViewBounds.origin = self.view.bounds.origin;

    UIView* view = [self newCordovaViewWithFrame:webViewBounds];
さらに先のメソッドnewCordovaViewWithFrameへ。
- (UIView*)newCordovaViewWithFrame:(CGRect)bounds
{
    NSString* defaultWebViewEngineClass = [self.settings cordovaSettingForKey:@"CordovaDefaultWebViewEngine"];
    NSString* webViewEngineClass = [self.settings cordovaSettingForKey:@"CordovaWebViewEngine"];

    if (!defaultWebViewEngineClass) {
        defaultWebViewEngineClass = @"CDVUIWebViewEngine";
    }
    if (!webViewEngineClass) {
        webViewEngineClass = defaultWebViewEngineClass;
    }

    // Find webViewEngine
    if (NSClassFromString(webViewEngineClass)) {
        self.webViewEngine = [[NSClassFromString(webViewEngineClass) alloc] initWithFrame:bounds];
        // if a webView engine returns nil (not supported by the current iOS version) or doesn't conform to the protocol, or can't load the request, we use UIWebView
        if (!self.webViewEngine || ![self.webViewEngine conformsToProtocol:@protocol(CDVWebViewEngineProtocol)] || ![self.webViewEngine canLoadRequest:[NSURLRequest requestWithURL:self.appUrl]]) {
            self.webViewEngine = [[NSClassFromString(defaultWebViewEngineClass) alloc] initWithFrame:bounds];
        }
    } else {
        self.webViewEngine = [[NSClassFromString(defaultWebViewEngineClass) alloc] initWithFrame:bounds];
    }

    if ([self.webViewEngine isKindOfClass:[CDVPlugin class]]) {
        [self registerPlugin:(CDVPlugin*)self.webViewEngine withClassName:webViewEngineClass];
    }

    return self.webViewEngine.engineWebView;
}
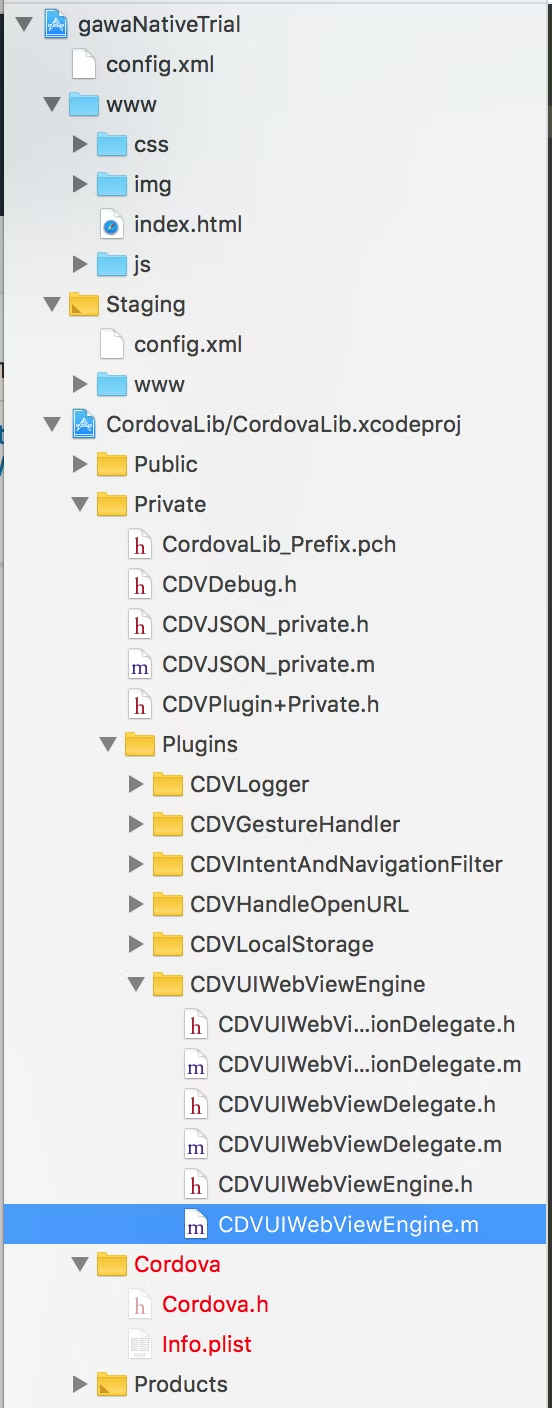
ここで作られているCDVWebViewEngineProtocolを実装したクラスは、以下の位置にあります。
registerPluginでは、下記のような処理が走り、ViewControllerやCommandDelegateからの呼び出しに答えるプラグインである場合、呼び出しに必要な登録処理を実施しています。
プラグインの管理マップに登録し、初期化を走らせます。
- (void)registerPlugin:(CDVPlugin*)plugin withPluginName:(NSString*)pluginName
{
    if ([plugin respondsToSelector:@selector(setViewController:)]) {
        [plugin setViewController:self];
    }

    if ([plugin respondsToSelector:@selector(setCommandDelegate:)]) {
        [plugin setCommandDelegate:_commandDelegate];
    }

    NSString* className = NSStringFromClass([plugin class]);
    [self.pluginObjects setObject:plugin forKey:className];
    [self.pluginsMap setValue:className forKey:[pluginName lowercaseString]];
    [plugin pluginInitialize];
}
今の流れでは、WebViewEngineプラグイン(CDVUIWebViewEngine)の初期化が呼ばれるので、そこを眺めてみましょう。
- (void)pluginInitialize
{
    // viewController would be available now. we attempt to set all possible delegates to it, by default

    UIWebView* uiWebView = (UIWebView*)_engineWebView;

    if ([self.viewController conformsToProtocol:@protocol(UIWebViewDelegate)]) {
        self.uiWebViewDelegate = [[CDVUIWebViewDelegate alloc] initWithDelegate:(id <UIWebViewDelegate>)self.viewController];
        uiWebView.delegate = self.uiWebViewDelegate;
    } else {
        self.navWebViewDelegate = [[CDVUIWebViewNavigationDelegate alloc] initWithEnginePlugin:self];
        self.uiWebViewDelegate = [[CDVUIWebViewDelegate alloc] initWithDelegate:self.navWebViewDelegate];
        uiWebView.delegate = self.uiWebViewDelegate;
    }

    [self updateSettings:self.commandDelegate.settings];
}
ViewControllerが使えるようになっているので、必要なデリゲートを追加しています。
ページがNavigation付きかどうかで処理を振り分け、Navigationの時にはそれようのデリゲートを指定しています。
補足:この部分などの動きで、実際どちらを走っているかについては、
ブレークポイントを貼って実行して調べられます。止まったところで、デバッガのウインドウから
「p self.viewController」で調べると、下記とわかります。(lldb) p self.viewControllerK (MainViewController *) $1 = 0x00007fe020e08a10
一番最後の行のupdateSettingsでは、WebViewに対する初期設定(ViewPortScaleを許すかどうか、メディア再生を許すかどうか、など)
- (void)updateSettings:(NSDictionary*)settings
{
さて、CDVViewController.mのviewDidLoadに戻りまして、URLを指定してページをロードするリクエストを出します。
 // /////////////////
    NSURL* appURL = [self appUrl];
    __weak __typeof__(self) weakSelf = self;

    [CDVUserAgentUtil acquireLock:^(NSInteger lockToken) {
        // Fix the memory leak caused by the strong reference.
        [weakSelf setLockToken:lockToken];
        if (appURL) {
            NSURLRequest* appReq = [NSURLRequest requestWithURL:appURL cachePolicy:NSURLRequestUseProtocolCachePolicy timeoutInterval:20.0];
            [self.webViewEngine loadRequest:appReq];
WebViewEngineのloadRequestを見て見ましょう。
- (id)loadRequest:(NSURLRequest*)request
{
    [(UIWebView*)_engineWebView loadRequest:request];
    return nil;
}
UIWebViewのloadRequestが呼ばれていますね。
UIWebViewのリクエストが走り、このなかのイベントに対応したデリゲートが呼び出されていきます。
CDVUIWebViewDelegate
UIWebViewDelegateに従ってアプリケーションフレームワーク側から呼び出される処理を順番に見ていきます。
「gap://」で始まるURLであれば、Cordovaのコマンドキューに入れる処理が見られますが、
JS->ネイティブ側の呼び出しは、このようなURLベースで実現しています。
このエントリの流れでは、ページをロードしているのでここは通りません。
- (BOOL)webView:(UIWebView*)theWebView shouldStartLoadWithRequest:(NSURLRequest*)request navigationType:(UIWebViewNavigationType)navigationType
{
    NSURL* url = [request URL];
    CDVViewController* vc = (CDVViewController*)self.enginePlugin.viewController;

    /*
     * Execute any commands queued with cordova.exec() on the JS side.
     * The part of the URL after gap:// is irrelevant.
     */
    if ([[url scheme] isEqualToString:@"gap"]) {
        [vc.commandQueue fetchCommandsFromJs];
        // The delegate is called asynchronously in this case, so we don't have to use
        // flushCommandQueueWithDelayedJs (setTimeout(0)) as we do with hash changes.
        [vc.commandQueue executePending];
        return NO;
    }
ロードの際、プラグインで処理したい対象かどうかを判定しています(tel:などはこのあとの後続処理でメインのWebView上で取り扱います)。
    /*
     * Give plugins the chance to handle the url
     */
    BOOL anyPluginsResponded = NO;
    BOOL shouldAllowRequest = NO;

    for (NSString* pluginName in vc.pluginObjects) {
        CDVPlugin* plugin = [vc.pluginObjects objectForKey:pluginName];
        SEL selector = NSSelectorFromString(@"shouldOverrideLoadWithRequest:navigationType:");
        if ([plugin respondsToSelector:selector]) {
            anyPluginsResponded = YES;
            shouldAllowRequest = (((BOOL (*)(id, SEL, id, int))objc_msgSend)(plugin, selector, request, navigationType));
            if (!shouldAllowRequest) {
                break;
            }
        }
    }

    if (anyPluginsResponded) {
        return shouldAllowRequest;
    }
その後いくつかの処理があり、webViewDidFinishLoadが呼ばれます。
/**
 Called when the webview finishes loading.  This stops the activity view.
 */
- (void)webViewDidFinishLoad:(UIWebView*)theWebView
{
    NSLog(@"Finished load of: %@", theWebView.request.URL);
    CDVViewController* vc = (CDVViewController*)self.enginePlugin.viewController;

    // It's safe to release the lock even if this is just a sub-frame that's finished loading.
    [CDVUserAgentUtil releaseLock:vc.userAgentLockToken];

    /*
     * Hide the Top Activity THROBBER in the Battery Bar
     */
    [[UIApplication sharedApplication] setNetworkActivityIndicatorVisible:NO];

    [[NSNotificationCenter defaultCenter] postNotification:[NSNotification notificationWithName:CDVPageDidLoadNotification object:self.enginePlugin.webView]];
メソッド末尾で「CDVPageDidLoadNotification」のNSNotirficationを使っていますが、これは次に示すプラグインでハンドラが登録されています。
JavaScript側
JavaScript側では、index.html上にあるcordova.jsの中で各種初期化が実施され、最後にユーザ側のコードに"deviceready"イベントを送る流れとなります。
cordova.jsは、そのまま読んでいっても読める形ではありますが、https://github.com/apache/cordova-jsの「Project Structure」にある一言説明を参照しながら、1つのファイルにビルドされるまえのソースコード読むとわかりやすいかもしれません。
"How It Works"のあたりに各モジュールの説明があります。
Cordovaフレームワーク側でのイベントの伝搬は、channel.jsでpub-sub型のチャネルを実装し、実現されています。アプリ側で、実行準備完了のイベントである"deviceready"もこのチャネルで伝搬されるものです。
各種初期化を担当しているinit.js
の最後の方に、以下のようなコードがあります。
     // Fire onDeviceReady event once page has fully loaded, all |
     // constructors have run and cordova info has been received from native
     // side.
     channel.join(function () {
         require('cordova').fireDocumentEvent('deviceready');
     }, channel.deviceReadyChannelsArray);
これが、pub-subのチャネルを通して、JavaScript側のイベントリスナーに届くことにより、Cordovaがアプリケーションとして実行可能になった状態となります。
おわりに
Cordovaでアプリ起動時の初期化処理を眺めてみました。
Cordovaを使っていて動きがもう少し知りたくなった時など、各プラットフォーム側のネイティブの実装も必要な範囲で眺めておくと、理屈がわかり、実装にも役立つと思います。