この記事では、オープンソース LWC のSynthetic Shadow を使って ShadowRoot をポリフィルする方法を紹介します。
オープンソース LWC と shadow DOM
オープンソース LWC では、デフォルトで shadow DOM を利用したスコープが形成されます。
しかし、一部ブラウザへの互換性やスタイルシートの適用ルールなどの理由で shadow DOM を使えない場合に備えて Synthetic Shadow という LWC の ShadowRoot をポリフィルするためのライブラリが用意されています。
他にもポリフィルする方法はありますが、Synthetic Shadow は Lightning プラットフォームの性能要件に合わせて LWC に最適化されているため推奨されています。
プロジェクトを作成
まずは、lwc-create-app でプロジェクトを作成し、ShadowRoot によるスコープを確認してみます。
$ npx lwc-create-app use-synthetic-shadow

? Package name for npm use-synthetic-shadow
? Description
? Author
? Version 0.0.0
? License MIT
? Who is the GitHub owner of the repository (https://github.com/OWNER/repo)
? What is the GitHub name of the repository (https://github.com/owner/REPO) use-synthetic-shadow
? Select a package manager npm
? Register web component No
? Use custom Express server configuration No

$ cd use-synthetic-shadow
$ npm run watch
ブラウザで要素を確認してみると、#shadow-root ドキュメントフラグメントが確認できます。

Synthetic Shadow を利用する
Synthetic Shadow を適用するには @lwc/synthetic-shadow をインポートします。
@lwc/synthetic-shadow は、プロジェクトの作成と同時にインストールされているので、改めて取得する必要はありません。
src/index.js を開いて、lwc のインポートより前に import '@lwc/synthetic-shadow'; を追加するだけです。
import '@lwc/synthetic-shadow';
import { createElement } from 'lwc'; // これより前に @lwc/synthetic-shadow をインポートする
import MyApp from 'my/app';

const app = createElement('my-app', { is: MyApp });
// eslint-disable-next-line @lwc/lwc/no-document-query
document.querySelector('#main').appendChild(app);
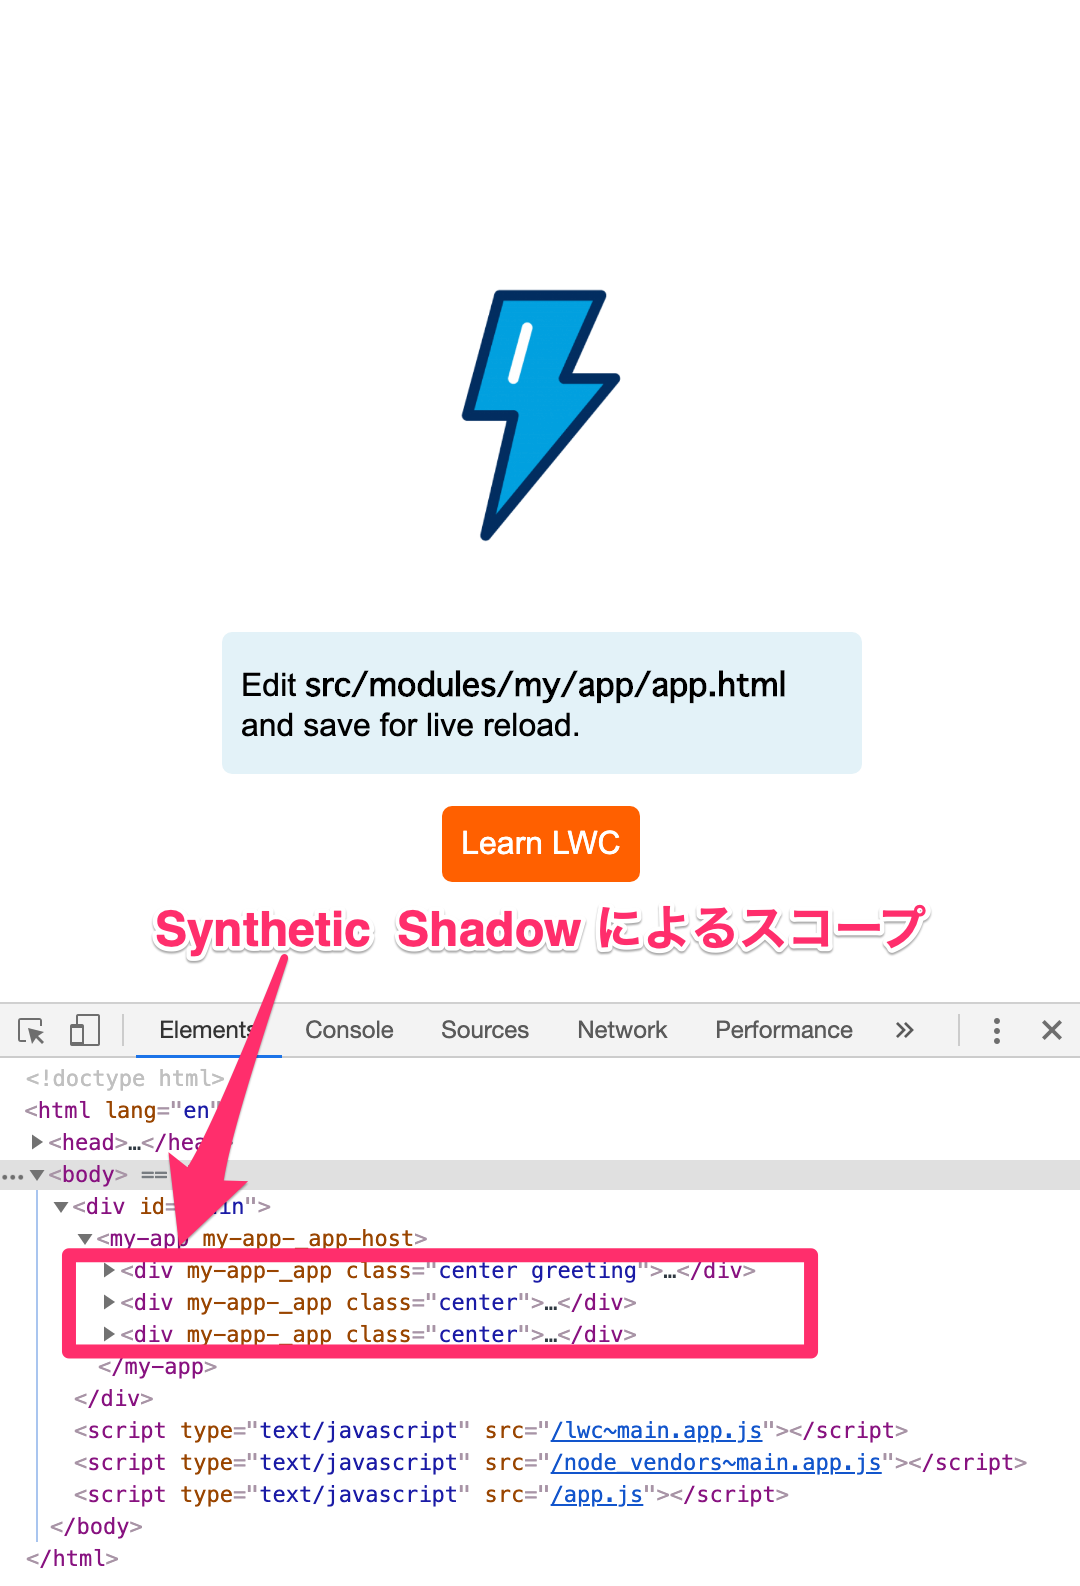
ブラウザで確認してみると、#shadow-root ドキュメントフラグメントが消えているのが分かります。

[おまけ] Lightning Design System を適用する
shadow DOM とは違い、 Synthetic Shadow ではトップダウンでスタイルシートを適用できます。
今回は、その確認も兼ねて Lightning Design System(SLDS)を適用してみます。
まずは、 SLDS の npm パッケージをインストールします。
$ npm install --save @salesforce-ux/design-system
次に、必要なリソースを dist/ にコピーするため lwc-services.config.js を編集します。
そして、src/index.html から SLDS を読み込みます。
module.exports = {
    resources: [
        { from: 'src/resources', to: 'dist/resources' },
        { from: 'node_modules/@salesforce-ux/design-system/assets', to: 'dist/resources/slds' }
    ],
};
<!DOCTYPE html>
<html lang="en">
<head>
    <meta name="viewport" content="width=device-width,initial-scale=1" />
    <link rel="stylesheet" type="text/css" href="./resources/slds/styles/salesforce-lightning-design-system.min.css" />
</head>
<body>
    <div id="main"></div>
</body>
</html>
これで、LWC コンポーネントから SLDS を利用する事ができるようになります。
<template>
    <button class="slds-button slds-button_brand">Brand Button</button>
</template>
