コミュニティを作ったらまずドメインの変更ですよね。
ということで今回は、Salesforce のコミュニティにカスタム URL を設定し、SSL 証明書を導入する方法をご紹介します。
前提
- 事前にドメインは取得しておく
- この例では Google Domains を利用しています
- カスタム URL を設定するコミュニティを作成しておく
- Developer/Sandbox 以外の環境で実施する
- Developer/Sandbox 環境ではカスタム URL を設定できない
SSL 証明書を取得
この手順では、Let’s Encrypt が提供する certbot というツールを利用して証明書を発行します。
Let’s Encrypt で発行出来る証明書はドメイン認証(DV)型のみです。
実在証明型(OV) や実在証明拡張型(EV) の証明書が必要な場合は、対応している認証局から発行してください。
また、Let’s Encrypt で発行出来る証明書の有効期限は 90 日です。
(でも Salesforce だけで自動更新出来る気がしない・・・)
certbot をインストール
$ brew install certbot
$ certbot --version
> certbot 0.37.1
certbot で証明書を取得チャレンジを開始
certbot で証明書を取得するには、以下のいずれかの方法で自分が指定したドメインの所有者であることを証明する必要があります。
- http チャレンジ
- ドメインのは以下に、certbot によって指定されたファイルを配置出来ることを証明する
- dns チャレンジ
- dns 設定で、certbot によって指定された TXT レコードを追加出来る事を証明する
今回は dns チャレンジで設定します。
$ sudo certbot certonly --manual --domain 'www.cert.hrk623.dev' --preferred-challenges dns

# ...
# プロンプトにそって進める
# ...

- - - - - - - - - - - - - - - - - - - - - - - - - - - - - - - - - - - - - - - -
Please deploy a DNS TXT record under the name
_acme-challenge.www.cert.hrk623.dev with the following value:

0c-MMj6ta-RD7fVD5NAcIG5M9m6T3ZcPyTOj44axAsA

Before continuing, verify the record is deployed.
- - - - - - - - - - - - - - - - - - - - - - - - - - - - - - - - - - - - - - - -
Press Enter to Continue
TXT レコードを追加
Google Domains > マイドメイン > [取得したドメイン] > DNS > カスタムリソースレコード から以下を追加

TXT レコードの浸透を確認
別のターミナルを開き dig で TXT レコードが浸透していることを確認します。
していなければするまで待ちます。
$ dig -t TXT _acme-challenge.www.cert.hrk623.dev
> ...
> ;; ANSWER SECTION:
> _acme-challenge.www.cert.hrk623.dev. 240 IN TXT	"0c-MMj6ta-RD7fVD5NAcIG5M9m6T3ZcPyTOj44axAsA"
> ...
チャレンジ結果を検証
先程のターミナルを Enter で進め、チャレンジが成功すると .pem ファイルが吐き出されます。
Before continuing, verify the record is deployed.
- - - - - - - - - - - - - - - - - - - - - - - - - - - - - - - - - - - - - - - -
Press Enter to Continue
Waiting for verification...
Cleaning up challenges

IMPORTANT NOTES:
 - Congratulations! Your certificate and chain have been saved at:
   /etc/letsencrypt/live/www.cert.hrk623.dev/fullchain.pem
   Your key file has been saved at:
   /etc/letsencrypt/live/www.cert.hrk623.dev/privkey.pem
   Your cert will expire on 2019-12-15. To obtain a new or tweaked
   version of this certificate in the future, simply run certbot
   again. To non-interactively renew *all* of your certificates, run
   "certbot renew"
 - If you like Certbot, please consider supporting our work by:

   Donating to ISRG / Let's Encrypt:   https://letsencrypt.org/donate
   Donating to EFF:                    https://eff.org/donate-le
jks ファイルを作成
Salesforce に証明書をアップロードするには jks ファイルを作成する必要があります。
.pem ファイルを適当なディレクトリにコピーし、 jks ファイルを作成します。
$ mkdir ~/www.cert.hrk623.dev
$ cd ~/www.cert.hrk623.dev
$ sudo cp /etc/letsencrypt/live/www.cert.hrk623.dev/fullchain.pem .
$ sudo cp /etc/letsencrypt/live/www.cert.hrk623.dev/privkey.pem .
$ sudo openssl pkcs12 -export -in fullchain.pem -inkey privkey.pem -name www_cert_hrk623_dev -out newCert.p12
# パスワードを入力
$ keytool -importkeystore -srckeystore newCert.p12 -destkeystore cert.jks -srcstoretype pkcs12
# パスワードを入力
証明書(.jks)をアップロード
設定 > セキュリティ > 証明書と鍵の管理 > キーストアからインポート すれば、証明書の設定は完了です。

カスタム URL を設定する。
ドメインを作成
設定 > ユーザーインターフェース > サイトおよびドメイン > ドメイン からドメインを新規作成します。
DNS の設定が環境するまではこの画面は保存出来ないので開いたまま次に進めます。
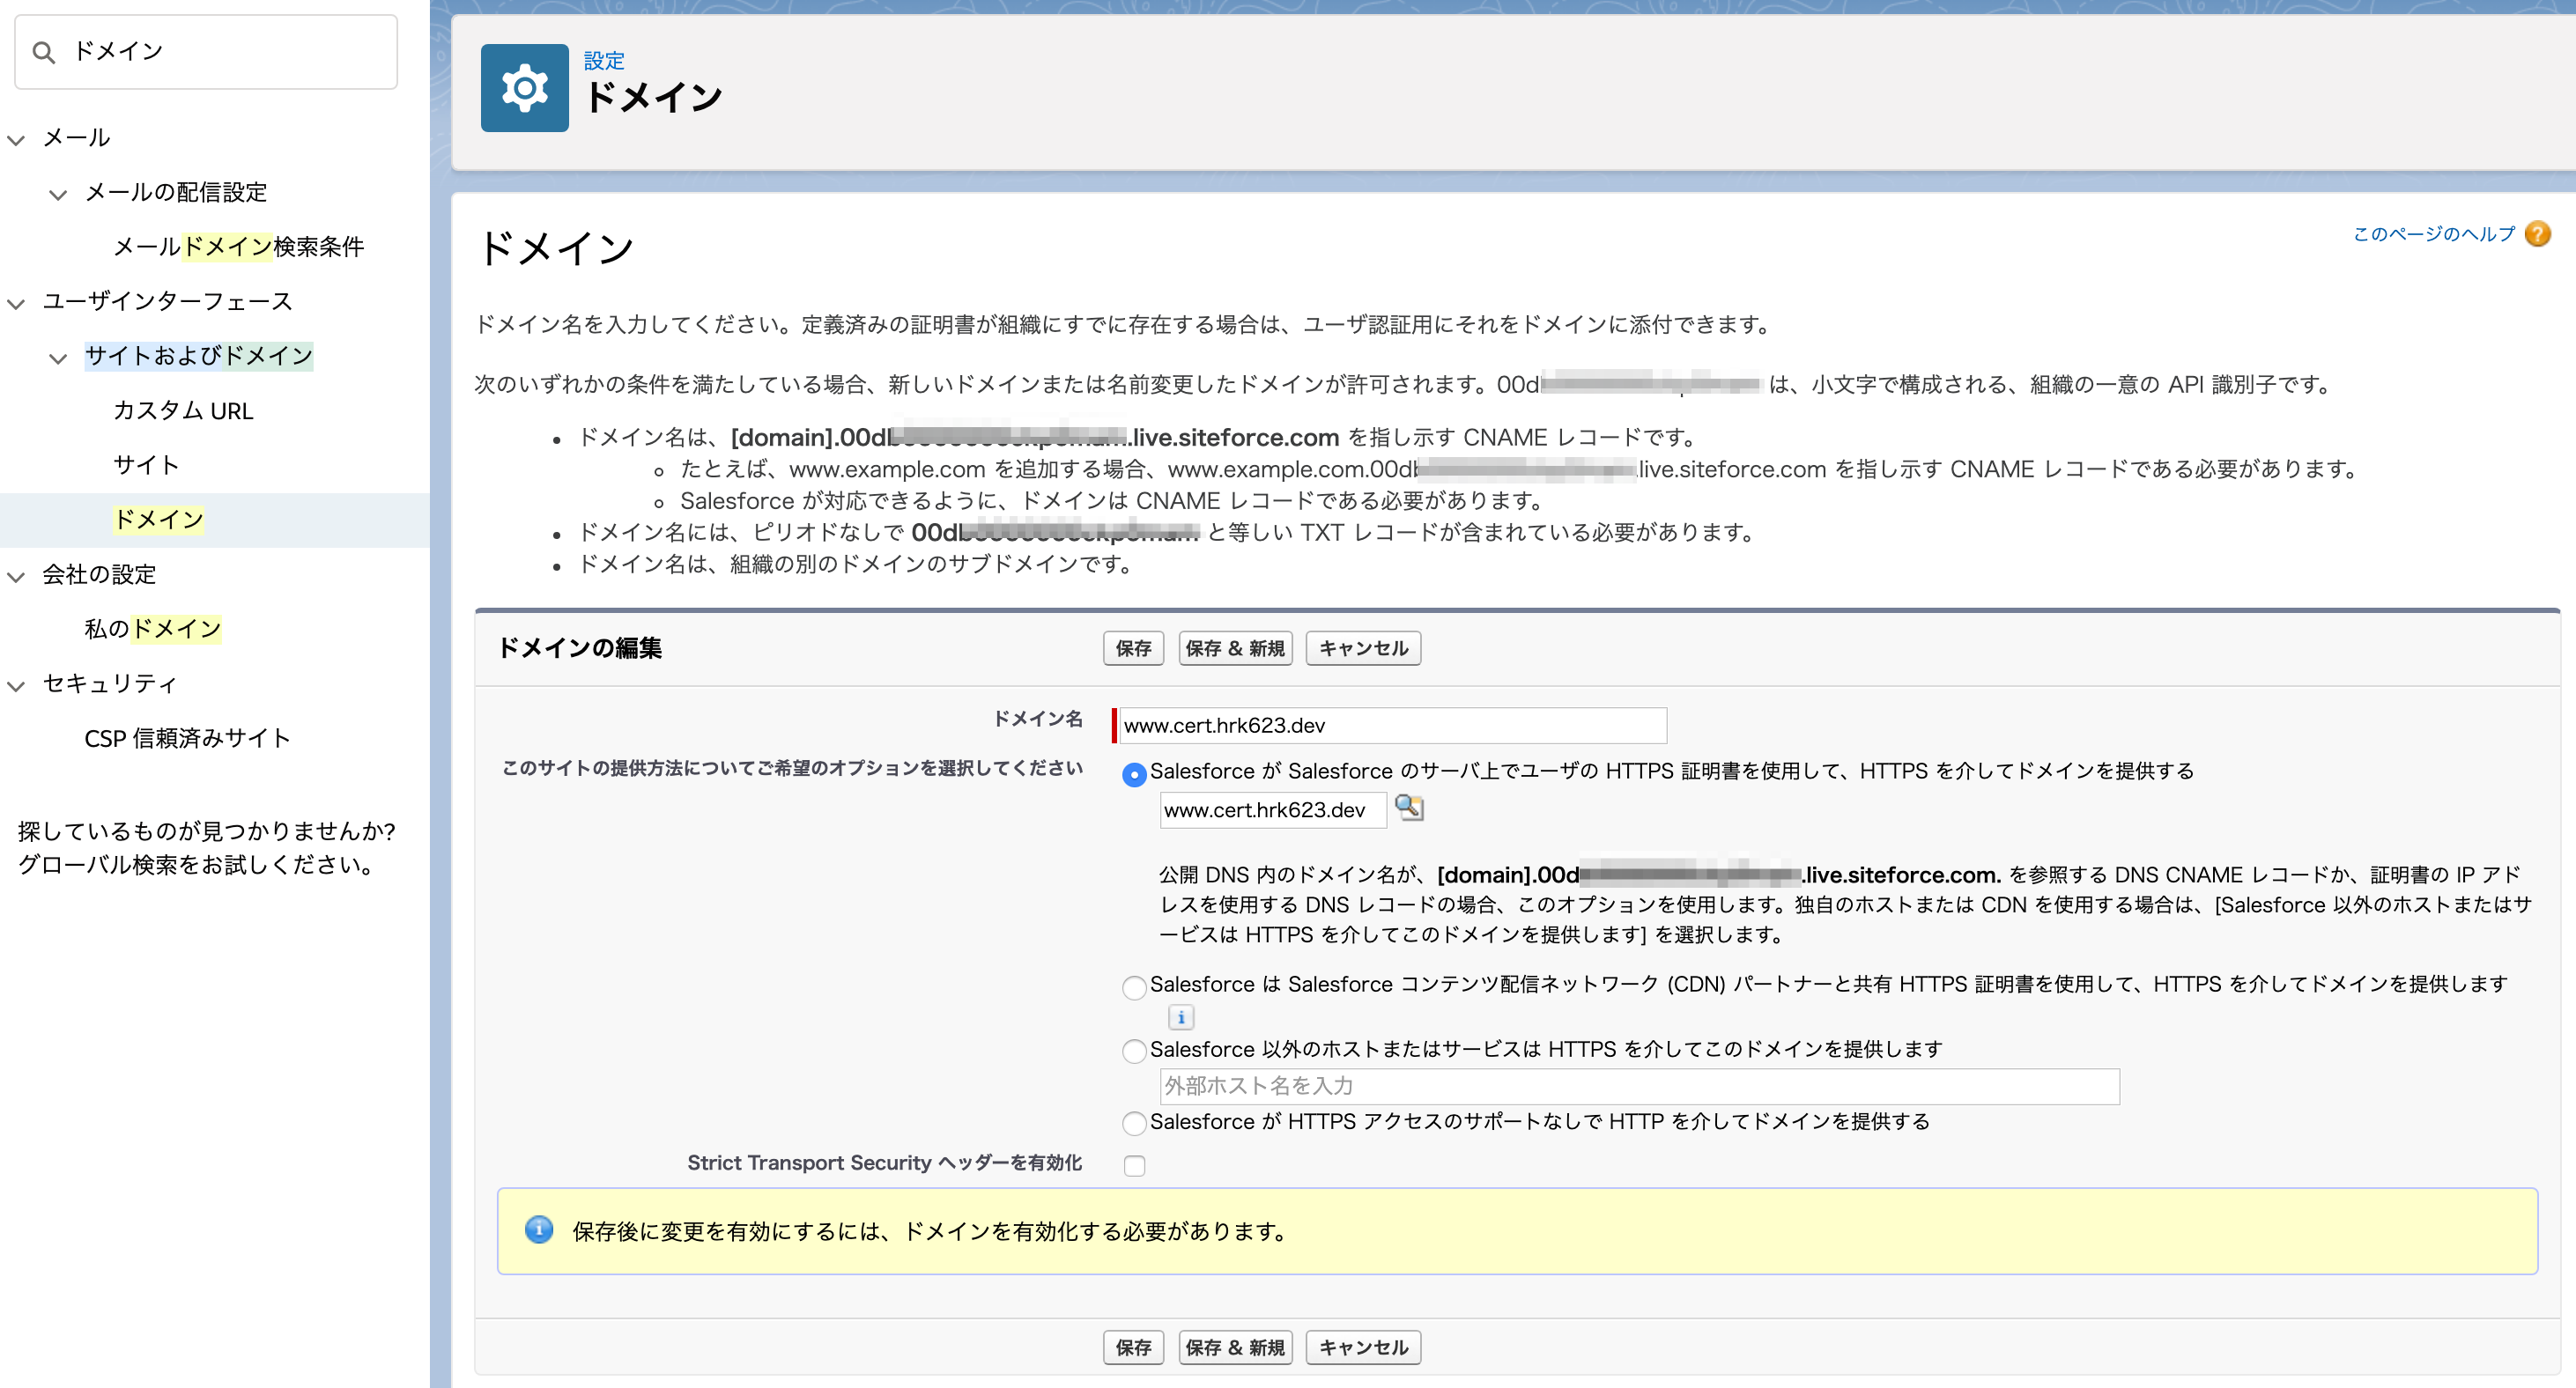
説明にある通り、DNS 設定で CNAME を追加しておきます。
Google Domains > マイドメイン > [取得したドメイン] > DNS > カスタムリソースレコード から以下を追加します。

しばらくすると、ドメインの設定が保存出来るようになります。
カスタム URL を作成
設定 > ユーザーインターフェース > サイトおよびドメイン >カスタム URL > 新規カスタム URL から作成します。
ドメインとコミュニティを紐付けて保存します。

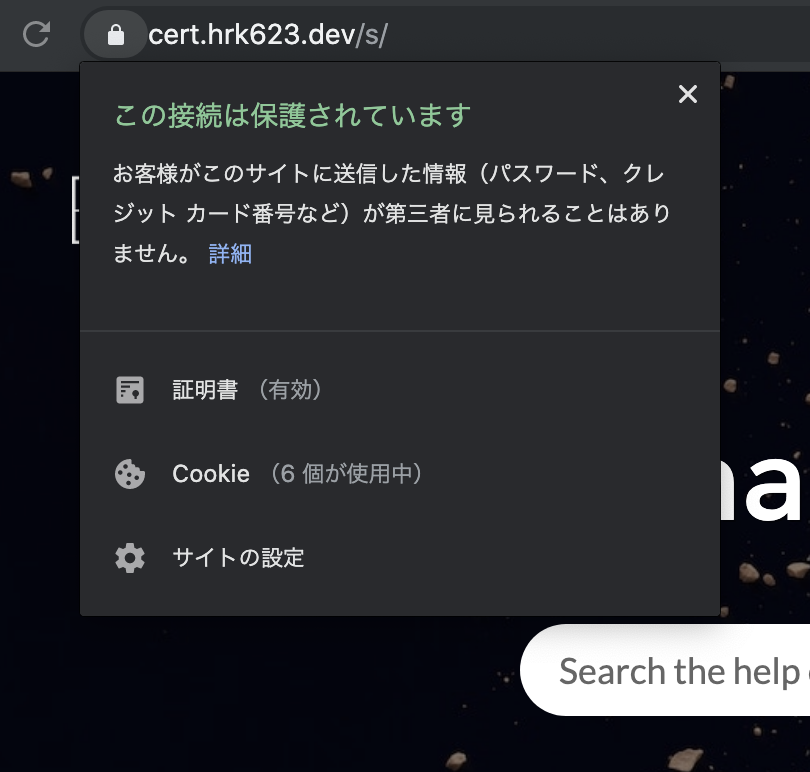
コミュニティを公開する
コミュニティを公開すれば、SSL で保護されたカスタム URL でアクセス出来るようになります。