概要
バグハンティングなどでAndroidアプリのHTTP通信をキャプチャする必要があるかと思う。そこで本記事ではAndroidエミュレーターのNoxPlayerとBurp Suiteを用いた環境を構築する。
本記事ではmacOSとNoxPlayerを使用することを前提としているが、それ以外の環境でもAndroidエミュレーターとBurp Suiteを用意できれば同様の方法で環境構築できる(と思う)。
Android7.0からは証明書の扱い方法の変更により、Burp Suiteのクライアント証明書のインストール方法に一手間加える必要がある。本記事ではその設定にも対応する。
環境
- macOS Catalina 10.15.7
- Homebrew 2.6.0
- NoxPlayer 3.0.5.0
- Burp Suite Community 2020.12.01
手順
0. 準備
- homebrew-caskでNoxPlayerをインストールする
- Burp Suiteをインストールする
- Burp Suiteの証明書(
cacert.der)を用意する - ホストマシンのローカルIPアドレスを調べる
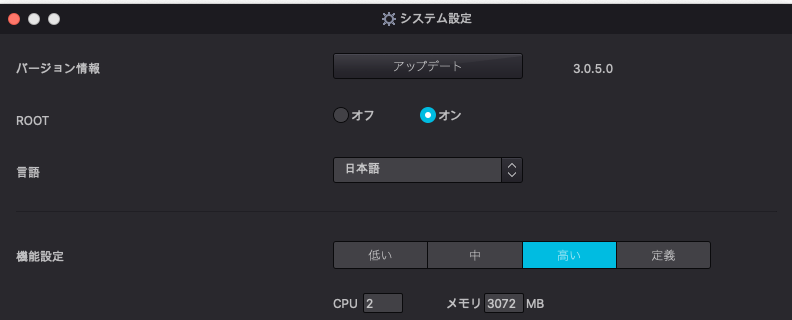
- 以下の画像のようにNoxPlayerのシステム設定からroot化する
1. 0.で用意した証明書をAndroidのシステム証明書としてインストールする
以下のコマンドでcacert.derをシステム証明書としてインストールできる形式に変換する。
❯ openssl x509 -inform DER -in cacert.der -out cacert.pem
❯ mv cacert.pem `openssl x509 -inform PEM -subject_hash_old -in cacert.pem |head -1`.0

9a5ba575.0
adbを使って用意した証明書ファイル(9a5ba575.0)をエミュレーターにインストールする。adbはhomebrew-caskでNoxPlayerをインストールした場合は/Applications/NoxAppPlayer.app/Contents/MacOS/adbに配置されている。
❯ adb push 9a5ba575.0 /sdcard/9a5ba575.0
❯ adb shell

dreamqltecan:/ # su
dreamqltecan:/ # mount -o rw,remount /system
dreamqltecan:/ # mv /sdcard/9a5ba575.0 /system/etc/security/cacerts/
dreamqltecan:/ # chmod 644 /system/etc/security/cacerts/9a5ba575.0
dreamqltecan:/ # reboot
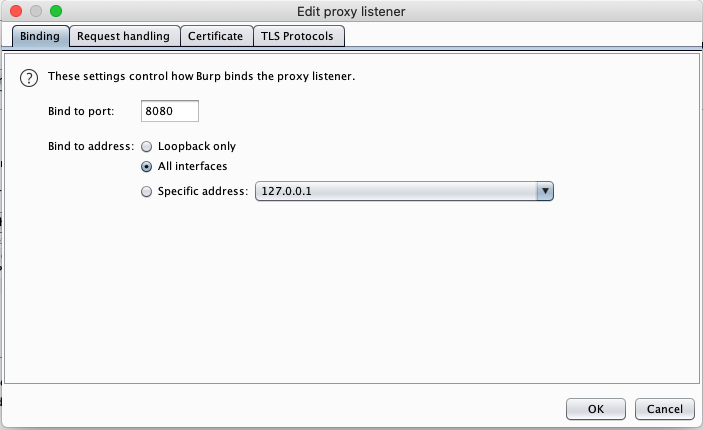
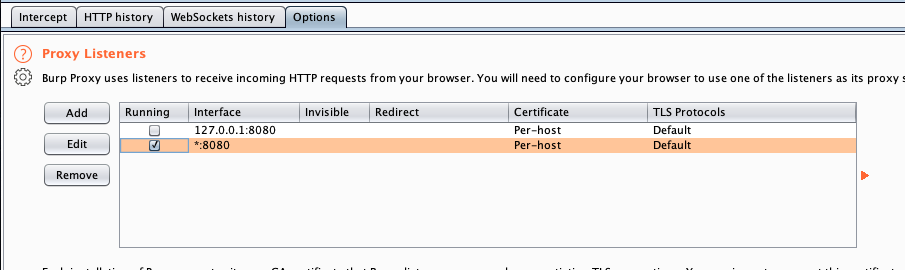
2. Burp Suiteの待ち受けアドレスをAll interfaceに設定する
以下の画像のように設定する。
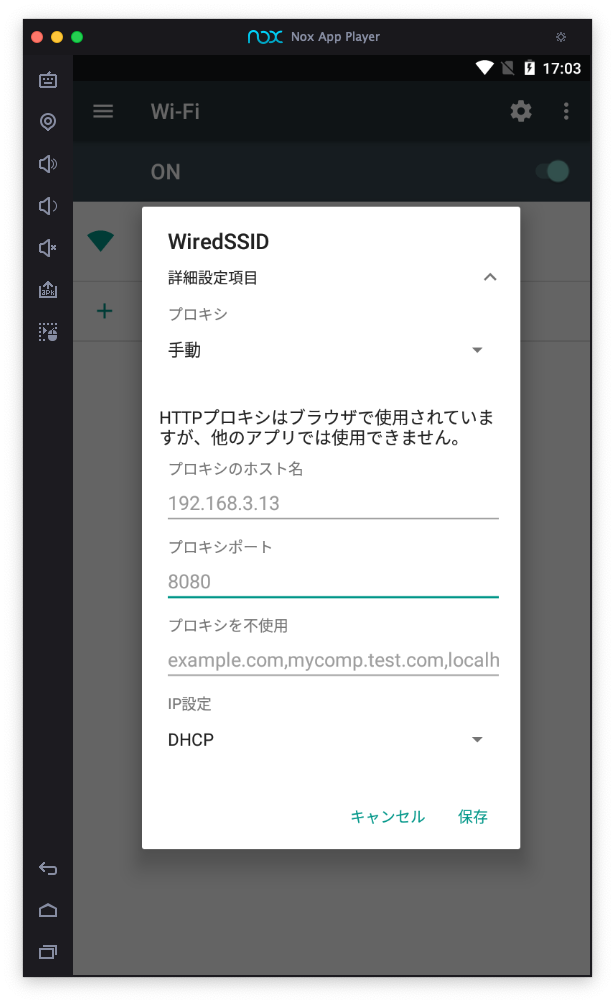
3. エミュレーター内のネットワーク設定からホストマシンのBurp Suiteをプロキシサーバーに設定する
0.で調べたホストマシンのローカルIPアドレス(192.168.3.13)をここで設定します。
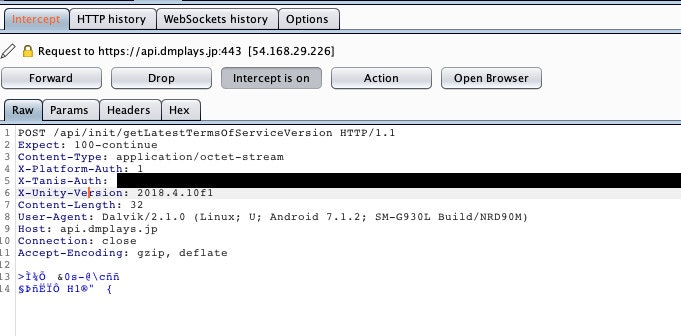
4. テスト
適当なアプリケーションを起動すると、Burp SuiteでHTTP通信の内容がキャプチャできていることが確認できる。