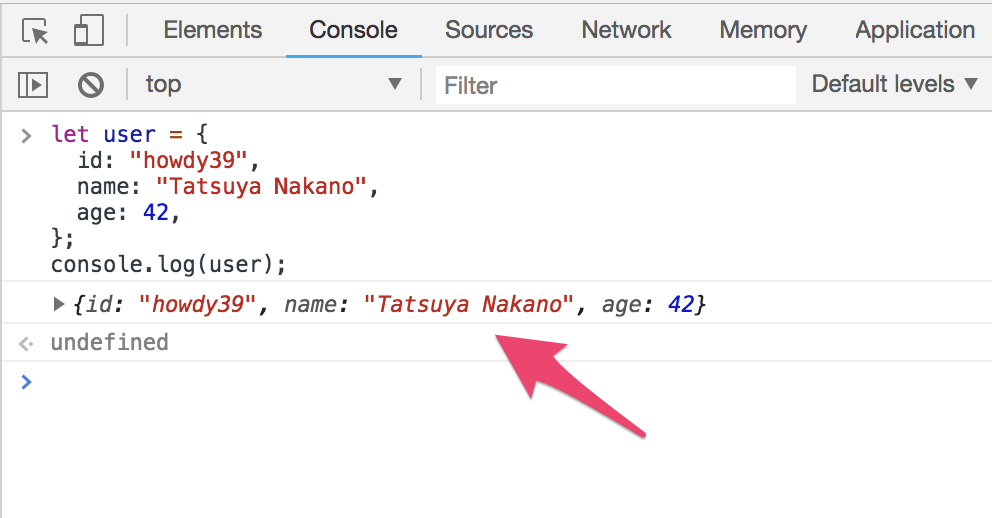
Chrome でなんかしらのオブジェクトの中身を表示するとき console.log(obj) という記述をよくしますよね、これは次の画像のように表示されます。
Chrome ではこれをオリジナルな形式で表示することができます。
それがCustom Object Formattersという機能です。
うまく利用することで、デバッグの役に立つかも(?)しれません。
本記事ではその使い方について簡単に解説します。
デモ
とりあえず動かして実際にみたほうが早いので、次の URL を開きましょう。
https://howdy39.github.io/study-custom-object-formatters/
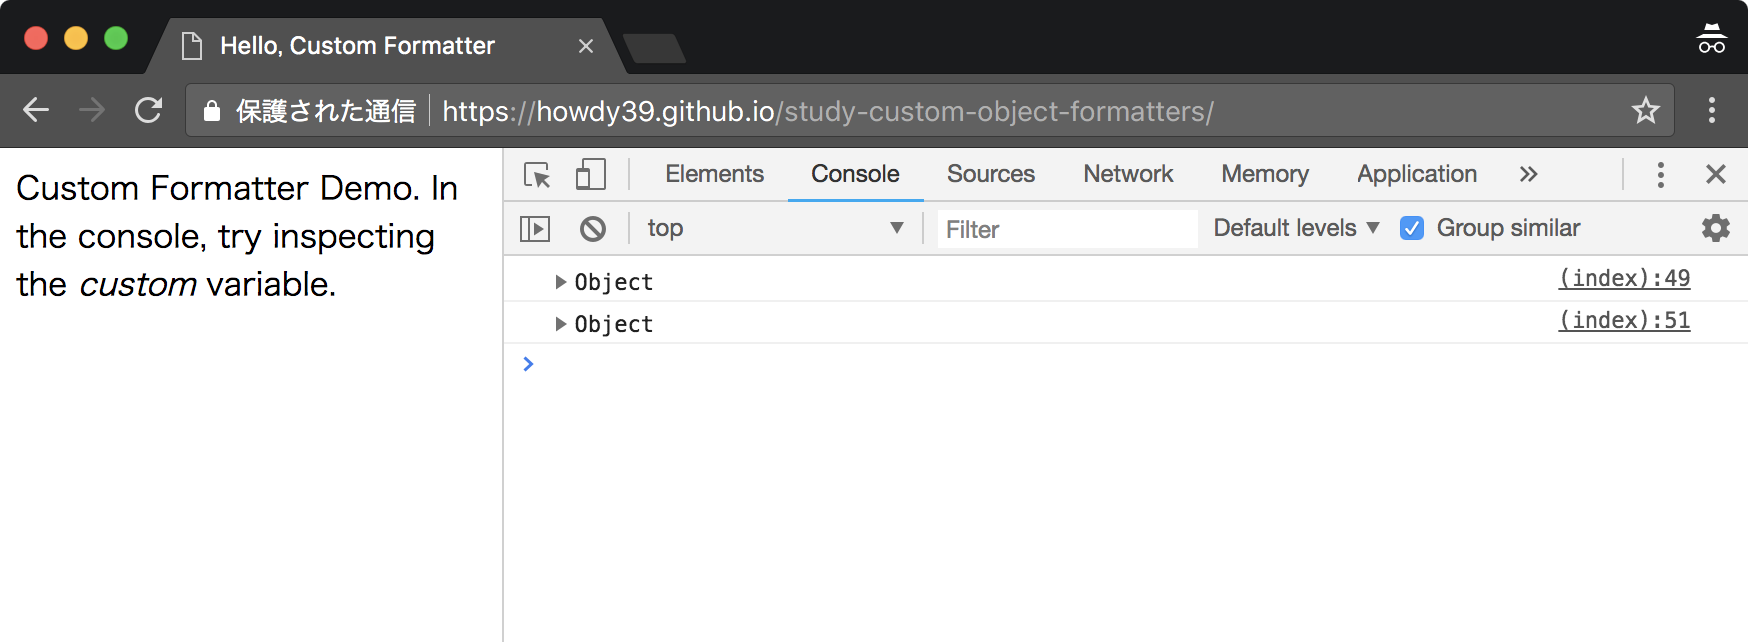
デベロッパーツールを開いて Console を表示しましょう。
上のログが通常のログ表示で、下がCustom Object Formattersを使ったログ表示なのですが Custom Object Formattersは Console を開いた状態でないと有効にならない ので同じ表示になってしまいます。
※通常のログ表示が ▶Object となっているのも Console を開いていない状態でログ出力しているためです。
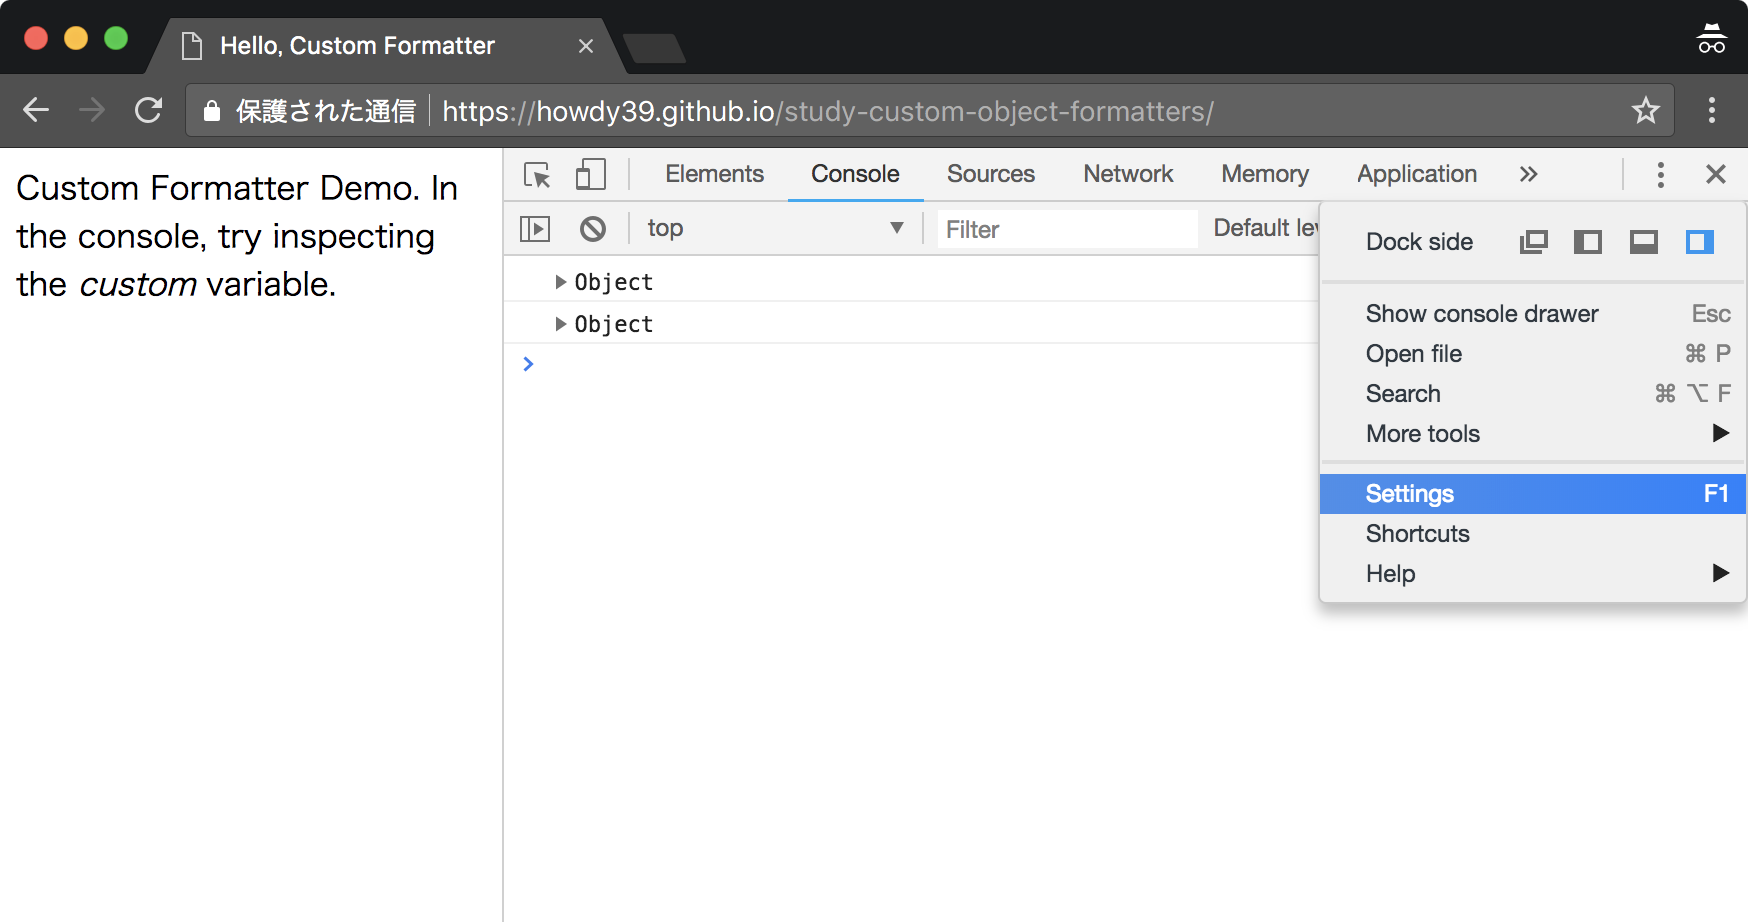
また、Custom Object Formattersを使うには設定画面で有効にする必要があります。
Chrome デベロッパーツールの設定画面を表示し(F1)、Enable Custom Formattersをチェックしましょう。
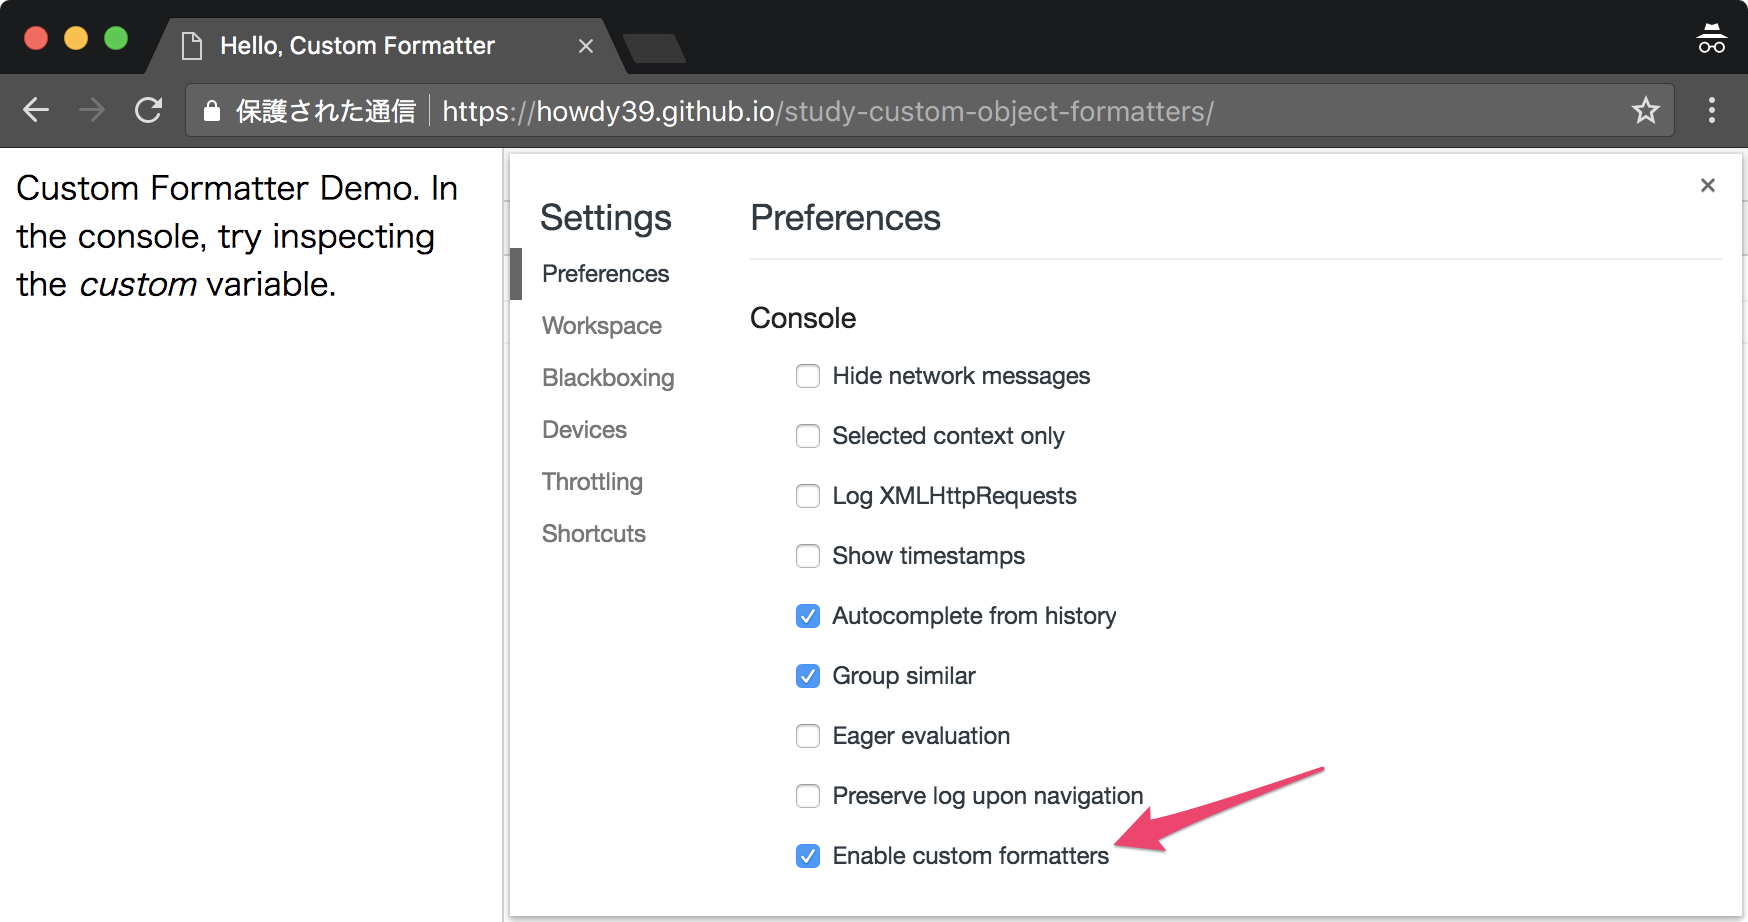
設定画面を閉じたらデベロッパーツールを開きながら画面をリロードして Custom Object Formattersが効いているかを確認しましょう。
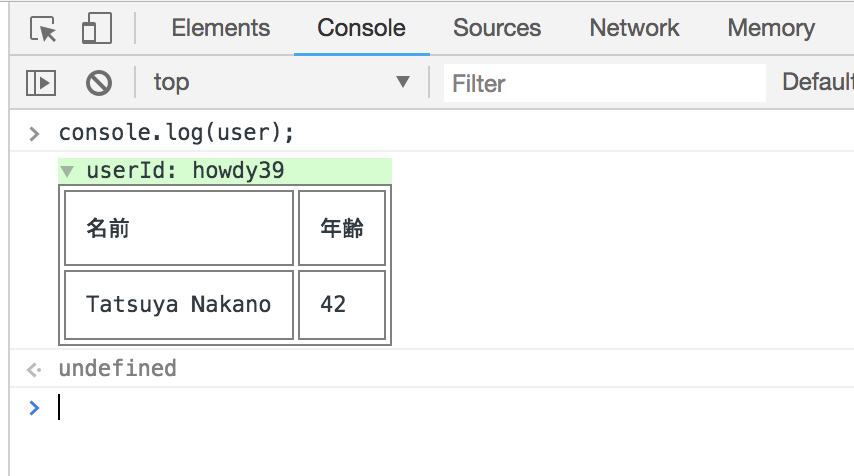
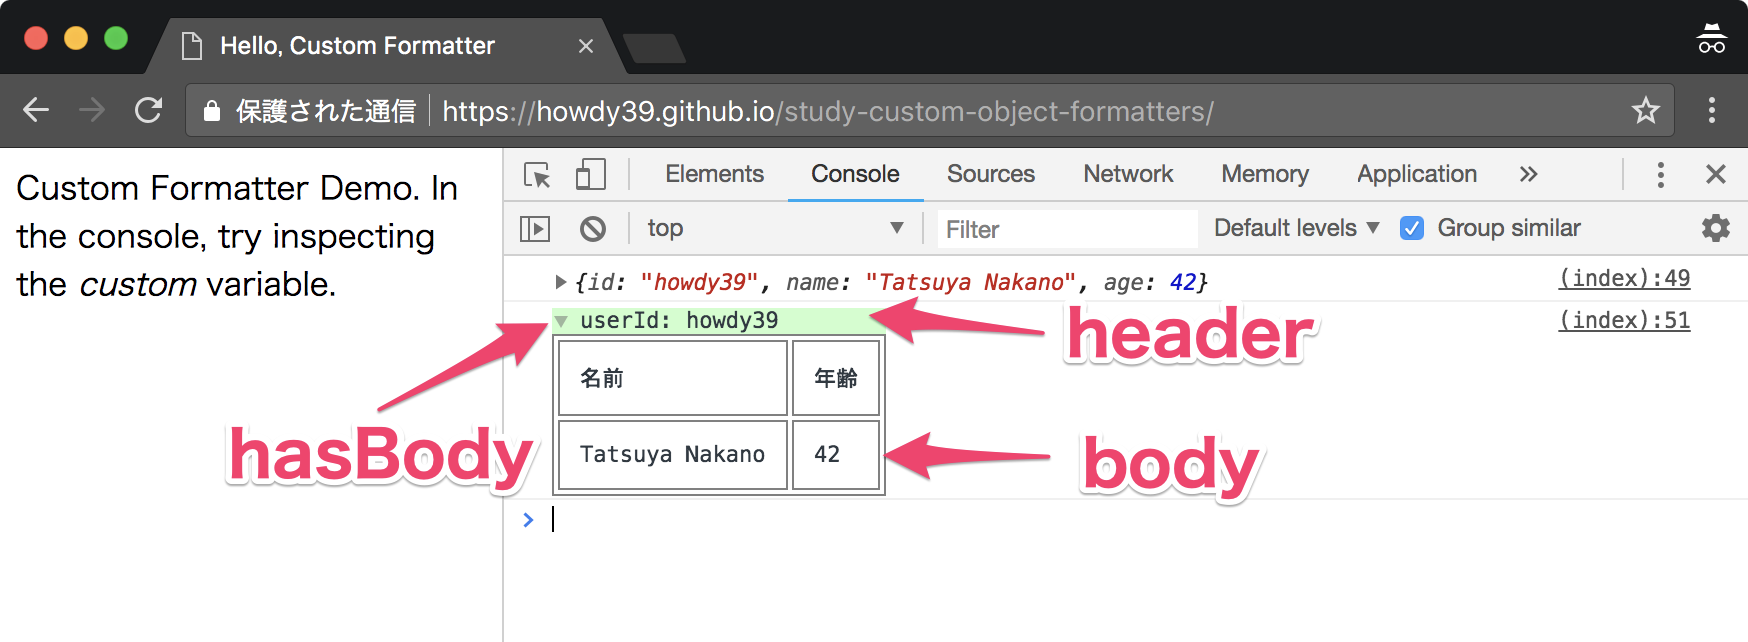
上がよく見るオブジェクトの表示で下がCustom Object Formattersを使ったログ表示になります。

次のコードが、この画面の JavaScript になります。詳細は後述します。
  let user = {
    id: "howdy39",
    name: "Tatsuya Nakano",
    age: 42,
  };

  (function() {
    const headerStyle = {
      "style": "background-color: #cfc;"
    }
    const borderStyle = {
      "style": "border: 1px solid grey;"
    };
    const tdStyle = {
      "style": "border: 1px solid grey; padding: 10px;"
    };

    const formatter = {
      header: function(x) {
        if (x === user) {
          return ["span", headerStyle, `userId: ${x.id}`];
        } else {
          return null;
        }
      },
      hasBody: function(x) {
        return x === user;
      },
      body: function(user) {
        const tableHeader = [
          "tr", borderStyle,
          ["td", tdStyle, "名前"], ["td", tdStyle, "年齢"]];

        const tr = [
          "tr", borderStyle,
          ["td", tdStyle, user.name], ["td", tdStyle, user.age]
        ];
        return ["table", borderStyle, tableHeader, tr];
      }
    };
    console.log(user);
    window.devtoolsFormatters = [formatter];
    console.log(user);
  }
)();
Custom Formatter Object の作り方
まずCustom Formatter Objectというのを作る必要があります。
これは名前のとおり、フォーマッターを定義したオブジェクトです。
Custom Formatter Object は header, hasBody, body という名前で3つのfunctionをもったオブジェクトです。
そして作成したオブジェクトを window.devtoolsFormatters に設定します。
const formatter = {
  header: function() {},
  hasBody: function() {},
  body: function() {},
};
window.devtoolsFormatters = [formatter];
それぞれ次のような意味があります。
- header: Console 上の基底となる部分に表示する内容を返す
- hasBody: header を展開できるか(▶を出すか)どうかを返す
- body: 展開した後に表示する内容を返す
htmlTemplate
header の説明に行く前に、まず覚えないといけないのが htmlTemplate の作り方です。
htmlTemplate を使って Console に表示する HTML を作成します。
htmlTemplate は JsonML という書き方を使用します。
JsonML (JSON Markup Language)
// 書き方
["タグ名", 属性オブジェクト, 子要素1, 子要素2, ・・・];

// 実例1
["td", {"style": "background-color: red"}, "こんにちは"];

// 実例2
const td = ["td", {"style": "background-color: red"}, "こんにちは"];
["tr", "style": "background-color: red", td];
ちなみにタグ名に使えるのは次の7つです。
div, span, ol, li, table, tr, td
header
header は Console 上の基底となる部分に表示する内容です。htmlTemplate を return します。
デフォルトのフォーマットを使う場合は null を返すようします。
筆者が作ったサンプルでは user 変数だった場合に、htmlTemplate を return しています。
header: function(x) {
  if (x === user) {
    return ["span", headerStyle, `userId: ${x.id}`];
  } else {
    return null;
  }
},
hasBody
hasBody は header を展開できるかどうかを返します。
筆者が作ったサンプルでは user 変数だった場合に、展開できるようにしています。
hasBody: function(x) {
  return x === user;
},
body
body は 展開した後に表示する内容を返します。
筆者が作ったサンプルでは table とその中身を定義した htmlTemplate を作成し return しています。
body: function(user) {
  const tableHeader = [
    "tr", borderStyle,
    ["td", tdStyle, "名前"], ["td", tdStyle, "年齢"]];

  const tr = [
    "tr", borderStyle,
    ["td", tdStyle, user.name], ["td", tdStyle, user.age]
  ];
  return ["table", borderStyle, tableHeader, tr];
}
まとめ
- window.devtoolsFormatters に Formatter を設定する
- Formatter には header, hasBody, body の3つの function を定義したオブジェクトを設定する
- header() は htmlTemplate ないし null を返す function
- hasBody() は 展開できる場合 true を返す function
- bodyBody() は htmlTemplate を返す function
- console.log(obj);等で出力するとフォーマットを変えたログ出力ができる
参考
あとがき
技術書典5で Chrome デベロッパーツールを使いこなそう Console編 という本を書きました。
この記事はその本に入れようと思ったけど長くなりすぎたので削ったやつです。(捨てるの勿体無いのでQiitaにあげました)