Nuxt, ElementUI, Storybook 構成で始めようとしたときに、StorybookにElementUIを適用させるのにちょっと手こずったので手順を残しておきます。
最終的なソースです。
howdy39/nuxt-storybook-element-boilerplate: Nuxt, Storybook, ElementUI, Boilerplate
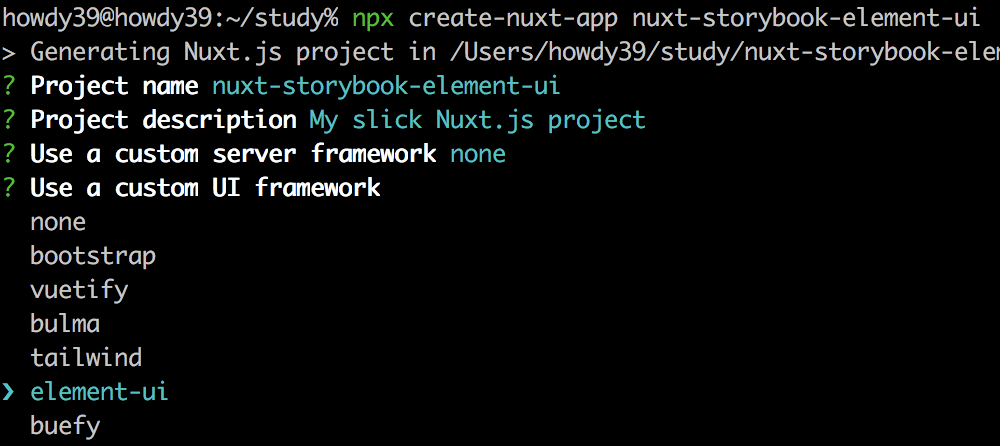
Nuxtプロジェクトを element-ui で作成
npx create-nuxt-app nuxt-storybook-element-ui
cd nuxt-storybook-element-ui
yarn lint --fix
yarn dev
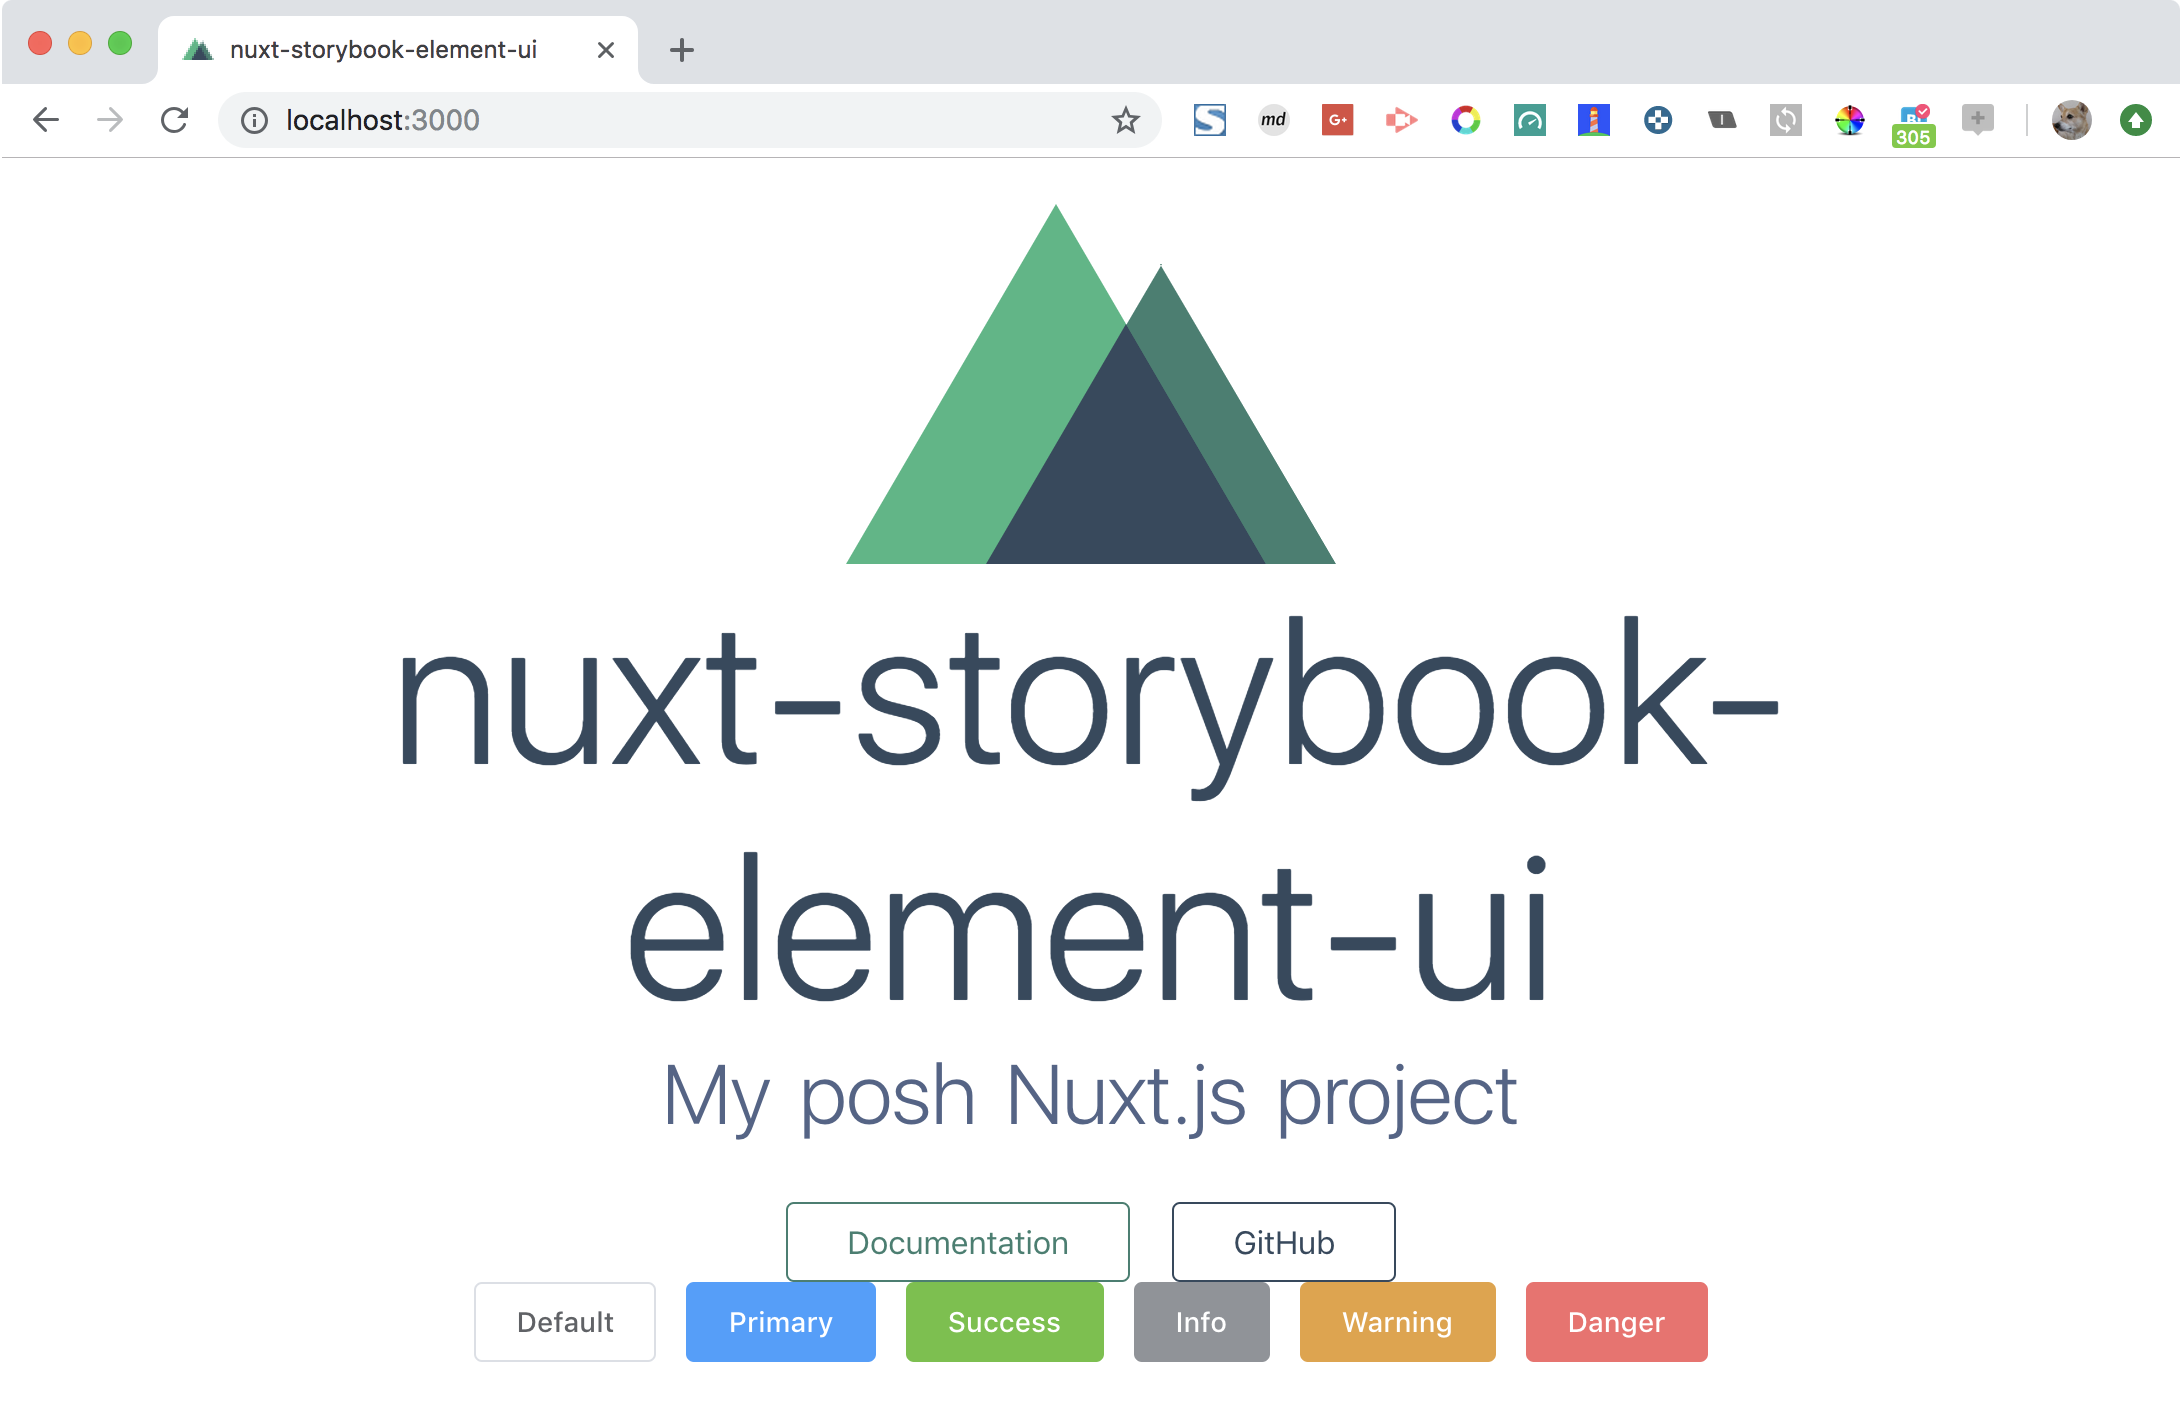
Nuxt環境でElementUIのタグが使えるかを確認
components 直下に Buttons.vue を新規作成
<template>
  <el-row>
    <el-button>Default</el-button>
    <el-button type="primary">Primary</el-button>
    <el-button type="success">Success</el-button>
    <el-button type="info">Info</el-button>
    <el-button type="warning">Warning</el-button>
    <el-button type="danger">Danger</el-button>
  </el-row>
</template>
pages/index.vue に 先程作ったButtonsタグを追加
<template>
  <section class="container">
  ...
        <a
          href="https://github.com/nuxt/nuxt.js"
          target="_blank"
          class="button--grey">GitHub</a>
      </div>
+       <Buttons />
    </div>
  </section>
</template>

<script>
import Logo from '~/components/Logo.vue'
+ import Buttons from '~/components/Buttons.vue'

export default {
  components: {
-     Logo
+     Logo,
+     Buttons
  }
}
</script>
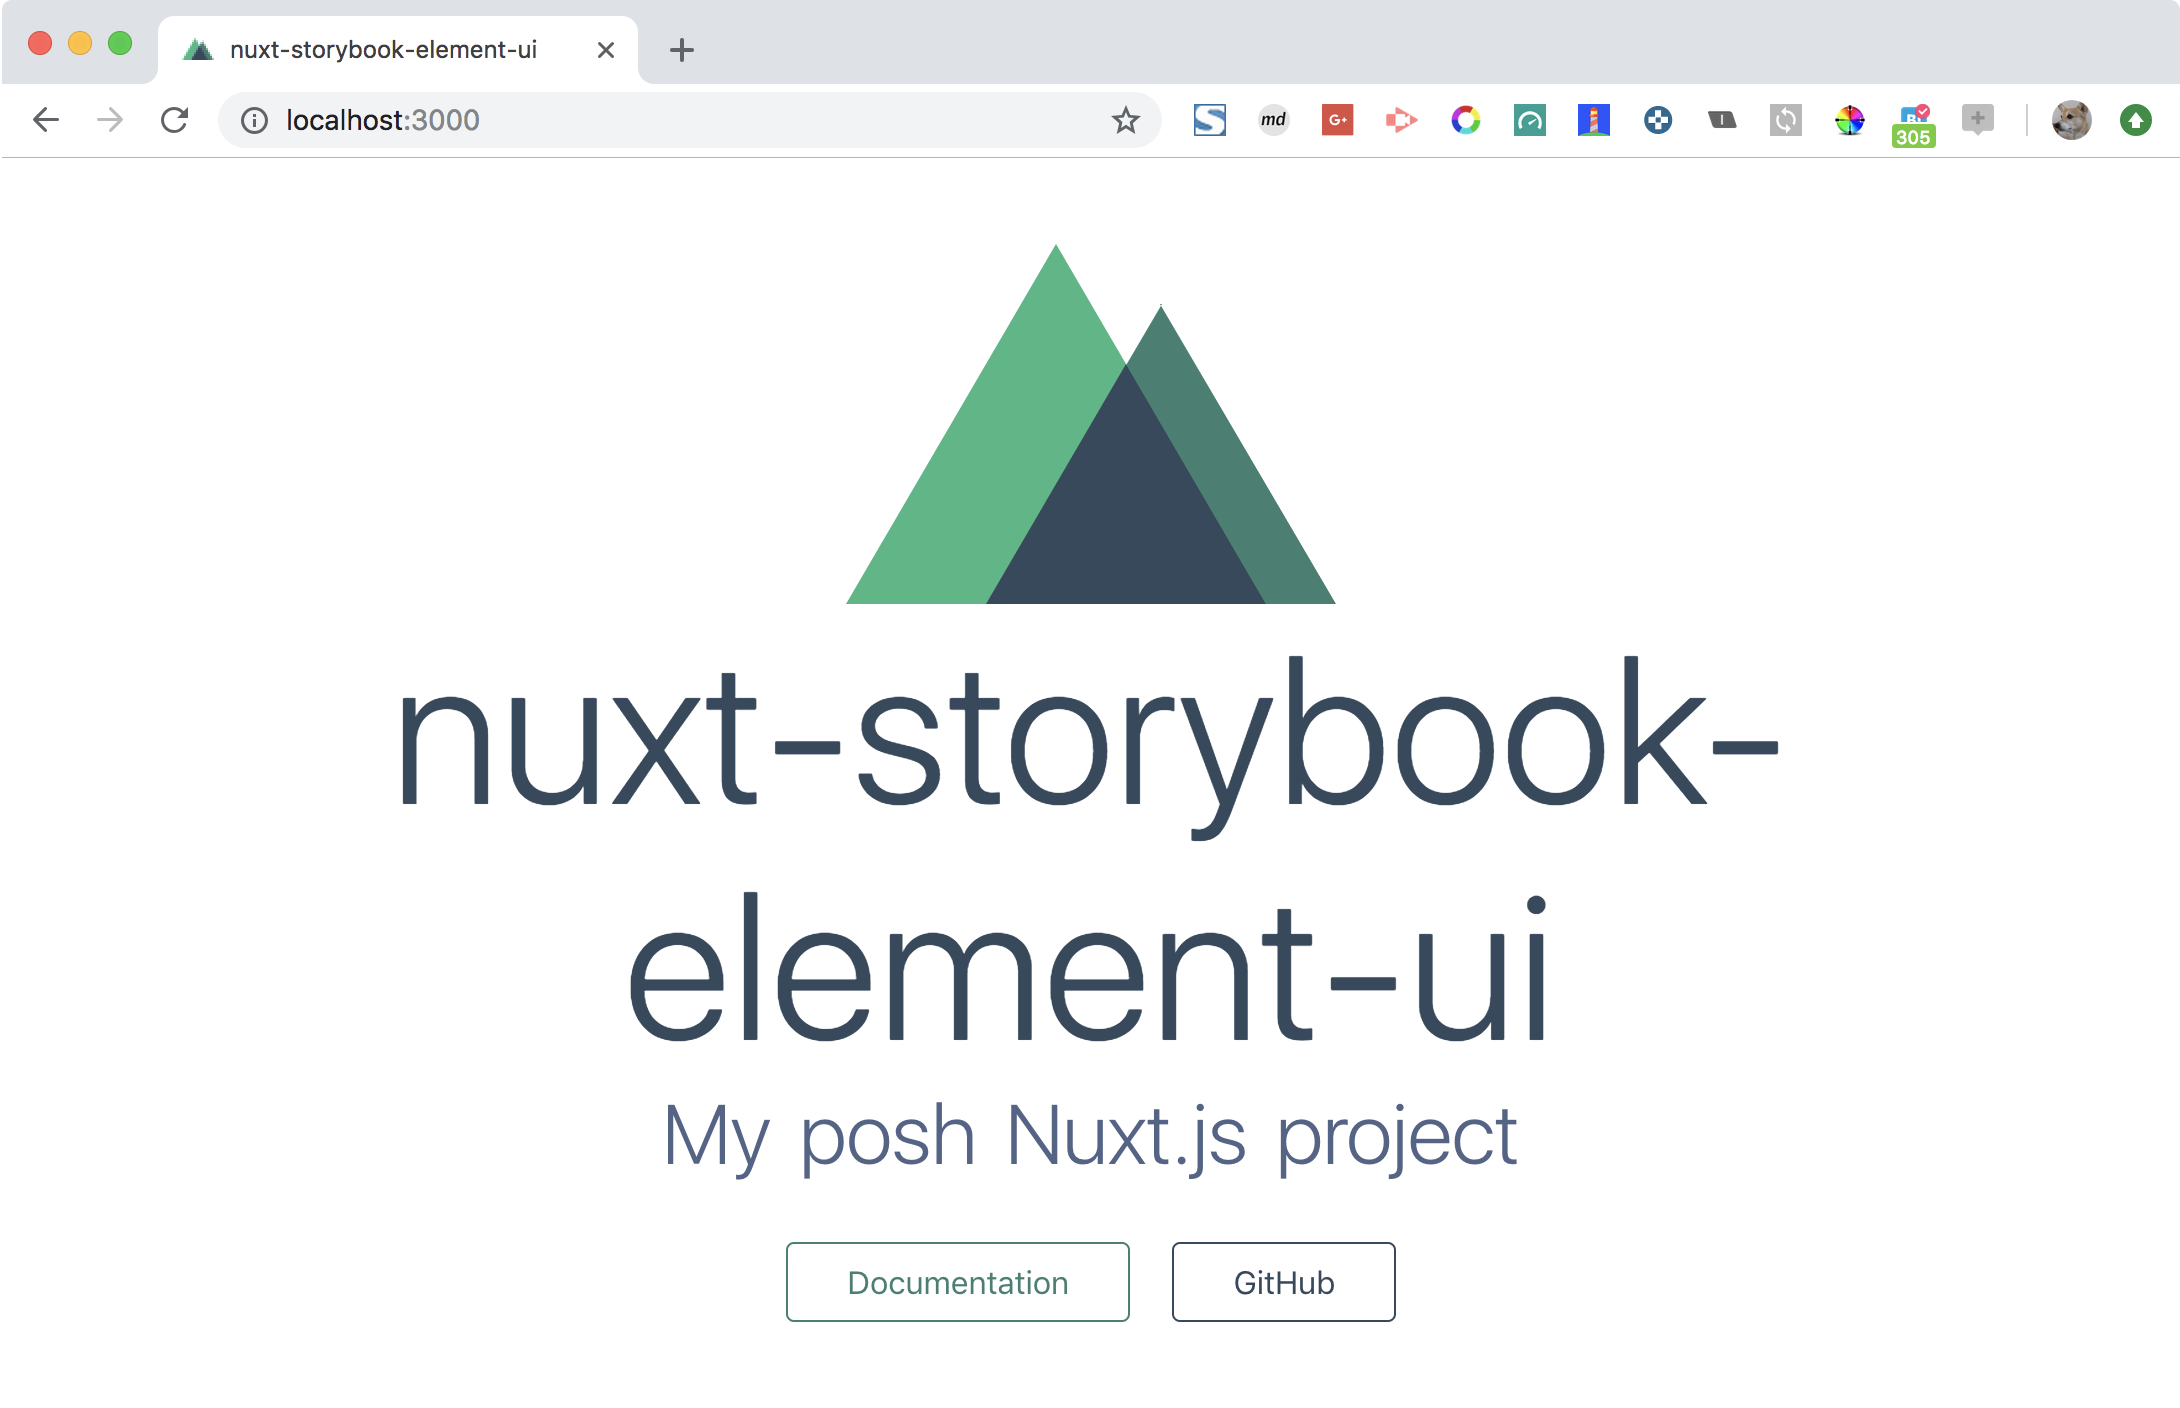
Nuxtの画面を確認
Storybookの追加と起動
こっからが本題です。先程のButtons.vueをStorybookで確認できるようにしていきます。
npx -p @storybook/cli sb init
yarn storybook
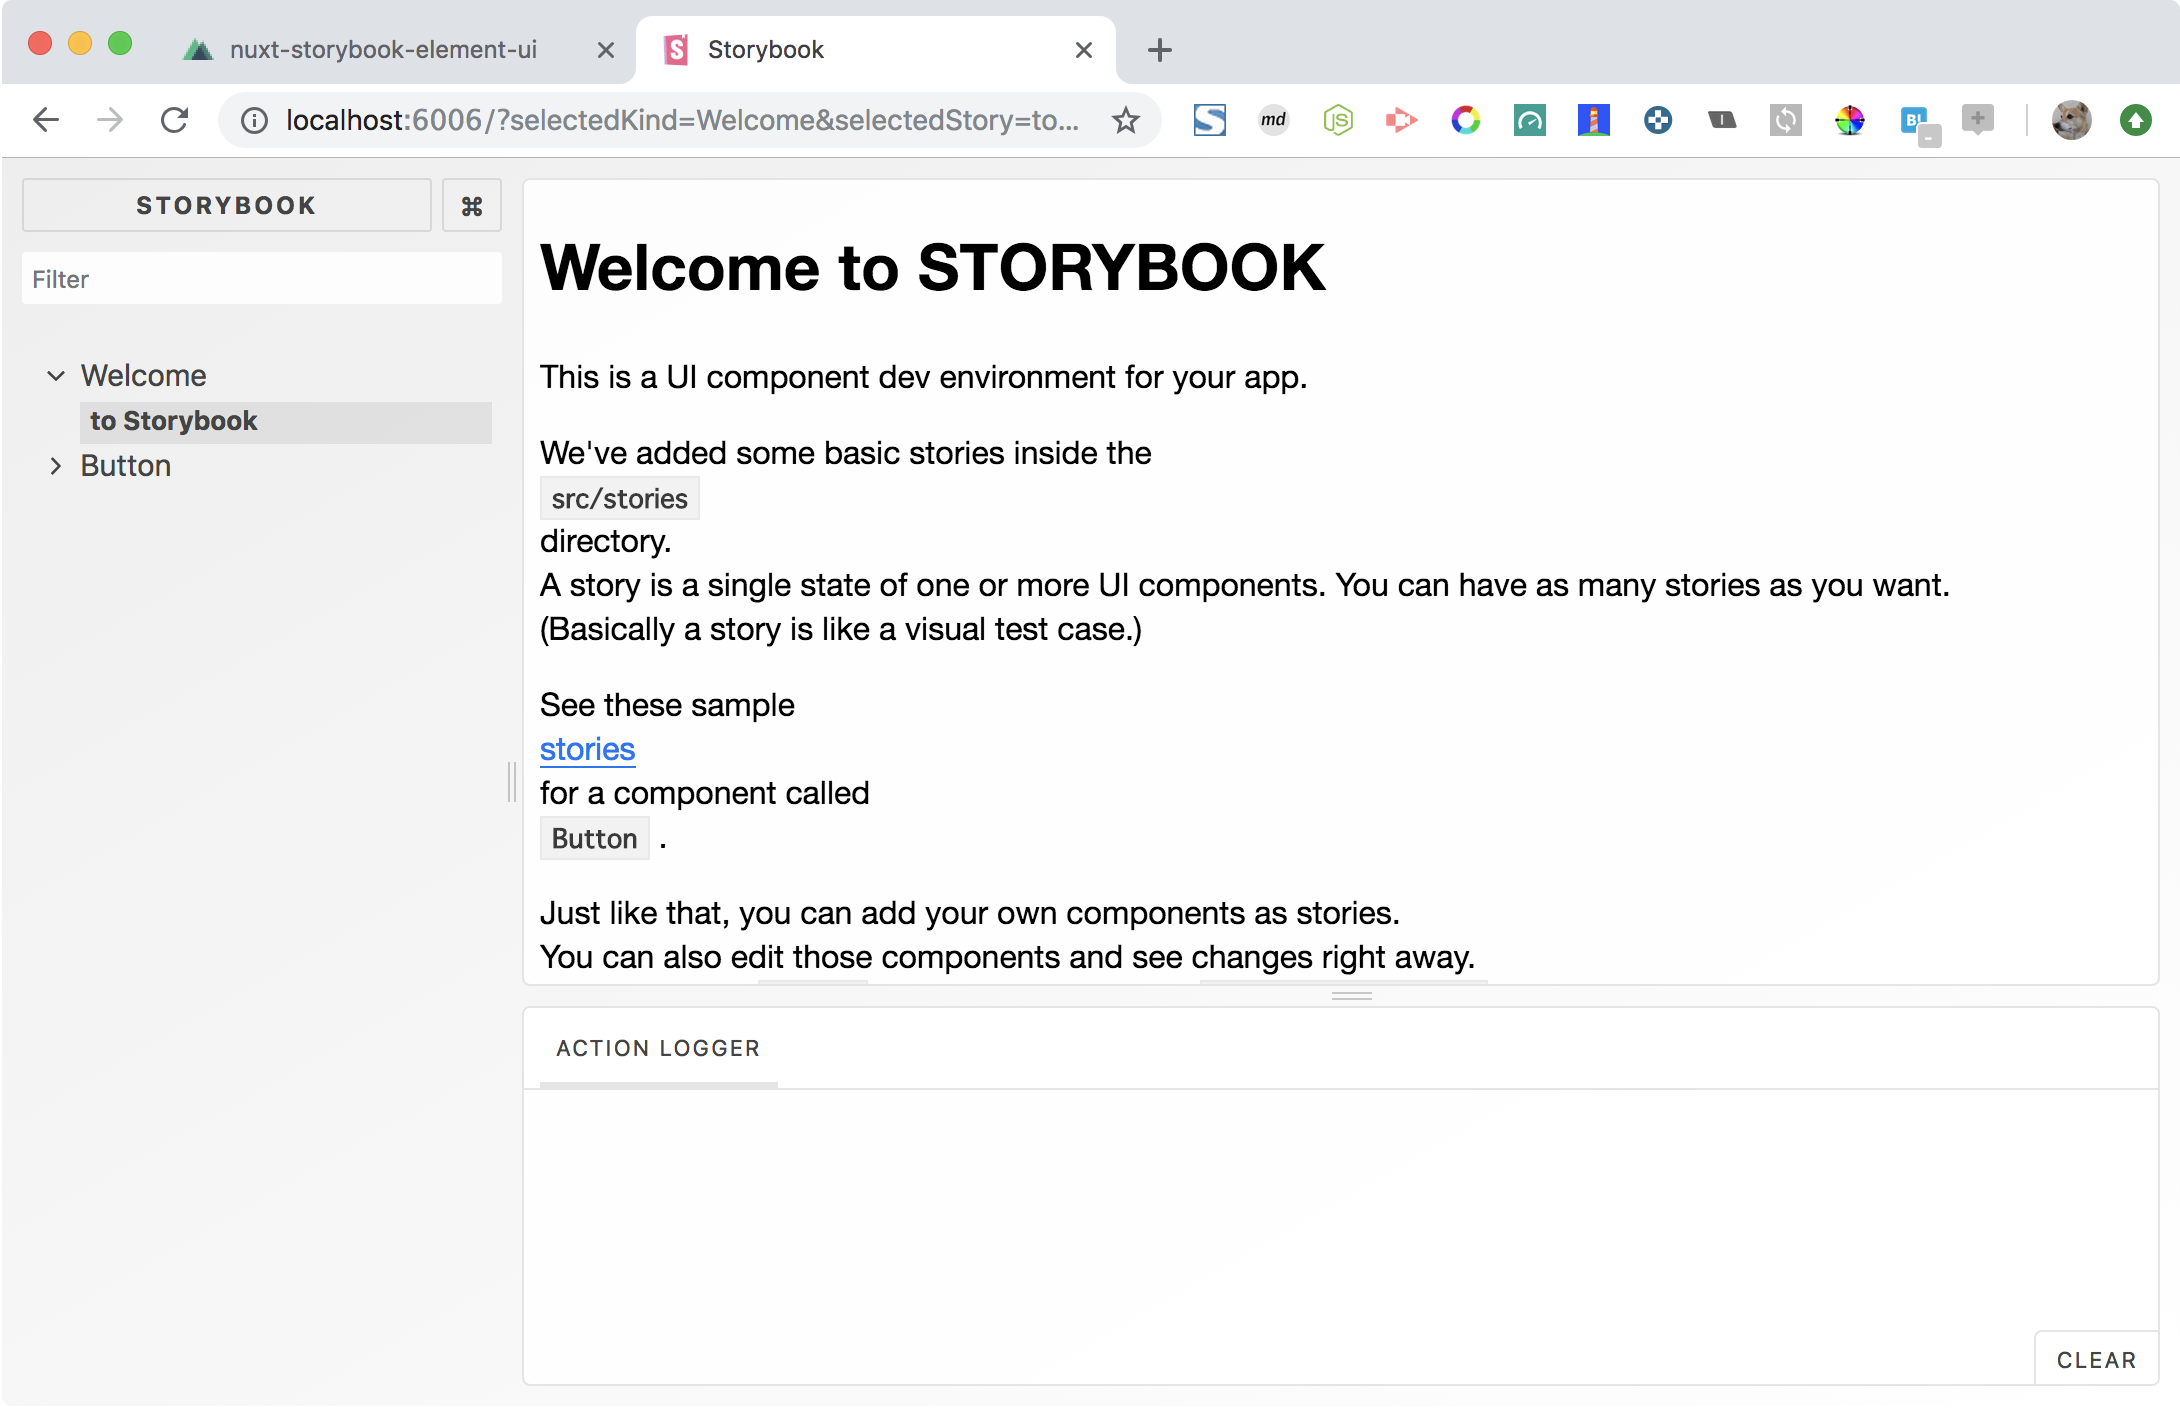
Storybookの画面を確認
ストーリーを追加する
Storybookの画面にButtons.vueを追加します。
stories/index.stories.jsを開いて次のように編集します。
...
import MyButton from './MyButton'
import Welcome from './Welcome'

+ import Buttons from '~/components/Buttons'

+ storiesOf('Buttons', module).add('Buttons', () => ({
+   components: { Buttons },
+   template: '<Buttons />'
+ }))

storiesOf('Welcome', module).add('to Storybook', () => ({
  components: { Welcome },
  template: '<welcome :showApp="action" />',
  methods: { action: linkTo('Button') }
}))
...
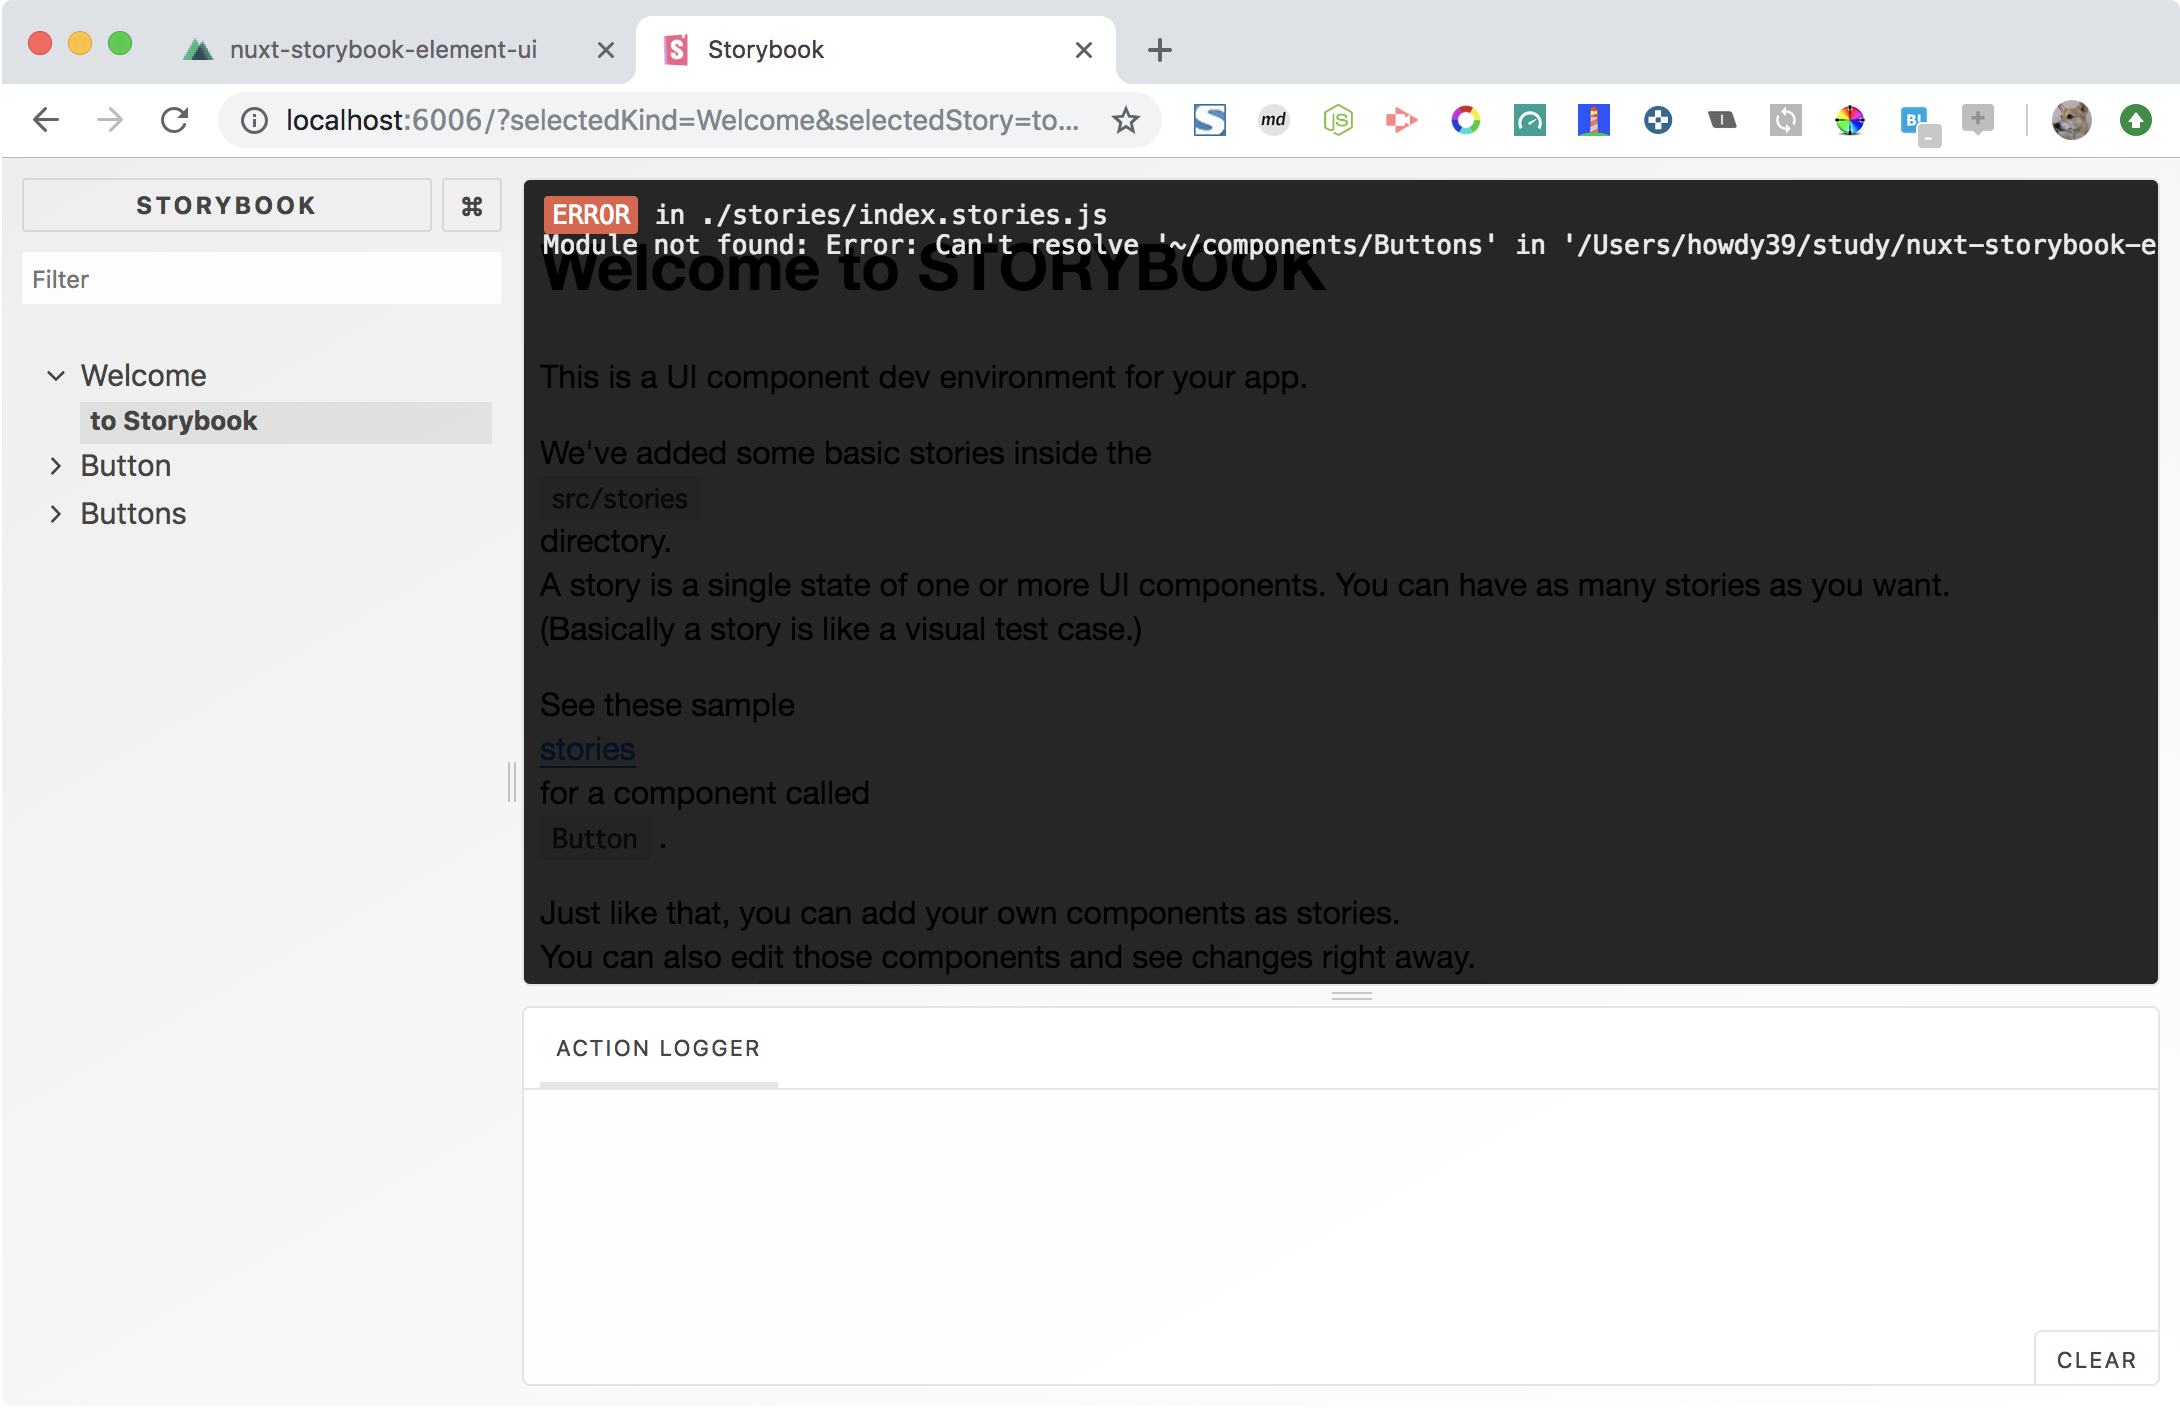
Storybookの画面を確認
しかしこの状態だとモジュールが見つからない旨のエラーになります。
webpack.config.jsを作成する
.storybook/webpack.config.jsを作成し、次のような内容を入力します。
ここにwebpackの設定を書くことで自動でstorybookがwebpackを解釈してくれます。
const path = require("path");
const rootPath = path.resolve(__dirname, '../');

module.exports = {
  resolve: {
    extensions: ['.vue'],
    alias: {
      '~': rootPath,
    }
  }
};
Storybookの画面を確認
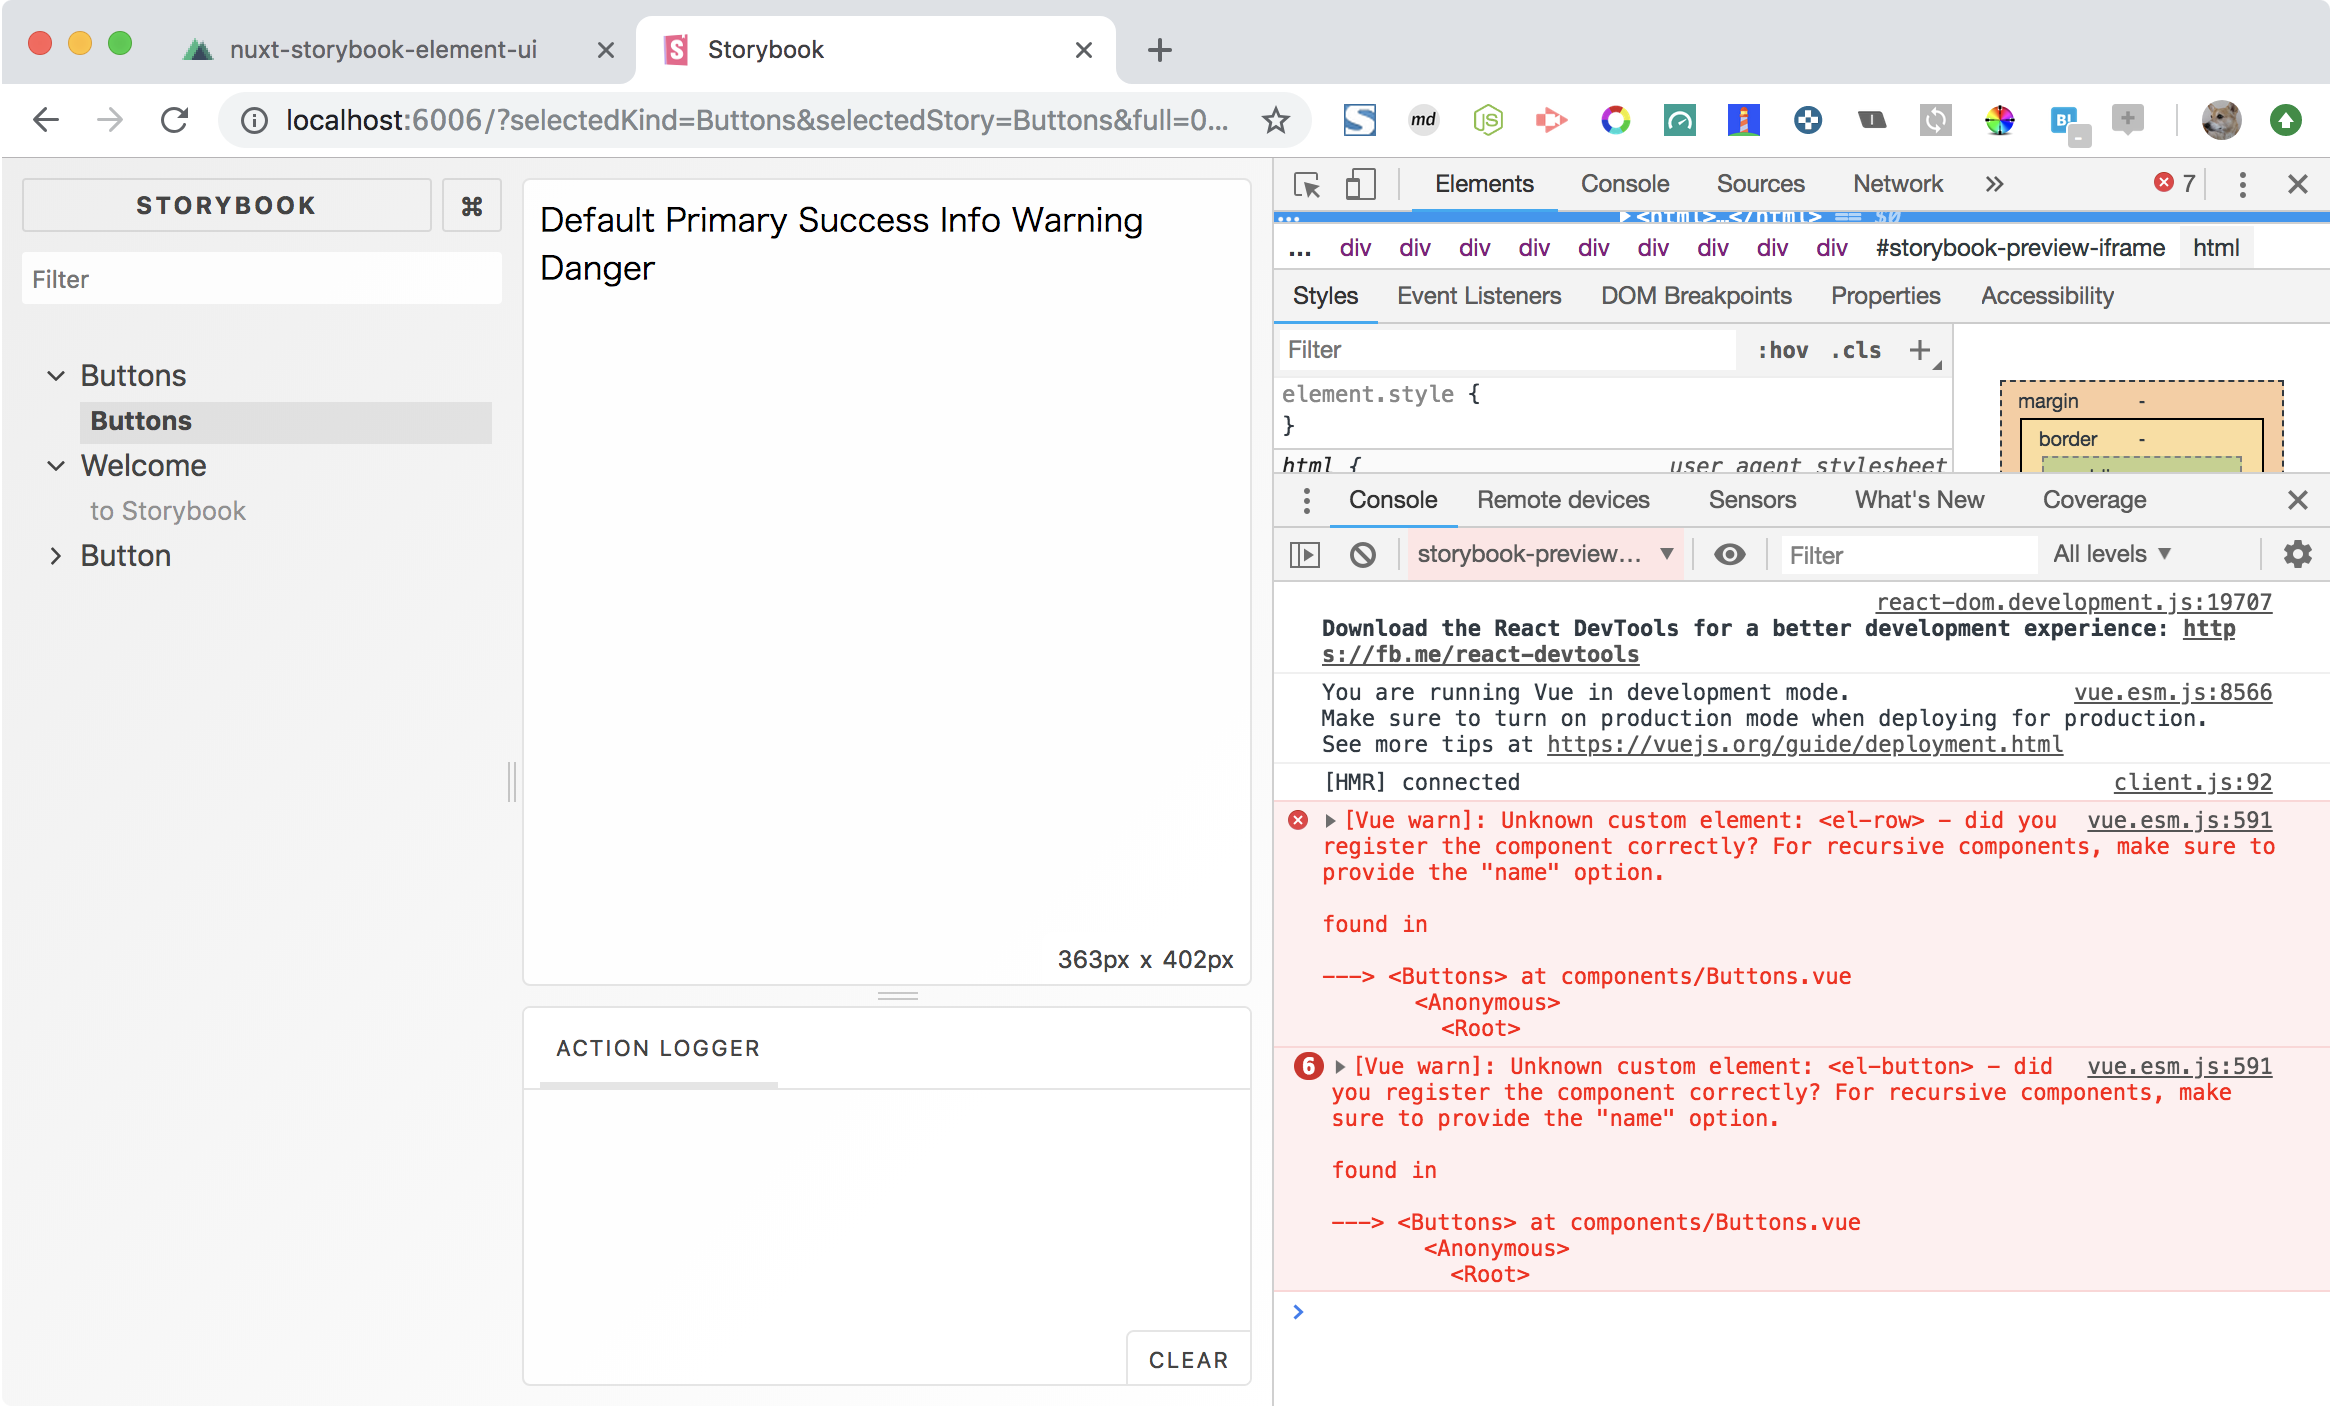
この状態で先程のエラーが消えますが、ボタンになっていませんね。
また、コンソールに<el-row>や<el-button>が解釈できない旨のエラーが出ています。
ElementをVueに取り込む
.storybook/config.js を開いてElementUIをVueに取り込むようにします。
plugins/element-ui.jsの中を見ると「あぁそういうことね」ってなると思います。
+ import ElementUI from '~/plugins/element-ui';
+ ElementUI();

import { configure } from '@storybook/vue';

// automatically import all files ending in *.stories.js
const req = require.context('../stories', true, /.stories.js$/);
function loadStories() {
  req.keys().forEach(filename => req(filename));
}

configure(loadStories, module);
Storybookの画面を確認
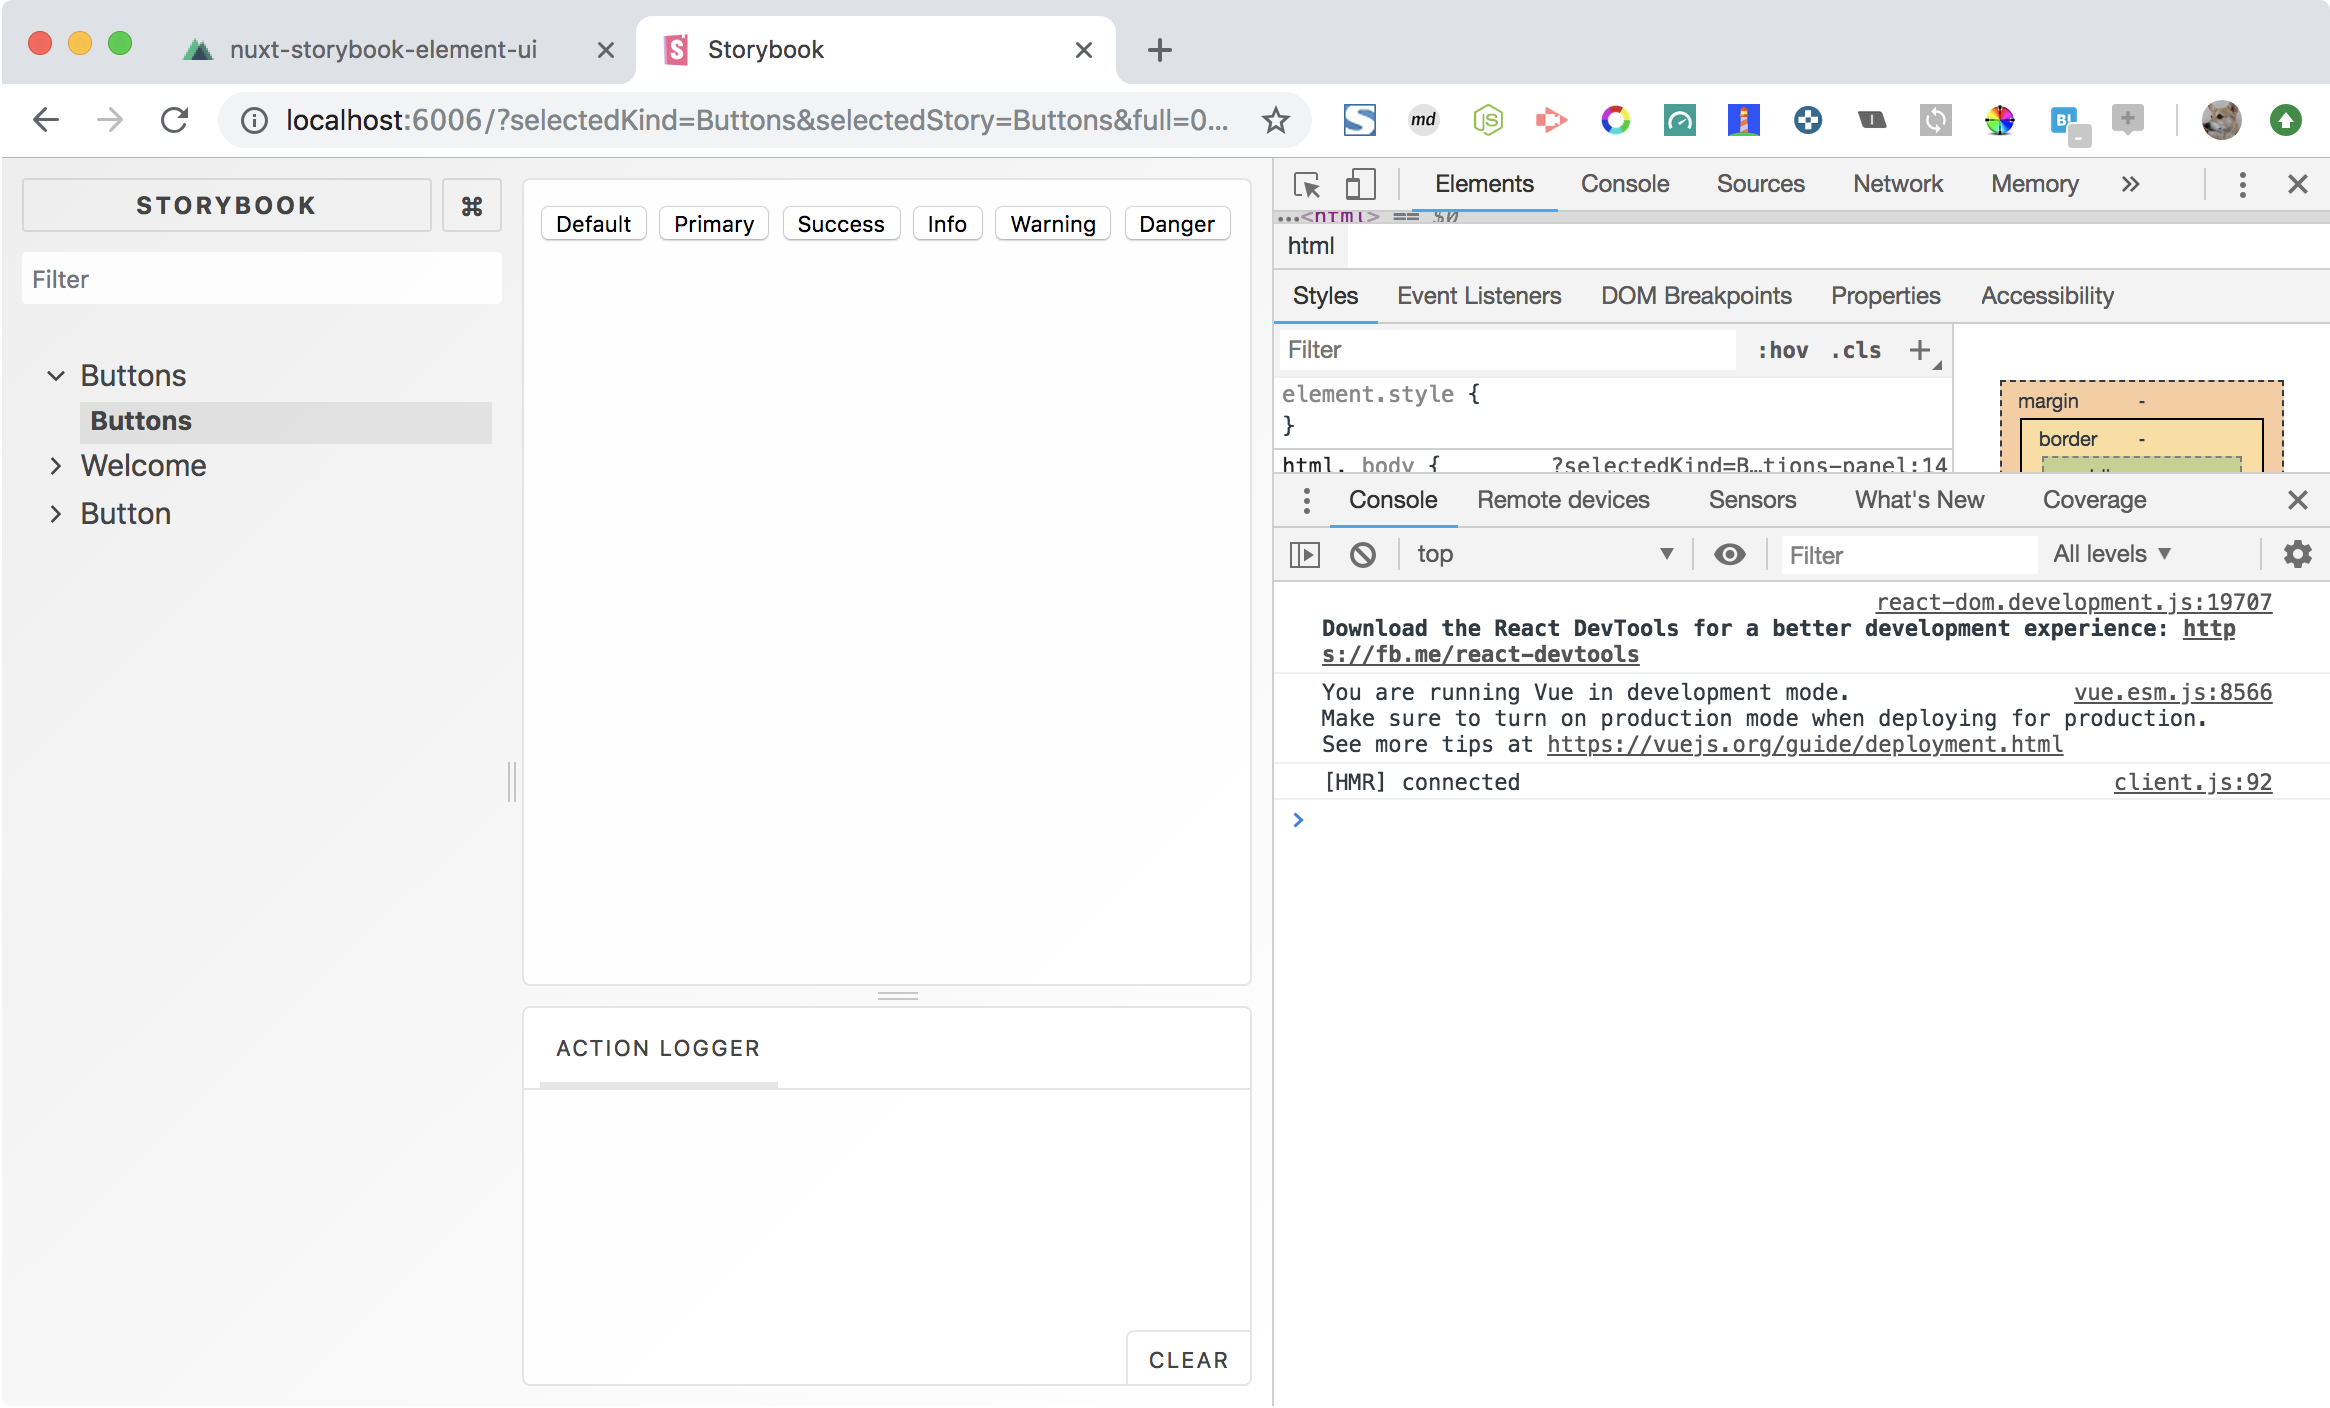
やっとボタンが表示され、エラーが消えましたね。
しかし色やサイズが効いていません。
ElementのCSSを設定する
+ import '!style-loader!css-loader!element-ui/lib/theme-chalk/index.css';
import ElementUI from '~/plugins/element-ui';
ElementUI();
Storybookの画面を確認
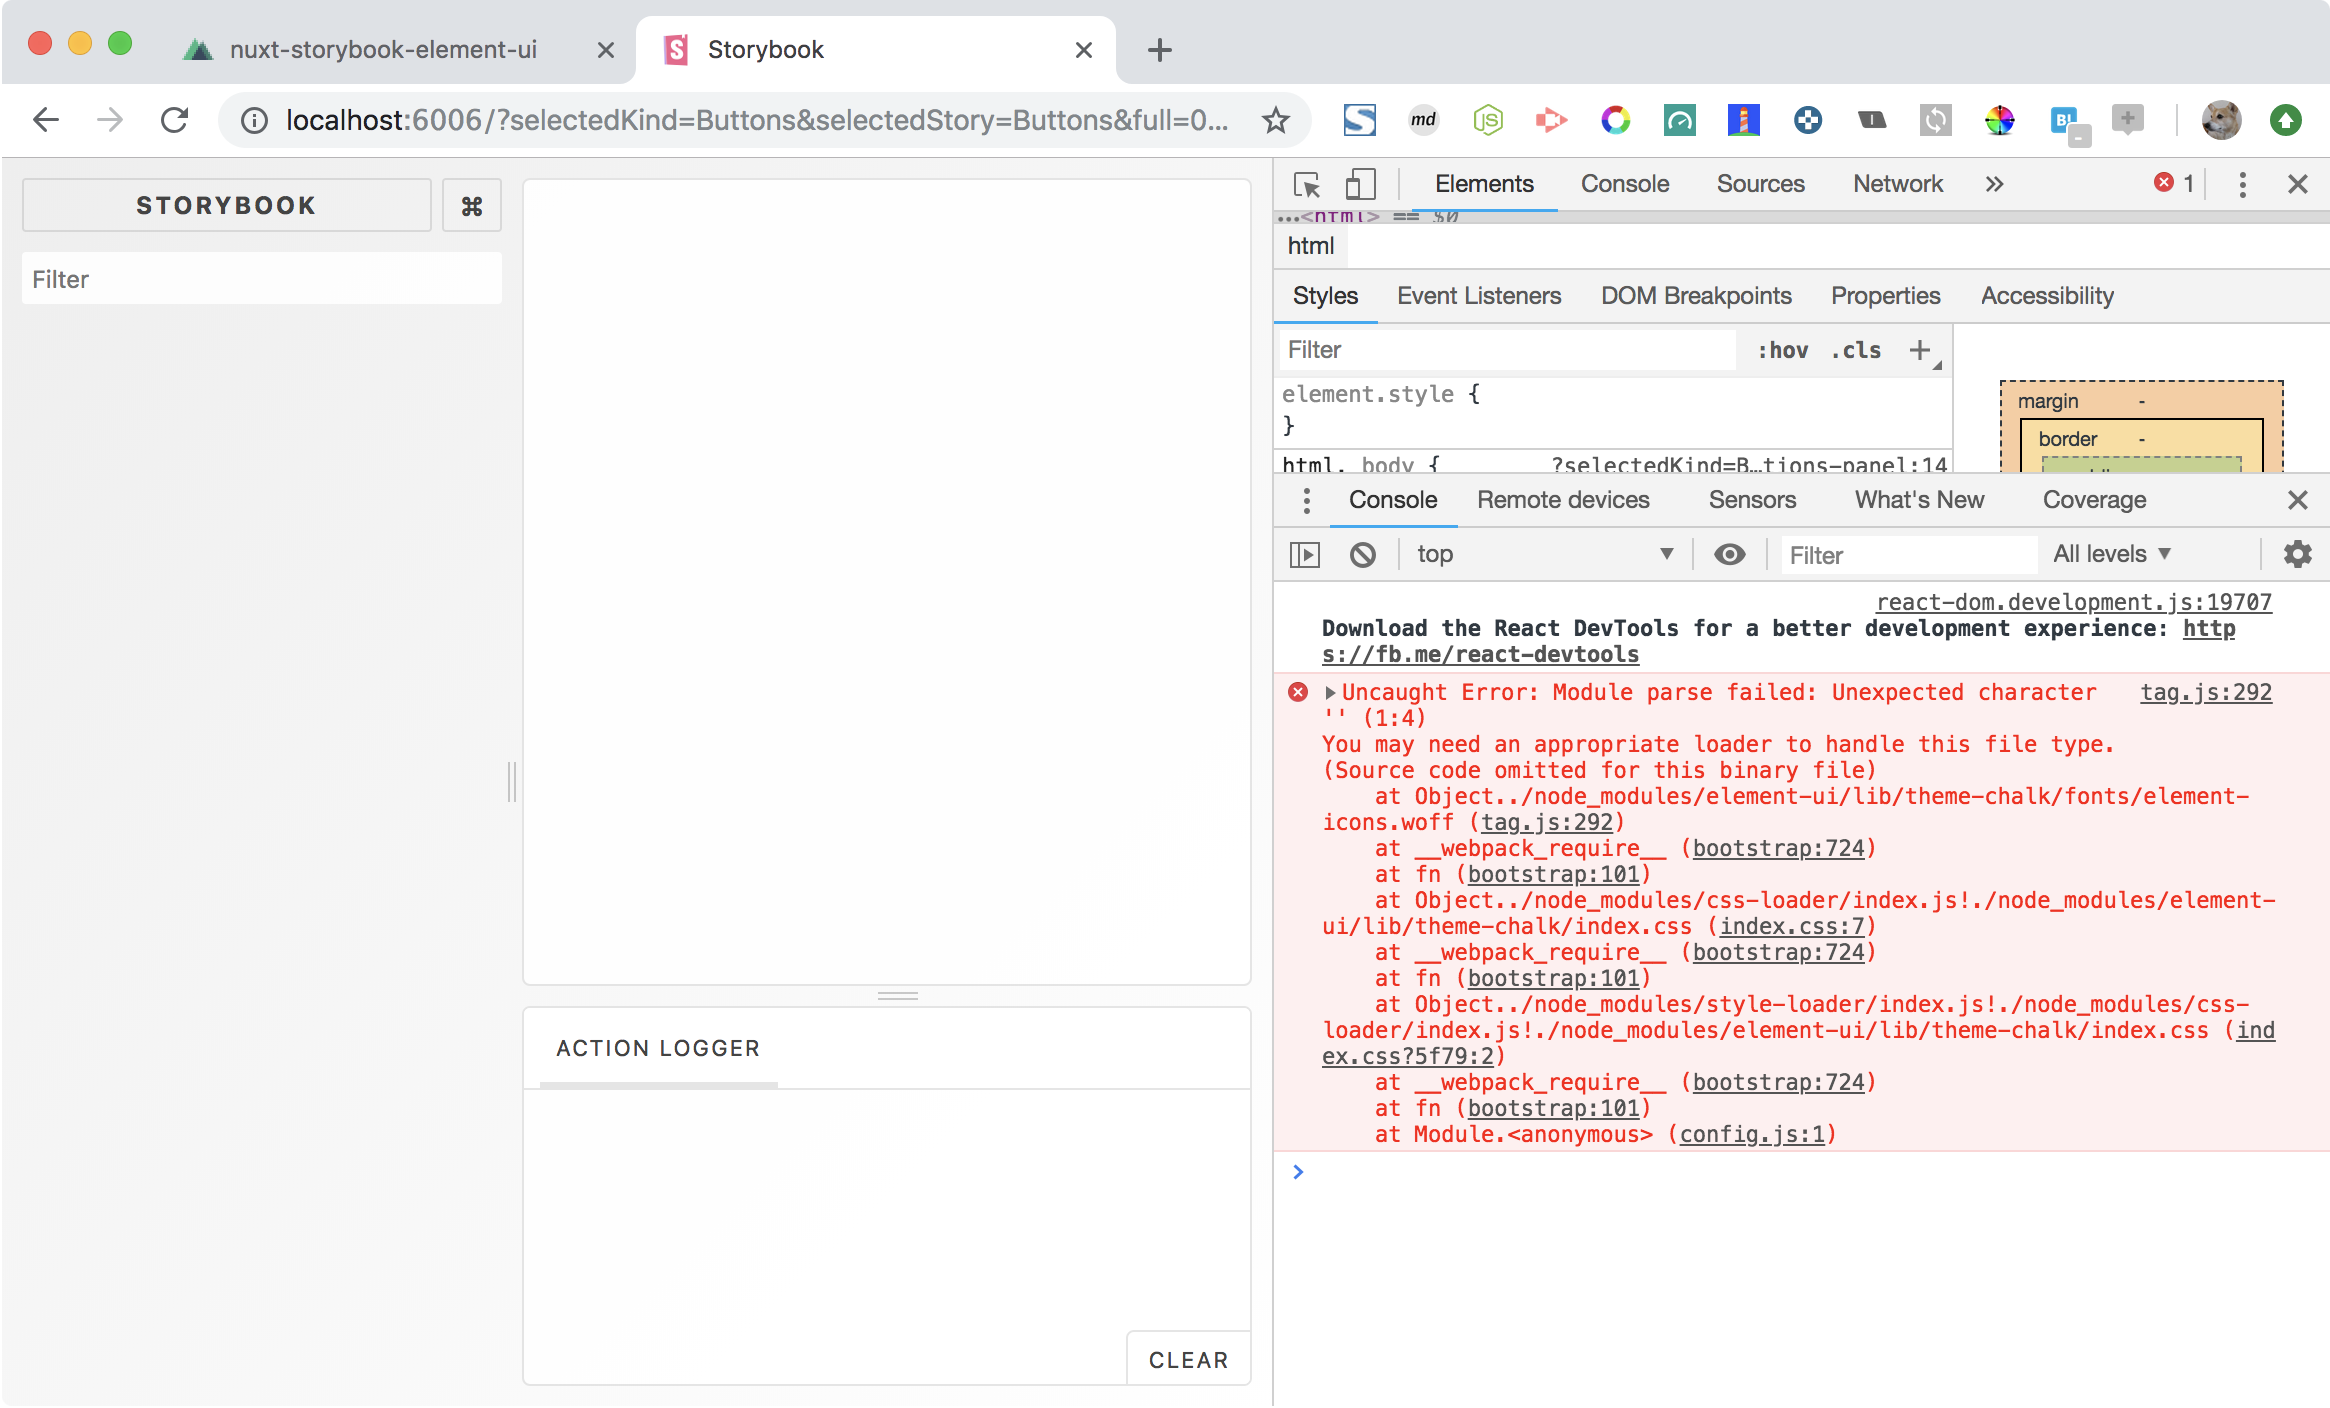
今度はwoffファイルが読み込めない旨のエラーがでます。
※index.cssの中でwoffファイルが定義されているのでしょう。
フォント系のファイルを取り込めるようにする
webpackの設定を変えてフォント系ファイルを取り込めるようにします。
const path = require("path");
const rootPath = path.resolve(__dirname, '../');

module.exports = {
+   module: {
+     rules: [
+       {
+         test: /\.(otf|eot|svg|ttf|woff|woff2)(\?.+)?$/,
+         loader: 'url-loader'
+       }
+     ]
+   },
  resolve: {
    extensions: ['.vue'],
    alias: {
      '~': rootPath,
    }
  }
};
storybookを再起動します。
yarn storybook
Storybookの画面を確認
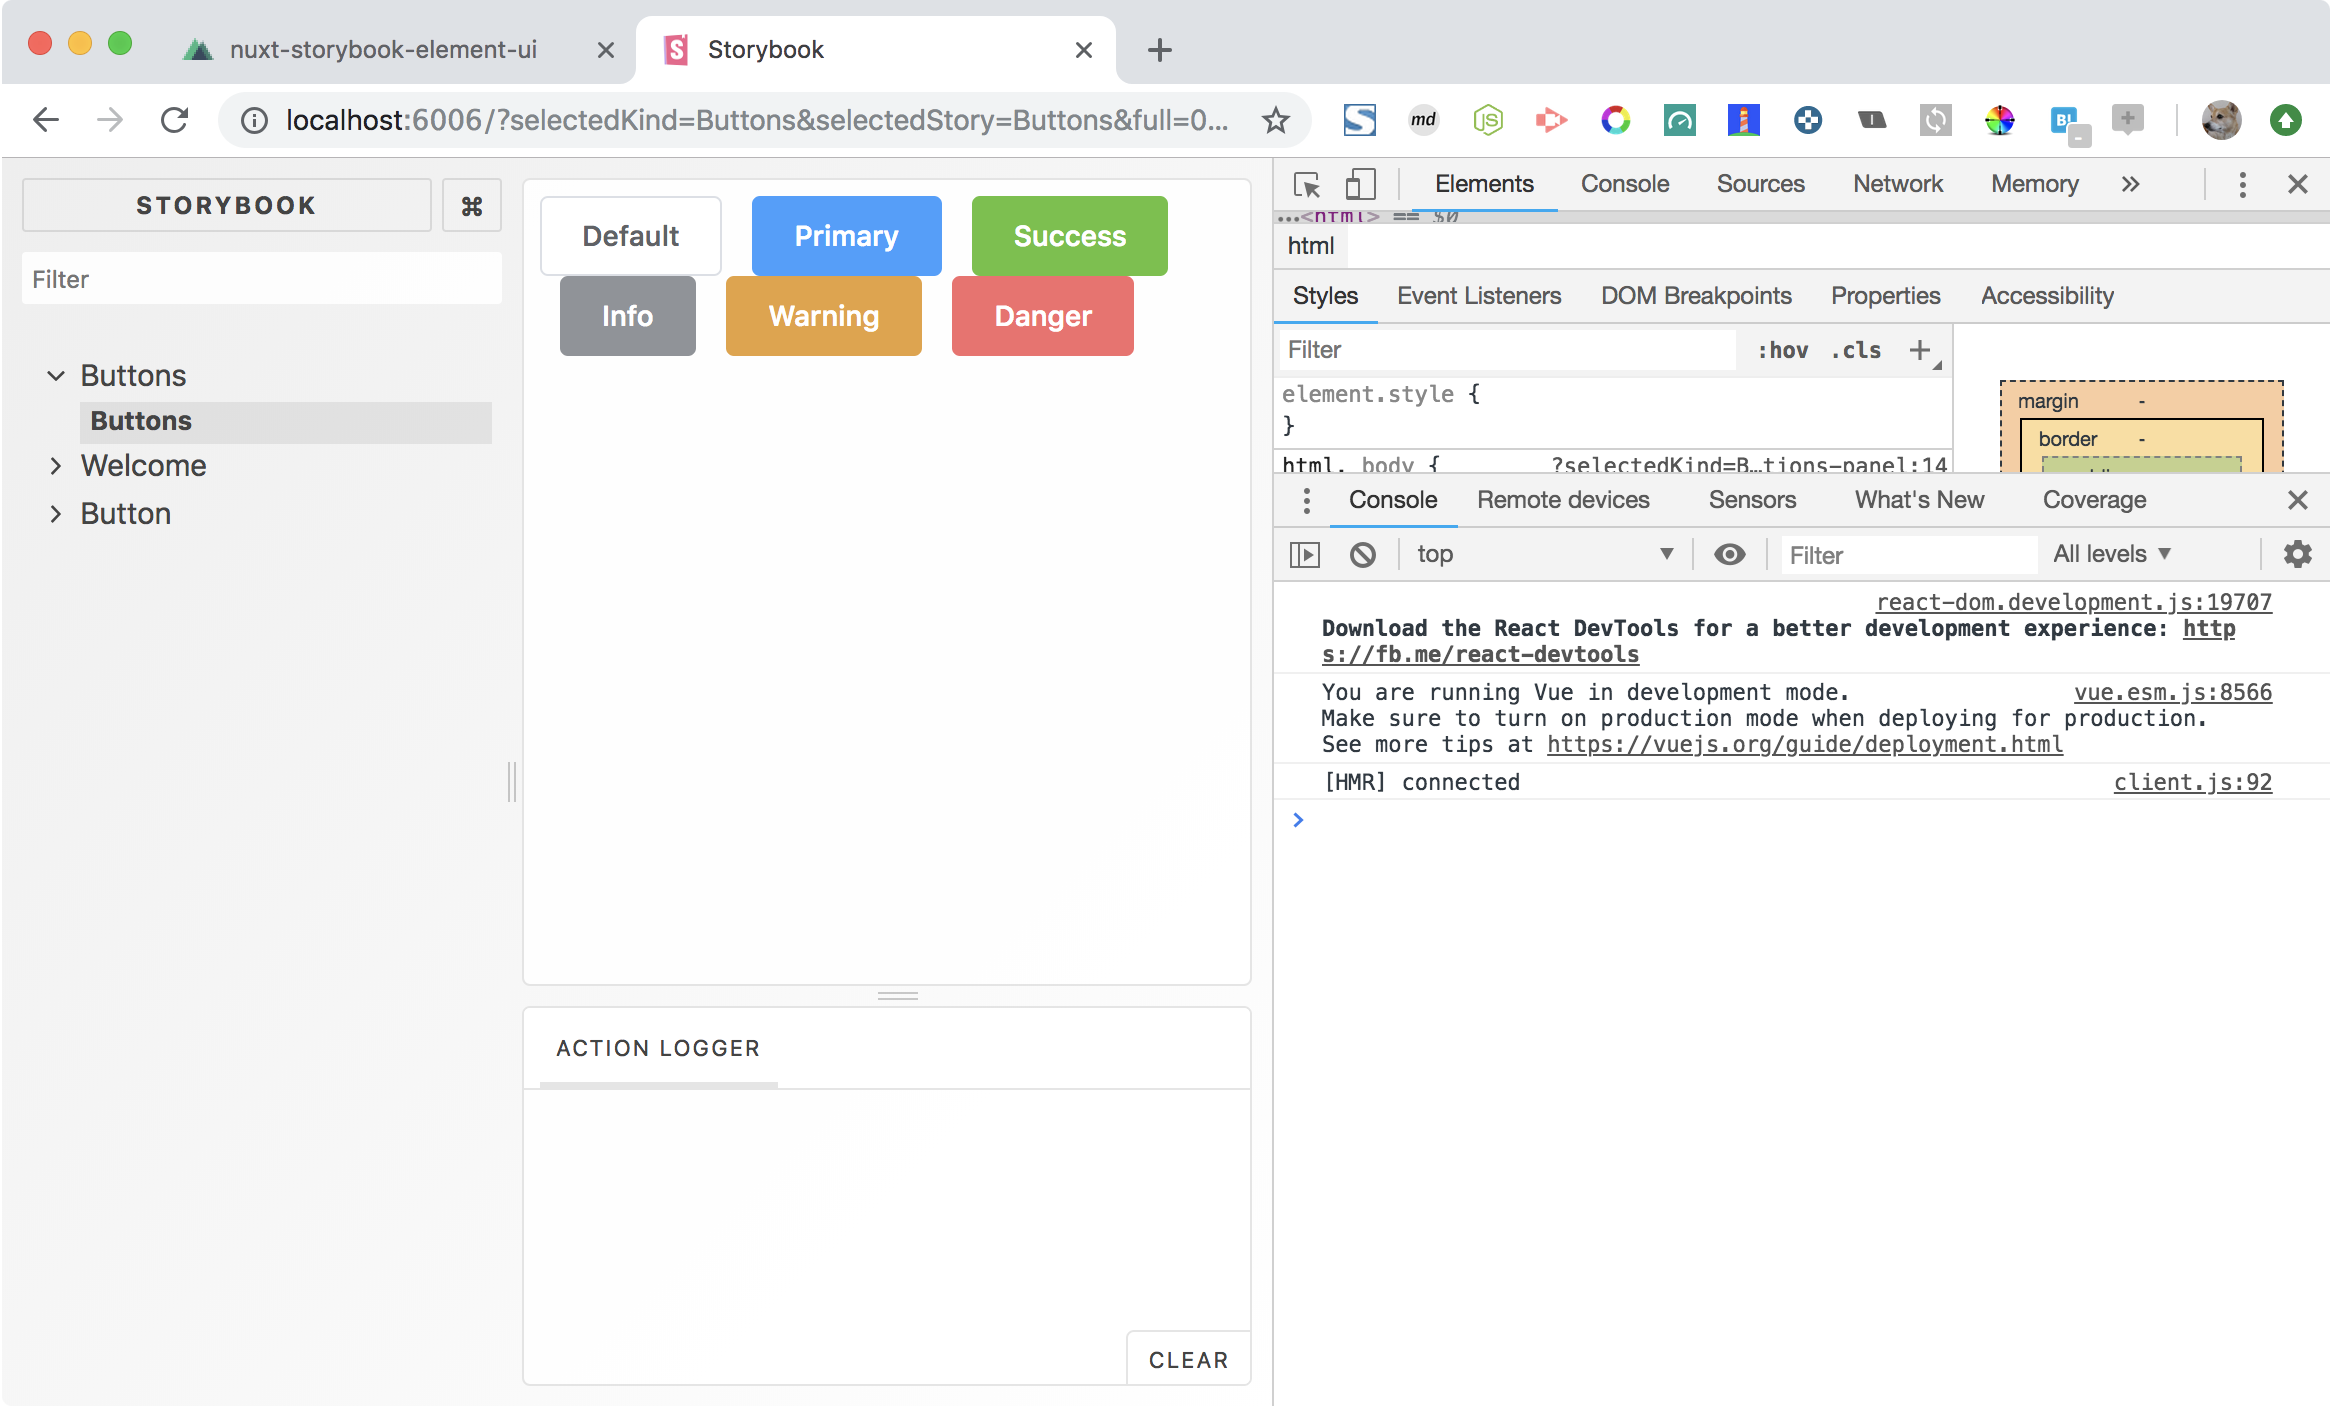
やっと Element が適用されたコンポーネントがStorybookでも表示できました。
何をしていたのか
Nuxtが裏でやっていることと同じようなことをStorybookにもやってあげました。
nuxt.config.jsを開くとElmentUI用の設定が次のようにcssとpluginsにされています。
これと同じようなことをしていたわけです。
  /*
  ** Global CSS
  */
  css: ['element-ui/lib/theme-chalk/index.css'],

  /*
  ** Plugins to load before mounting the App
  */
  plugins: ['@/plugins/element-ui'],
