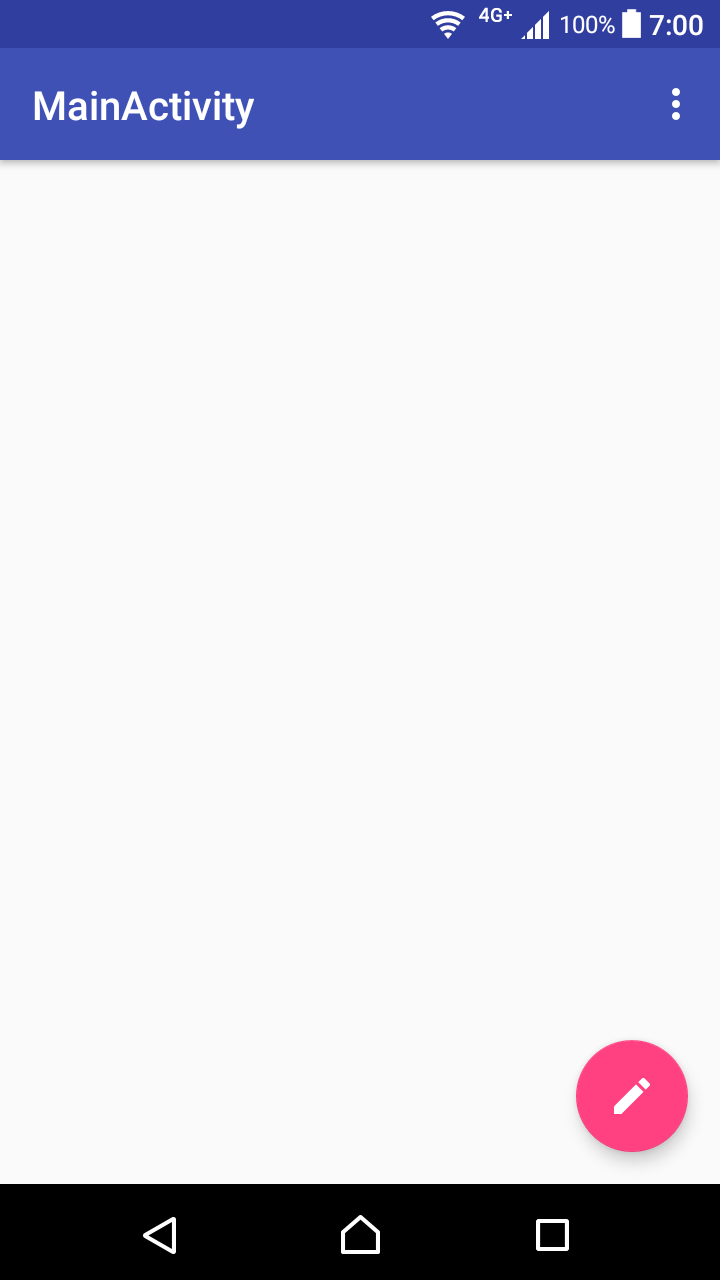
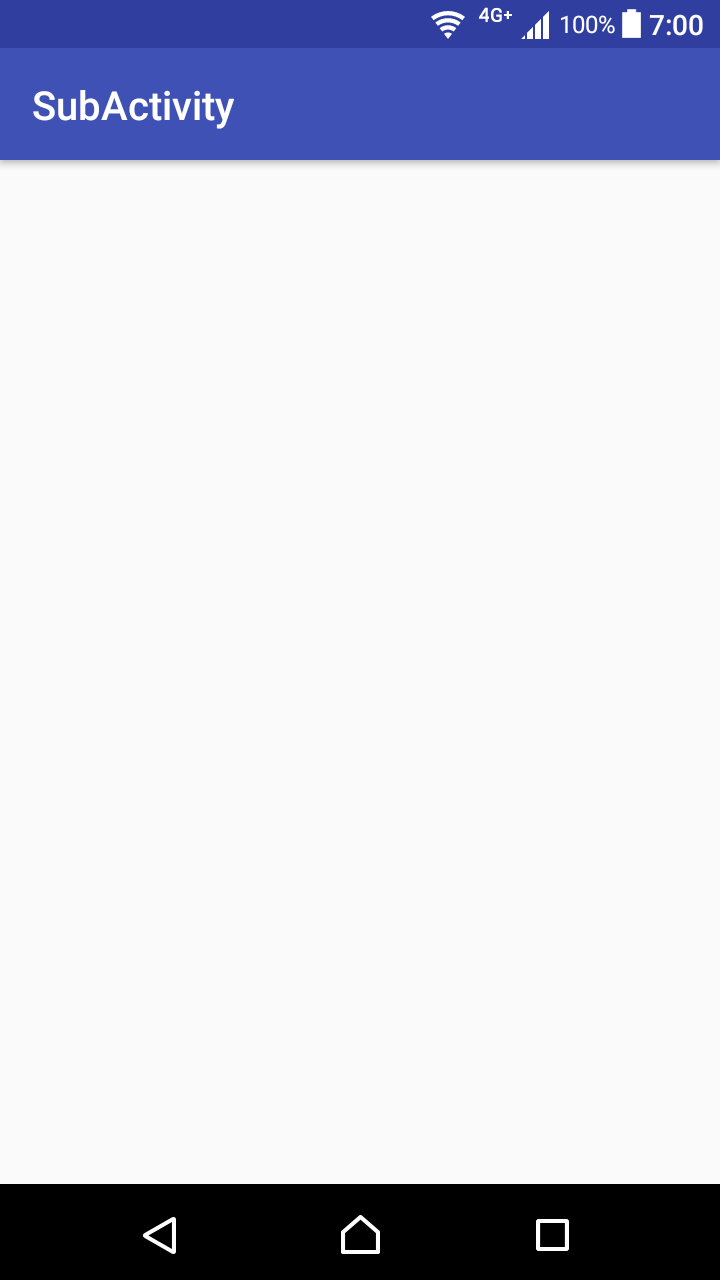
ヘッダと書きましたが、いろいろな呼ばれ方をしてたりします。
・アプリバー
・アクションバー
・ツールバー
やりたいこと
ヘッダ(〇〇Activityと書いてある青い部分)を画面によって使い分けたい。
・テキストを変えたい
・ボタンの有無 等を設定したい


こう分けたい
開発環境
Android Studio 3.0.1
実装方法
スタイルの設定
色とかを設定する部分。ここで作ったスタイルを後でAndroidManifestや各レイアウトファイル(~.xml)から指定する。
今回はプロジェクトを作成したデフォルトの状態を使用
<resources>

    <style name="AppTheme" parent="Theme.AppCompat.Light.DarkActionBar">
        <item name="colorPrimary">@color/colorPrimary</item>
        <item name="colorPrimaryDark">@color/colorPrimaryDark</item>
        <item name="colorAccent">@color/colorAccent</item>
    </style>

    <style name="AppTheme.NoActionBar">
        <item name="windowActionBar">false</item>
        <item name="windowNoTitle">true</item>
    </style>

    <style name="AppTheme.AppBarOverlay" parent="ThemeOverlay.AppCompat.Dark.ActionBar" />

    <style name="AppTheme.PopupOverlay" parent="ThemeOverlay.AppCompat.Light" />

</resources>
AndroidManifestの設定
AndroidManifestから各画面のスタイルを指定する。
    <application
        android:allowBackup="true"
        android:icon="@mipmap/ic_launcher"
        android:label="@string/app_name"
        android:roundIcon="@mipmap/ic_launcher_round"
        android:supportsRtl="true"
        android:theme="@style/AppTheme">
        <activity
            android:name=".MainActivity"
            android:label="MainActivity"
            android:theme="@style/AppTheme.NoActionBar">
            <intent-filter>
                <action android:name="android.intent.action.MAIN" />

                <category android:name="android.intent.category.LAUNCHER" />
            </intent-filter>
        </activity>
        <activity
            android:name=".SubActivity"
            android:label="SubActivity"
            android:theme="@style/AppTheme.NoActionBar">
        </activity>
    </application>
android:label ...ヘッダに表示される文字。
android:theme ...見た目。ここでは、アプリ全体とアクティビティのテーマをそれぞれ設定している。変えたいときはstyles.xmlから内容を変更する。
今回は、見た目は同じで表記や機能が異なるヘッダを作成したかったので、
android:labelのみ変更。
レイアウトファイル(xml)の内容
アクティビティ用
各Activityに対応するxmlファイルに、ツールバーの項目を加える。
    <android.support.design.widget.AppBarLayout
        android:layout_width="match_parent"
        android:layout_height="wrap_content"
        android:theme="@style/AppTheme.AppBarOverlay">

        <android.support.v7.widget.Toolbar
            android:id="@+id/toolbar"
            android:layout_width="match_parent"
            android:layout_height="?attr/actionBarSize"
            android:background="?attr/colorPrimary"
            app:popupTheme="@style/AppTheme.PopupOverlay" />

    </android.support.design.widget.AppBarLayout>
ツールバー用
各画面ごとにツールバー用のレイアウトファイルを作成する。
(デフォルトではapp>res>menuに保存)
ツールバーにボタンを追加する際はこちらにitemタグを追加する。
今回はMainActivityにオーバーフローメニュー(右にある3点ボタン)をつけているので、以下のように記述する。
<menu xmlns:android="http://schemas.android.com/apk/res/android"
    xmlns:app="http://schemas.android.com/apk/res-auto"
    xmlns:tools="http://schemas.android.com/tools"
    tools:context="com.example.hoge.fuga.MainActivity">
       <!-- ↑ここでどのActivityと結びついているか指定する -->
    <item
        android:id="@+id/action_settings"
        android:orderInCategory="100"
        android:title="@string/action_settings"
        app:showAsAction="never" />
</menu>
orderInCategory:ボタンを複数配置する場合、この数値によって並び順を指定する
showAsAction:ボタン表示の状態。オーバーフローメニュー内にボタンをしまう場合はnever。
常に表示したい場合はalwaysやifRoomを指定する。
Activity.javaファイルの内容
各画面ごとに、onCreateメソッド内でツールバーをセットする。
    ...
    @Override
    protected void onCreate(Bundle savedInstanceState) {
        super.onCreate(savedInstanceState);
        setContentView(R.layout.activity_main);

        Toolbar toolbar = (Toolbar) findViewById(R.id.toolbar);
        setSupportActionBar(toolbar);
        ...
    }
また、ヘッダ内のボタン機能を使うするためには
onCreateOptionsMenuメソッドとonOptionsItemSelectedメソッドをオーバーライドして使う。
    @Override
    public boolean onCreateOptionsMenu(Menu menu) {
        //ヘッダ用のレイアウトファイルと紐づける
        getMenuInflater().inflate(R.menu.menu_main, menu);
        return true;
    }

    @Override
    public boolean onOptionsItemSelected(MenuItem item) {

        int id = item.getItemId();
        //各ボタンを押した時の処理
        if (id == R.id.action_settings) {
            return true;
        }

        return super.onOptionsItemSelected(item);
    }
onOptionsItemSelected内に処理が多い場合はSwitch文を使うのがおすすめ。
まとめ
- スタイルを作る ...styles.xml
- アクティビティごとに、デフォルトでどのスタイルを使うか指定する ...AndroidManufest.xml
- 画面にツールバーを配置する ...activity_XXX.xml
- ヘッダ用のレイアウトファイルを作成する ...menu_XXX.xml
- 各アクティビティにツールバーと処理を実装 ...XXXActivity.java
- 各アクティビティのonCreate()でツールバーの使用を宣言
- onCreateOptionsMenu()でヘッダ用レイアウトファイルと紐付ける
- onOptionsItemSelected()でヘッダ内のボタンの処理を記述