はじめに
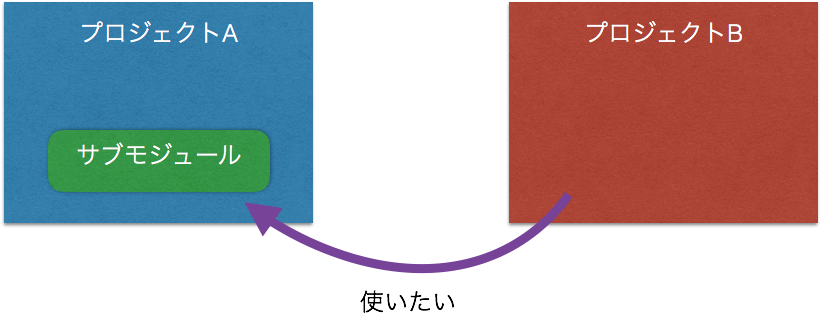
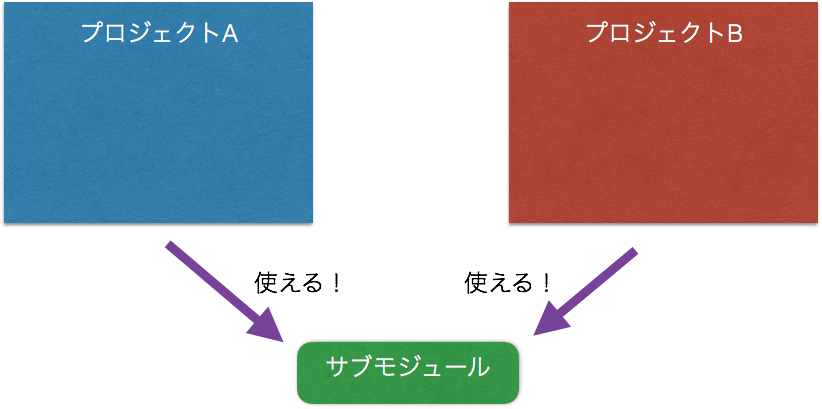
プロジェクトを進めていくと、「あっ! この機能、別のプロジェクトに流用できる!」と気づく瞬間ってありますよね。でも、不用意に特定のファイルだけをコピペしちゃうと、片方でその機能を更新してももう片方に反映されません。同じ機能を使っているので、ここはgitで一元管理したいところですよね。
それを可能にしてくれるのがサブモジュールです。この記事では、既存のリポジトリからサブモジュールを切り出して、複数のプロジェクトで共有する方法を紹介します。
ここでは GitHub との連携を念頭に置いて説明していきますが、 GitLab でも同じようにできます。
ステップ0:前提
例として、以下のような状況を考えます。
$ tree
.
├── project_a
│   ├── main_a.py
│   ├── submodule_a1
│   │   └── sa1.py
│   └── submodule_to_be_split
│       └── stbs.py
└── project_b
    ├── main_b.py
    └── submodule_b1
        └── sb1.py
ここから、 submodule_to_be_split を切り出してみます。
ステップ1:切り出し用リポジトリの作成
まず、名前衝突が起きない場所に、もう一つ project_a を git clone してきます(これをsomewhere/project_a とします)。これが、サブモジュール切り出し用のリポジトリになります。
ステップ2:サブモジュールに切り出し
次に、somewhere/project_a 下で、
git filter-branch --prune-empty --subdirectory-filter submodule_to_be_split master
と打ちます(ブランチ名が master でない場合は適宜読み替えてください)。
すると、以下のようなメッセージが出て、リポジトリの情報が書き換わります。
Rewrite 58df845db323b991b17ec6369389f7e46cce4eed (1/1) (0 seconds passed, remaining 0 predicted)
Ref 'refs/heads/master' was rewritten
これで、 somewhere/project_a がサブモジュールとして切り出せました。こうすることのメリットは、過去のlogを引き継げるというところです。
試しにディレクトリの中身を見ると、
$ ls
stbs.py
と、切り出したいサブモジュールの中身だけになっています。
ステップ3:サブモジュールを GitHub に反映
somewhere/project_a の名前を submodule_to_be_split と変更します。個人的には、これは git の側でマネージしてほしかったですが、手動です。
GitHub 側にも submodule_to_be_split というプロジェクトを作り、ここに push します。ただし、以下のコマンドで確かめられるように、今の状態では remote name は project_a と同じままです。
$ git remote -v
origin	git@github.com:username/project_a.git (fetch)
origin	git@github.com:username/project_a.git (push)
なので、以下のコマンドで remote name を書き換えます。
git remote set-url origin git@github.com:username/submodule_to_be_split.git
もう一度確認します。
$ git remote -v
origin	git@github.com:username/submodule_to_be_split.git (fetch)
origin	git@github.com:username/submodule_to_be_split.git (push)
これで正しく push できるようになりましたので、
$ git push -u origin master
とすれば、サブモジュールが GitHub に push されます。
ステップ4:サブモジュールの取り込み
まずは project_a から submodule_to_be_split を削除しましょう。そして、削除されたことをリポジトリに教えるために、 git add -A の後に git commit しておきます。
ここまでくれば、あとは project_a や project_b の中で
git submodule add git@github.com:username/submodule_to_be_split.git
とすれば、submodule_to_be_split がディレクトリの中にクローンされます。このサブモジュールのディレクトリ名を変えたいときは、
git submodule add git@github.com:username/submodule_to_be_split.git directory_name
と、最後にディレクトリ名を引数として追加すればOKです。
サブモジュールを取り込んだあとも忘れずにコミットしておきましょう。モジュールを追加した直後は以下の 2 つのファイルが追加されているはずです(サブモジュールとして追加した場合は submodule_to_be_split はディレクトリ扱いされません)。
$ git status
On branch master
Your branch is ahead of 'origin/master' by 1 commit.
  (use "git push" to publish your local commits)
Changes to be committed:
  (use "git reset HEAD <file>..." to unstage)

	new file:   .gitmodules
	new file:   submodule_to_be_split
これで、2 つのプロジェクトに同じサブモジュールが取り込まれました(試しに project_b のほうは submodule_renamed と名前を変えてみました)。
$ tree
.
├── project_a
│   ├── main_a.py
│   ├── submodule_a1
│   │   └── sa1.py
│   └── submodule_to_be_split
│       └── stbs.py
└── project_b
    ├── main_b.py
    ├── submodule_b1
    │   └── sb1.py
    └── submodule_renamed
        └── stbs.py
参考記事
今回はサブモジュールを取り込むところまでしか説明していませんが、サブモジュールの更新にまつわる 大変な 色々なこともさまざまな記事でカバーされています。
Git - サブモジュール
Splitting a subfolder out into a new repository - User Documentation
Git submodule の基礎 - Qiita
Git submoduleの抑えておきたい理解ポイントのまとめ - Qiita

