Unityでプレイヤーキャラクターが弾を発射して敵を倒せるように実装します。動作環境はUnity 2022.3.10fです。
ステージを作る
プレイヤーが移動するためのステージを作ります。Hierarchyビューで右クリックし、3D Object→Planeを選択して作ります。この上をキャラクターが移動します。
プレイヤー操作
操作方法は矢印キーで移動、スペースキーでジャンプ、Zキーで弾を発射とします。まずは無料アセットなどを利用して適当なプレイヤー用のキャラクターを用意してSceneビューに置きます。Projectビューで右クリックし、Create→C# Scriptを選択して次のスクリプトを作成します。作成出来たらプレイヤー用のキャラクターにアタッチします。
using System.Collections;
using System.Collections.Generic;
using UnityEngine;

[RequireComponent(typeof(CharacterController))]
[RequireComponent(typeof(Rigidbody))]
public class PlayerController : MonoBehaviour
{
    public float moveSpeed; //プレイヤーの移動速度
    public float jumpPower; //ジャンプ力
    public float bulletSpeed; //弾の速度
    public GameObject bulletPrefab; //弾のPrefabを入れるための変数
    private CharacterController controller;
    private Vector3 moveVelocity;

    void Start()
    {
        controller = GetComponent<CharacterController>(); //CharacterControllerを取得
    }

    void Update()
    {
        moveVelocity.x = Input.GetAxis("Horizontal") * moveSpeed; //横軸の入力を取得
        moveVelocity.z = Input.GetAxis("Vertical") * moveSpeed; //縦軸の入力を取得
        transform.LookAt(this.transform.position + new Vector3(moveVelocity.x, 0, moveVelocity.z)); //移動方向に向く

        if (controller.isGrounded) //オブジェクトが地面にいる場合
        {
            if (Input.GetButtonDown("Jump"))
            {
                moveVelocity.y = jumpPower; //ジャンプボタン入力でY軸正方向に移動
            }
        }
        else
        {
            moveVelocity.y += Physics.gravity.y * Time.deltaTime; //重力によるY軸負方向への移動
        }

        controller.Move(moveVelocity * Time.deltaTime); //プレイヤーが移動する

        if (Input.GetKeyDown(KeyCode.Z))
        {
            Shot(); //Zキー入力で弾を発射
        }
    }

    void Shot()
    {
        GameObject newbullet = Instantiate(bulletPrefab, this.transform.position, Quaternion.identity); //弾を生成
        Rigidbody bulletRigidbody = newbullet.GetComponent<Rigidbody>();
        bulletRigidbody.AddForce(this.transform.forward * bulletSpeed); //キャラクターが向いている方向に弾に力を加える
        Destroy(newbullet, 10); //10秒後に弾を消す
    }
}
今回はCharacterControllerを使ってプレイヤーの操作を実装しています。CharacterControllerを使用すれば、RigidbodyとColliderをアタッチしなくても移動やジャンプの処理を実現できます。
弾の発射はShot関数として実装しました。Instantiate関数を使って弾を生成しています。Instantiateの第1引数bulletPrefabには生成したいオブジェクト(今回は弾)を代入します。第2引数ではオブジェクトを生成する位置の座標を指定できます。今回はプレイヤーと同じ座標に生成するのでthis.transform.positionを代入します。第3引数では生成されたオブジェクトの回転量を指定します。今回は回転させないのでQuaterion.identityを代入しておきます。
このままでは弾が生成されても飛ばないのでRigidbodyのAddForceを使って力を加えます。弾を飛ばす向きはプレイヤーが向いている方向、つまりthis.transform.forwardとします。
最後にDestroyがありますが、通常ゲームで発射した弾は物に当たらなくてもいつかは消えるので10秒後に消える設定にします。
プレイヤーにスクリプトをアタッチできたら、InspectorビューからmoveSpeedとjumpPowerとbulletSpeedに適当な値を入れて速度やジャンプ力を調整します。
弾の準備
次に撃つための弾を用意します。弾のAssetを持っている場合はそれを利用すれば良いですが、ない場合は自作しましょう。Hierarchyビューで右クリックし、3D Object→Sphereを選択します。生成したらInspectorビューのTransformのScaleからX、Y、Zの値をそれぞれ0.1に設定します。次に以下のスクリプトを作って弾のオブジェクトにアタッチします。
using System.Collections;
using System.Collections.Generic;
using UnityEngine;

[RequireComponent(typeof(SphereCollider))]
[RequireComponent(typeof(Rigidbody))]
public class Bullet : MonoBehaviour
{
    private Collider objectCollider;
    private Rigidbody rb;

    void Start()
    {
        GetComponent<Renderer>().material.color = new Color32(0, 0, 0, 1); //弾の色を黒にする
        objectCollider = GetComponent<SphereCollider>();
        objectCollider.isTrigger = true; //Triggerとして扱う
        rb = GetComponent<Rigidbody>();
        rb.useGravity = false; //重力を無効にする
    }

    void OnTriggerEnter(Collider collision)
    {
        if (collision.gameObject.CompareTag("Block")) //タグがBlockのオブジェクトと衝突した場合
        {
            Destroy(this.gameObject); //弾を消す
        }

        if (collision.gameObject.CompareTag("Enemy")) //タグがEnemyのオブジェクトと衝突した場合
        {
            Destroy(collision.gameObject); //衝突した相手を消す
            Destroy(this.gameObject); //弾を消す
        }
    }
}
コードの説明を簡単にしておきます。
今回は[RequireComponent(typeof(SphereCollider))]でスクリプトからSphereColliderをアタッチしました。isTriggerにtrueを代入するとisTriggerにチェックを入れたことになります。Colliderに関してはInspectorビューから手動でやっても同じなので、好きな方で実践してください。
弾に力を加えて飛ばすのでGetComponent()でRigidbodyを取得します。今回は重力の影響を受けずに真っすぐ飛ばしたいので、useGravityにfalseを代入して重力を無効にします。
OnTriggerEnter関数の中には2つのIf文が書かれています。これによって障害物(タグがBlock)に当たった場合は、弾が貫通することなく消滅します。敵(タグがEnemy)に当たった場合は弾を消すとともに弾が命中したオブジェクトも消します。
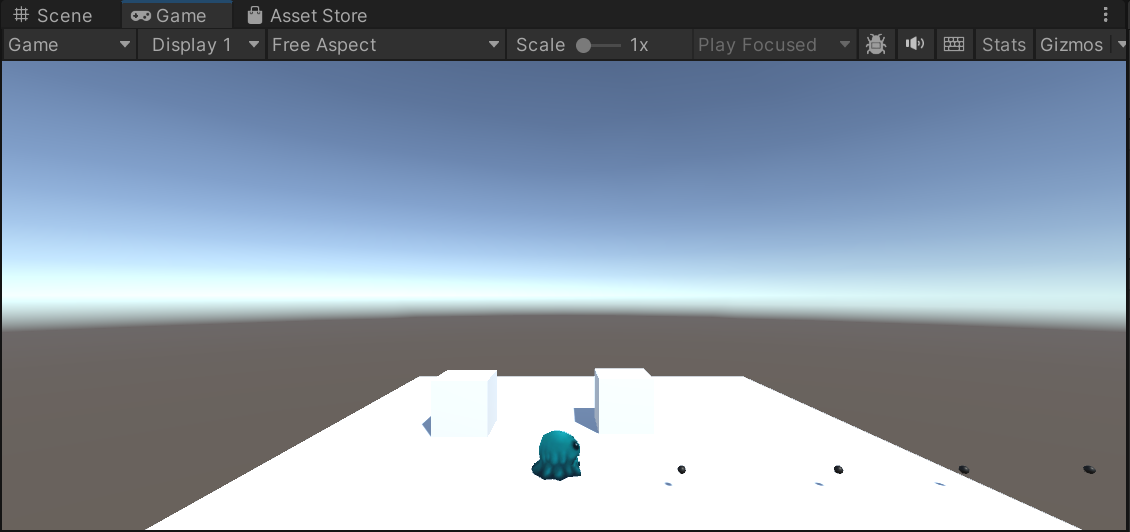
弾が完成したらProjectビューにドラッグしてPrefabとします。Prefab化したらHierarchyビューの方の弾オブジェクトは削除しても大丈夫です。Playerオブジェクトを選択しInspectorビューのPlayerController(Script)のBullet Prefabに弾のPrefabをドラッグして入れたら完成です。Zキー入力で下の図のように何度でも弾を撃てます。
弾を当てる
弾を撃てるようになりましたが、弾が障害物に当たった場合の動作を見ていきます。Hierarchyビューを右クリックして3D Objectで適当に何個かオブジェクトを作成してPlaneの上に配置します。配置したオブジェクトのうち、いくつかを選択してInspectorビューでタグをBlockとします。残りはタグをEnemyとします。
これで実行してZキー入力して弾を撃つと、Blockとしたオブジェクトに弾が当たると弾は貫通せずに消えます。Enemyとしたオブジェクトは弾が当たると破壊されてなくなります。タグを変えるだけで壊せない遮蔽物としたり、破壊できる物体や敵にできたりします。
シューティングゲームを作る時に利用できそうです。
参考
https://tech.pjin.jp/blog/2022/08/30/unity_instantiate-overload
https://goodlucknetlife.com/unity-how-to-charactorcontroller/
https://programming.sincoston.com/unity-launcher/
https://gihyo.jp/book/2023/978-4-297-13741-0