はじめに
nginxとphp-fpmの設定の兼ね合いで一部苦戦したため、書き留めます。
前提条件
-
vpc,ec2,rds作成済み
-
PHP 8.0.8
-
PHP-FPM 8.0.8
-
nginx 1.20
-
DB管理ツール:adminer
-
ルートディレクトリ:/usr/share/nginx/html/test
流れ
- EC2の初期設定
- EC2にPHPとnginxをインストール
- nginx.confの設定変更
- php-fpmの設定変更
- DB管理ツールadminer導入
- wordpress管理画面のサイトヘルスに致命的な問題の対応
- SSL化
EC2の初期設定
EC2ポートの変更
EC2を起動時、セキュリティーの観点から、sshポートを変更します。(やらなくても可)
$ sudo vim /etc/ssh/sshd_config

Port 49923
設定を反映します。セキュリティーグループの変更を忘れずに。
セキュリティーグループのタイプはSSHではなくカスタム TCPです。
$ sudo service sshd reload
日本時間の設定
下記記事参照
EC2にPHPとnginxをインストール
amazon-linux-extrasコマンドで、PHPとnginxのインストール可能なバージョンを確認します
$ sudo yum -y update

$ amazon-linux-extras

 15  php7.2                   available
 31  php7.3                   available
 38  nginx1                   available
 42  php7.4                   available
 51  php8.0                   available
nginx1とphp8.0をインストールし、バージョンを確認します。
$ sudo amazon-linux-extras install -y nginx1

$ sudo amazon-linux-extras install -y php8.0

$ nginx -v
nginx version: nginx/1.20.0

$ php -v
PHP 8.0.8 (cli) (built: Jul  7 2021 17:35:32)

$ php-fpm -v
PHP 8.0.8 (fpm-fcgi) (built: Jul  7 2021 17:37:26)
nginxとPHP-FPMを起動、自動起動設定します。
$ sudo systemctl start nginx
$ sudo systemctl enable nginx

$ sudo systemctl start php-fpm
$ sudo systemctl enable php-fpm
nginx.confの設定変更
/etc/nginx/配下に、nginx.confがあることが多いです。
$ sudo vim /etc/nginx/nginx.conf
/etc/nginx/nginx.confの初期設定
# For more information on configuration, see:
#   * Official English Documentation: http://nginx.org/en/docs/
#   * Official Russian Documentation: http://nginx.org/ru/docs/

user nginx;
worker_processes auto;
error_log /var/log/nginx/error.log;
pid /run/nginx.pid;

# Load dynamic modules. See /usr/share/doc/nginx/README.dynamic.
include /usr/share/nginx/modules/*.conf;

events {
    worker_connections 1024;
}

http {
    log_format  main  '$remote_addr - $remote_user [$time_local] "$request" '
                      '$status $body_bytes_sent "$http_referer" '
                      '"$http_user_agent" "$http_x_forwarded_for"';

    access_log  /var/log/nginx/access.log  main;

    sendfile            on;
    tcp_nopush          on;
    tcp_nodelay         on;
    keepalive_timeout   65;
    types_hash_max_size 4096;

    include             /etc/nginx/mime.types;
    default_type        application/octet-stream;

    # Load modular configuration files from the /etc/nginx/conf.d directory.
    # See http://nginx.org/en/docs/ngx_core_module.html#include
    # for more information.
    include /etc/nginx/conf.d/*.conf;

    server {
        listen       80;
        listen       [::]:80;
        server_name  _;
        root         /usr/share/nginx/html;

        # Load configuration files for the default server block.
        include /etc/nginx/default.d/*.conf;

        error_page 404 /404.html;
        location = /404.html {
        }

        error_page 500 502 503 504 /50x.html;
        location = /50x.html {
        }
    }
}
server内を変更します。
rootとserver_name、try_files、error_page 404の4箇所になります。
    server {
        listen       80;
        listen       [::]:80;
        # ドメインがある場合は、_の箇所に記載する
        server_name  _;

        root         /usr/share/nginx/html/test;

        # Load configuration files for the default server block.
        include /etc/nginx/default.d/*.conf;

                location / {
             try_files $uri $uri/ /index.php?q=$uri&$args;
        }


        error_page 404 = @notfound;
        location @notfound {
        include        fastcgi_params;
        fastcgi_param  SCRIPT_FILENAME  $document_root/index.php;
        fastcgi_param  QUERY_STRING     error=404;
        fastcgi_pass   php-fpm;
        }

        error_page 500 502 503 504 /50x.html;
        location = /50x.html {
        }
    }
error_page 404
error_page 404について、wp-content/theme/テーマディレクトリ/配下に404.phpファイルがあるのですが、上記の設定をしないと反映されませんでした。
try_files
try_filesがないと、Laravelにパラメータが渡されず、laravelのトップは表示できますが、その他が表示できないため、注意してください
try_filesは、全てのアクセスに対しての処理します。左からドキュメントルート配下を参照し、以下の場合は3つのステップを踏んでいます。
-
$urlにファイルがあるか? -
$url/(/で終わるファイルパスなので、要はディレクトリ)にディレクトリがあるか?見つかったらその中の indexを参照します - 上の二つがない場合、
/index.php?$query_stringへ内部リダイレクトする。(index.phpのファイル)
参考として、Laravel 公式ドキュメントにも Nginx の設定ファイルの例があります。
↓
特に、他の変更はありませんでした。
他の記事だと、以下の記載をnginx.conf内でしていることがよくありますが、今回はしなくても問題ありません。
location ~ \.(php|phar)(/.*)?$ {
    fastcgi_split_path_info ^(.+\.(?:php|phar))(/.*)$;

    fastcgi_intercept_errors on;
    fastcgi_index  index.php;
    include        fastcgi_params;
    fastcgi_param  SCRIPT_FILENAME  $document_root$fastcgi_script_name;
    fastcgi_param  PATH_INFO $fastcgi_path_info;
    fastcgi_pass   php-fpm;
}
理由は、nginx.conf内に以下の記載があるためです。
http {
    include /etc/nginx/conf.d/*.conf;

    server {
        include /etc/nginx/default.d/*.conf;
nginx.confには、/etc/nginx/conf.d/*.confと/etc/nginx/default.d/*.confファイルが読み込まれていることが分かります。
読み込まれている2つのconfファイルを見ていきましょう。
/etc/nginx/conf.d/*.conf
$ ls /etc/nginx/conf.d/
php-fpm.conf
今回は、php-fpm.confが読み込み対象でしたので、見てましょう。
# PHP-FPM FastCGI server
# network or unix domain socket configuration

upstream php-fpm {
        server unix:/run/php-fpm/www.sock;
}
unix:/run/php-fpm/www.sock;が読み込まれていましたので、nginx.confとphp-fpmも同様な設定になっているか確認する必要があります。
www.sockは、php-fpmが再起動すると、作られます。
/etc/nginx/default.d/*.confも確認しましょう。
/etc/nginx/default.d/*.conf
$ ls /etc/nginx/default.d
php.conf
今回は、php.confが読み込み対象でしたので、見てましょう。
# pass the PHP scripts to FastCGI server
#
# See conf.d/php-fpm.conf for socket configuration
#
index index.php index.html index.htm;

location ~ \.(php|phar)(/.*)?$ {
    fastcgi_split_path_info ^(.+\.(?:php|phar))(/.*)$;

    fastcgi_intercept_errors on;
    fastcgi_index  index.php;
    include        fastcgi_params;
    fastcgi_param  SCRIPT_FILENAME  $document_root$fastcgi_script_name;
    fastcgi_param  PATH_INFO $fastcgi_path_info;
    fastcgi_pass   php-fpm;
}
このファイルを読み込むことで、nginx.confファイルに記載する必要がないことが分かりました!
ちなみに、$document_rootは、nginx.confで設定したrootになります。
php-fpmの設定変更
php-fpmの設定変更は、/etc/php-fpm.d/www.confあると思います。
+ user = nginx
-  user = apache
+ group = nginx
-  group = apache

# ↓変更しません!
listen = /run/php-fpm/www.sock

+ listen.owner = nginx
+ listen.group = nginx
+ listen.mode = 0660

- ;listen.owner = nobody
- ;listen.group = nobody
- ;listen.mode = 0660
先程、/etc/nginx/conf.d/php-fpm.confに/run/php-fpm/www.sockと記載されていましたので、このファイルも/run/php-fpm/www.sockとしました。
wordpressをダウンロード
$ cd /usr/share/nginx/html/
$ sudo wget https://ja.wordpress.org/latest-ja.tar.gz
$ sudo tar -xzvf latest-ja.tar.gz
$ sudo rm latest-ja.tar.gz
$ ls
wordpress

# ディレクトリ名をwordpressからtestに変更
$ sudo mv wordpress test
wp-config.phpを作成(コピー)します。
$ sudo cp test/wp-config-sample.php test/wp-config.php
権限を変更します
$ sudo chown -R nginx:ec2-user test/
$ sudo chown  -R nginx:ec2-user /var/log/nginx
$ sudo chown  -R nginx:ec2-user /var/log/php-fpm
$ sudo find test/ -type f -exec chmod 664 {} \;
$ sudo find test/ -type d -exec chmod 775 {} \;
$ sudo chmod 600 test/wp-config-sample.php
$ sudo chmod 600 test/wp-config.php
権限をnginx:ec2-userにした理由は、SFTP接続等をするためです。
詳細は、こちらで説明しています。
また、nginxとphp-fpmのlogファイルは、デフォルトだとapacheとなっており、logファイルに記入する権限がないため、権限を変更する必要があります。
$ ls /var/log
drwx------   2 apache  root               4096 12月 17 03:09 nginx
drwxrwx---   2 apache root                 268 11月 27 03:31 php-fpm
nginxを構文チェックし、nginxとphp-fpmを再起動します。
$ sudo nginx -t
nginx: the configuration file /etc/nginx/nginx.conf syntax is ok
nginx: configuration file /etc/nginx/nginx.conf test is successful

$ sudo systemctl restart nginx
$ sudo systemctl restart php-fpm
wp-config.php修正
RDSの情報をwp-config.phpに記載します。
下記修正
ホスト名は、RDSのエンドポイントです。(auroraの場合ライターインスタンス)
/** WordPress のためのデータベース名 */
define( 'DB_NAME', 'database_name_here' );

/** MySQL データベースのユーザー名 */
define( 'DB_USER', 'username_here' );

/** MySQL データベースのパスワード */
define( 'DB_PASSWORD', 'password_here' );

/** MySQL のホスト名 */
define( 'DB_HOST', 'localhost' );
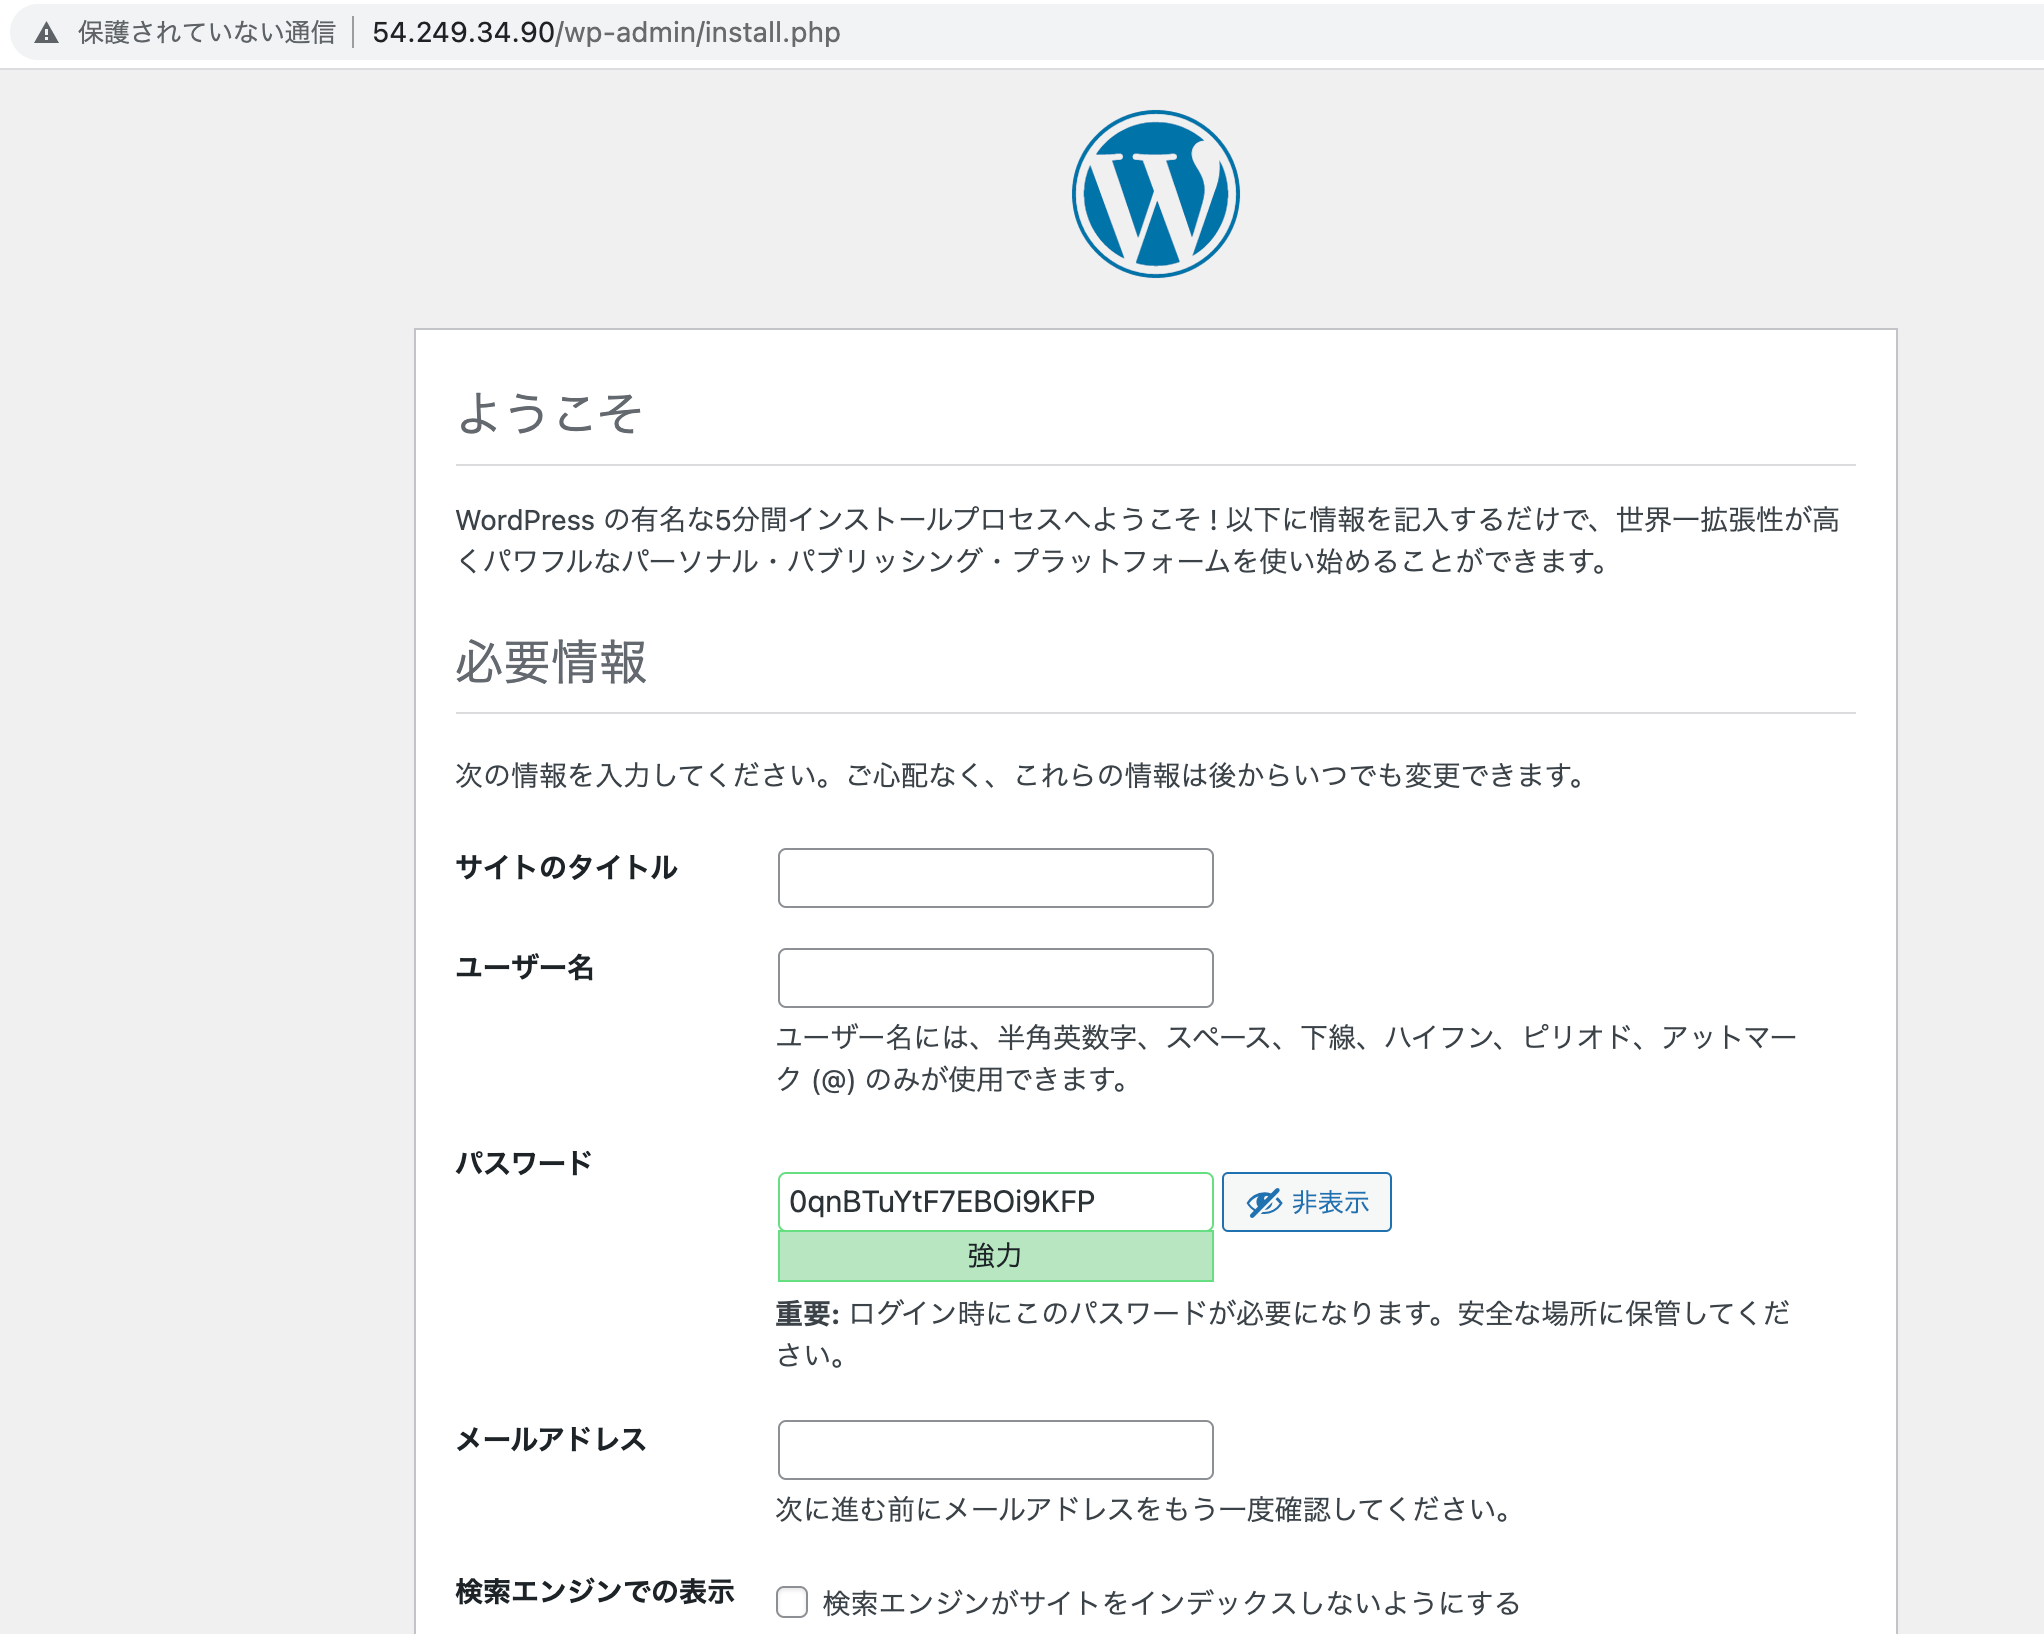
EC2のipアドレスでアクセスすると、wordpressが表示されました!

DB管理ツールadminer導入
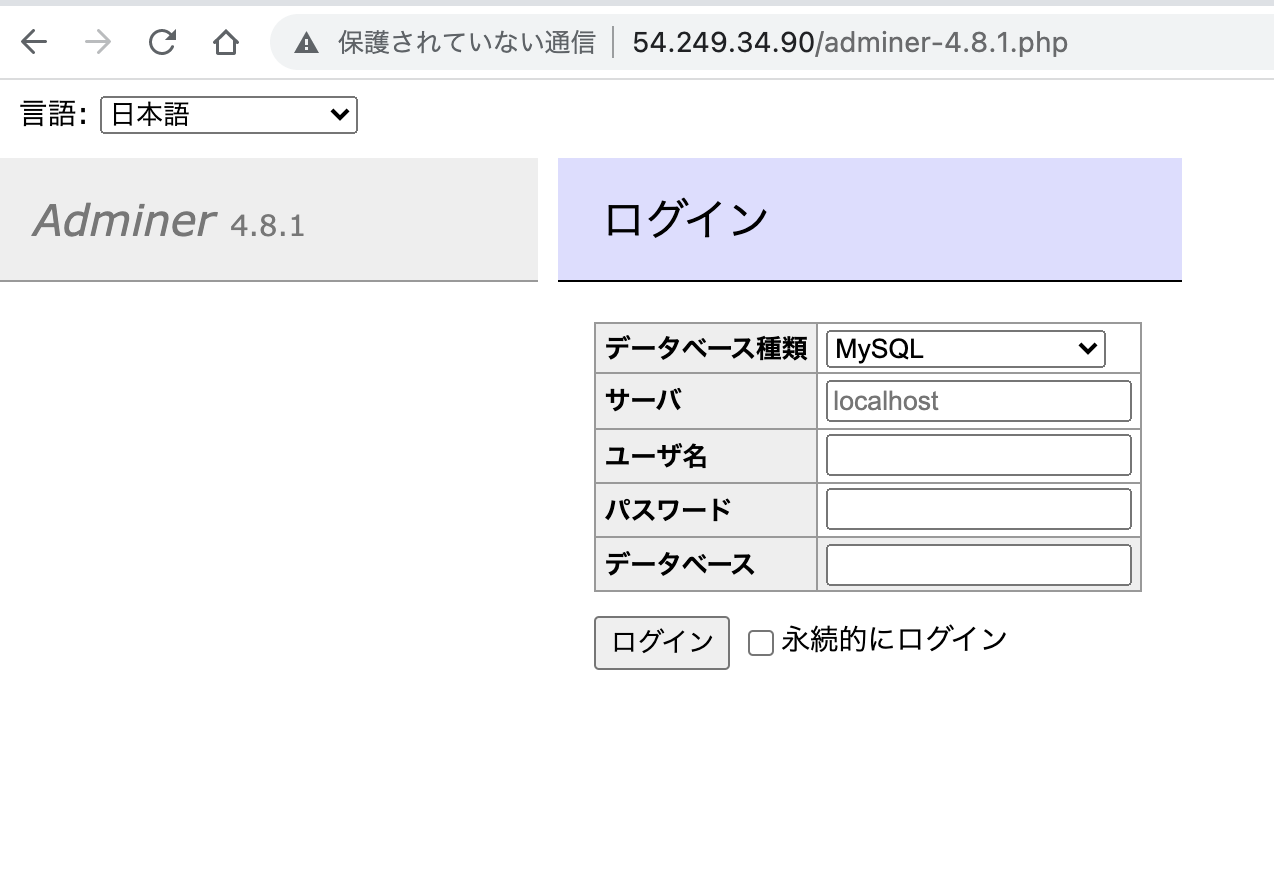
こちらのリンクのURLをコピーし、/usr/share/nginx/html/test配下で、ダウンロードします。
$ cd  /usr/share/nginx/html/test/
$ sudo wget https://github.com/vrana/adminer/releases/download/v4.8.1/adminer-4.8.1.php

$ ls
adminer-4.8.1.php その他
アクセスしてみましょう。
adminerを使っているときに、「不正なCSRFトークン。再送信してください」と表示されるというエラーが出ることがあります。sessionディレクトリの所有権にnginxが許可されていないことが原因のため、所有権を変えます。
$ cd /var/lib/php
$ ls -la
drwxrwx---  2 root apache    6  7月  7 17:41 session
所有権のグループがapacheのため、nginxに変えましょう。
$ cd /var/lib/php
$ chown -R root:nginx session
原因の詳細はこちら↓
wordpress管理画面のサイトヘルスに致命的な問題の対応
以下のエラー分があった場合、追加でインストールします。
1つ以上の必須モジュールが存在しません
PHP モジュールはサイトの稼働に必要なほとんどのタスクをサーバー上で実行します。変更はサーバー管理者が実施する必要があります。
- オプションのモジュール dom がインストールされていないか、無効化されています。
- オプションのモジュール mbstring がインストールされていないか、無効化されています。
- オプションのモジュール imagick がインストールされていないか、無効化されています。
- 必須モジュール gd がインストールされていないか、無効化されています。
$ sudo yum install -y php php-dom
$ sudo yum install -y php php-mbstring
$ sudo yum install -y php php-imagick
$ sudo yum install -y php php-gd

$ sudo systemctl restart nginx
$ sudo systemctl restart php-fpm
SSL化
HTTPS化する手順は、以下の記事が参考になります。
参照


