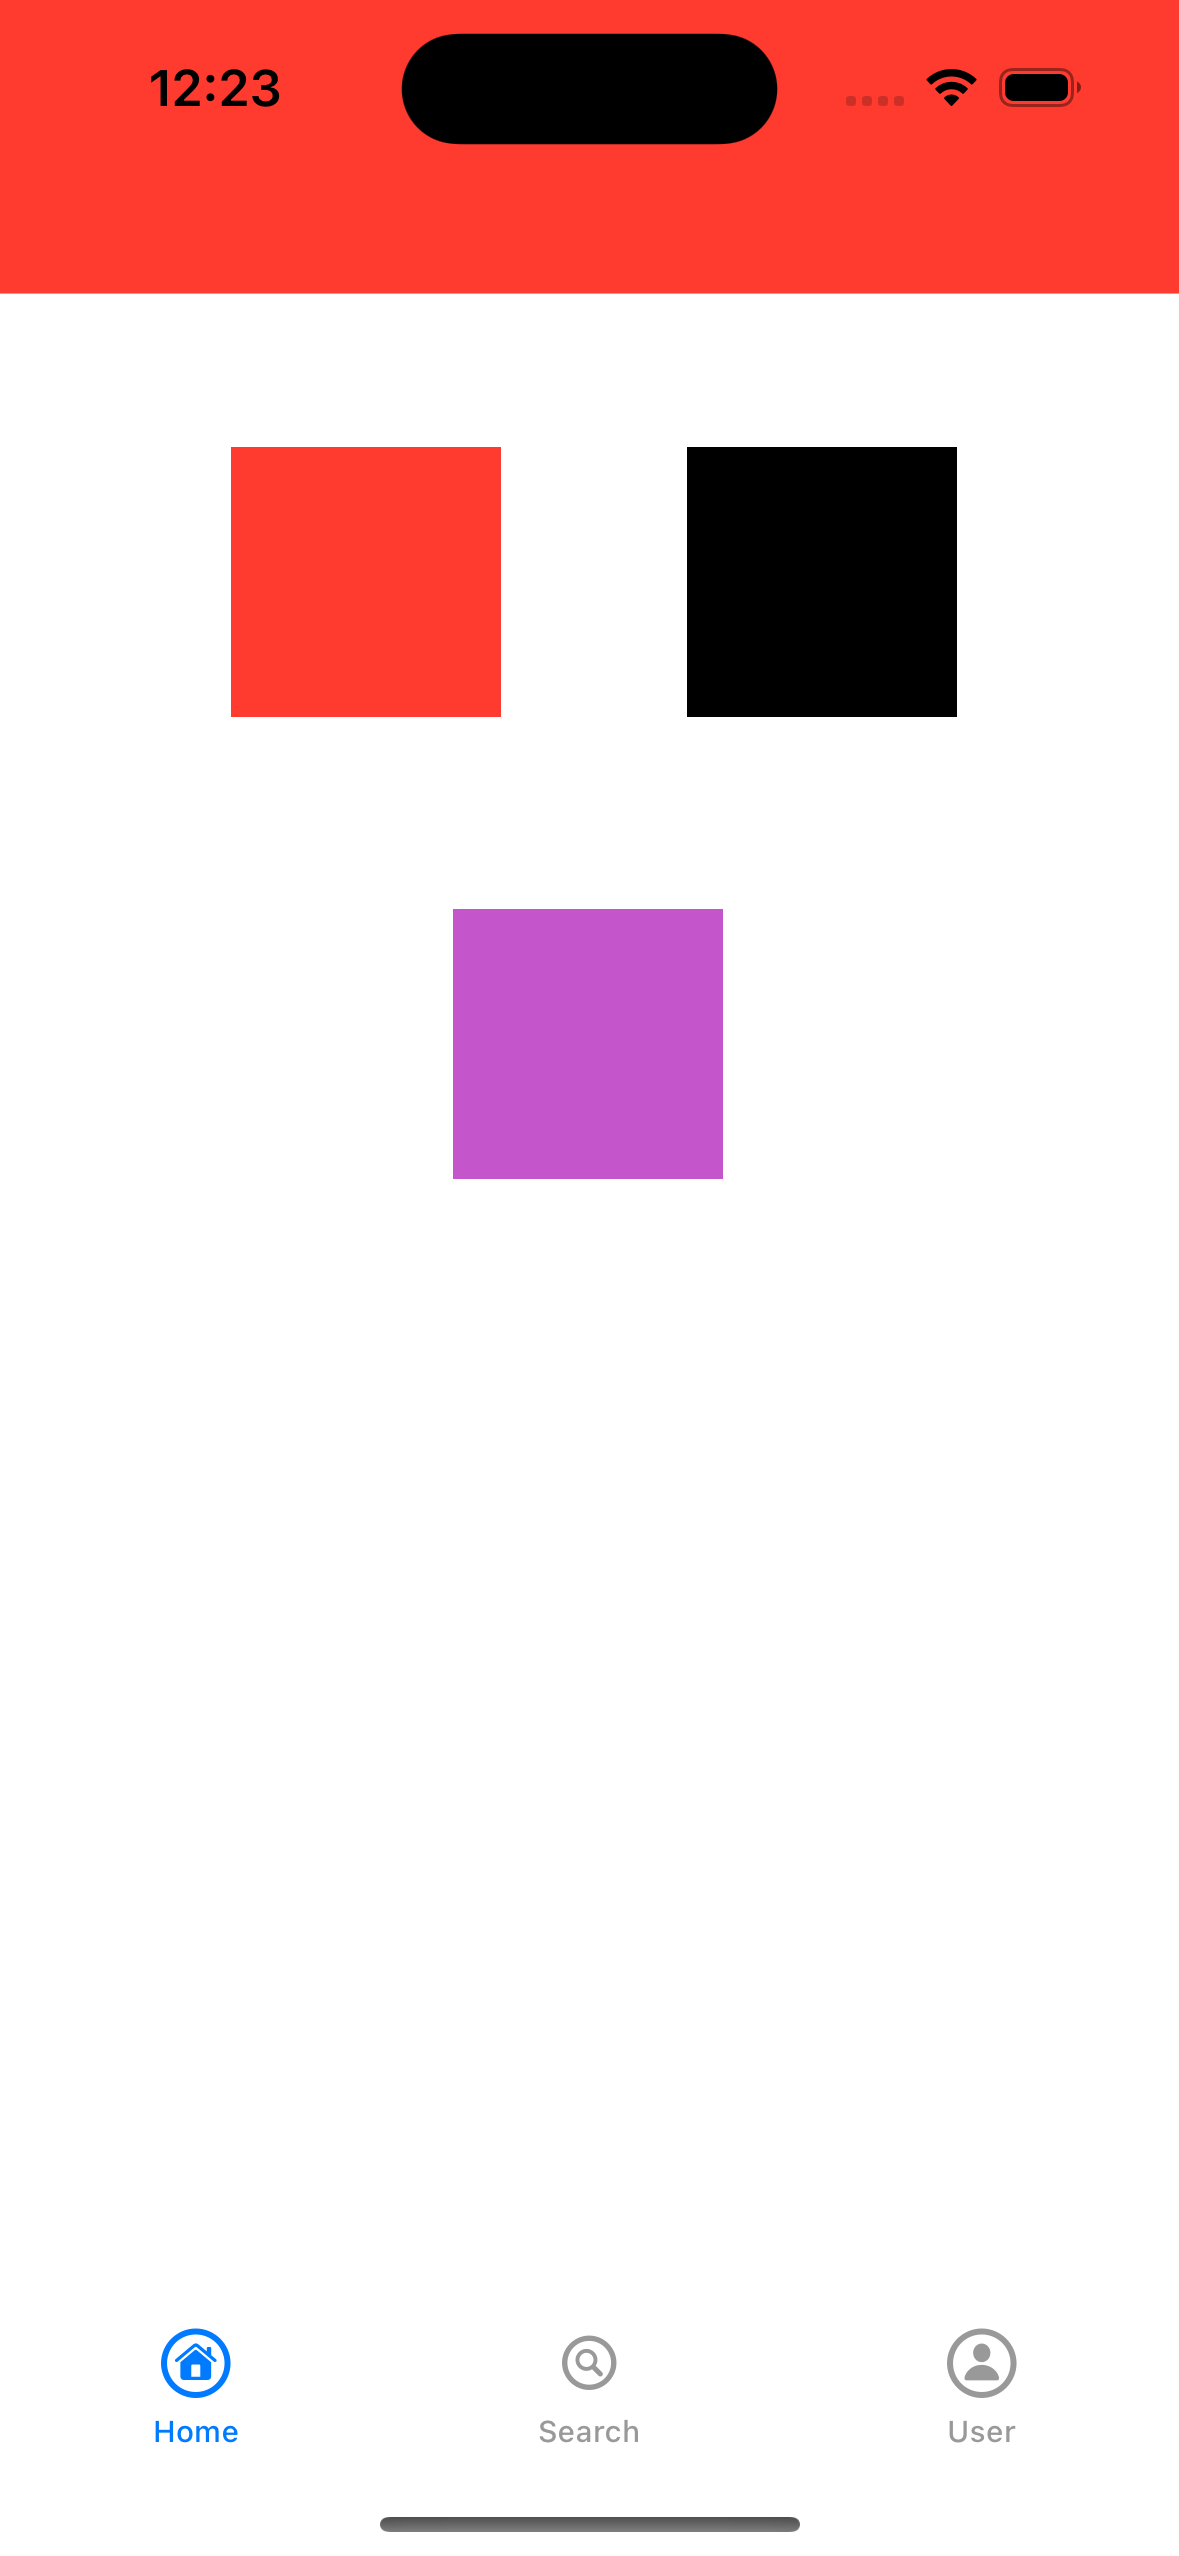
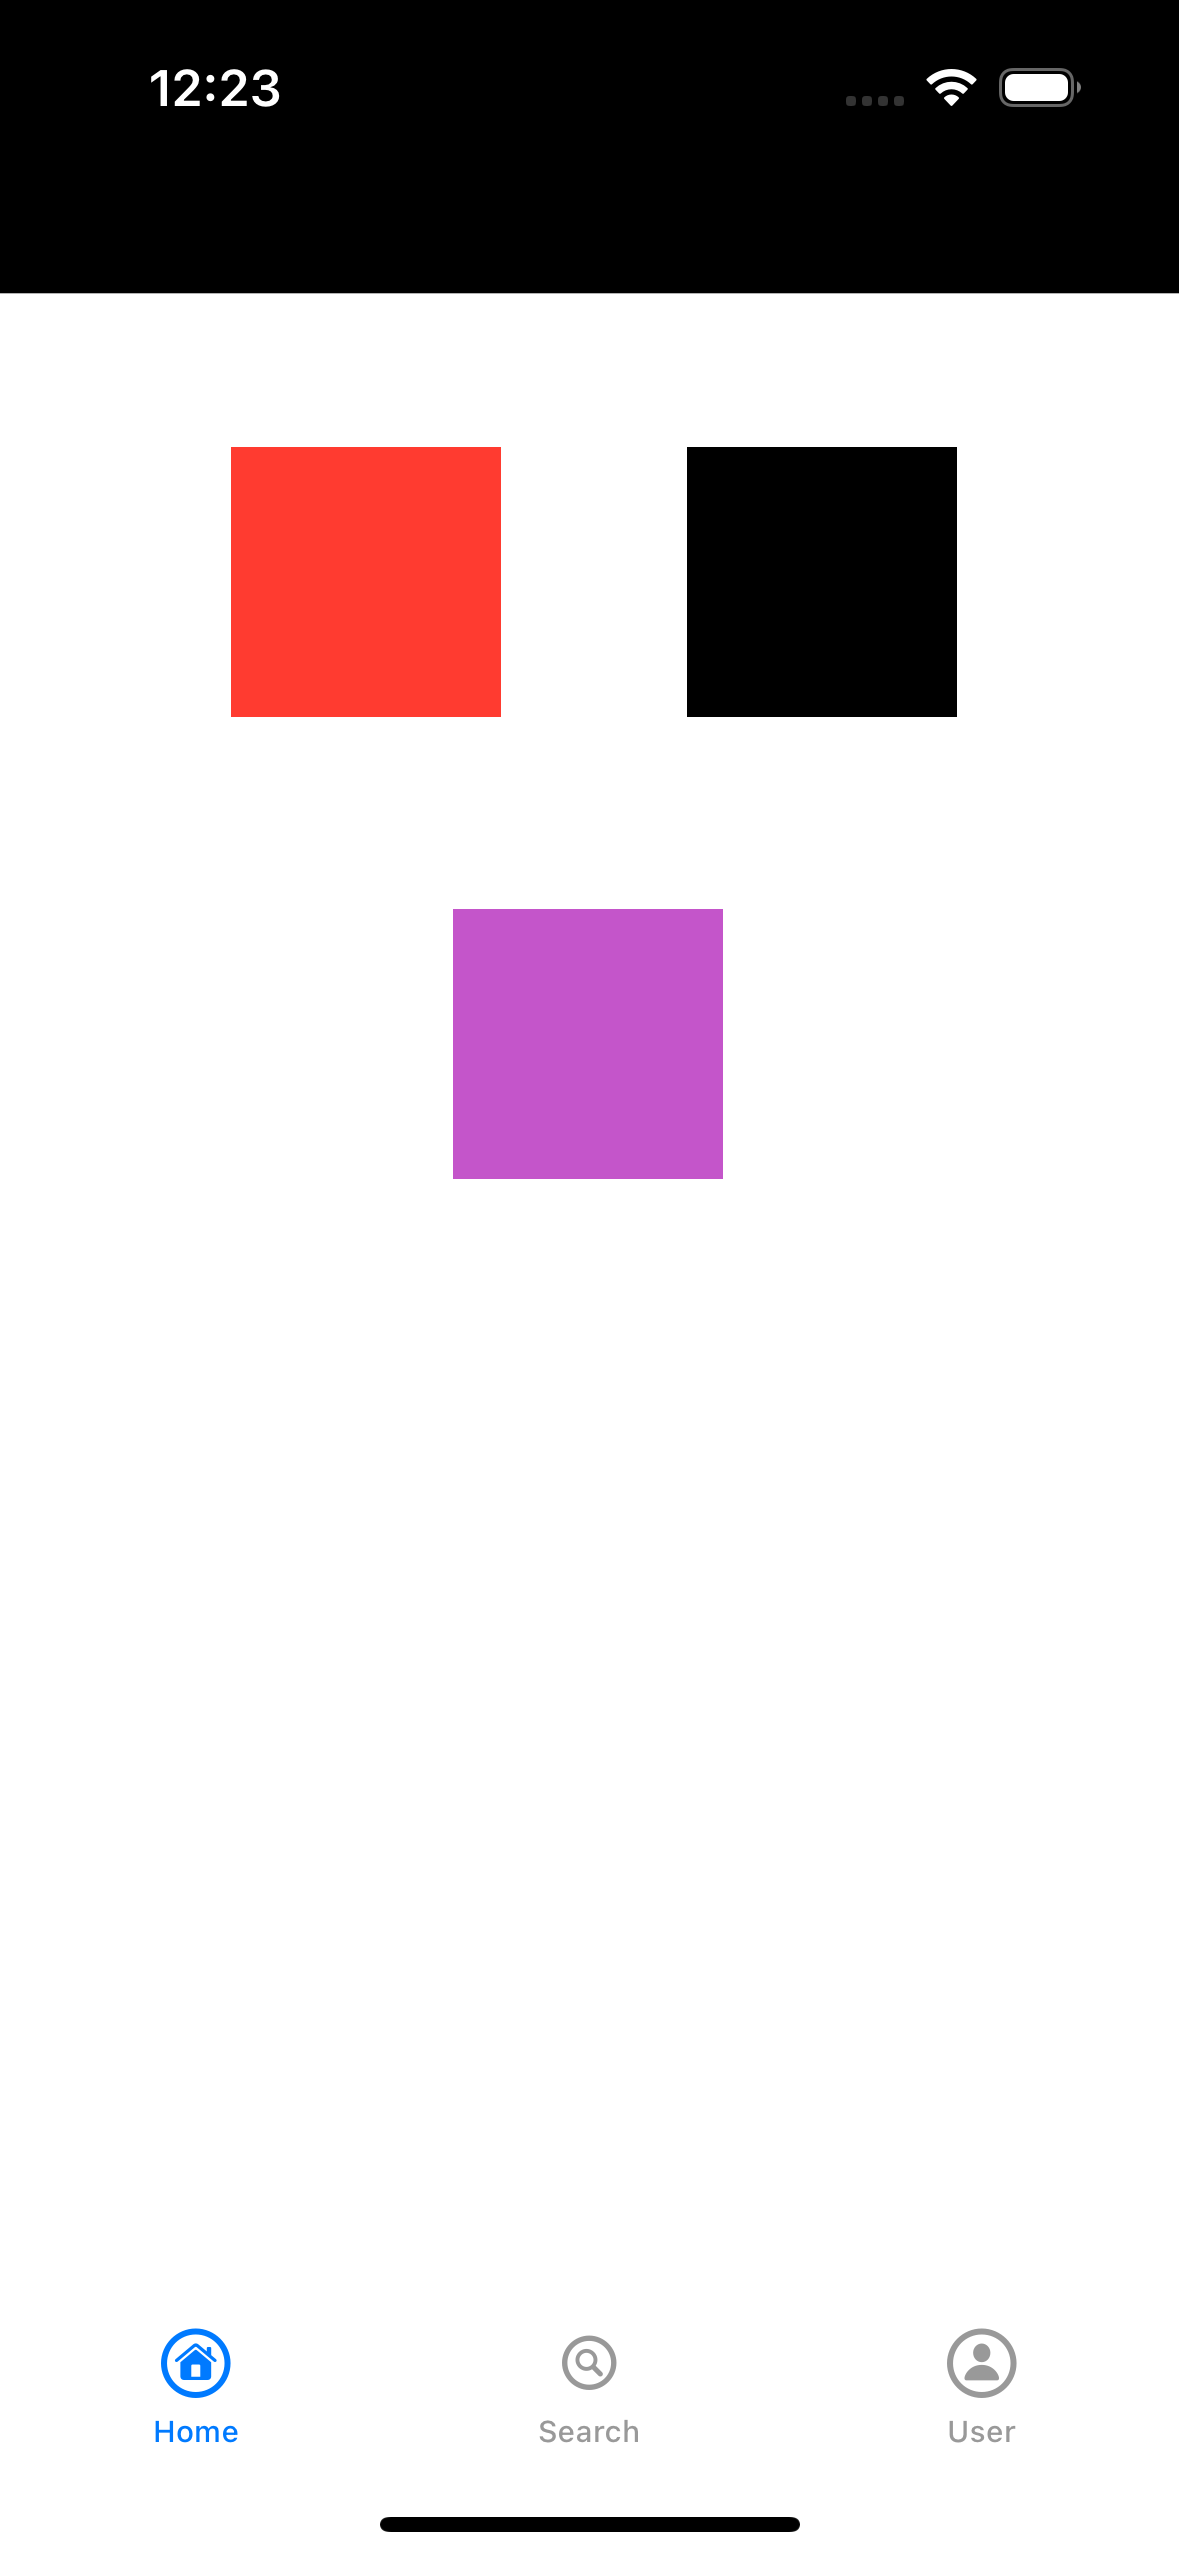
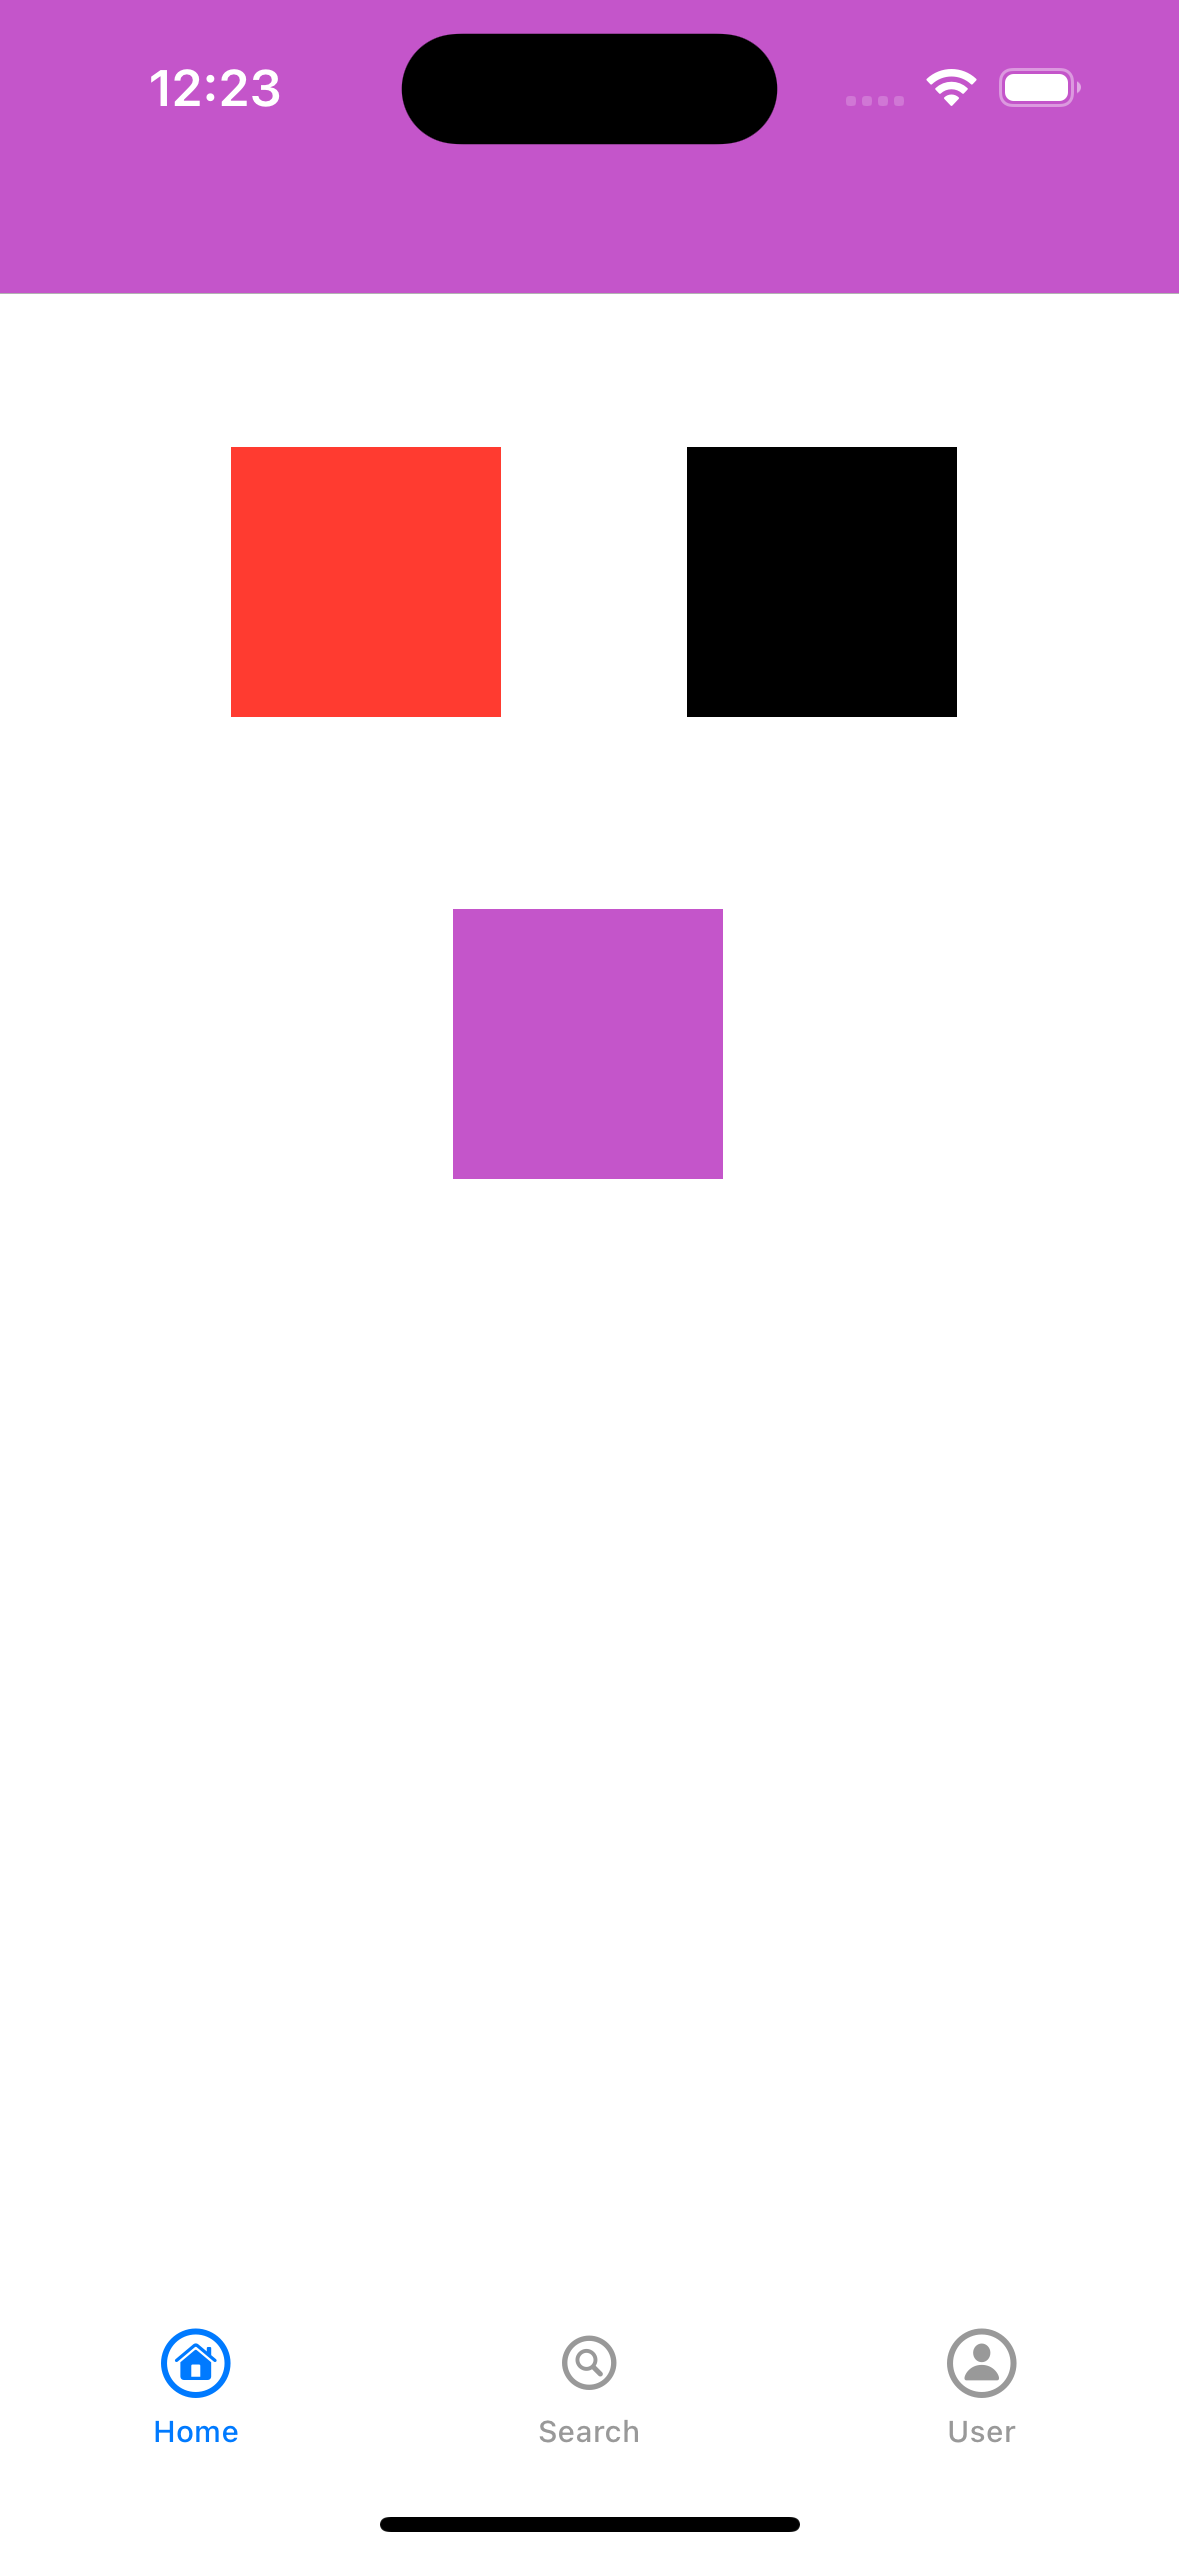
本記事について
この記事では、UINavigationBarの色を変更する方法について紹介します。
実装内容
UIButtonをタップした時に、背景色を取得し、その色をUINavigationBarの背景色として設定します。


下記の場合でも、背景色の状態が保存されているように実装しています。
- アプリタスクを切った時
- ホーム画面に戻って再度アプリを開けた時
実装について
- 言語
- Swift 4
- エディタ
- Xcode 15.1
- iOS
- 17.0
サンプルコード
今回紹介する機能を実装したサンプルとして、GithubのURLを下記に記載します。
ソースコード全体
import UIKit

class ViewController: UIViewController {

    // NavigationBarの背景色を保存するためのUserdDefaults
    var navigationBarColorData: UserDefaults = UserDefaults.standard

    override func viewDidLoad() {
        super.viewDidLoad()

        // アプリ初回起動の際,現状のNavigationBarの背景色をUserDefaultsに保存する
        if let colorString = navigationBarColorData.string(forKey: "navigationBarColor"),
           let colorData = Data(base64Encoded: colorString),
           let barColor = try? NSKeyedUnarchiver.unarchivedObject(ofClass: UIColor.self, from: colorData) {
            changeNavigationBarColor(barColor)
        }

    }

    /**
     色ボタンをタップするとナビゲーションバーの背景色を変更する
     */
    @IBAction func changeColorButtonTapped(_ sender: UIButton!) {

        if let backgroundColor = sender.backgroundColor {
            changeNavigationBarColor(backgroundColor)
        } else {
            fatalError("ボタンの背景色を取得できませんでした.")
        }

    }
    /**
     ナビゲーションバーの背景色を変更する関数
     */
    func changeNavigationBarColor(_ barColor: UIColor) {

        let appearance = UINavigationBarAppearance()
        // ここでタップしたボタンの色と同じ色をNavigationBarの色にする
        appearance.backgroundColor = barColor
        appearance.titleTextAttributes = [.foregroundColor: UIColor.white]

        UINavigationBar.appearance().standardAppearance = appearance
        UINavigationBar.appearance().compactAppearance = appearance // iOS 15以降の場合
        UINavigationBar.appearance().scrollEdgeAppearance = appearance // iOS 15以降の場合

        // すべてのナビゲーションバーを更新
        UINavigationBar.appearance().tintColor = UIColor.white
        if #available(iOS 13.0, *) {
            // ここでタップしたボタンの色と同じ色をNavigationBarの色にする
            UINavigationBar.appearance().barTintColor = barColor
        } else {
            // ここでタップしたボタンの色と同じ色をNavigationBarの色にする
            UINavigationBar.appearance().barTintColor = barColor
        }

        // 既存のナビゲーションバーに変更を反映させる
        if let windowScene = UIApplication.shared.connectedScenes.first as? UIWindowScene,
           let window = windowScene.windows.first {
            for view in window.subviews {
                view.removeFromSuperview()
                window.addSubview(view)
            }
        }

        // UIColorを文字列に変換
        if let colorData = try? NSKeyedArchiver.archivedData(withRootObject: barColor, requiringSecureCoding: false) {
            let colorString = colorData.base64EncodedString()

            // UserDefaultsにナビゲーションバーの背景色を文字列で保存する
            navigationBarColorData.set(colorString, forKey: "navigationBarColor")

        }
    }

}
切り分けて解説
ここから、コードを切り分けて解説。
ボタンをタップした時の処理
ボタンタップ時に、senderからUIButtonの背景色を取得し、changeNavigationBarColor()関数を呼び出します。
    /**
     色ボタンをタップするとナビゲーションバーの背景色を変更する
     */
    @IBAction func changeColorButtonTapped(_ sender: UIButton!) {

        if let backgroundColor = sender.backgroundColor {
            changeNavigationBarColor(backgroundColor)
        } else {
            fatalError("ボタンの背景色を取得できませんでした.")
        }

    }
UINavigationBarの背景色を変更する処理
この関数で、UINavigationBarの背景色を変更します。
引数のbarColorを用いて、UINavigationBarの色設定を行います。
最後に、アプリタスクを切った時・ホーム画面に戻った時でも背景色の状態を保管するために、UserDefaultsを使って背景色を保存します。
    /**
     ナビゲーションバーの背景色を変更する関数
     */
    func changeNavigationBarColor(_ barColor: UIColor) {

        let appearance = UINavigationBarAppearance()
        // ここでタップしたボタンの色と同じ色をNavigationBarの色にする
        appearance.backgroundColor = barColor
        appearance.titleTextAttributes = [.foregroundColor: UIColor.white]

        UINavigationBar.appearance().standardAppearance = appearance
        UINavigationBar.appearance().compactAppearance = appearance // iOS 15以降の場合
        UINavigationBar.appearance().scrollEdgeAppearance = appearance // iOS 15以降の場合

        // すべてのナビゲーションバーを更新
        UINavigationBar.appearance().tintColor = UIColor.white
        if #available(iOS 13.0, *) {
            // ここでタップしたボタンの色と同じ色をNavigationBarの色にする
            UINavigationBar.appearance().barTintColor = barColor
        } else {
            // ここでタップしたボタンの色と同じ色をNavigationBarの色にする
            UINavigationBar.appearance().barTintColor = barColor
        }

        // 既存のナビゲーションバーに変更を反映させる
        if let windowScene = UIApplication.shared.connectedScenes.first as? UIWindowScene,
           let window = windowScene.windows.first {
            for view in window.subviews {
                view.removeFromSuperview()
                window.addSubview(view)
            }
        }

        // UIColorを文字列に変換
        if let colorData = try? NSKeyedArchiver.archivedData(withRootObject: barColor, requiringSecureCoding: false) {
            let colorString = colorData.base64EncodedString()

            // UserDefaultsにナビゲーションバーの背景色を文字列で保存する
            navigationBarColorData.set(colorString, forKey: "navigationBarColor")

        }
    }
アプリ起動時の処理
ここでは、アプリ起動時にUserDefaultsにUINavigationBarの背景色データが保存されていれば、changeNavigationBarColor()関数を使って色の変更を行います。
これにより、UINavigationBarの背景色の状態を保つことが可能になっています。
    override func viewDidLoad() {
        super.viewDidLoad()

        // アプリ初回起動の際,現状のNavigationBarの背景色をUserDefaultsに保存する
        if let colorString = navigationBarColorData.string(forKey: "navigationBarColor"),
           let colorData = Data(base64Encoded: colorString),
           let barColor = try? NSKeyedUnarchiver.unarchivedObject(ofClass: UIColor.self, from: colorData) {
            changeNavigationBarColor(barColor)
        }

    }
最後に
同様に、UITabBarについても同じコードを書いてみたので必要であれば参照してみてください。
参考文献