この記事はSelenium/Appium Advent Calendar 2018の21日目です。
Azure pipelines は2018年9月に Microsoft がリリースしたクラウド CI/CD ツールです。
このツール、基本 1 か月あたり30時間まで無料で使える上に、なんとオープンソースなら時間の上限なく無料で利用できます。
さらには、Windows / Mac / Linux (Ubuntu) と3種類の環境が使えて、さらにさらに、Linux にはもとから Chrome と Firefox がインストール済みで、さらにさらにさらに Windows には IE まで入っているという、Selenium を動かすのにうってつけのツールです。
残念ながら Mac の Safari は Selenium が動作する設定になっていませんが、それを差し引いても Selenium 向けだと言えると思います。
以前から試そうと思いつつ試せていなかったので、今回 Advent Calender を機についに試してみました。
ドキュメントには Visual Studio を使って C# でテストを作成する例しか見当たらなかったのですが、せっかくなので JavaScript で動かしてみています。
動かすテスト
今回実行を試みたものはこちらです。
https://github.com/hnisiji/intern_on_azure
テスト部分だけ抜き出すと、以下のような簡単なものです。
Yahoo! JAPAN にアクセスして、「うおぽぉ」というクエリで検索するテストを試しに作成しました。
このテストを linux の Chrome、 Firefox、 Windows の IE で動かしてみています。
const { sleep }= require('@theintern/leadfoot/lib/util');

const { describe, it } = intern.getPlugin('interface.bdd');
const { expect } = intern.getPlugin('chai');

describe('app', () => {
    it('ヤフーにアクセスして「うおぽぉ」で検索', async test => {
        const { remote } = test;
        await remote
            .get('http://www.yahoo.co.jp/');

        await remote.setFindTimeout(5 * 1000);
        await remote.findById('srchtxt').type('うおぽぉ');
        await remote.findById('srchbtn').click();
        await sleep(1000);

        expect(await remote.findDisplayedById('yschsp').getAttribute('value')).to.equal('うおぽぉ')
        const data = await remote.takeScreenshot()
        fs.writeFileSync('./uopolo.png', data, 'base64');
    });
});
テストツールとしては intern を利用しています。
intern はテストランナーやアサーションから Webdriver クライアントまで全部入りのテストツールです。
もともと Dojo.js というウェブフレームワークのテストツールとして作成されたもので、現在は Linux Foundation 配下のプロジェクトになりました。
ユニットテストから Selenium を使ったシステムテストまでさまざまなテストをまとめて扱えるところが特徴であり、Selenium 本体や各種ドライバーを自動でダウンロードしてきてくれる機能も備えており、CI 環境でも動かしやすいです。
とても多機能なツールなので全然使いこなせていませんが、結構使いやすいツールだと思っています。
Azure pipeline の設定
テストを作成したら、次に Azure Pipelines の設定をおこなっていきます。
Azure Pipelines の設定は Github のリポジトリの下の azure-pipelines.yml というファイルでおこないます。
azure-pipelines.yml は以下のように書きました。
trigger:
- master
jobs:
- job: Windows_IE
  pool:
    vmImage: 'vs2017-win2016'
  steps:
  - task: NodeTool@0
    inputs:
      versionSpec: '8.x'
    displayName: 'Install Node.js'
  - script: |
      npm install
    displayName: 'npm install'
  - script: |
      npm run test:ie
    displayName: 'npm run test:ie'
    continueOnError: true
  - task: PublishTestResults@2
    inputs:
      testRunner: JUnit
      testResultsFiles: junit-results.xml

- job: linux
  pool:
    vmImage: 'ubuntu-16.04'
  steps:
  - task: NodeTool@0
    inputs:
      versionSpec: '8.x'
    displayName: 'Install Node.js'
  - script: |
      npm install
    displayName: 'npm install'
  - script: |
      npm test
    displayName: 'npm test'
    continueOnError: true
  - task: PublishTestResults@2
    inputs:
      testRunner: JUnit
      testResultsFiles: junit-results.xml
npm install して、 npm run test を実行し、PublishTestResults@2 というタスクで結果を Azure pipelines 上にアップロードします。
それを、 linux 用と IE 用で2種類書いています。
正直全然使いこなせていません。ドキュメントはこちら。
https://docs.microsoft.com/en-us/azure/devops/pipelines/
Azure Pipeline での設定・実行
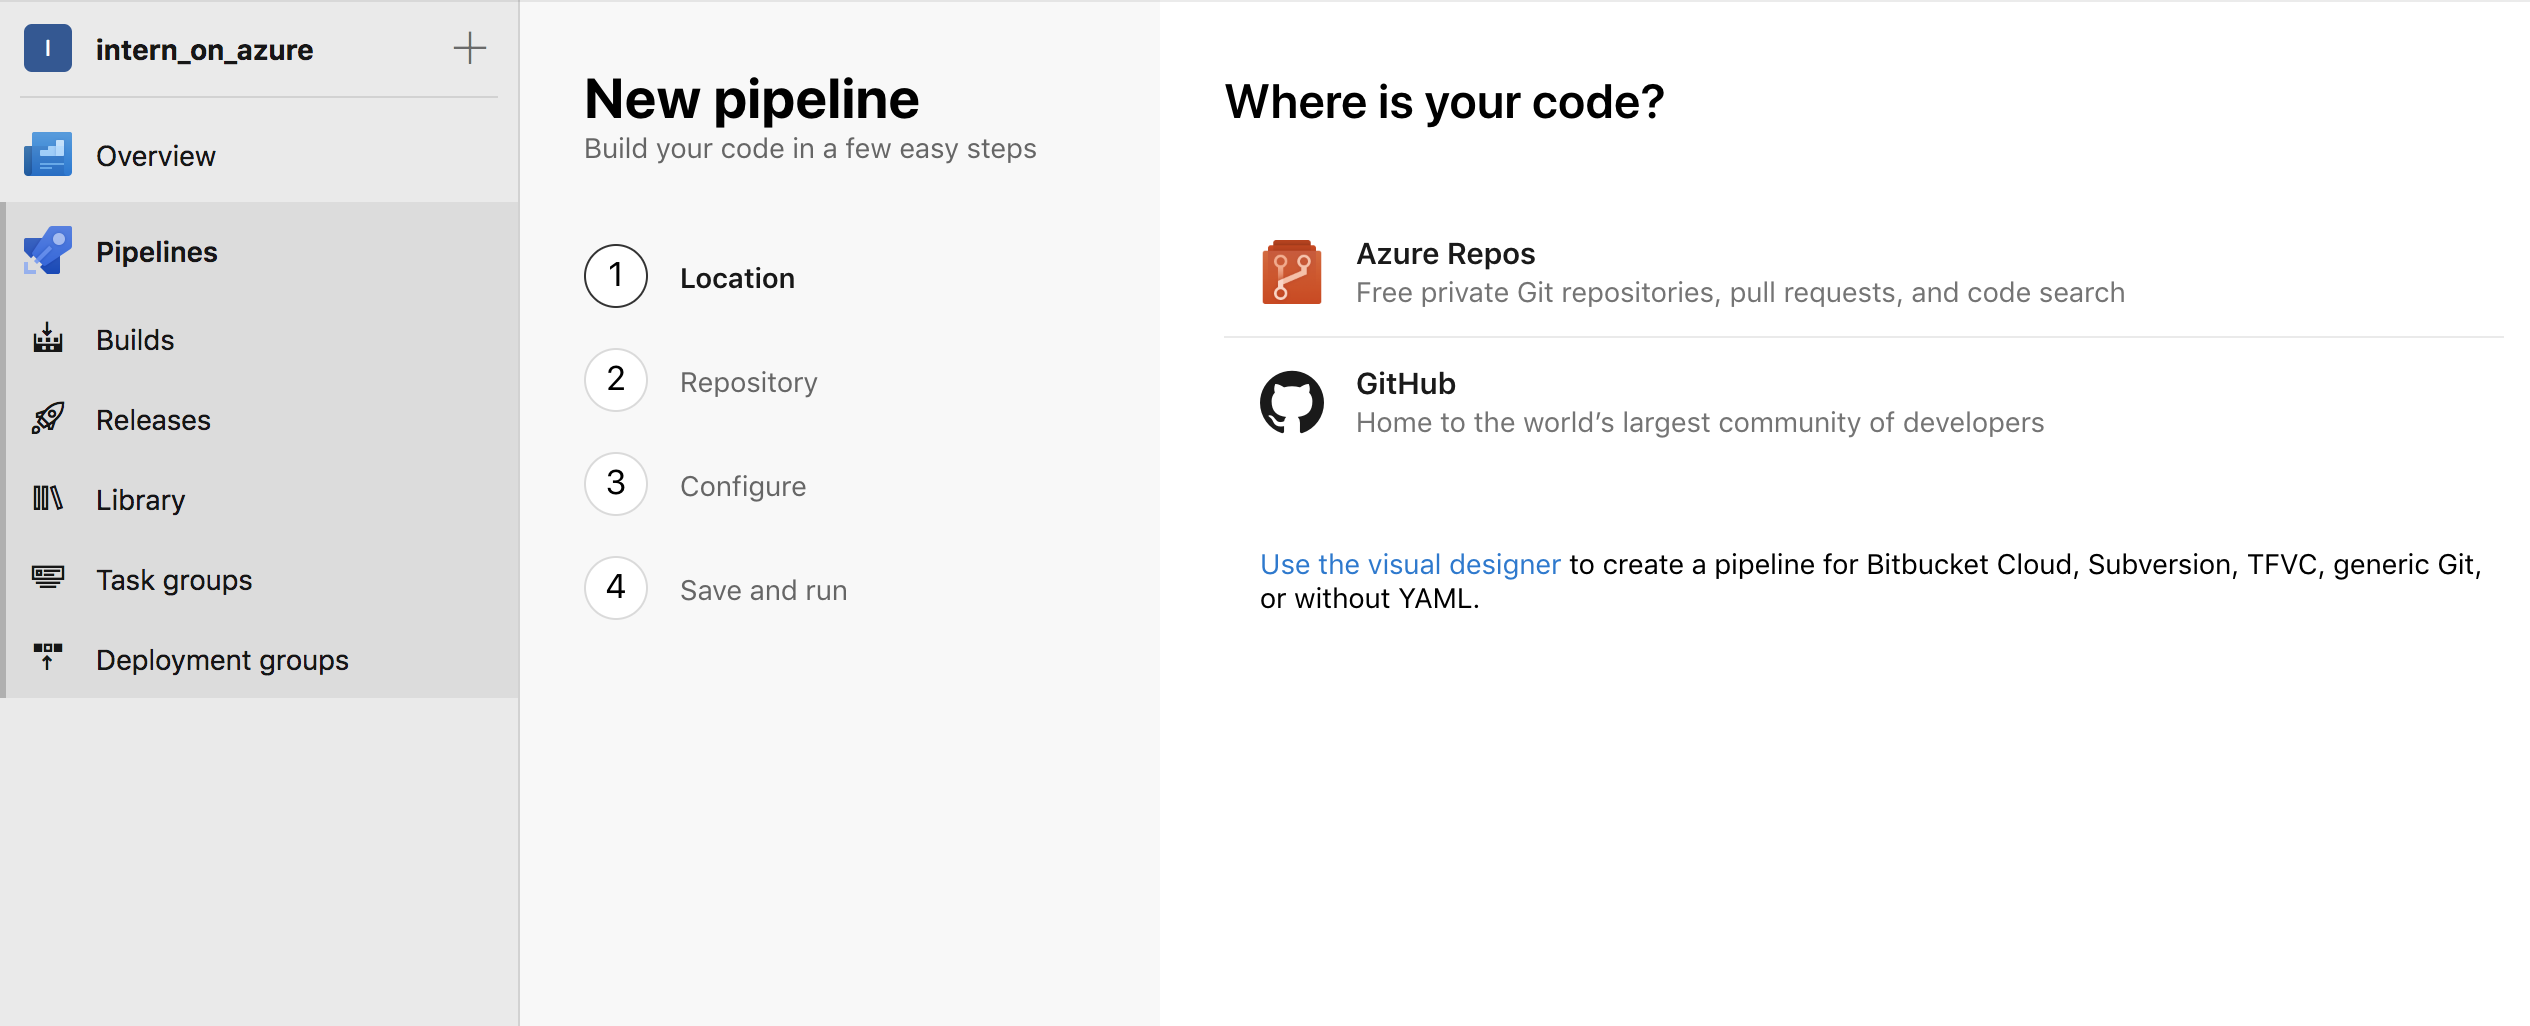
https://dev.azure.com/ から Azure DevOps にアクセスし、プロジェクトを作成して、以下のガイドにそってgithub のリポジトリURLを入力すれば設定は完了です。
azure-pipelines.yml もガイドの中で基本的なものは出来上がる親切設計です。

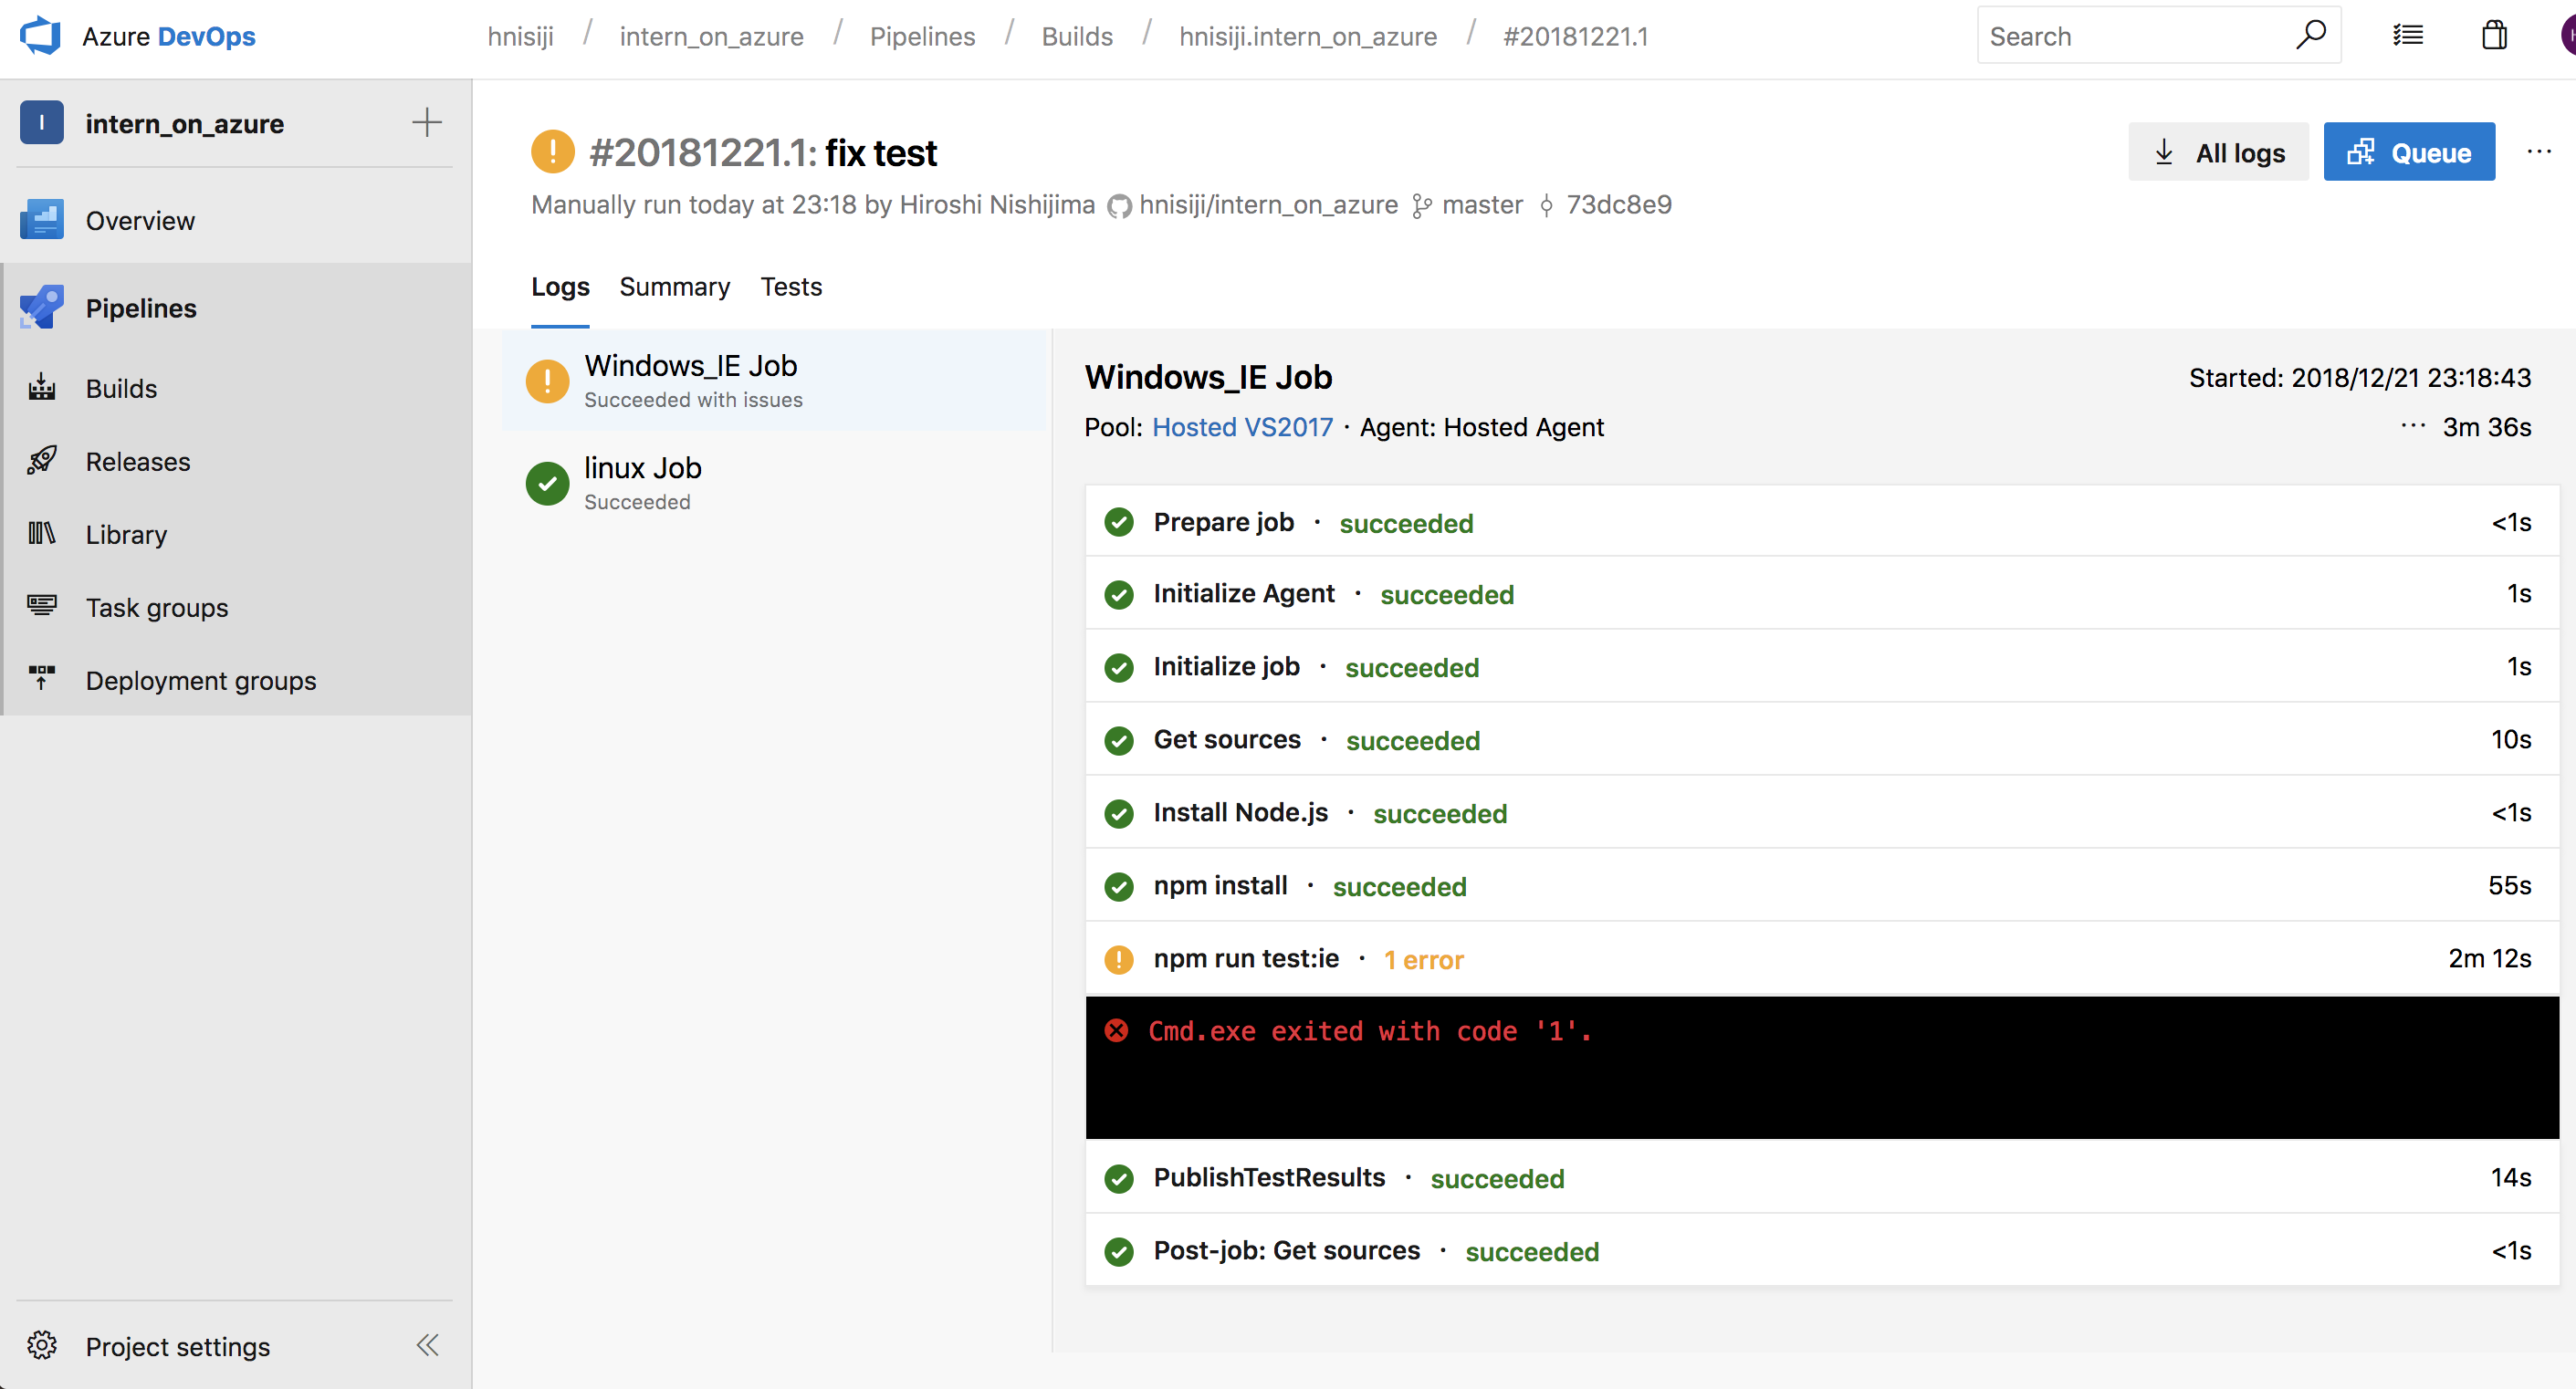
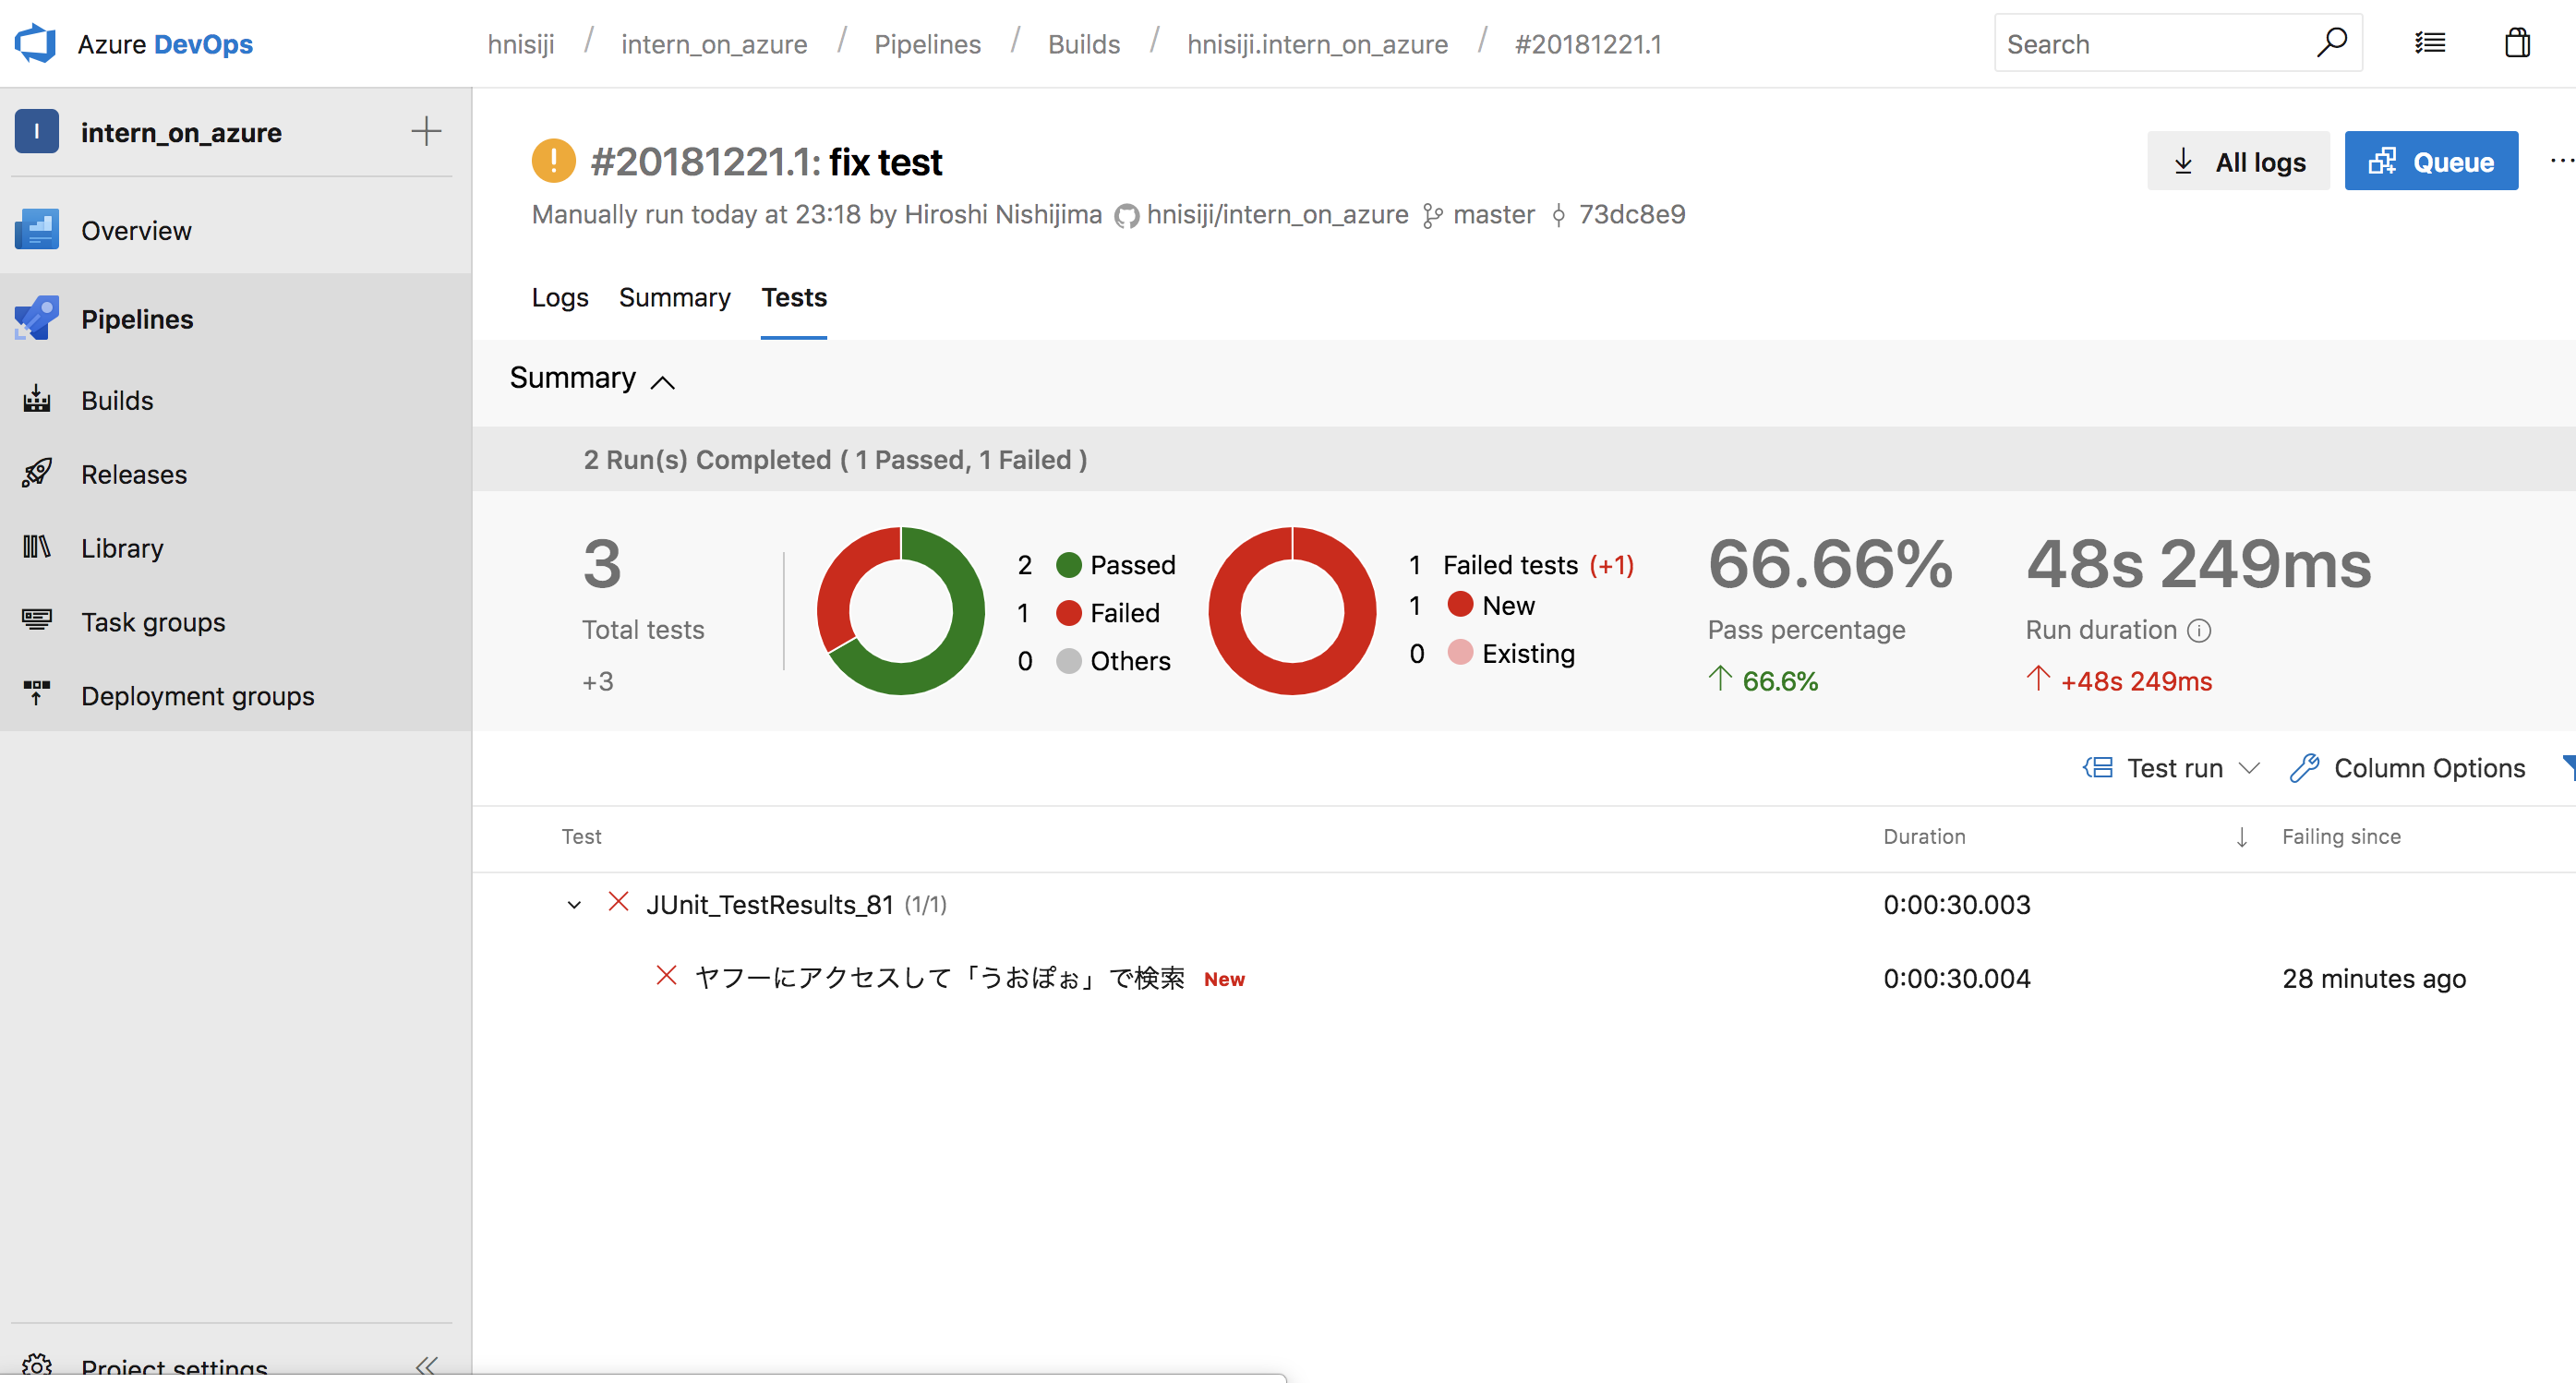
パイプラインが実行されると、以下のような画面で結果がみられます。

Linux での Chrome、 Firefox はすんなり安定して動いたのですが、Windows の IE でテストがこけてしまいました。
検索クエリを入力したあと検索ボタンを押すところで失敗するのはログからわかるのですが、実行環境にアクセスするすべがないのでデバッグできません。お手上げです。
実行結果は多分以下のリンクで見ることができます。
https://dev.azure.com/hnisiji/intern_on_azure/_build/results?buildId=81
まとめ
この記事では Azure Pipelines での Selenium 実行について紹介しました。
Linux では、すんなり安定して動きます。Windows だと、テストが途中で失敗する状態で挫折してしまいましたが…これは Azure Pipelines の問題というより、IE Driver の不安定さに起因している気もします。
やってみてわかったのですが、コンテナで動かすようなパイプラインと違って、いざ何かおこったときのデバッグには少し難があるようでした。
全体的には、設定もわかりやすく、表示もきれいで、しかも無料という、素晴らしいツールだと思います。
あと、今回は試せなかったのですが、 NUnit XML 形式で結果をアップロードすればスクリーンショットもちゃんと表示されるはずです。多分。
JavaScript で、Attachments のある NUnit XML 形式のファイルを出力できるテストツールは見当たらないので、やるなら自作せねばなりません。いつかはやりたい。
