Drupalアプリケーションでソーシャルログインを有効にする方法。
設定方法
- Drupalアプリケーションの起動
Composer経由でDrupalをインストール。
$ composer create-project drupal/recommended-project drupal-and-auth0
Composer経由でAuth0モジュールを追加する。
$ cd drupal-and-auth0
$ composer require drupal/auth0
Drupalアプリケーションを起動。
$ cd web
$ php -S localhost:5656

PHP 7.1.23 Development Server started at Thu Feb 13 02:25:02 2020
Listening on http://localhost:5656
Document root is /Users/hikaru.maruyama/src/github.com/hmaruyama/drupal-and-auth0/web
Press Ctrl-C to quit.
http://localhost:5656 にアクセスし、Drupalの初期設定を行う。

- Choose language : 日本語
- プロフィールの選択 : 標準
- 必要条件の検証 : とりあえず進む
- データベースのセットアップ: 任意のデータベースタイプを選択
- サイトの環境設定 : 必須項目を埋める

- Auth0モジュールの有効化
メニューから 拡張機能 をクリック。
モジュールのリストから Auth0 を探し、横のチェックボックスにチェックを入れて インストール をクリックして有効化する。

- Auth0の管理画面での設定
Auth0のアカウントを取得し、 https://manage.auth0.com にアクセス。
左メニューの Applications をクリックして、 + CREATE APPLICATION をクリック。
Regular Web Applications を選択し、アプリケーションを作成。
Settings タブをクリックし、以下の項目を設定。
-
Allowed Callback URLs: http://localhost:5656/auth0/callback -
Allowed Web Origins: http://localhost:5656 -
Allowed Logout URLs: http://localhost:5656 -
Allowed Origins (CORS): http://localhost:5656
最後に SAVE CHANGES をクリックして保存。
- Drupal側のAuth0の設定
Drupalアプリケーション( http://localhost:5656 )に戻り、メニューから 環境設定 をクリック。
システム の項目の中にある Auth0 をクリックし、以下の項目を設定。
- ドメイン : Auth0のアプリケーションの Settings 内の
Domainの値 - Client ID : Auth0のアプリケーションの Settings 内の
Client IDの値 - Client Secret : Auth0のアプリケーションの Settings 内の
Client Secretの値
最後に 保存 をクリック。
- ログアウト後のリダイレクト設定
https://manage.auth0.com/#/tenant/advanced にアクセスし、以下の項目を設定。
-
Allowed Logout URLs: http://localhost:5656
最後に SAVE をクリック。これで全ての設定完了。
試してみるその1 サインアップしてみる
シークレットウィンドウ等で http://localhost:5656/user にアクセス。

Sign Up をクリックし、Drupalの初期ユーザーで設定していないメールアドレスを使用して新規でアカウントを作成する。

登録したメールアドレス宛に以下の検証メールが届いたら

VELIFY YOUR ACCOUNT をクリックして

http://localhost:5656/user に再度アクセスし、メールアドレス、パスワードでログイン。

Drupalアプリケーションに無事ログインできた。
ユーザー情報はAuth0の管理画面より確認が可能。
試してみるその2 ログアウト
Drupalアプリケーションでログインした状態から、ログアウト( http://localhost:5656/user/logout )にアクセス。
トップページに遷移したら成功。

確認その3 Drupalアプリケーションに登録済みのアカウントでログイン
Drupalアプリケーションの初期設定時に登録したアカウントでログインする場合、Auth0側にもアカウントを追加する必要がある。
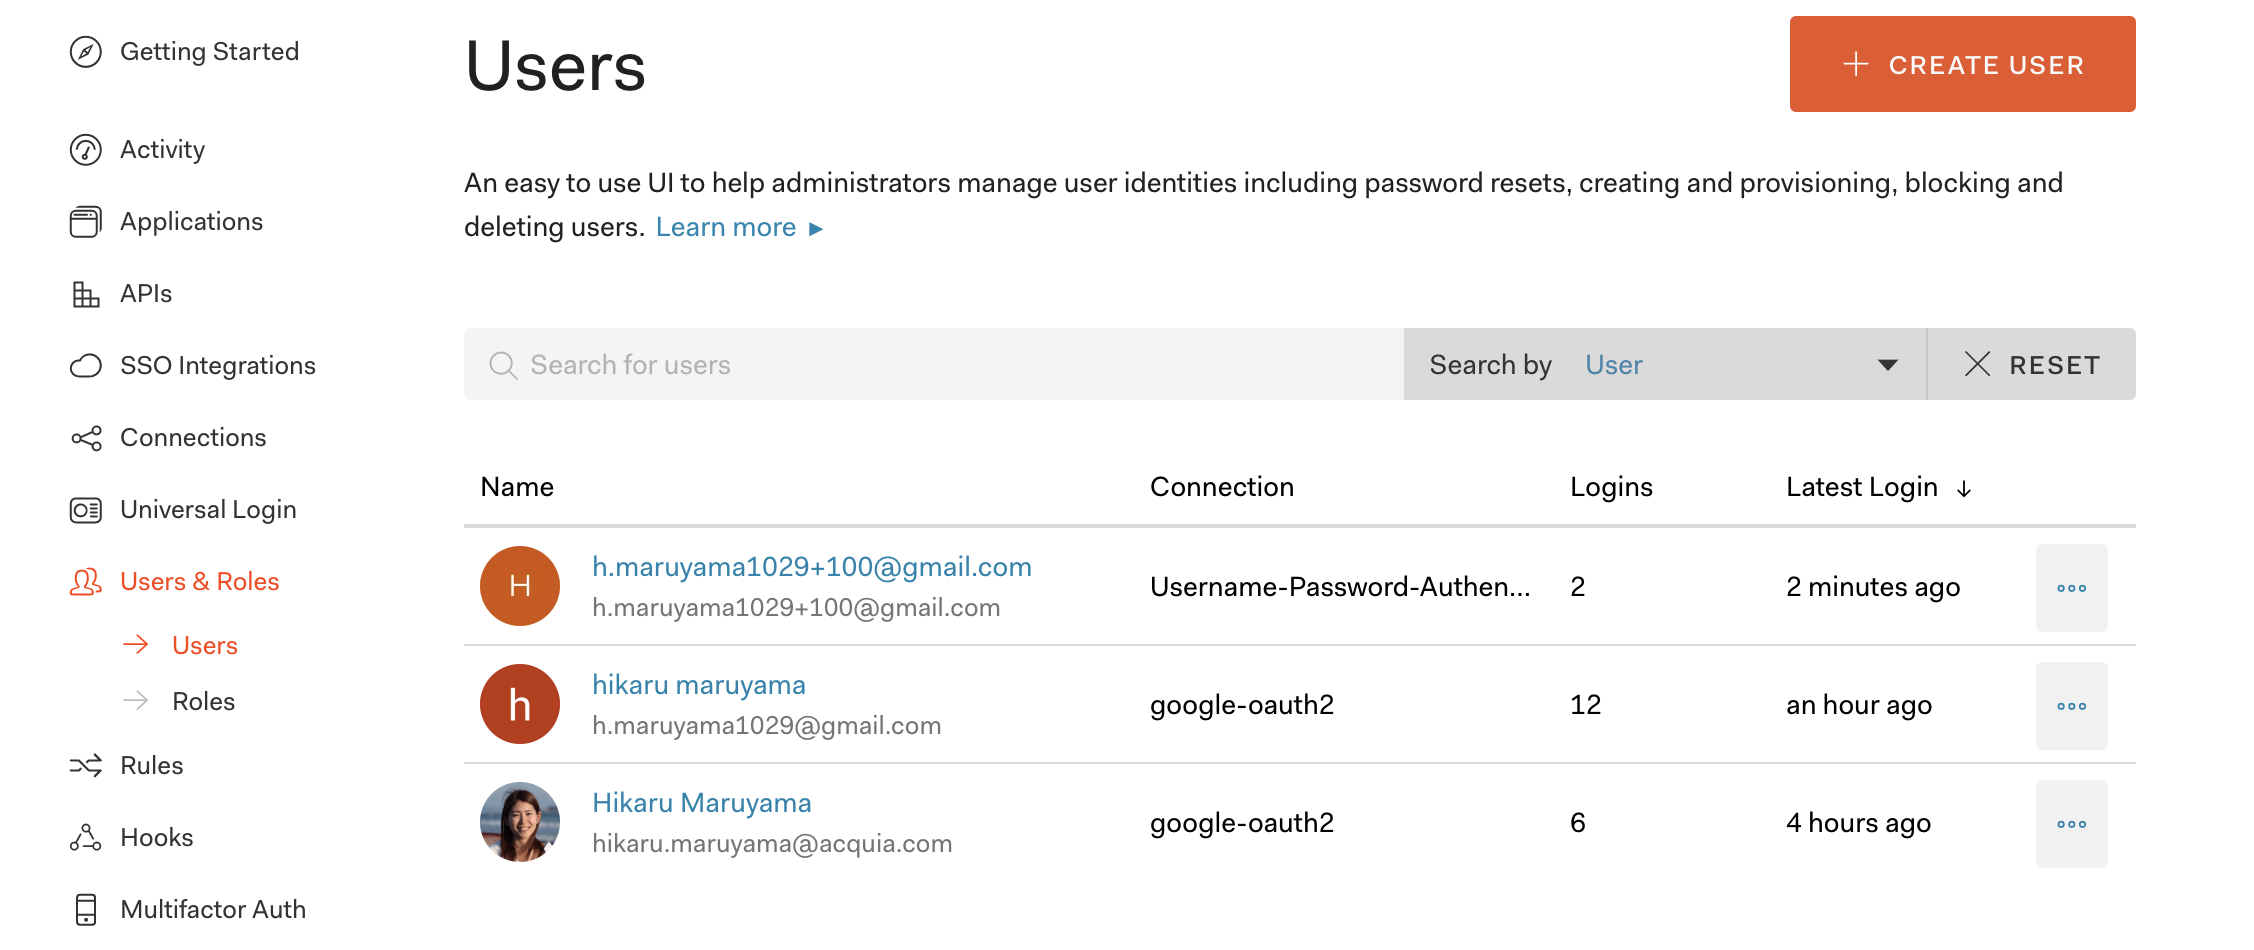
Auth0管理画面 メニューの Users & Roles の Users をクリック。
CREATE USER をクリック。
Drupalアプリケーションに登録済みアカウントに紐づいているメールアドレスを入力し、パスワードを新たに設定して保存。

http://localhost:5656/user から先ほど設定したメールアドレスとパスワードでログイン。

既存のDrupalアカウントと紐づいていたら成功。