これから AngularJS でアプリケーションを作るぜ!という方向けの、環境構築メモです。
- モダンな開発をするために総合開発環境として Yeoman を利用
- おすすめとされる AngularJS アプリケーション構成も適用
- 最低限のUIライブラリはいるだろうということで UI Bootstrap(AngularJS用のBootstrap)を導入
- IDEとして WebStorm を利用
- ただこれは私がたまたま使ってるだけなので、使わなくてもOK
ちなみに私が試した環境は、つぎのとおりです。
- Mac OS X 10.9.1
- node v0.10.25
- npm 1.3.24
YeomanとAngularJS雛形ジェネレータをインストール
もしお使いの環境にまだ導入されてなければ npm でインストールします。
$ npm install -g yo grunt-cli bower
$ npm install -g generator-angular
AngularJSの雛形を生成
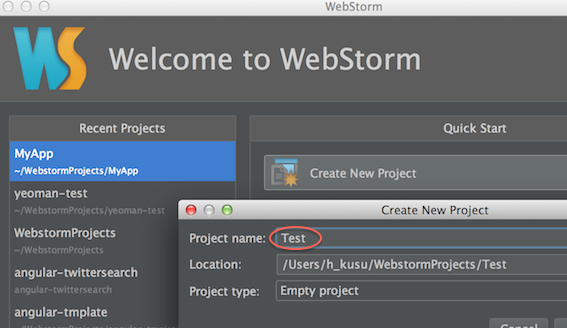
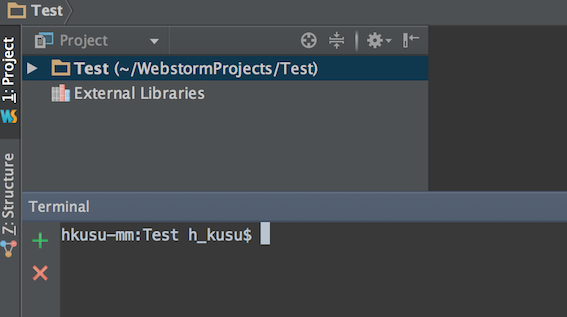
WebStormの新規プロジェクトを適当な名前で開き、ターミナルで(なければ普通に Mac のターミナルで適当なディレクトリを作成し配下へ移動して)、
次のようにコマンドを入力します。
$ yo angular --minsafe [今回作るアプリケーション名]
※ この [今回作るアプリケーション名]App が AnugularJS上のアプリケーション名となります(例:Testを指定した場合はTestApp)。後から変える場合は index.html app.js main.js を書き換えてください。
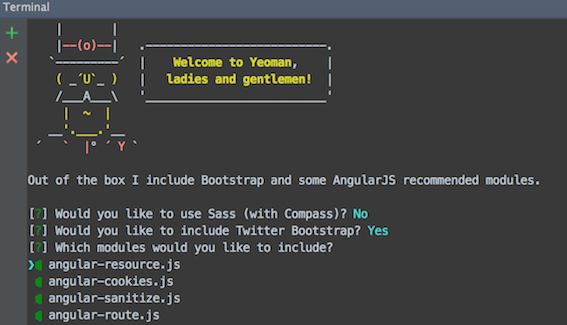
この時、インストールするモジュールを YES/NO で聞かれます。BootstrapとAngular系モジュールを選択して(つまり Sass だけ除いて)て導入します。まあ必要あれば Sass を導入しても構いません。
※もし NO と答えても、$ bower install bootstrap --save のように後から Bower で簡単に追加インストールできます。
つづいて UI Bootstrap をインストールします。ターミナルで、
$ bower install angular-bootstrap --save
--save を指定することにより bower.json でパッケージ管理されるようになります。パッケージ管理しておかないと、後で全モジュールを入れ直す場合やproduction用コード(後で説明)を作る場合に困るので、ちゃんとパッケージ管理しておきましょう(ちなみに、もしproduction用コードに含めないパッケージの場合は --save-dev を指定します)。
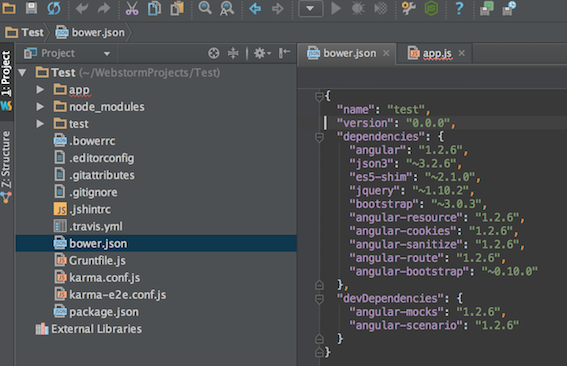
また、Bower で管理しているパッケージは bower.json ファイルで確認できます。
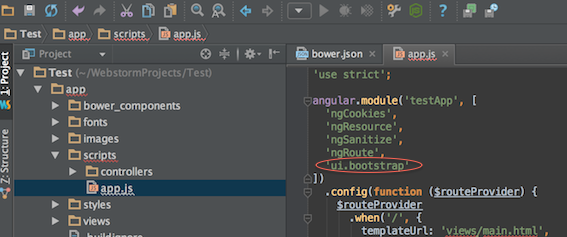
次に app.js を開き、利用するモジュールに ui.bootstrap を追加します。
index.html を開き、下記の1行を追加します(UI Bootstrap の JSファイルを読み込み)。
<script src="bower_components/angular-bootstrap/ui-bootstrap-tpls.js"></script>
[2014/3/15追記] jquery.js と bootstrap.js をインクルードしている2行を削除してください。Bootstrap と UI Bootstrap が競合するため(jQueryは bootstrap.js が不要ならこちらもいらないのでついでに削除)。
[2014/4/8追記] 手動で index.html を修正しなくても、次のようにコマンド叩くと自動で index.html を修正してくれるようです。
$ grunt bower-install
それ以外も lang="ja" を追加したり、もろもろ自分ルール^^; と違うところを直します。
結果は次のとおり(面倒であればコピペして使ってもらって構いません。ただng-app="[アプリケーション名]App"はapp.jsmain.jsに記載のものと合わせてください)。
<!doctype html>
<!--[if lt IE 7]>      <html class="no-js lt-ie9 lt-ie8 lt-ie7"> <![endif]-->
<!--[if IE 7]>         <html class="no-js lt-ie9 lt-ie8"> <![endif]-->
<!--[if IE 8]>         <html class="no-js lt-ie9"> <![endif]-->
<!--[if gt IE 8]><!--> <html class="no-js"> <!--<![endif]-->
  <head lang="ja">
    <meta http-equiv="Content-Type" content="text/html" charset="utf-8">
    <meta name="viewport" content="width=device-width, user-scalable=no, initial-scale=1.0">
    <meta http-equiv="X-UA-Compatible" content="IE=edge">
    <title></title>
    <meta name="description" content="">
    <!-- Place favicon.ico and apple-touch-icon.png in the root directory -->
    <!-- build:css styles/vendor.css -->
    <!-- bower:css -->
    <link rel="stylesheet" href="bower_components/bootstrap/dist/css/bootstrap.css">
    <!-- endbower -->
    <!-- endbuild -->
    <!-- build:css({.tmp,app}) styles/main.css -->
    <link rel="stylesheet" href="styles/main.css">
    <!-- endbuild -->
  </head>
  <body ng-app="testApp">
    <!--[if lt IE 7]>
      <p class="browsehappy">You are using an <strong>outdated</strong> browser. Please <a href="http://browsehappy.com/">upgrade your browser</a> to improve your experience.</p>
    <![endif]-->

    <!-- Add your site or application content here -->
    <div class="container" ng-view=""></div>

    <!-- Google Analytics: change UA-XXXXX-X to be your site's ID -->

    <!--[if lt IE 9]>
    <script src="bower_components/es5-shim/es5-shim.js"></script>
    <script src="bower_components/json3/lib/json3.min.js"></script>
    <![endif]-->

    <!-- build:js scripts/vendor.js -->
    <!-- bower:js -->
    <script src="bower_components/angular/angular.js"></script>
    <script src="bower_components/angular-resource/angular-resource.js"></script>
    <script src="bower_components/angular-cookies/angular-cookies.js"></script>
    <script src="bower_components/angular-sanitize/angular-sanitize.js"></script>
    <script src="bower_components/angular-route/angular-route.js"></script>
    <script src="bower_components/angular-bootstrap/ui-bootstrap-tpls.js"></script>
    <!-- endbower -->
    <!-- endbuild -->

    <!-- build:js({.tmp,app}) scripts/scripts.js -->
    <script src="scripts/app.js"></script>
    <script src="scripts/controllers/main.js"></script>
    <!-- endbuild -->
</body>
</html>
これで完了です!
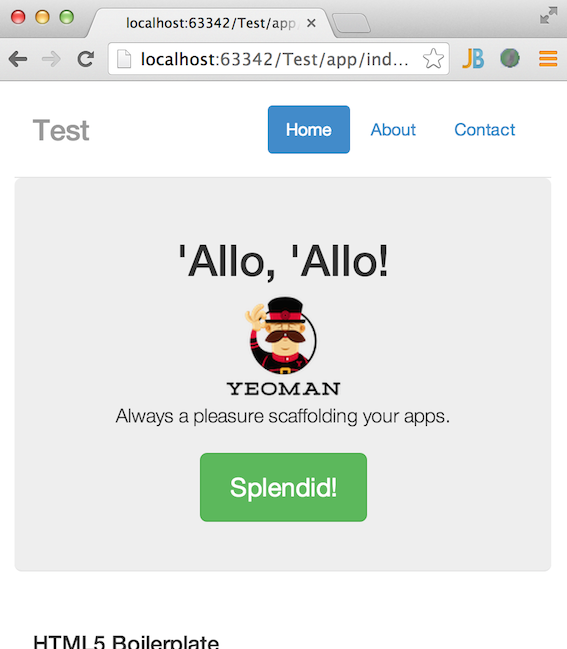
試しに WebStorm のプレビュー機能で index.html を開いてみます。
レスポンシブにも対応していますね^^
もし WebStorm を利用していない場合でも、Grunt で確認できます。Macのターミナルで、
$ cd Test
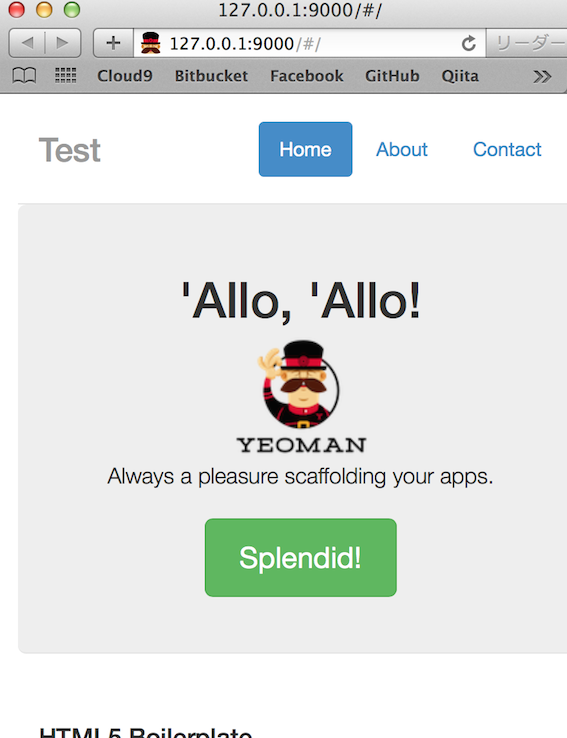
$ grunt serve
そうすると標準のブラウザ?が次のように開きます。
いや〜、Grunt便利ですね。
プログラム構成的には AngularJS の推奨する構成になっており、Yeomanを利用した効率的な開発環境&Bootstrapで最低限の見た目はカバーできている環境の出来上がりです。
(私的には WebStorm の導入もおすすめです。有償ですが。)
環境ができたら
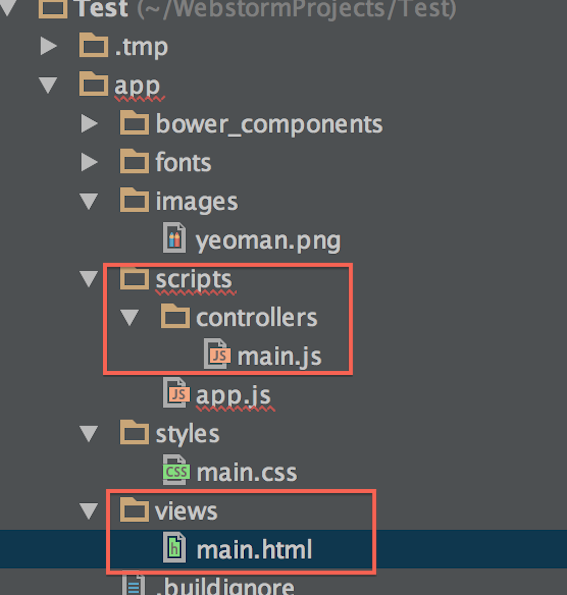
TOPページのVIEWは main.html 、ロジックは main.js ですので(デフォルトでは上記プレビューの通り Yeoman のサンプルが記載されています)、これらに自分のアプリケーションを書いていけばOKです。
(index.html および app.js はアプリケーション全体の記載をするものなのでそうはいじらないはずです。それがAngulsrJSの思想みたい。)
index.html は一度ブラウザに読み込まれれば再度サーバに取得することはなく、このブラウザ側の index.html を起点とし、必要に応じて main.html 等をロードする形式になります。
(index.htmlはディスパッチみたいな役割をし、ここ自体にはHTMLタグを書くことはない。)
JSファイルとHTMLファイルを追加する場合は、
- ロジック(モデルとコントローラ)ファイルは app/scripts/controllers/ に配置します。
- VIEW(HTML)ファイルは app/views/ に配置します。
ロジックとVIEWを増やす場合(ページを増やす場合)は、app.js で新たに URL と Controller、View の対応づけを設定し、index.html で追加したJSファイルをインクルードします。
DirectiveやService用の構成を追加する場合は、次のように出来るようです。
AngularJS Ninja
production用(本番用)のファイルを作成する場合
まず、Bowerのコンポーネントを本番用にします。
$ bower install --production
--production を指定することで、bower.json 中のDEV用パッケージが除かれ bower_components ディレクトリが展開されます。
次に、Gruntでビルドします。
$ grunt build
dist ディレクトリに本番配信用のファイル(minifyされてる?)が展開されます。
