CoreOS が開発する OpenID Connect Provider として機能するソフトウェアである dex のメジャーバージョンがあがるということで、v2.0.0 ではいったいどうなるのか調査しました。
![]() この記事は 2016/11/15 現在の最新である
この記事は 2016/11/15 現在の最新である v2.0.0-beta.2 をもとにしています。
dex について知りたい方ははこちらの記事を参照してください。Kubernetes の認証と dex
README より(一部抜粋)
全文はこちら → https://github.com/coreos/dex/blob/master/Documentation/v2.md
deployment の合理化
v1 と v2 間の多くの変更は、おそらく v1 の最大の痛みであった dex の導入と管理を容易にすることを目的としました。v2 では dex は単一のバイナリになり、OAuth2.0 のクライアントや IDP コネクタなど、以前は API で設定しなければならなかった多くのコンポーネントを設定ファイルによって静的に指定できるようになりました。この結果、dex をデプロイするための手順はさらに単純なものになりました。
ストレージバックエンドの強化
dex の内部ストレージインターフェースは改良され、Postgres, SQListe3, ThirdPartyResource を通した kubernetes の API を含む、複数のストレージバックエンドをサポートするようになりました。これにより、 dex は特定のデプロイパターンを要求するのではなく、より多様なユースケースを満たすことができます。例えば、Key Value ストアである Kubernetes の API 実装により、管理のオーバーヘッドが非常に少ない Kubernetes Cluster 上で dex をネイティブに実行することができます。
追加された実装
- より強力なコネクタ機能。例えば GitHub Connector はチームを問い合わせすることが可能です。
- 複雑な認可ルールは使用せず、2つの API を1つの gRPC API に統合しました。
- OAuth2.0 の Implicit Flow がサポートされました。
- コードベースの簡略化とテストの改善
レジストレーションの再考
v2 ではユーザは dex で管理せず、他の IDP へのフェデレーションに重点を置いています。このため、SMTP credential などのレジストレーションに関連するオプションは削除されました。gRPC API を使用して、他のユースケースに影響を与えない方法で、登録とユーザ管理をプロジェクトに追加してください。
削除された機能
- Registration flows
- Local user management
- SMTP configuraiton and email verification
- Several of the login connectors that have yet to be ported.
ストレージバックエンドの選択
v2 を利用するにあたって、利用するストレージバックエンドによって設定などが多少異なってきます。Kubernetes の ThirdPartyResource を使う場合には、Kubernetes に直接関係のないコンポーネントを運用する必要などが無くなります。しかし、ThirdPartyResourceは大規模での利用する場合には向いていないかもしれないというような事も書いてありますので、どのバックエンドを選んでもメリット・デメリットがありそうです。
どのストレージバックエンドを利用するかは設定ファイル内の storage.type の値によって選択できるようです。
- SQLite3の例
storage:
  type: sqlite3
  config:
    file: /var/dex/dex.db
- PostgreSQLの例
storage:
  type: postgres
  config:
    database: dex_db
    user: dex
    password: 66964843358242dbaaa7778d8477c288
    ssl:
      mode: verify-ca
      caFile: /etc/dex/postgres.ca
- Kubernetes ThirdPartyResource の例
storage:
  type: kubernetes
  config:
    inCluster: true
gRPC の API について
gRPC サービスを公開する場合には設定ファイル内で grpc の項目を定義する必要があります。
grpc:
  addr: 127.0.0.1:5557
  tlsCert: /etc/dex/grpc.crt
  tlsKey: /etc/dex/grpc.key
  tlsClientCA: /etc/dex/client.crt
gRPC API のインターフェースは以下が定義されています。https://github.com/coreos/dex/blob/master/api/api.proto
- CreateClient
- DeleteClient
- CreatePassword
- UpdatePassword
- DeletePassword
- GetVersion
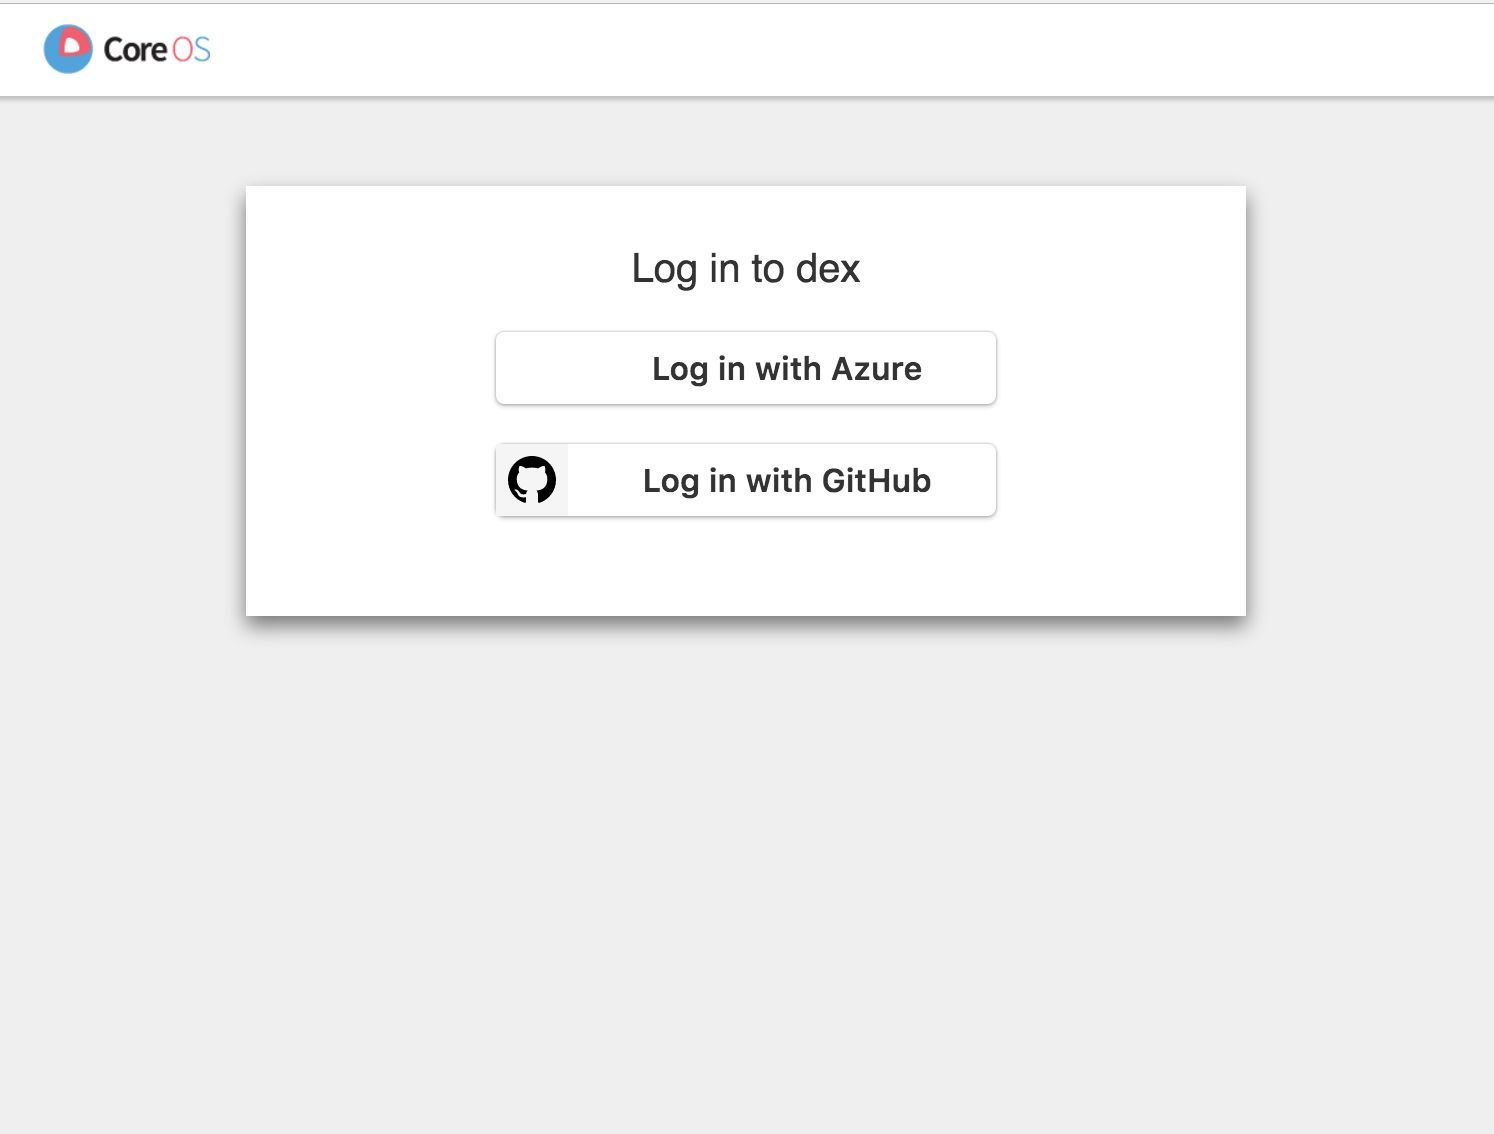
Multiple IDP Provider
v1 では 「Comming Soon」となっていてなかなか実装されなかった機能である、複数の IDP プロバイダを認証時に選択できる機能が v2 では実装されたようです。設定ファイルの connectors に複数並べると認証時に選択画面が挟まるようです。(一つしか設定されていない場合には選択画面は出ません)
connectors:
  - type: github
    id: ...
    name: ...
    config: ...
  - type: oidc
    id: ...
    name: ...
    config: ...
認可リクエスト同意画面のスキップ
v2 では認可リクエストに対する同意画面がスキップできるようになったようです。スキップしたい場合には設定ファイルにて oauth2.skipApprovalScreen の値を true に設定してください。
oauth2:
  skipApprovalScreen: true
Implicit Flow でのリクエストを有効にする
README でも記載のあったとおり、v2 では Implicit Flow が実装されました。ただし、設定をしないと有効にならないようです。(デフォルトでは Authorization Code Flow のみ)
Implicit Flow でリクエストを受け付けられるようにするには設定ファイル内にて oauth2.responseTypes に token を設定する必要があります。
oauth2:
  responseTypes: ["code", "token"]
上記の例では Authorization Code Flow も Implicit Flow も両方を有効にしています。
ログインの制限
v2.0.0-beta.2 では未実装のようですが、v1 で実装されていたログイン可能なドメインを制限する機能も組み込まれるようです。
https://github.com/coreos/dex/issues/66
v2.0.0 のマイルストーンに紐づく issue として上記も含まれています。2016/11/16 現在では下記のような形式でクライアント毎もしくはコネクタ毎に設定することになるのではないかと議論されています。
filter:
    whitelist:
        groups: ["foo"]
        emails: ["bar@coreos.com"]
サンプルからはわかりずらいですが、おそらく正規表現やドメイン表記なども考慮されるだろうと思います。
手元で動かして確認してみる
ThirdPartyResource を使って dex を動かしてみる( with Minikube)
※ Minikube を使うとひとつの Node 上に複数のコンテナを立ち上げることになり、場合によっては待ち受けたいポート番号が衝突することがあります。その場合は --extra-config オプションで衝突を回避してください。
$ minikube start
Kubernetes の ThirdPartyResource として動かす場合の設定はサンプルが付属しているので、それをベースにして動かしてみます。サンプルでは複数の Kind をひとつの YAML 内に定義してありますが、ここでは Kind 毎に別々の YAML としてリソースを作成していきたいと思います。
まずはテストに必要な TLS 関連のファイルを生成します
$ cd examples/k8s
$ ./gencert.sh
生成した TLS 関連のファイルをシークレットとして登録します。
$ kubectl create secret tls dex.example.com.tls --cert=ssl/cert.pem --key=ssl/key.pem
次に外部プロバイダ(今回はGitHub)と連携するための情報を Kubernetes のシークレットとして登録し、後からそれを環境変数として取り出します。
$ kubectl create secret generic github-client --from-literal=client-id=$GITHUB_CLIENT_ID --from-literal=client-secret=$GITHUB_CLIENT_SECRET
では ConfigMap を作成し、静的な設定情報を定義します。
kind: ConfigMap
apiVersion: v1
metadata:
  name: dex
data:
  config.yaml: |
    issuer: https://dex.example.com:32000
    storage:
      type: kubernetes
      config:
        inCluster: true
    web:
      https: 0.0.0.0:5556
      tlsCert: /etc/dex/tls/tls.crt
      tlsKey: /etc/dex/tls/tls.key
    connectors:
    - type: github
      id: github
      name: GitHub
      config:
        clientID: $GITHUB_CLIENT_ID
        clientSecret: $GITHUB_CLIENT_SECRET
        redirectURI: https://dex.example.com:32000/callback
        org: kubernetes
    oauth2:
      skipApprovalScreen: true
    staticClients:
    - id: example-app
      redirectURIs:
      - 'http://127.0.0.1:5555/callback'
      name: 'Example App'
      secret: ZXhhbXBsZS1hcHAtc2VjcmV0
$ kubernetes create -f dex-configmap.yaml
次に Deployments を作成します。
apiVersion: extensions/v1beta1
kind: Deployment
metadata:
  labels:
    app: dex
  name: dex
spec:
  replicas: 3
  template:
    metadata:
      labels:
        app: dex
    spec:
      containers:
      - image: quay.io/coreos/dex:v2.0.0-beta.2
        name: dex
        command: ["/usr/local/bin/dex", "serve", "/etc/dex/cfg/config.yaml"]

        ports:
        - containerPort: 5556
          name: https

        volumeMounts:
        - name: config
          mountPath: /etc/dex/cfg
        - name: tls
          mountPath: /etc/dex/tls

        env:
        - name: GITHUB_CLIENT_ID
          valueFrom:
            secretKeyRef:
              name: github-client
              key: client-id
        - name: GITHUB_CLIENT_SECRET
          valueFrom:
            secretKeyRef:
              name: github-client
              key: client-secret
      volumes:
      - name: config
        configMap:
          name: dex
          items:
          - key: config.yaml
            path: config.yaml
      - name: tls
        secret:
          secretName: dex.example.com.tls
$ kubernetes create -f dex-deployments.yaml
Deployments が正常に作成され、dex が起動すると ThirdPartyResource が自動的に作成されます。Pod のログを参照してみます。
% kubectl logs <PodName>
2016/11/15 08:12:35 create third party resource "auth-code.oidc.coreos.com"
2016/11/15 08:12:35 create third party resource "auth-request.oidc.coreos.com"
2016/11/15 08:12:35 create third party resource "o-auth2-client.oidc.coreos.com"
2016/11/15 08:12:35 create third party resource "signing-key.oidc.coreos.com"
2016/11/15 08:12:35 create third party resource "refresh-token.oidc.coreos.com"
2016/11/15 08:12:35 create third party resource "password.oidc.coreos.com"
2016/11/15 08:12:35 keys expired, rotating
2016/11/15 08:12:35 failed to rotate keys: not found
2016/11/15 08:12:35 listening (http) on 0.0.0.0:5556
ThirdPartyResource を作成した旨のログが出ているのがわかりました。実際に作成されていることを確認してみます。
$ kubectl get thirdpartyresource
NAME                             DESCRIPTION                                                                VERSION(S)
auth-code.oidc.coreos.com        A code which can be claimed for an access token.                           v1
auth-request.oidc.coreos.com     A request for an end user to authorize a client.                           v1
o-auth2-client.oidc.coreos.com   An OpenID Connect client.                                                  v1
password.oidc.coreos.com         Passwords managed by the OIDC server.                                      v1
refresh-token.oidc.coreos.com    Refresh tokens for clients to continuously act on behalf of an end user.   v1
signing-key.oidc.coreos.com      Keys used to sign and verify OpenID Connect tokens.                        v1
最後に、外部からアクセスするための Service を作成します。
apiVersion: v1
kind: Service
metadata:
  name: dex
spec:
  type: NodePort
  ports:
  - name: dex
    port: 5556
    protocol: TCP
    targetPort: 5556
    nodePort: 32000
  selector:
$ kubectl create -f dex-service.yaml
全て正常に立ち上がって、IDP として機能しているかを確認してみます。
外側のアドレスを確認するには下記コマンドの結果の Addresses: の項目を確認してみてください。(今回は NodePort type で作成したため)
$ kubectl describe nodes
今回テストで使うドメインについて /etc/hosts にレコードを追加します。
<IP ADDREESS> dex.example.com
次に OpenID Connect の Discovery エンドポイントにアクセスできることを確認します。
$ curl -k https://dex.example.com:32000/.well-known/opendi-configuration
{
  "issuer": "https://dex.example.com:32000",
  "authorization_endpoint": "https://dex.example.com:32000/auth",
  "token_endpoint": "https://dex.example.com:32000/token",
  "jwks_uri": "https://dex.example.com:32000/keys",
  "response_types_supported": [
    "code"
  ],
  "subject_types_supported": [
    "public"
  ],
  "id_token_signing_alg_values_supported": [
    "RS256"
  ],
  "scopes_supported": [
    "openid",
    "email",
    "profile",
    "offline_access"
  ],
  "token_endpoint_auth_methods_supported": [
    "client_secret_basic"
  ],
  "claims_supported": [
    "aud",
    "email",
    "email_verified",
    "exp",
    "iat",
    "iss",
    "locale",
    "name",
    "sub"
  ]
}
後は サンプルの RP を起動して実際に繋げることを確認します。
$ cd dex/examples/k8s
$  ../../bin/example-app --issuer https://dex.example.com:32000 --issuer-root-ca ssl/ca.pem
ブラウザを立ち上げて http://localhost:5555/ にアクセスします。