
概要
VSCode の Remote - Containers を使って,MkDocs ドキュメントを作成するきれいな環境を作成しました。
VSCode の機能を併せて活用することで,GUI 上の操作のみでローカルでの編集を可能にします1。
本記事で紹介したプロジェクトのサンプルは以下のリポジトリで公開しています。
このリポジトリを clone して readme 通りに進めれば,この記事で説明した環境を利用できます。

Remote - Containers や MkDocs についての説明は本記事では割愛します。
以下の記事などが参考になるかと思いますので,必要に応じて参照ください。
本記事の執筆に利用した各ツールのバージョン情報
- Visual Studio Code: v1.51.1
- Remote - Containers: v0.148.1
- Docker Desktop for Mac: v2.5.0.1
- MkDocs: v1.1.2
Remote - Containers で MkDocs 編集環境をつくる
この記事ではやったことを順を追って説明します。
-
.devcontainer/devcontainer.jsonの作成 -
requirements.txtの作成 - MkDocs ドキュメントの初期化
-
launch.jsonとtasks.jsonを使ったmkdocs serveの実行とブラウザ起動の自動化
.devcontainer/devcontainer.json の作成
まず,空のプロジェクトフォルダに .devcontainer/devcontainer.json を作成します。
MkDocs とその周辺ライブラリを利用できるコンテナが必要なので,pythonの公式イメージを使うよう image に指定します。
MkDocs を利用するため,以下2つの Extension を extensions に記載しておくと,コンテナ内での編集がしやすくなります。
以下の devcontainer.json では追加で Trailing Spaces と Indent Rainbow を入れていますが,お好みで。
後述するデバッグ機能を利用するため,Debugger for Chrome も入れています。
postCreateCommand と forwardPorts についても後述します。
// For format details, see https://aka.ms/devcontainer.json. For config options, see the README at:
// https://github.com/microsoft/vscode-dev-containers/tree/v0.140.1/containers/python-3
{
    "name": "Python 3",
    "image": "python:3.8.6-buster",

    // Set *default* container specific settings.json values on container create.
    "settings": {
        "terminal.integrated.shell.linux": "/bin/bash"
    },

    // Add the IDs of extensions you want installed when the container is created.
    "extensions": [
        "yzhang.markdown-all-in-one",
        "redhat.vscode-yaml",
        "shardulm94.trailing-spaces",
        "oderwat.indent-rainbow",
        "msjsdiag.debugger-for-chrome"
    ],

    // Use 'forwardPorts' to make a list of ports inside the container available locally.
    "forwardPorts": [8000],

    // Use 'postCreateCommand' to run commands after the container is created.
    "postCreateCommand": "pip3 install -r requirements.txt"

    // Uncomment to connect as a non-root user. See https://aka.ms/vscode-remote/containers/non-root.
    //"remoteUser": "vscode"
}
requirements.txt の作成
コンテナ作成時に MkDocs をインストールするため,requirements.txt を作成します。
devcontainer.json の postCreateCommand は,コンテナ作成時に実行されるコマンドなので,
ここに記述しておくことで,これを元にパッケージのインストールが行われます。
mkdocs == 1.1.2
# 以下,必要に応じてライブラリを記載
# mkdocs-material
# fontawesome-markdown
# markdown-include
# pymdown-extensions
コンテナ内でMkDocsドキュメントを作成する
ここまでで,プロジェクトは以下のようなファイル構造になっています。
projectRoot
 ├ .devcontainer
 │  └ devcontainer.json
 └ requirements.txt
プロジェクトをコンテナ内で開き,「MkDocs ドキュメントの初期化」と「MkDocs が利用可能なことの確認」を行います。
プロジェクトをコンテナ内で開く
画面左下の緑色のボタンをクリックして, Remote-Containers:Reopen in Container を選択します。
最初は Docker イメージを作成するため起動に時間がかかります。
画面左下の緑のやつをクリック
もしくは,Cmd+Shift+Pでコマンドパレットを開きます。

"Remote-Containers:Reopen in Container" を選択
初回は Docker イメージのビルドが走るので少し時間がかかります。

MkDocsドキュメントの初期化
コンテナ内でプロジェクトが開いたら,画面左下の表示が Dev Container: {name} となります。
Terminal から,MkDocs ドキュメントの初期化を行います。

MkDocs ドキュメントの初期化は,mkdocs new {folder path} で行います。
後述する tasks.json の記述を簡潔にするため,カレントディレクトリに対してドキュメントを作成します。
カレントディレクトリの場合は,mkdocs new .を実行します。
root@eee36f2ddc87:/workspaces/mkdocs-remote-containers# mkdocs new .
INFO    -  Writing config file: ./mkdocs.yml
INFO    -  Writing initial docs: ./docs/index.md
ここまでで,プロジェクトは以下のようなファイル構造になります。
projectRoot
 ├ .devcontainer/
 │  └ devcontainer.json
 ├ docs/
 ├ mkdocs.yml
 └ requirements.txt
mkdocs serve の確認
mkdocs serve コマンドを実行すると,ローカルにサーバーが立ち2,ビルドされたドキュメントをブラウザから確認できるようになります。
デフォルトでは8000番ポートにサーバが立ちます3。
ローカルのブラウザからアクセスできるよう,devcontainer.json の forwardPorts に 8000 を指定しています。
root@eee36f2ddc87:/workspaces/mkdocs-remote-containers# mkdocs serve
INFO    -  Building documentation...
INFO    -  Cleaning site directory
INFO    -  Documentation built in 0.13 seconds
[I 201125 11:37:07 server:335] Serving on http://127.0.0.1:8000
INFO    -  Serving on http://127.0.0.1:8000
[I 201125 11:37:07 handlers:62] Start watching changes
INFO    -  Start watching changes
[I 201125 11:37:07 handlers:64] Start detecting changes
INFO    -  Start detecting changes
[I 201125 11:37:15 handlers:135] Browser Connected: http://localhost:8000/
INFO    -  Browser Connected: http://localhost:8000/
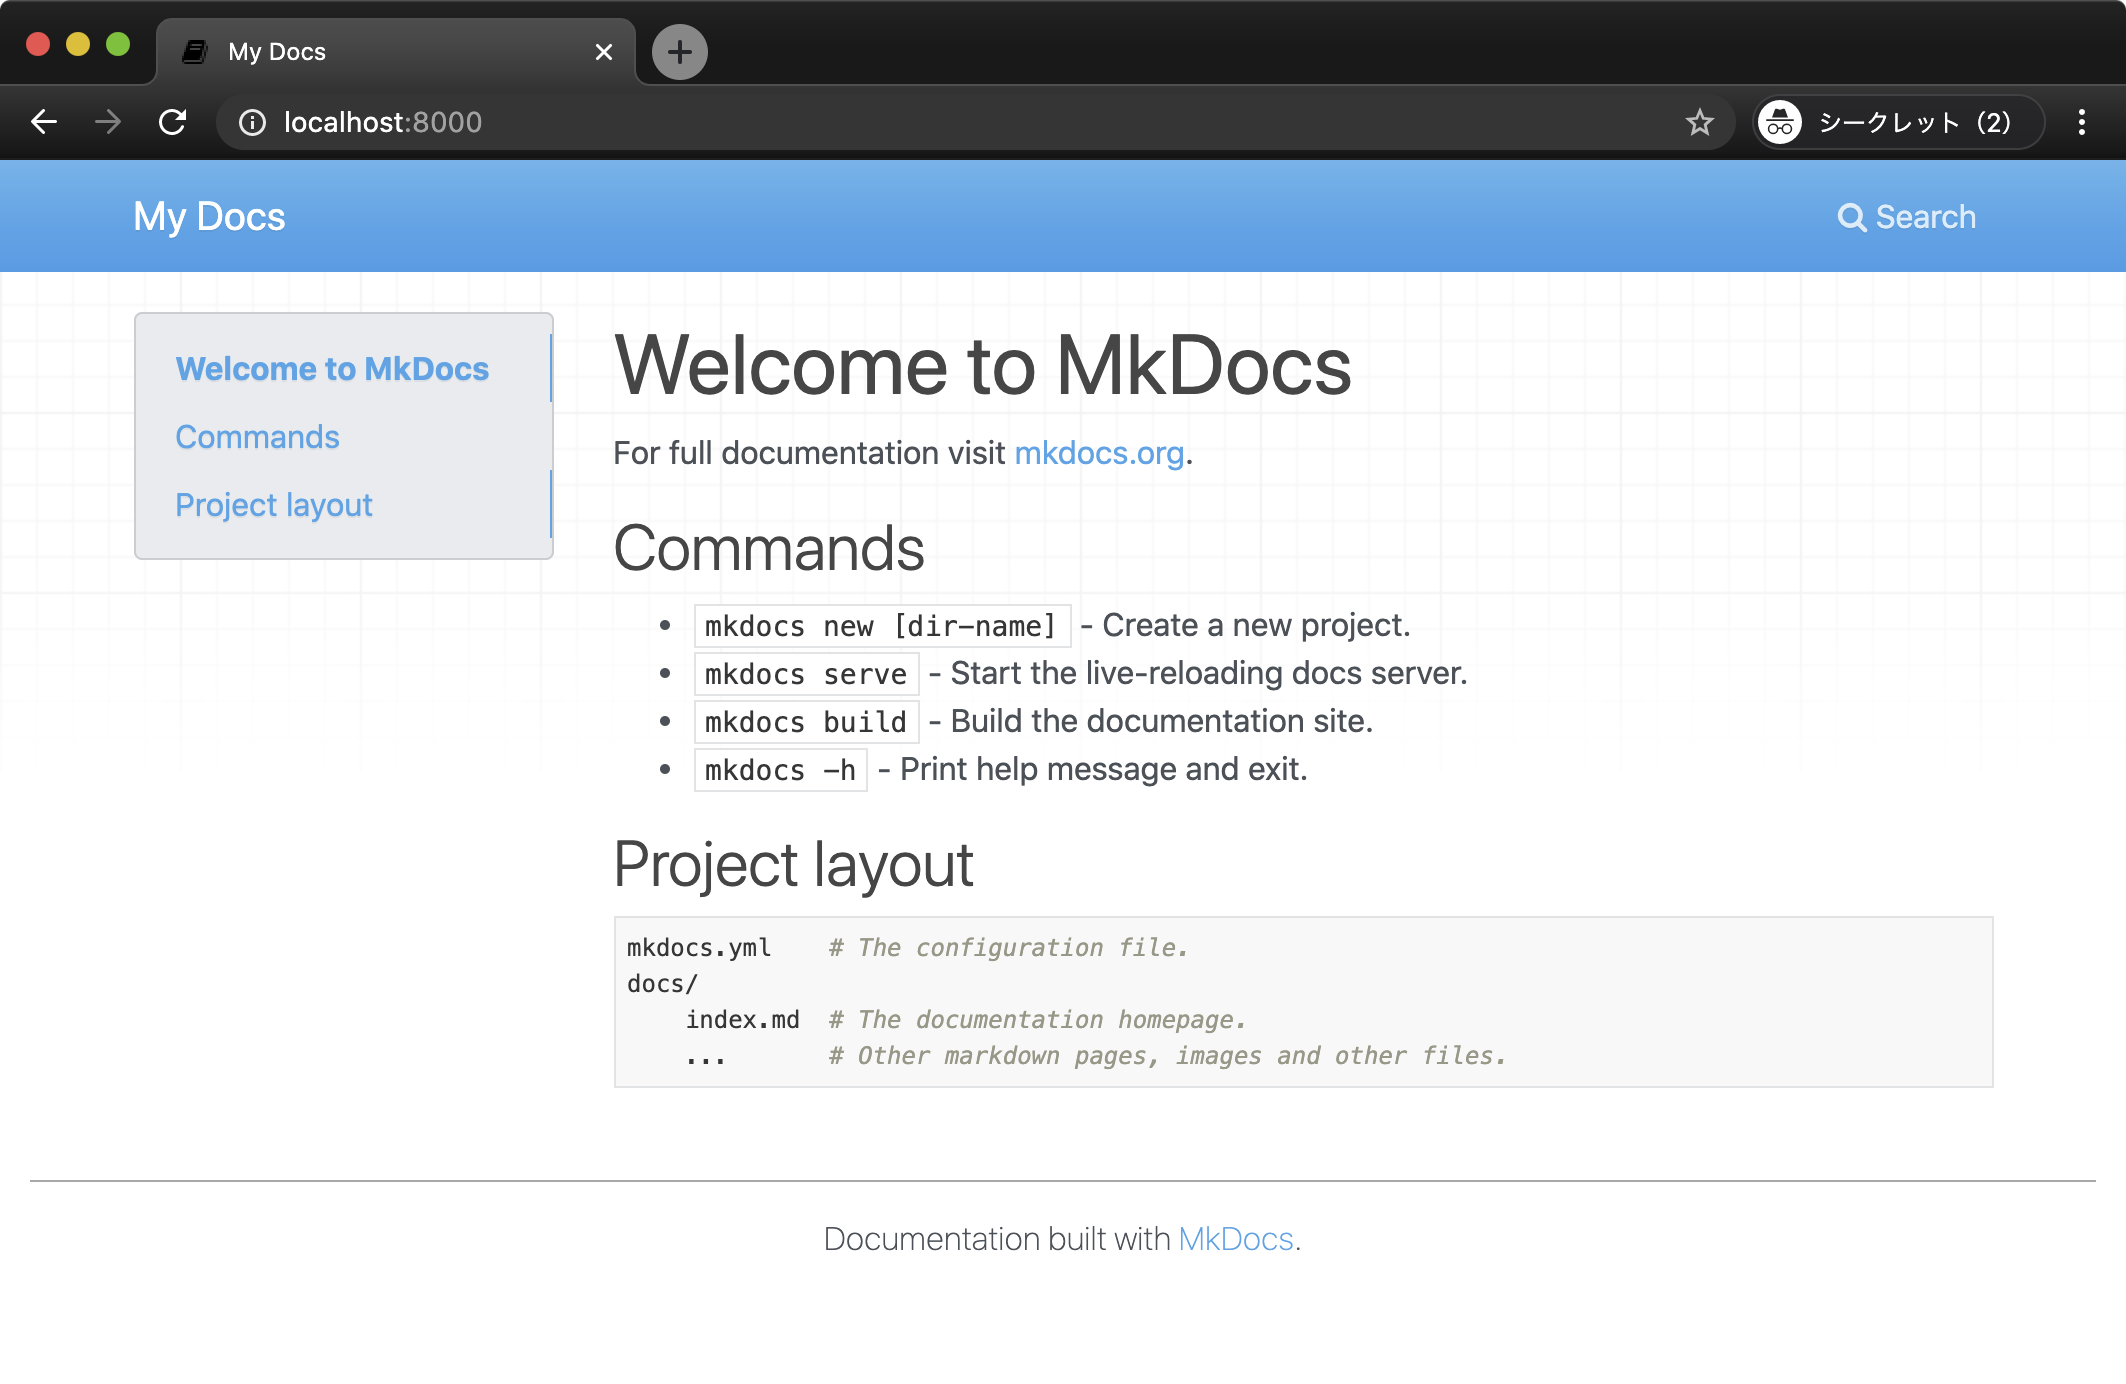
ブラウザで http://localhost:8000 にアクセスして,以下のような画面が表示されたら MkDocs が利用できる状態になっています。
デバッグ機能から MkDocs のコマンドを実行する
MkDocs のドキュメントを作成するにあたって,前節の 「mkdocs serve をコンソールから実行してブラウザで開く」という手順は頻繁に実行します。
これをワンクリックで行えるよう,VSCode の機能を使って自動化します。
.vscode/tasks.json をつくる
プロジェクトルートに .vscode フォルダを作成し,tasks.json として以下のファイルを作成します。
ここでは,mkdocs serveを実行するタスクと,デバッグ終了時にmkdocs serveを終了するタスクを作成します。
{
    // See https://go.microsoft.com/fwlink/?LinkId=733558
    // for the documentation about the tasks.json format
    "version": "2.0.0",
    "tasks": [
        {
            "label": "mkdocs-serve",
            "type": "shell",
            "isBackground": true,
            "command": "mkdocs serve",
            "problemMatcher": {
                "owner": "custom",
                "pattern": {
                    "regexp": "^.*(Error|Except).*$"
                },
                "background": {
                    "activeOnStart": true,
                    "beginsPattern": ".*Building documentation.*",
                    "endsPattern": ".*Start detecting changes.*"
                }
            }
        },
        {
            "label": "mkdocs-stop",
            "type": "shell",
            "command": "${command:workbench.action.terminal.kill}"
        }
    ]
}
.vscode/launch.json をつくる
「mkdocs-serve を実行して,Chrome で http://127.0.0.1:8000 を開く。終了時は mkdocs-serve を止める。」という処理を行うよう,
launch.json を以下のように作成します。つまり,以下のような順序で処理を規定しています。
-
mkdocs-serveを実行する(preLaunchTaskに指定) - Chrome で
http://127.0.0.1:8000を開く(launch.jsonに指定) - 停止時,
mkdocs-stopを実行する(postDebugTaskに指定)
{
    "version": "0.2.0",
    "configurations": [
        {
            "type": "chrome",
            "request": "launch",
            "name": "Launch Chrome against localhost",
            "url": "http://127.0.0.1:8000",
            "preLaunchTask": "mkdocs-serve",
            "postDebugTask": "mkdocs-stop"
        }
    ]
}
実行してみる
VSCode画面左側のデバッグタブを開き,「Launch Chrome against localhost」を選択して実行するだけで,
あとはVSCodeがmkdocs serveを実行してブラウザで開いてくれるはずです。実行してみましょう。
いい感じに動いていますね!
コマンドを一度も実行する必要なく MkDocs ドキュメントの作成ができるようになり,楽しく開発できる世界が実現できました4!!
おわりに
冒頭で掲載したリポジトリ↓は,上記の作業を実施したあとの状態のリポジトリとなっています。
そのため,リポジトリを clone して,Remote - Containers で開くだけで使えるものとなっていると思います5。
MkDocs でドキュメントの作成を行う際は,ぜひご利用いただけますと幸いです。
Pull Request や Issue もお待ちしております![]()
この記事は 「Develop fun!」を体現する Works Human Intelligence Advent Calendar 2020 の13日目の記事です。
明日は@greentealoverさんの記事です。すごいひとなので,ちょっとメンションは緊張しますね。