Docker上にStorybookを使ったReactコンポーネント開発環境を作ります。ついでにnpmへの公開も行います。
ゴール
- WindowsやMac上に、DockerとStorybookを使ったReactコンポーネント開発環境を作る
- Storybookの利点であるページリロード無しでのCSS/JS更新を実現する
- コンポーネントはnpmに公開できるようにする
前提
- npmの知識がある
- Reactの知識がある
- Dockerで簡単な環境構築ができる
Dockerにサーバーを準備する
Dockerをインストールする
ホストOSにDockerをインストールした状態から開始。(個人、教育機関、中小企業は無償でDocker Desktopを使えます。大企業の場合Docker Desktopは有償なので注意。)
プロジェクトフォルダにDocker用ファイルを作る
今回はドキュメントフォルダの下にQiitaフォルダを作り、storybooknpmフォルダを作ります。
作り終わったら、そのフォルダの中にDocker用ファイルを作っていきましょう。
なお、開発が複雑化したときに対応しやすいよう、docker-compose.ymlとDockerfileを分ける構成にします。
services:
  storybook-env:
    container_name: "storybook-env"
    build:
      context: ./docker/node
    ports:
      - 6006:6006
    volumes:
      - ./:/src
      - /src/node_modules
いくつかポイントを抑えます。
今回はStorybookで開発を進めるので、Storybookで使うポート6006をDocker外から見えるようにします。
ソースコードをホストOSのVisual Studio Codeなどで編集できるようにボリュームのマウントを行いますが、node_modulesだけは対象から外します。これにより、Storybookによるコンパイル(実際にはViteによるコンパイル)やホットリロードが高速動作します。
node.jsのDockerfile
Dockerfileを/docker/nodeフォルダに作ります。
FROM node:20
EXPOSE 6006
RUN apt-get update
RUN apt-get install -y xdg-utils
WORKDIR /src
ENTRYPOINT ["tail", "-f", "/dev/null"]
ここでStorybookで使うポート6006を外に見せていることに注意してください。
xdg-utilsをインストールしているのは、Storybookに必須であるためです。
また、最後のENTRYPOINTの記述は、起動したコンテナがすぐ終了してしまうのを防ぐためのものです。
Dockerの起動テストをする
ターミナル(WindowsならPowerShell)を起動し、プロジェクトフォルダに移動します。
たとえばWindowsのPowerShellを起動して、ドキュメントフォルダのQiitaフォルダに作ったstorybooknpmプロジェクトフォルダに移動した場合は:
Dockerを起動しましょう。
> docker compose up -d --build
--buildオプションはサーバーを構築することを指定するものなので、初回だけ指定すればよいです。ただしdocker-compose.ymlやDockerfileに変更をした場合にも指定が必要です。
うまく行けば以下のようにコンテナが起動します。
コンテナに入る
> docker compose exec storybook-env bash
以下のように入れたらOKです。
ここからは「>」がホストOS(ここではWindows)、「$」がDockerコンテナ内のOSとして表記します。
上記/src#の#部分が$だと思って読み替えてください。
React + Vite の開発プロジェクトを作る
あとでnpmにパッケージを公開することを考えるので、ビルド環境をつくっておきます。
プロジェクト作成
カレントフォルダにプロジェクトを作りたいですが、npm create vite .するとファイルがすでに存在すると怒られるので、一旦子フォルダにプロジェクトを作ります。
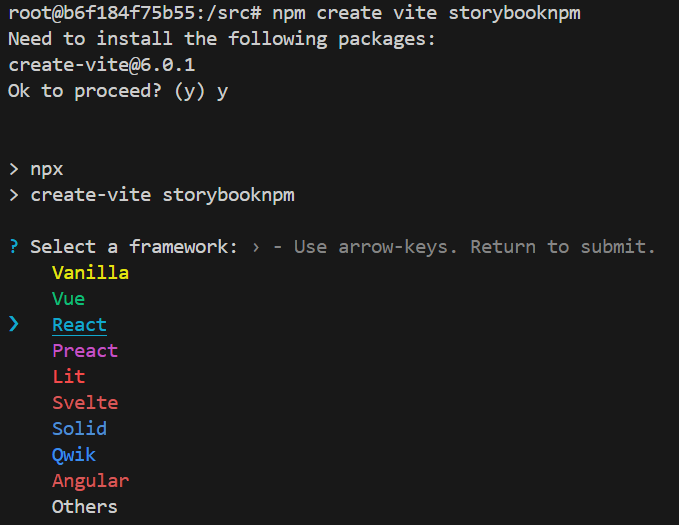
$ npm create vite storybooknpm
Reactを選択してEnter。
言語を選択してEnter、ここではJavaScriptとします。
サブフォルダstorybooknpmにすべてのファイルが準備されたので、カレントフォルダに移動します。
$ mv storybooknpm/* .
$ mv storybooknpm/.* .
2行目を実行しないと.gitignoreが残ります。。。
最後にサブフォルダを削除。
$ rm -rf storybooknpm
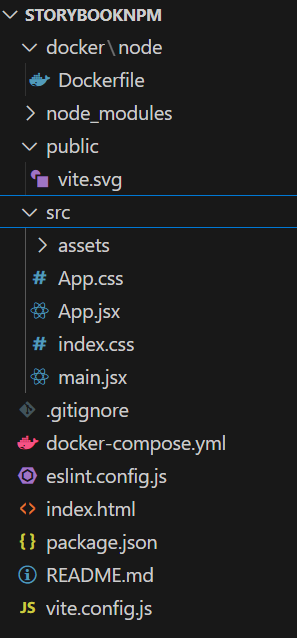
結果はこんな感じ。
コンポーネント開発に不要なファイルの削除
以下青ハイライトのファイルとフォルダはコンポーネント開発に不要なので削除
$ rm -rf src/*
$ rm public/*
$ rm index.html
Storybookを導入する
Storybookをインストール
$ npx storybook@latest init
※バージョン指定したい場合はstorybook@7.6.10とかstorybook@7です。
すでに作ったプロジェクトを自動認識してStorybookの設定をそれに合わせて作ってくれます。
そして勝手に起動状態になる。(停止はCtrl+C)
Storybook起動状態の確認
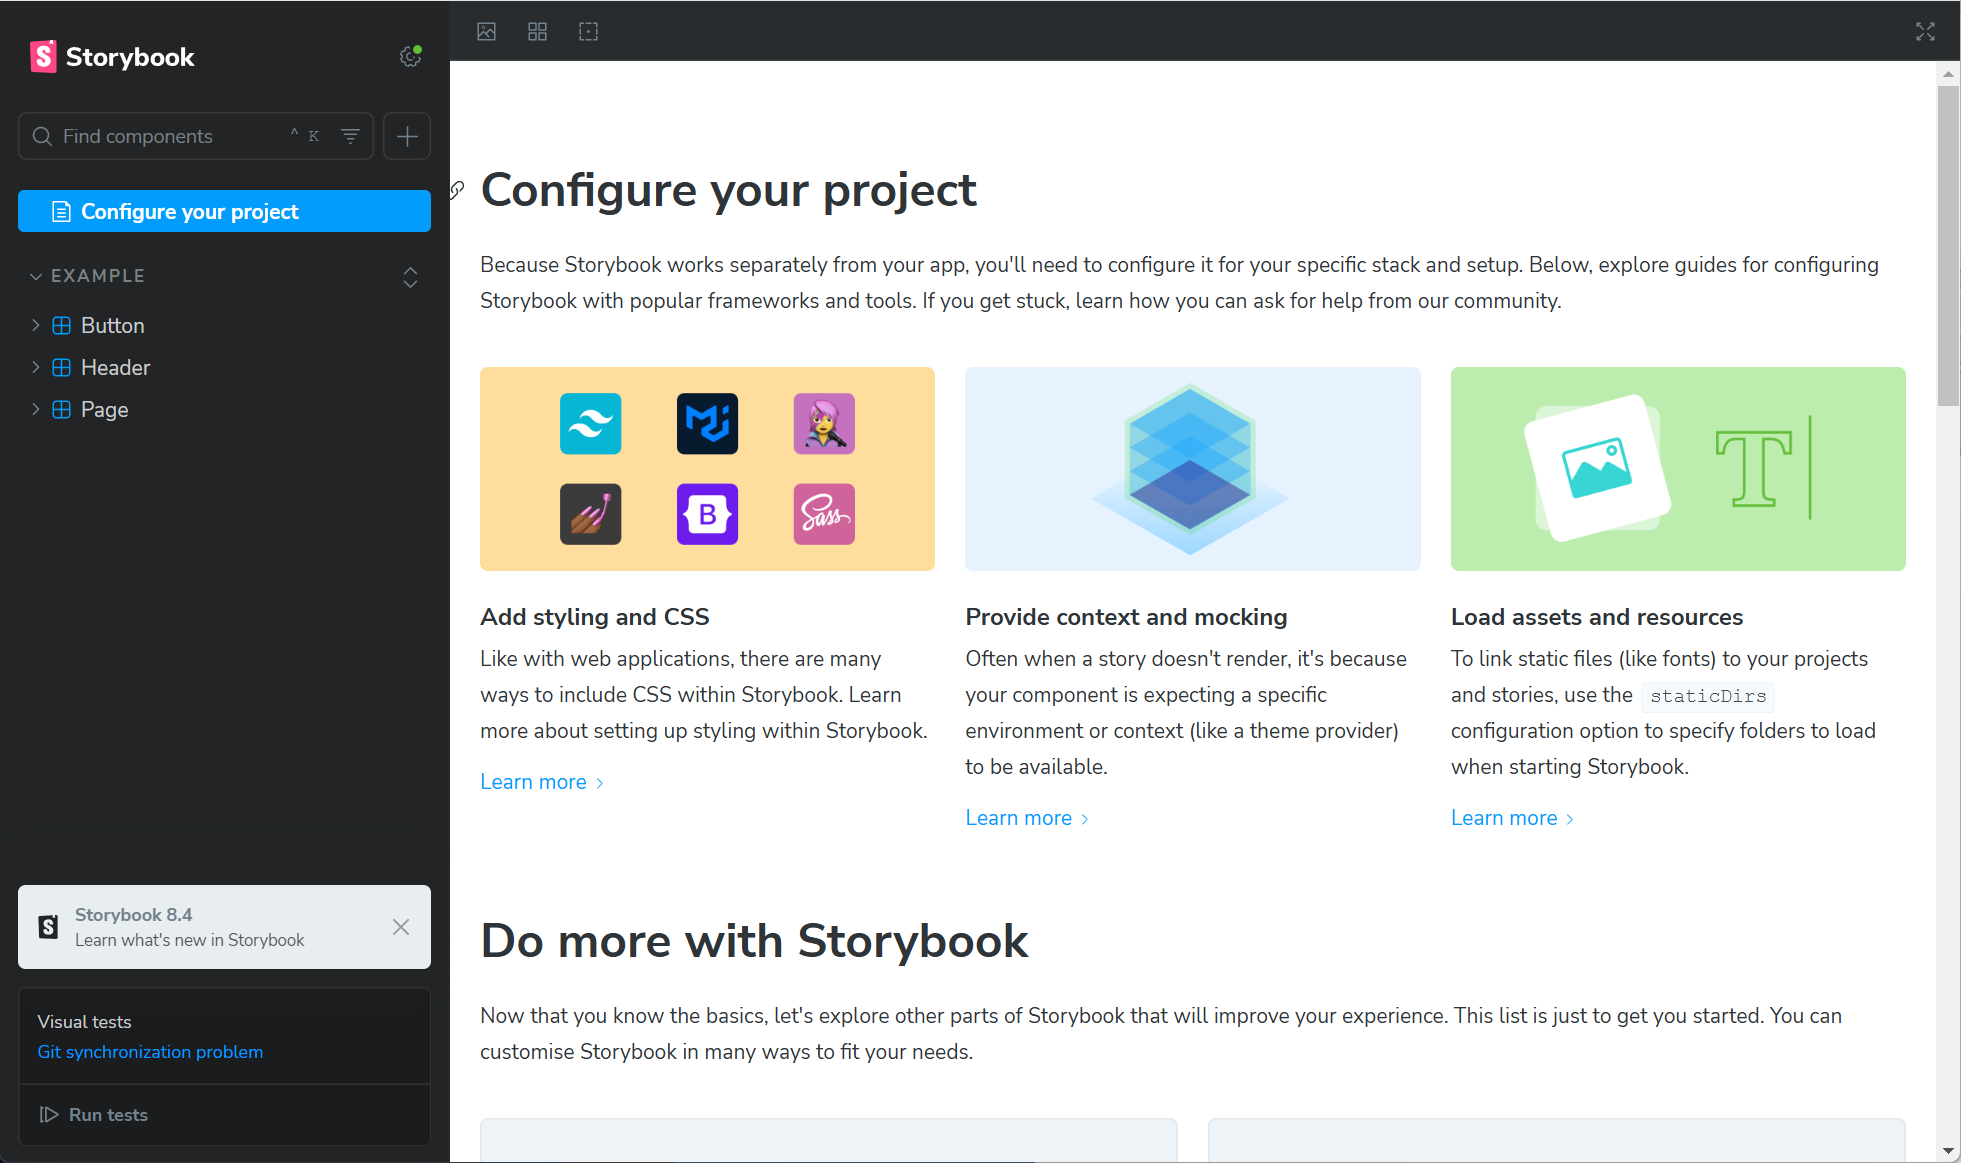
この状態でブラウザを開いてhttp://localhost:6006にアクセスすると、Storybookのフロントが見えます。
Reactコンポーネントを作る
いよいよ実装です。ここでは「Green monster」コンポーネントを作りましょう。
コンポーネントを実装
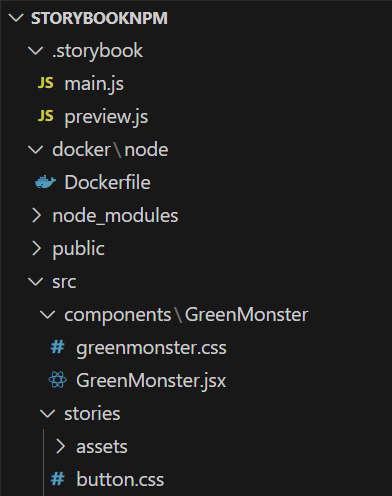
srcフォルダにcomponentsフォルダを作って、その下にGreenMonsterフォルダを作り、その中にGreenMonster.jsxとgreenmonster.cssを作ります。
.green-monster{
    padding: 20px;
    border: 1px solid green;
    background-color: green;
    color: white;
}
.green-monster-outline{
    background-color: white;
    color: green;
}
import { useState, useEffect } from 'react'
import './greenmonster.css';

export const GreenMonster = (props) => {
    const [isOutline, setIsOutline] = useState(true)

    useEffect(() => {
        setIsOutline(props.isOutline)
    }, [])

    const onClickMonster = () => {
        setIsOutline(!isOutline)
        props.onClick()
    }

    return (
        <>
            <div className={"green-monster " + (isOutline ? "green-monster-outline" : null)} onClick={onClickMonster}>
                Monster!
            </div>
        </>
    )
}

export default GreenMonster
コンポーネントをStorybookでテスト
ストーリーGreenMonster.stories.jsを作ります。
import { fn } from '@storybook/test';

import { GreenMonster } from '../components/GreenMonster/GreenMonster';

// More on how to set up stories at: https://storybook.js.org/docs/writing-stories#default-export
export default {
  title: 'Monsters/GreenMonster',
  component: GreenMonster,
  parameters: {
    // Optional parameter to center the component in the Canvas. More info: https://storybook.js.org/docs/configure/story-layout
    layout: 'centered',
  },
  // This component will have an automatically generated Autodocs entry: https://storybook.js.org/docs/writing-docs/autodocs
  tags: ['autodocs'],
  // More on argTypes: https://storybook.js.org/docs/api/argtypes
  argTypes: {
    backgroundColor: { control: 'color' },
  },
  // Use `fn` to spy on the onClick arg, which will appear in the actions panel once invoked: https://storybook.js.org/docs/essentials/actions#action-args
  args: { onClick: fn() },
};

// More on writing stories with args: https://storybook.js.org/docs/writing-stories/args
export const Outline = {
  args: {
    isOutline: true,
  },
};

export const Solid = {
  args: {
    isOutline: false,
  },
};
Storybookを起動(すでに起動中ならCtrl+Cで止めてから)
$ npm run storybook
フロントには、ストーリーで作ったOutlineとSolidが表示されています。ここでコンポーネントをクリックすると、デザイン変更の動作を確認できます。
また、Outlineのページ内でコンポーネントをクリックすると、親のonClickがコールバックされている様子が確認できます。
ホットリロードが動くようにする
詳細記事にあるように、.storybook/main.jsに以下を追記します。
  viteFinal: async (config, options) => {
    config.server.watch = {
      usePolling: true,
    }
    return config;
  }
コンポーネントのビルド
Index.jsxを作成する
srcフォルダにIndex.jsxを作って、exportしたいコンポーネントを定義します。
export { default as GreenMonster } from "./components/GreenMonster/GreenMonster";
vite.config.jsにビルド情報
以下の1行目とbuild部分を追加します。
import path from "path"
import { defineConfig } from 'vite'
import react from '@vitejs/plugin-react'

// https://vite.dev/config/
export default defineConfig({
  plugins: [react()],

  build: {
    //Specifies that the output of the build will be a library.
    lib: {
      //Defines the entry point for the library build. It resolves
      //to src/index.ts,indicating that the library starts from this file.
      entry: path.resolve(__dirname, "src/index.jsx"),
      name: "【ここにnpmjsサーバーに登録するリポジトリ名】",
      //A function that generates the output file
      //name for different formats during the build
      fileName: (format) => `index.${format}.js`,
    },
    rollupOptions: {
      external: ["react", "react-dom"],
      output: {
        globals: {
          react: "React",
          "react-dom": "ReactDOM",
        },
      },
    },
    //Generates sourcemaps for the built files,
    //aiding in debugging.
    sourcemap: true,
    //Clears the output directory before building.
    emptyOutDir: true,
  },

})
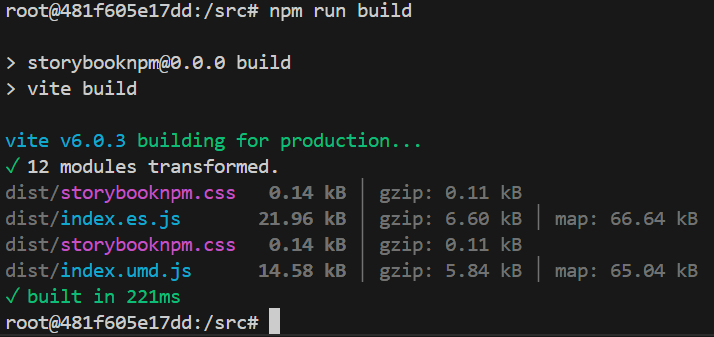
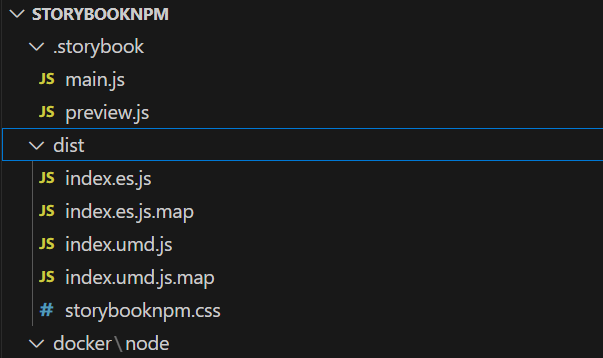
これでdistフォルダにビルドできます。
package.jsonにnpmパッケージ化情報を追記
  "name": "【ここにnpmjsサーバーに登録するリポジトリ名】",
  "private": false,
  "description": "【ここに説明文】",
  "version": "0.0.0",
  "type": "module",
  "main": "dist/index.umd.js",
  "module": "dist/index.es.js",
  "exports": {
    ".": {
      "import": "./dist/index.es.js",
      "require": "./dist/index.umd.js"
    },
    "./styles": "./dist/storybooknpm.css"
  },
  "files": [
    "/dist"
  ],
  "publishConfig": {
    "access": "public"
  },

  【以下省略】
これでnpmにpublishできます。(詳細は省略)


