今回公式のGetting startedをやってみたので、それを日本語で書いていこうと思います。
kotlessとは?
Kotlinのみを使ってServerlessApplicationを作成し、デプロイすることがでるServerless Frameworkです。
まず必要なもの
- AWS アカウント
- AWS CLIのインストー
- IAMユーザー
- CLIの初期設定
- Profileをつけるのをオススメ
- S3バケット
こちらについてのインストールや設定などの説明は省きます。
必要ないもの
- Terraformは自動でDLしてくるので元々持ってる必要はないです。
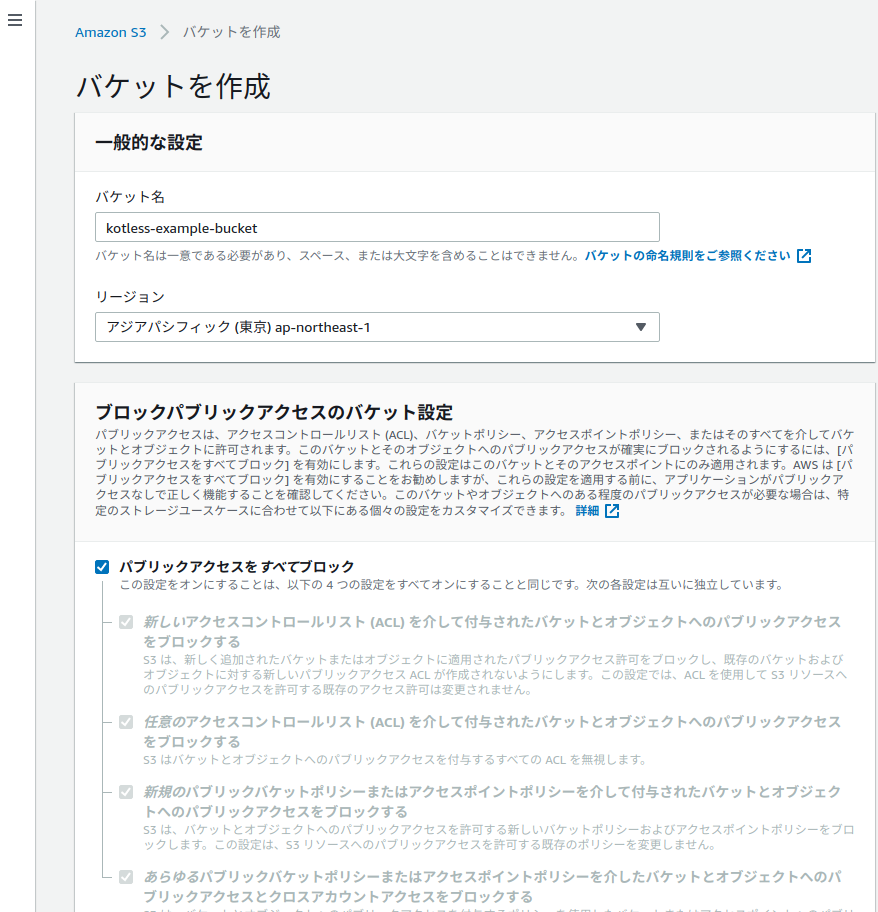
S3バケットの準備
kotlessはTerraformが裏で動くため、Terraformのstate.tfstateを保存するため先にS3のバケットだけは必要になります。
今回はkotless-example-bucketという名前で作成しました。
リージョンも東京リージョンで作ってます。
IAMユーザーの作成
権限としては以下の権限があれば十分動きます。
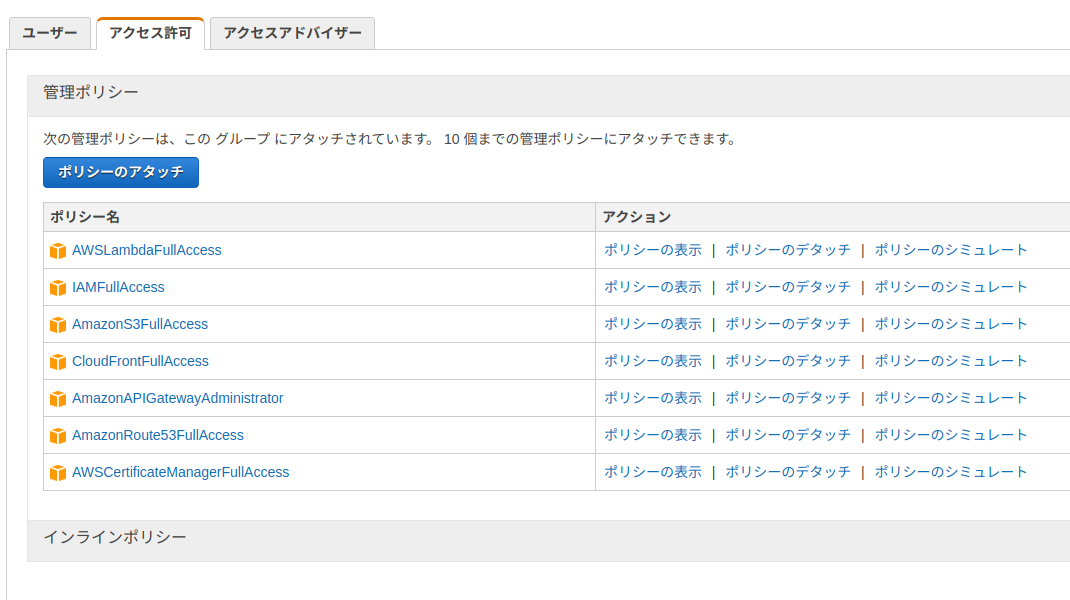
Route53、ACM、CloudFrontはAPIGatewayにカスタムドメインを利用する際に必要になります。
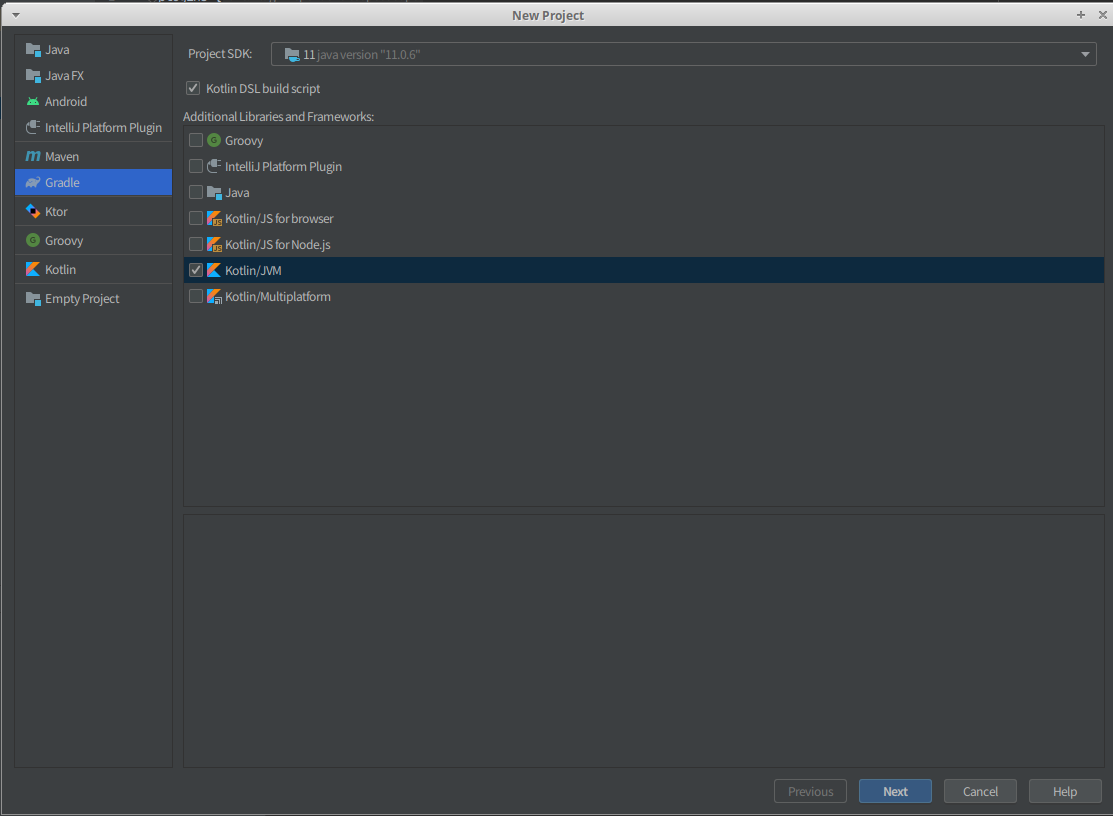
GradleProjectの作成
今回はInteliJでGradleProjectを作成しています。
まずはプロジェクトの作成から以下のように選びます。
この時Kotlin DSL build scripのチェックボックスにチェックを入れると、プロジェクトの作成時にbuild.gradle.ktsが生成されるようになります。
次にプロジェクト名とLocationを指定します。
同時にArtifact Coordinatesを開いて
- Group ID
- ArtifactId
- Verson
これらも指定します。
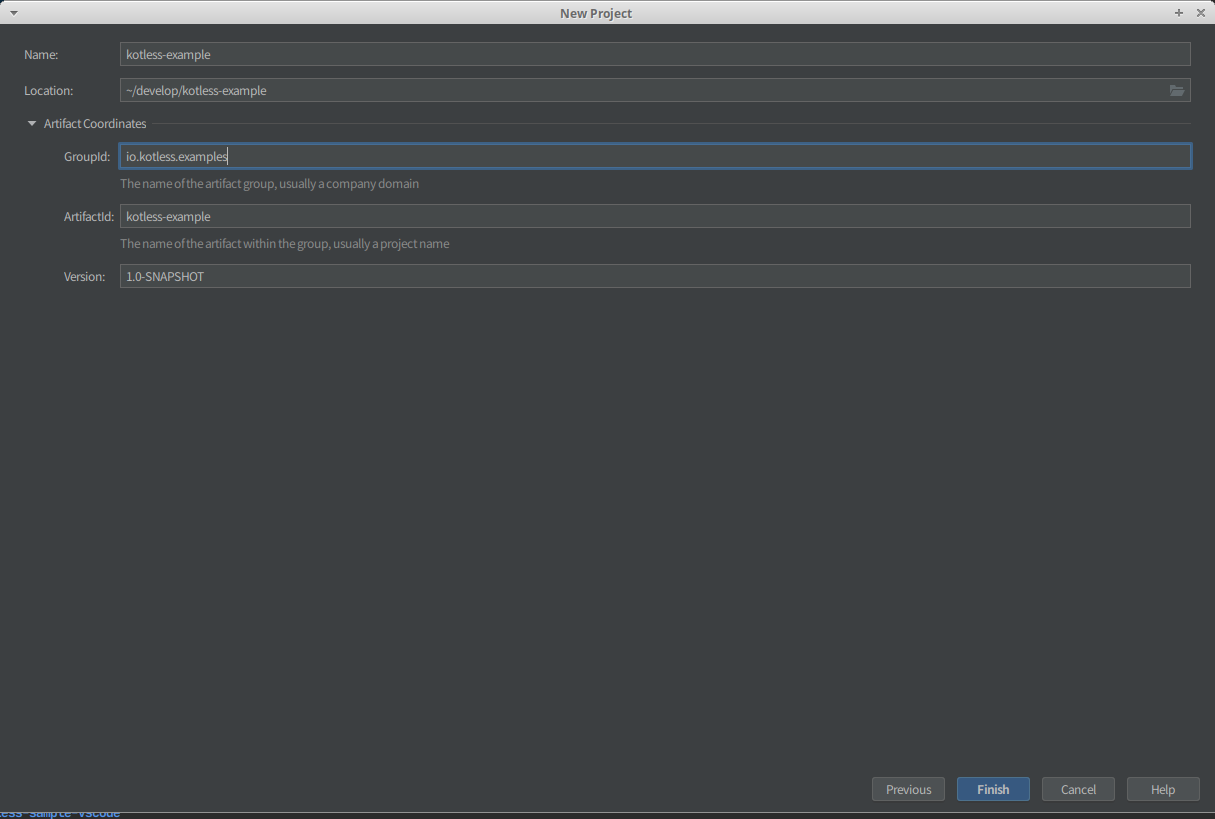
今回は公式サンプルに習った名称にしています。
これで以下のbuild.gradle.ktsが作成されます。
plugins {
    kotlin("jvm") version "1.3.72"
}

group = "io.kotless.examples"
version = "1.0-SNAPSHOT"

repositories {
    mavenCentral()
}

dependencies {
    implementation(kotlin("stdlib-jdk8"))
}

tasks {
    compileKotlin {
        kotlinOptions.jvmTarget = "1.8"
    }
    compileTestKotlin {
        kotlinOptions.jvmTarget = "1.8"
    }
}
build.gradleの追記
公式のGetStartedの記述だけでは動きません
というわけで必要な追記を行います。
importの追記
kotlessのタスクを追加するのですが、importがされていないので追記します。
公式のGetStartedには書かれていないですが、公式のサンプルには書かれています
import io.kotless.plugin.gradle.dsl.kotless
pluginsの追記
kotlessのタスクを追加するので、もちろんpluginも必要なので追記します。
公式のGetStartedには書かれていないですが、公式のサンプルには書かれています
plugins {
    kotlin("jvm") version "1.3.72"
    id("io.kotless") version "0.1.3" apply true
}
repositoriesの変更
repositoriesをmavenCentralからjcenterに変更します
repositories {
    jcenter((
}
dependenciesの変更
dependenciesにkotlessを追加します。
dependencies {
    implementation(kotlin("stdlib-jdk8"))
    implementation("io.kotless", "lang", "0.1.3")
}
kotlessタスクの追加
Lambda作成の最低限設定
まずはGradleにkotless用のTaskを追加していきます。
kotless {
    config {
        //build後のモジュールとTerraformのstateファイルを配置するためのBucket
        bucket = "kotless-example-bucket"
        //作成したリソースにつくprefix
        prefix = "dev"

        terraform {
            profile = "kotless"
            region = "ap-northeast-1"
        }
    }

    //webApplicationの設定
    webapp {
        //作成するlambdaのメモリとTimeout設定
        lambda {
            memoryMb = 1024
            timeoutSec = 120
        }
    }
}
最終的なGradle
一応ここまででAPIGatewayのURLからLambdaを直接呼び出せるところまではできます。
import io.kotless.plugin.gradle.dsl.kotless

plugins {
    kotlin("jvm") version "1.3.72"
    id("io.kotless") version "0.1.3" apply true
}

group = "io.kotless.examples"
version = "1.0-SNAPSHOT"

repositories {
    jcenter()
}

dependencies {
    implementation(kotlin("stdlib-jdk8"))
    implementation("io.kotless", "lang", "0.1.3")
}

tasks {
    compileKotlin {
        kotlinOptions.jvmTarget = "1.8"
    }
    compileTestKotlin {
        kotlinOptions.jvmTarget = "1.8"
    }
}

kotless {
    config {
        //build後のモジュールとTerraformのstateファイルを配置するためのBucket
        bucket = "kotless-example-bucket"
        //作成したリソースにつくprefix
        prefix = "dev"

        // terraformの設定
        terraform {
            // AWS CLIのcredentiaで設定したProfile
            profile = "kotless"
            // リソースの構築先リージョン(S3のリージョンと合わせる)
            region = "ap-northeast-1"
        }
    }

    //webApplicationの設定
    webapp {
        //作成するlambdaのメモリとTimeout設定
        lambda {
            memoryMb = 1024
            timeoutSec = 120
        }
    }
}
サンプルコードの追加
公式にあるサンプルコードをそのまま使います。
PackageについてはGradleのGroupと合わせておきます
package io.kotless.examples

import io.kotless.dsl.lang.http.Get

object Main {
    @Get("/")
    fun root(): String = "Hello world!"
}
デプロイ
API Gatewayでの接続まで
実際にデプロイをしてみます。
予めどのようなものが作成されるかを確認する場合は以下のコマンド
ここでエラーにならないか確認はできます。
$ ./gradlew plan
実際にデプロイする場合は以下のコマンドになります。
$ ./gradlew deploy

~~~~~~~~~~~~~~~~~~~~~~~
リソース作成ログ
~~~~~~~~~~~~~~~~~~~~~~~

Apply complete! Resources: 14 added, 0 changed, 0 destroyed.

Outputs:

application_url = https://l19upnzkwc.execute-api.ap-northeast-1.amazonaws.com/1

BUILD SUCCESSFUL in 24s
6 actionable tasks: 2 executed, 4 up-to-date
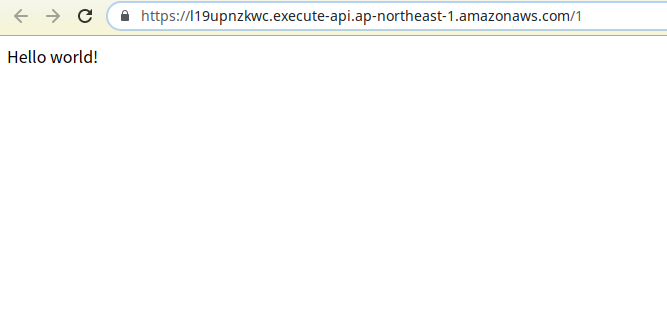
このようにうまくデプロイできた場合は、アクセス先のURLが表示されます。
アクセスすると以下のような返答が返ってきます。
リソースのDestroy
中身はTerraformなので、もちろん作ったリソースは一括削除が可能です。
ですが、デフォルトでコマンドを封じられているのでONにする必要があります。
build.gradle.ktsのkotlessタスクに追記を行います。
kotless {
    config {
        //build後のモジュールとTerraformのstateファイルを配置するためのBucket
        bucket = "kotless-example-bucket"
        //作成したリソースにつくprefix
        prefix = "dev"

        terraform {
            profile = "kotless"
            region = "ap-northeast-1"
        }
    }

    //webApplicationの設定
    webapp {
        //作成するlambdaのメモリとTimeout設定
        lambda {
            memoryMb = 1024
            timeoutSec = 120
        }
    }

    // 追加機能
    extensions {
        terraform {
            //Destroyコマンドを有効にする
            allowDestroy = true
        }
    }
}
これで以下のコマンドで作成したリソースを一括削除できます。
$ ./gradlew destroy

Initializing the backend...

Successfully configured the backend "s3"! Terraform will automatically
use this backend unless the backend configuration changes.

Initializing provider plugins...
- Checking for available provider plugins on https://releases.hashicorp.com...
- Downloading plugin for provider "aws" (1.60.0)...

Terraform has been successfully initialized!

You may now begin working with Terraform. Try running "terraform plan" to see
any changes that are required for your infrastructure. All Terraform commands
should now work.

If you ever set or change modules or backend configuration for Terraform,
rerun this command to reinitialize your working directory. If you forget, other
commands will detect it and remind you to do so if necessary.

~~~~~~~~~~~~~~~~~~~~~~~
リソース削除ログ
~~~~~~~~~~~~~~~~~~~~~~~

Destroy complete! Resources: 14 destroyed.

BUILD SUCCESSFUL in 2m 28s
6 actionable tasks: 3 executed, 3 up-to-date
まとめ
"Kotlinのみ"とは言っても、ほとんどScriptなのであまりKotlinで書いてる気はしないかも・・・
まだ去年にできたばかりなので、今後にはとても期待してます!
書いてたら結構時間かかってしまったので、ここまでにしておきます。
あとはカスタムドメインの設定もできますが、ここに追記するか別でもう一つ記事を書こうと思います。