はじめに
この記事はAuth0を使ってSAML Service ProviderとIdentity Providerの環境を構築する手順です。Auth0はSAML SP/IdPのどちらでも機能することが可能で様々なSAMLのユースケースに対応できます。
検証環境
-
OS :
macOS Catalina 10.15.2 -
node :
10.15.3 -
npm :
6.13.2
手順
IdP側その1
Auth0のダッシュボードから"Create tenant"を選択して新しいIdP用のテナントを作成します。


左ペインの"Applications"をクリックして右上の"CREATE APPLICATION"を押します。

"Name"に任意の名前を入力して"Choose an application type"で"Regular Web Applications"を選択して"CREATE"を押します。

"Settings"タブの下にある"Show Advanced Settings"をクリック、"Endpoints"タブの"SAML Protocol URL"をクリップボードにコピーします。
このURLをSP側に登録します。

"Certificates"タブをクリックして”DOWNLOAD CERTIFICATE”を押して公開鍵をダウンロードします。
この公開鍵をSP側に登録します。

SP側その1
IdP側その1と同じ手順でIdP用のテナントを作成します。詳細な手順は割愛しています。
左ペインの"Connections"->"Enteprise"をクリックして"SAML"の"+"をクリックします。
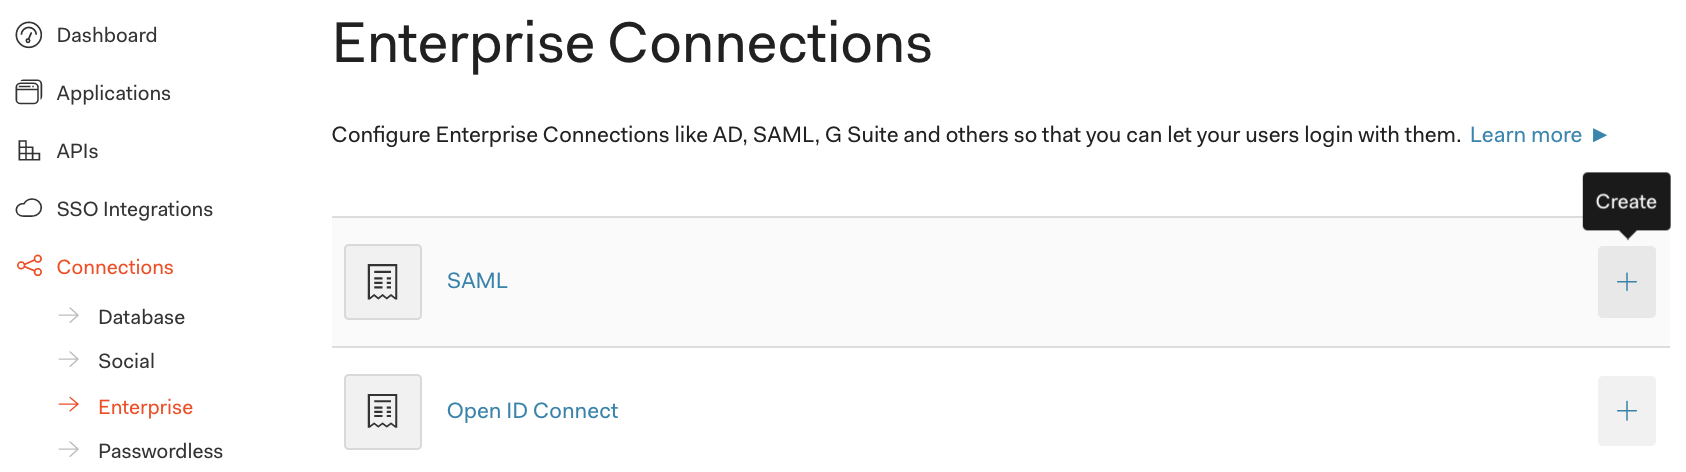
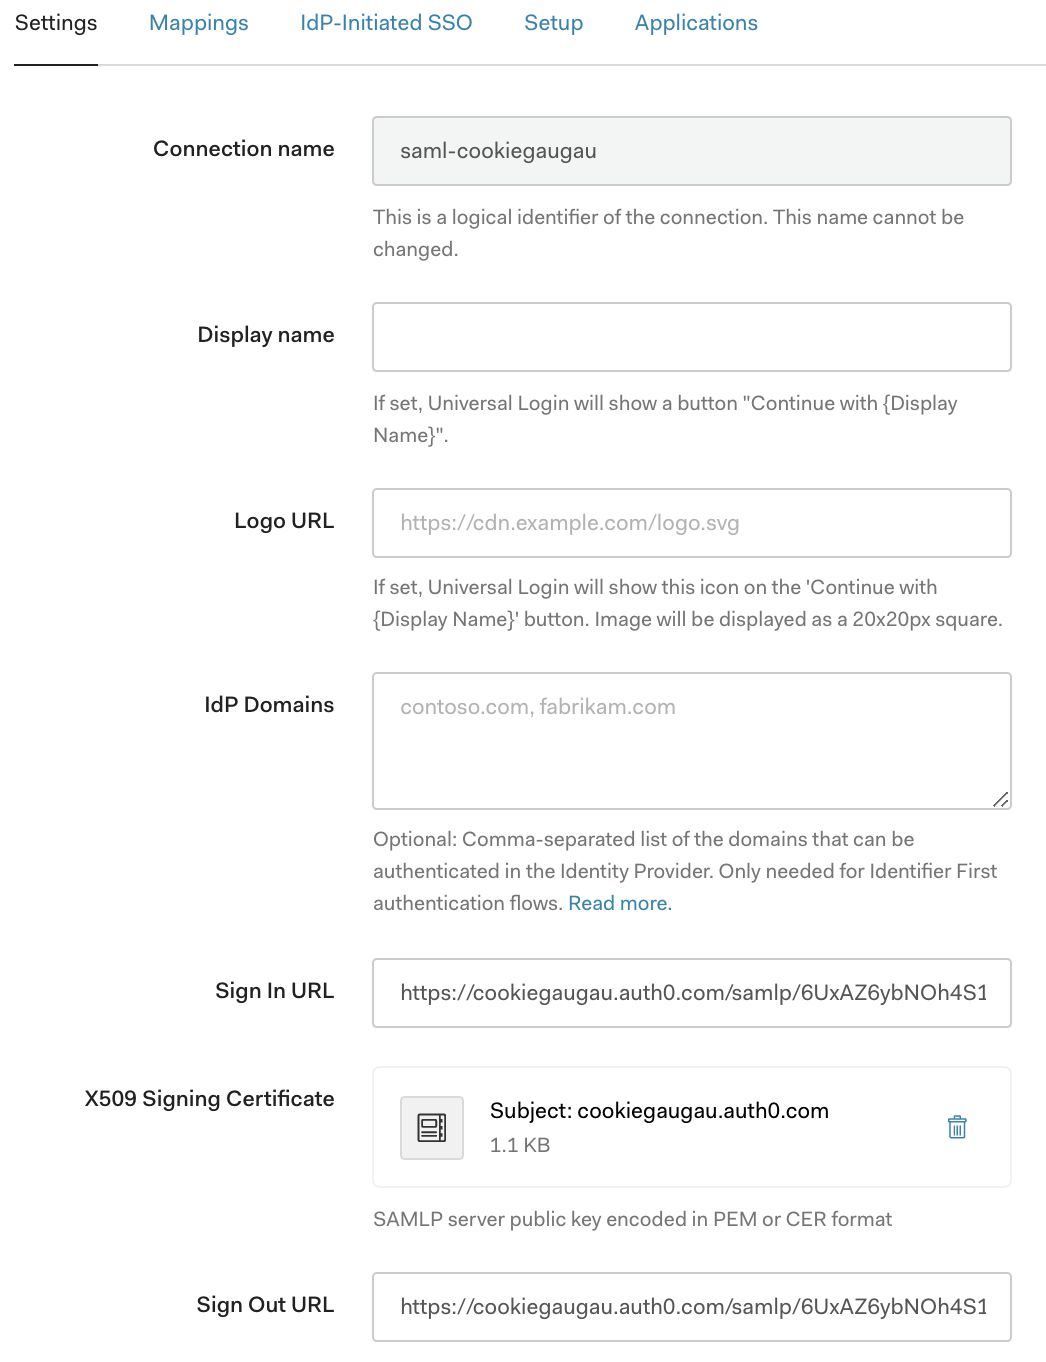
"Connection name"に任意の名前を入力、"Sign In URL", "Sign Out URL"にIdP側その1でクリップボードにコピーしたURLを入力します。"X509 Signing Certificate"にIdP側その1でダウンロードした公開鍵をアップロード、その他の項目は全てデフォルトで下の"SAVE CHANGES"を押します。
IdP側その2
作成したApplicationをクリックして”Addons”タブから"SAML2 WEB APP"フリップスイッチをオンにします。

"Applicai¥tion Callback URL"にhttps://SPのテナント名.auth0.com/login/callback?connection=SAMLコネクション名を入力します。
例 : https://pannacotta.auth0.com/login/callback?connection=saml-cookiegaugau
"Settings"に"audience": "urn:auth0:SPのテナント名:SAMLコネクション名"を入力して下の"SAVE CHANGES"を押します。
例 : "audience": "urn:auth0:pannacotta:saml-cookiegaugau"

Applicationの登録
左ペインの"Applications"をクリックして右上の"CREATE APPLICATION"を押します。

"Name"に任意の名前を入力、"Choose an application type"で"Simgle Page Web Applications"を選択して”CREATE”を押します。

"Settings"タブをクリックして"Allowed Callback URLs", "Allowed Web Origins", "Allowed Logout URLs"に"http://localhost:3000"を入力して画面下の"SAVE CHANGES"を押します。
Auth0で認証が成功した際やApplicationからログアウトした際にコールバックできるURLを指定しています。

ApplicationのGitHubリポジトリをローカルPCにクローンします。
Auth0は65以上の言語やフレームワークに対応したSDK、それらのSDKを利用したサンプルアプリケーションをGitHubに公開しています。一から実装する必要は無いのでそれらを検索して利用して下さい。
$ git clone https://github.com/auth0-samples/auth0-react-samples.git
auth0-react-samples/01-Login/srcに移動します。
$ cd auth0-react-samples/01-Login/src
auth_config.json.exampleをコピーしてauth_config.jsonを作成します。
$ cp auth_config.json.example auth_config.json
auth_copnfig.jsonを編集します。
"clientID"は"Appications"->"作成したApplication"->"Settings"から確認できます。
{
  "domain": "kiriko.auth0.com",
  "clientId": "xxxx"
}
auth0-react-samples/01-Loginに移動します。
$ cd auth0-react-samples/01-Login
npm installを実行して必要なパッケージをインストールします。
$ npm install
npm startを実行してApplicationを起動します。
$ npm start
Chromeでhttp://localhost:3000にアクセスして右上の"Log in"を押します。
手順通りに設定していればAuth0 のUniversal Login画面が表示されます。

SP側その2
SP側その1で作成したSAML Connectionをクリック、”IdP-initiated SSO”タブをクリックして"Default Application"に登録したApplicationを選択して”SAVE CHANGES”を押します。
SAMLをOIDCに変換してIdP-initiated SSOの中間者攻撃によるリスクを回避しています。

動作確認
SP側のDashboardからApplicationの登録で作成したApplicationをクリックして"Connections"を選択、作成したSAMLのフリップスイッチをオンにしてその他のConnectionsのフリップスイッチをオフにします。

Chromeでhttp://localhost:3000にアクセスして右上の"Log in"を押します。"Log in at xxxx"ボタンを押してユーザをサインアップします。


SP側のDashboard左ペインの"Users&Roles"->"Users"に作成したSAMLコネクションでサインアップしたユーザが表示されていれば成功です。
