はじめに
これまで、公式SDKのESP-IDF(OSはFreeRTOS)を使ってESP32を触っていましたが、他のOSも試してみようと思い、ドキュメントが充実していそうなZephyrを試してみました。
結果から言うと、Hello WorldとLチカまではできたものの、ESP32のWifiが使えずネットワーク通信できないことが後で分かったので、そこで止めてしまいました。ESP32でWifi接続する仕組みは以下で議論されていますが、まだ整備中のようです。
WiFi support for ESP32
というわけで、まさに「動かしてみた」だけになってしまいましたが、記録として残しておきます。
【今回の環境】
- ボード:ESP32-DevKitC-32D
- 開発環境:Windows 10 + ESP-IDF v4.0.1 + Zephyr v2.4.0 rc2
Zephyrビルド環境の準備
以下にガイドに沿って進めます。
Getting Started Guide
また、ESP32での利用については以下にガイドがあります。
Supported Boards » XTENSA Boards » ESP32
ESP32で使う際は、ESP-IDFに含まれるSDKとToolchainの双方が必要になるので、既に設定済のESP-IDF環境の上にZephyr環境を作りました。フォルダ構成は以下の通り。
C:\IoT\ESP-IDF
 ├ ESP-IDF-v4.0.1  ... SDK
 ├ Tools           ... Toolchain
 └ zephyrproject   ... この後に入れるZephyr Project
1. Select and Update OS
Windows Updateせよとあります。実施済なのでスキップ。
2. Install dependencies
まず、Windows用パッケージ管理ツールChocolateyをインストールします。インストール方法はこちら。
Installing Chocolatey
上記に従って、管理者モードでPowerShellを起動して以下を実行すると、Chocolateyがインストールされます。
Set-ExecutionPolicy Bypass -Scope Process -Force; [System.Net.ServicePointManager]::SecurityProtocol = [System.Net.ServicePointManager]::SecurityProtocol -bor 3072; iex ((New-Object System.Net.WebClient).DownloadString('https://chocolatey.org/install.ps1'))
次に、管理者モードでコマンドプロンプトを開いて以下を実行とありますが、
choco feature enable -n allowGlobalConfirmation
choco install cmake --installargs 'ADD_CMAKE_TO_PATH=System'
choco install ninja gperf python git
gperf以外はESP-IDFを入れたときに既に入っているので、以下を実行しました。
choco feature enable -n allowGlobalConfirmation
choco install gperf
3. Get Zephyr and install Python dependencies
まず、Zephyrの管理ツールwestをインストールします。
pip3 install west
続いて、このwestを使ってzephyrprojectを所定の場所に用意します。
cd \IoT\ESP-IDF
west init zephyrproject
cd zephyrproject
west update
続いて、ZephyrアプリをビルドするためのCMake環境を準備。
west zephyr-export
続いて、追加で必要なツールをインストール。
pip3 install -r zephyr\scripts\requirements.txt
4. Install a Toolchain
Toolchainを入れた上で必要な環境変数を設定せよとあります。
Toolchainは既に入っているので、以下ESP32用ガイドを参考に環境変数を設定します。
Supported Boards » XTENSA Boards » ESP32
ESP32用ガイドには、Linux向けの設定例しか記載がありませんが、以下のように設定せよとあります。
export ZEPHYR_TOOLCHAIN_VARIANT="espressif"
export ESPRESSIF_TOOLCHAIN_PATH="/path/to/xtensa-esp32-elf/"
実際にやってみると、上記に加えてESP_IDF_PATHという環境変数の設定も必要になります。
最終的には以下のように設定することで、後述のビルドが通るようになりました。
set ZEPHYR_TOOLCHAIN_VARIANT=espressif
set ESPRESSIF_TOOLCHAIN_PATH=%IDF_TOOLS_PATH%/tools/xtensa-esp32-elf/esp-2019r2-8.2.0/xtensa-esp32-elf
set ESP_IDF_PATH=%IDF_PATH%
サンプルのビルド&実行
Getting Started Guideには、Blinky Sample(いわゆるLチカ)を動かしてみよ、とありますが、ESP32の場合そのままでは動きません。
ということで、まずHello Worldを動かしてみます。
Hello World
ESP-IDFのコンソールを開き、上記の環境変数を設定。
続いてサンプルコードをコピーして、そのままビルド。
cd \IoT\ESP-IDF\zephyrproject
mkdir projects\hello_world
xcopy /E zephyr\samples\hello_world projects\hello_world
cd projects\hello_world
west build -p always -b esp32
無事にビルドできたらフラッシュします。
west flash --esp-device COM3
シリアル接続して出力を見ると、無事にHello World!が出力されてます。
*** Booting Zephyr OS build v2.4.0-rc2-53-g61d42cf42b30  ***
Hello World! esp32
Blinky
次にLチカです。まずはサンプルコードをコピー。
cd \IoT\ESP-IDF\zephyrproject
mkdir projects\blinky
xcopy /E zephyr\samples\basic\blinky projects\blinky
cd projects\blinky
しかし、ESP32についてはLEDの定義が無いので、そのままビルドすると以下のように怒られます。
#error "Unsupported board: led0 devicetree alias is not defined"
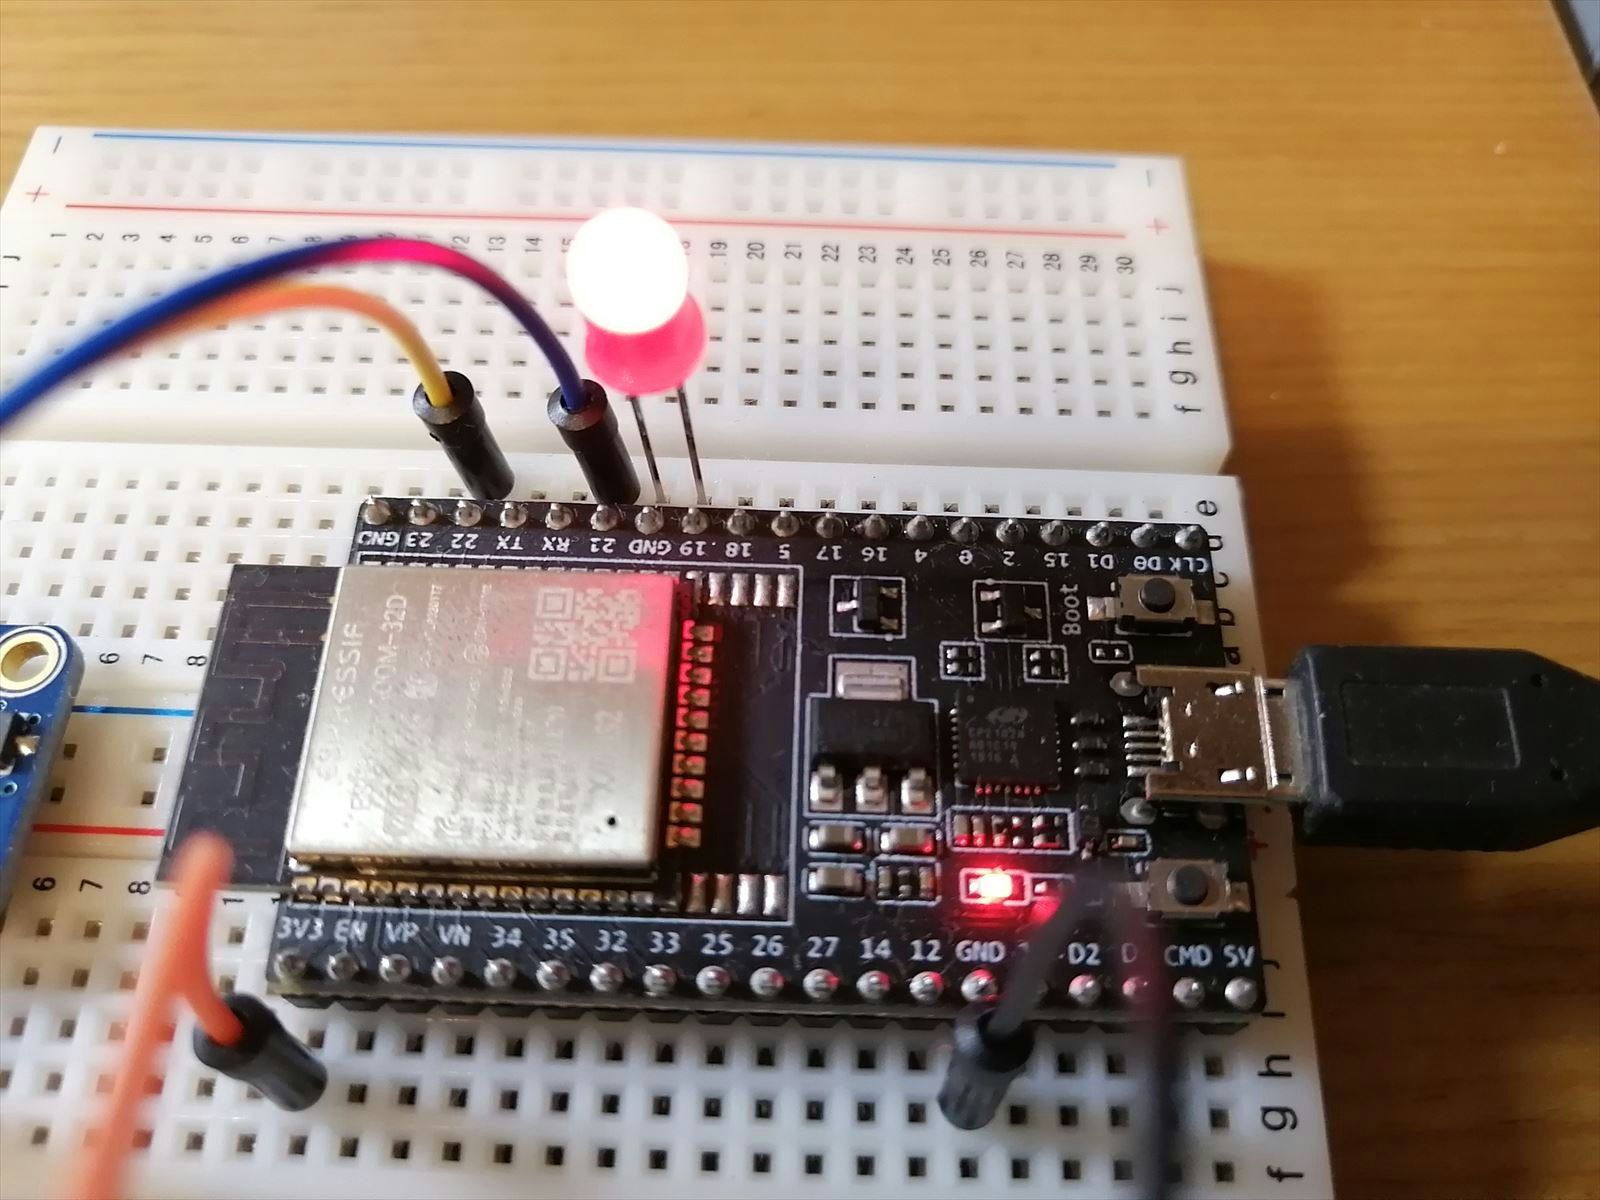
自分の環境ではIO19にLEDを接続してあったので、ソースコードの24~26行付近を以下のように修正。
//#error "Unsupported board: led0 devicetree alias is not defined"
//#define LED0	""
# define LED0	"GPIO_0"
//#define PIN	0
# define PIN	19
これでビルドして書き込みます。
west build -p always -b esp32
west flash --esp-device COM3
無事にLチカできました。
今回はここで終わりですが、ESP32でWifiが使えるようになったら、また色々試してみようと思います。
