ご無沙汰をしております。
ノハナ社でフォトブックと年賀状のAndroidアプリ開発を担当している@seto_hiです。
皆さん、material.io見てますか?
StageとGalleryが使えるようになるのが待ち遠しいですが、
今回は Remixer の Android版 使い方解説です。
なにができるの
アプリの実行中に動的な数値、色、文字の変更ができます。
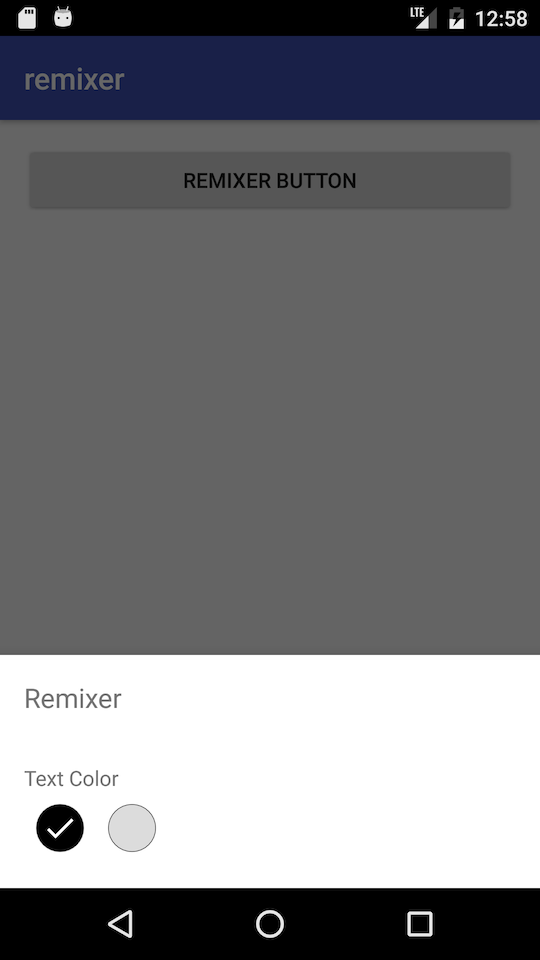
ボタンクリックなどのイベントをトリガーとして、BottomSheetが出てきます。
例えばデザイナーが「どっちの色がいいか実機で見たい〜」って言い出した時に、「両方切り替えれるようにしておいたよ(キリッ」ってできます。
導入
おおよそREADME に書いてある通りです。
下準備
プロジェクトのルートの build.gradle でaptを導入します
buildscript {
    dependencies {
        classpath 'com.neenbedankt.gradle.plugins:android-apt:1.8'
    }
}

allprojects {
    repositories {
        jcenter()
        maven { url "https://jitpack.io" }
    }
}
モジュール側でaptを有効にしてremixerの依存を追加します
apply plugin: 'android-apt'

dependencies {
    compile 'com.github.material-foundation.material-remixer-android:remixer:0.5.2'
}
ApplicationでRemixerを初期化します
public class MyApplication extends Application {
  @Override
  public void onCreate() {
    super.onCreate();
    //READMEだと以下のようになっているが、第一引数は不要
    //RemixerInitialization.initRemixer(Remixer.getInstance(), this);
    RemixerInitialization.initRemixer(this);
  }
}
実装
MainActivityではRemixerを表示するトリガーとなる条件を設定します。
今回はボタンにします。
public class MainActivity extends AppCompatActivity {
    @Override
    protected void onCreate(Bundle savedInstanceState) {
        super.onCreate(savedInstanceState);
        setContentView(R.layout.activity_main);
        Button remixerButton = (Button) findViewById(R.id.remixerButton);
        RemixerBinder.bind(this);
        RemixerFragment remixerFragment = RemixerFragment.newInstance();
        remixerFragment.attachToButton(this, remixerButton);
    }
Remixerで設定された値をどのように使うかを定義します。
今回はボタンのテキストを変更します
RemixerBinderをActivityにBindした場合、アノテーションがついたメソッドが最低1つないと実行時エラーになります。
    @StringListVariableMethod(
            title = "button text",
            possibleValues = {"hoge", "fuga", "piyo"})
    public void setText(String text) {
        Button remixerButton = (Button) findViewById(R.id.remixerButton);
        remixerButton.setText(text);
    }
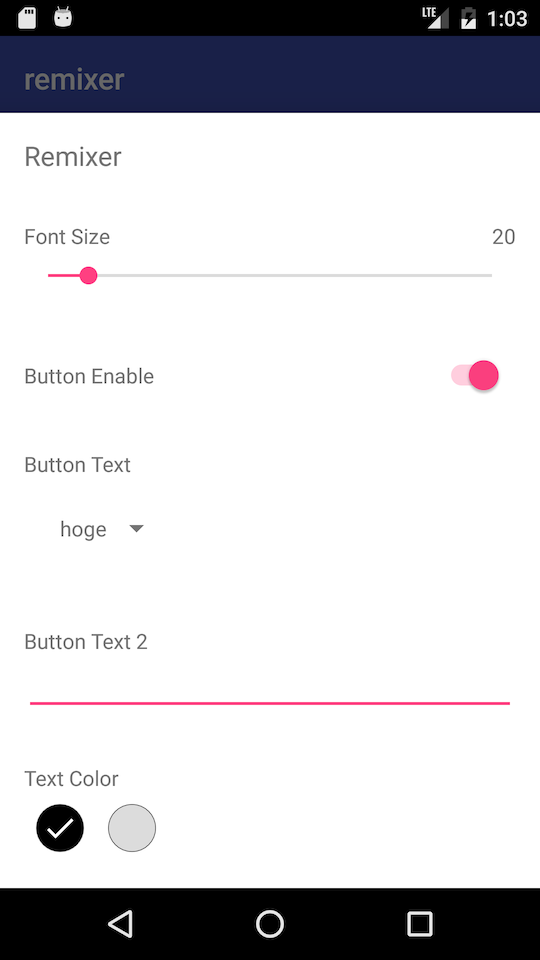
リストからテキストを選択する以外にも以下のようなことができます。
- Integerの値をSeekBarで変更
- BooleanをSwitchで変更
- StringをEditTextで変更
- Integerをリストから選択
- 色を切り替えるのに便利!
全部盛るとこんな感じです。
プロダクトで使えるか
無理。
BottomSheetが「Remixer」固定で変えられません。あくまで開発中に使うものです。
今回の記事の下準備の部分だけ実装しておいて、必要になったらActivity側を実装するというのが一番良い使い方かなと思います。
最後に
メソッドを追加するだけで簡単に値が変更できて便利なのでオススメです。
なお、Remixerを使ってもモテモテのAndroidエンジニアになれなかったとしても責任を負いかねます。

