XMLHttpRequestを利用したPOSTによるデータ受信をES6(ECMAScript)のPromiseで実現する
JS実装で、必ずといっていいほど利用するXMLHttpRequestだけど、ちゃんとコードを清書する機会がなくPromiseを使う機会があまりなかったので、ここでまとめることにした。
ここで記載するシナリオはPOSTでJSONデータを利用するシナリオ(シナリオ1)と、POSTでCSVを受信するシナリオ(シナリオ2)の2パターンを記載。
サンプルのディレクトリ構成
PHPが動作できるWebサーバ環境で、ドキュメントルート直下に下記のディレクトリ構成を作成する。便宜上2つのシナリオについて別々とした。
test.csvの内容についてはここでは割愛。
./scenario1.htm
./scenario2.htm
./json.php
./csv.php
./css/modal.css
./js/app1.js
./js/app2.js
./js/bundle1.js
./js/bundle2.js
./js/libs/MyRequest.js
./js/libs/MyLoader.js
./csv/test.csv
サンプルのES6のビルド方法(bundle1.jsとbundle2.jsの作成方法)について
こちらにまとめた。
基本的なライブラリを用意する
まずは、それぞれのシナリオで利用する共通ライブラリを作成。XMLHttpRequestを使ったライブラリと、せっかくなので、通信中にローダを表示するためのライブラリも用意。
Promiseを利用したXMLHttpRequest
XMLHttpRequestを使ったライブラリをまずは用意する。ここではPOSTを利用する前提にしたが、他のパターンが簡易的に追加できる。もちろんPromiseを利用。
"use strict";

export default class MyRequest {

    constructor(url, method, responseType) {
        this.method       = method || "POST";
        this.url          = url;
        this.responseType = responseType || MyRequest.RESPONSE_TYPE_JSON;
        this.onload       = () => {};
        this.onerror      = () => {};
        this.onabort      = () => {};
        this.xhr          = null;
    }

    static post(url, responseType) {
        return new MyRequest(url, "POST", responseType);
    }

    then(onload) {
        this.onload  = onload;
        return this;
    }

    catch(onerror) {
        this.onerror  = onerror;
        return this;
    }

    stop() {
        if (this.xhr) {
            this.xhr.abort();
        }
    }

    send(data) {
        let xhr = new XMLHttpRequest();

        xhr.onload = () => {
            if (xhr.status !== 200) {
                this.onerror.call(this, xhr.responseText);
                return;
            }
            switch (this.responseType) {
                case MyRequest.RESPONSE_TYPE_JSON:
                    let json;
                    try {
                        json = JSON.parse(xhr.responseText);
                    } catch (e) {
                        json = {};
                    }
                    this.onload.call(this, json);
                    break;
                case MyRequest.RESPONSE_TYPE_BLOB:
                    this.onload.call(this, xhr.response);
                    break;
            }
        };

        xhr.onerror = () => {
            switch (this.responseType) {
                case MyRequest.RESPONSE_TYPE_JSON:
                    let json;
                    try {
                        json = JSON.parse(xhr.responseText);
                    } catch (e) {
                        json = {};
                    }
                    this.onload.call(this, json);
                    break;
                case MyRequest.RESPONSE_TYPE_BLOB:
                    this.onerror.call(this, xhr.response);
                    break;
            }
        };

        xhr.open(this.method, this.url, true);
        xhr.setRequestHeader("X-Requested-With", "XMLHttpRequest");
        if (this.method === "POST") {
            xhr.setRequestHeader("Content-Type", "application/x-www-form-urlencoded");
        }
        xhr.send(data || null);

        this.xhr = xhr;
        return this;
    }
}

MyRequest.RESPONSE_TYPE_JSON = 0x01;
MyRequest.RESPONSE_TYPE_BLOB = 0x02;
ローダーを表示するライブラリ
簡単なモーダルのローダーを表示するライブラリ。
なお、ローダーのcssはこちらを参考にした。
"use strict"

const modal = document.createElement("div");
modal.className = "modal";

export default class MyLoader {

    constructor() {
        this.loading = document.createElement("div");
        this.loading.className = "loader";
    }

    show() {
        modal.appendChild(this.loading);
        document.body.appendChild(modal);
    }

    hide() {
        document.body.removeChild(modal);
        modal.removeChild(this.loading);
    }
}
.modal {
    width: 100%;
    height: 300px;
}

.loader {
    margin: 150px auto;
    border: 16px solid #f3f3f3;
    border-radius: 50%;
    border-top: 16px solid blue;
    border-right: 16px solid green;
    border-bottom: 16px solid red;
    border-left: 16px solid pink;
    width: 120px;
    height: 120px;
    -webkit-animation: spin 2s linear infinite;
    animation: spin 2s linear infinite;
}

@-webkit-keyframes spin {
    0% { -webkit-transform: rotate(0deg); }
    100% { -webkit-transform: rotate(360deg); }
}

@keyframes spin {
    0% { transform: rotate(0deg); }
    100% { transform: rotate(360deg); }
}
シナリオ1
もっともユースケースの多い、サーバ側にPOSTしてJSONデータを受信し、その内容を描画する。
コード
<!DOCTYPE html>
<html lang="ja">
<head>
    <meta charset="utf-8">
    <title>Scenario1</title>
    <link rel="stylesheet" type="text/css" href="/css/modal.css">
</head>
<body>
<div style="margin: 20px" class="js-json">
    <div style="color: red" class="js-json-message"></div>
    <input type="button" post_url="/json.php" class="js-json-post" value="JSON">
</div>
<footer>
    <script type="text/javascript" src="/js/bundle1.js"></script>
</footer>
</body>
</html>
<?php

header('Content-Type: application/json');
echo json_encode([
    "status" => "SUCCESS",
    "value" => 100
]);
"use strict"

import MyRequest from "./libs/MyRequest";
import MyLoader from "./libs/MyLoader";

class MyApp {
    static exec() {
        const obj = new MyApp();
        const target = document.querySelector(".js-json");
        target && obj.setupJson(target);
    }

    setupJson(target) {
        const url = [
            location.protocol + '//',
            location.host
        ];

        const buttons = target.querySelectorAll(".js-json-post");
        [].forEach.call(buttons, (button) => {
            button.addEventListener("click", (evt) => {
                evt.preventDefault();

                let post_url = url.join('') + button.getAttribute("post_url");
                const loading = new MyLoader();
                loading.show();
                MyRequest.post(post_url)
                    .then((json) => {
                        const msg = target.querySelector(".js-json-message");
                        msg.innerHTML = json.value;
                        loading.hide();
                    })
                    .catch(() => {
                        loading.hide();
                        alert('通信に失敗しました');
                    })
                    .send();
            });
        });
    }
}

MyApp.exec();
デモ結果
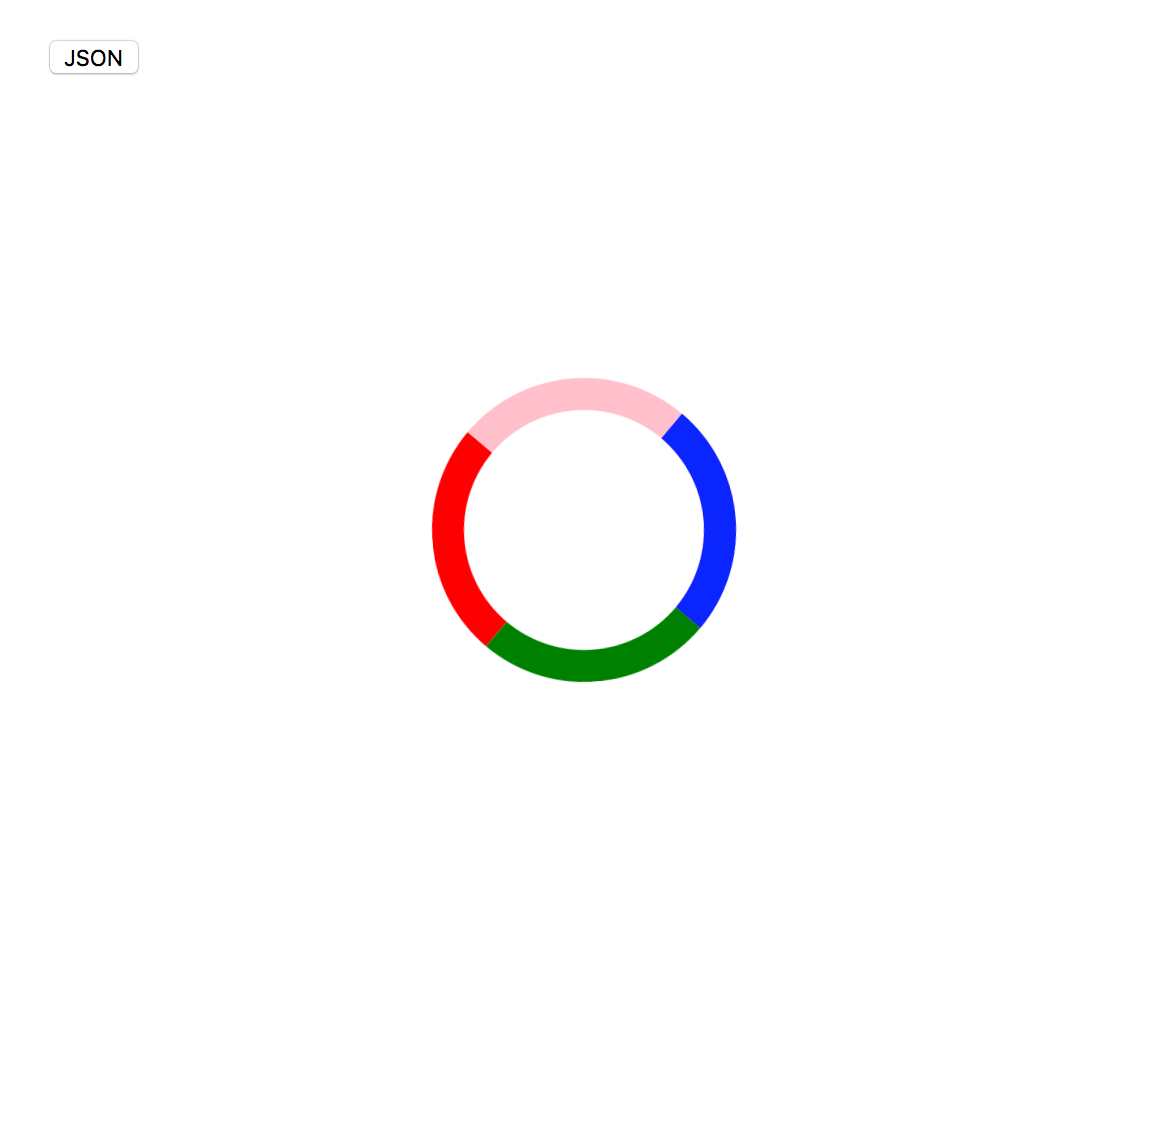
1. http://localhost/scenario1.phpにアクセスし、ボタンクリックでローダが起動
3. 受信したJSONデータを描画

シナリオ2
あまりユースケースはないが、サーバにPOSTし、CSVデータを受信するようなケースを想定。JSONのときはXMLHttpRequestのプロパティresponseTextで受信できるが、このケースではresponseで受信する。
さらにBlobオブジェクトを生成し、aタグを作成して、クリックイベントを発生させることでダウンロードすることができる。
デモについては、シナリオ1と同様で、またcsvファイルをダウンロードするだけなので、省略。
コード
<!DOCTYPE html>
<html lang="ja">
<head>
    <meta charset="utf-8">
    <title>Scenario2</title>
    <link rel="stylesheet" type="text/css" href="/css/modal.css">
</head>
<body>
<div style="margin: 20px" class="js-csv">
    <input type="button" post_url="/csv.php" class="js-csv-post" value="csv">
</div>
<footer>
    <script type="text/javascript" src="/js/bundle2.js"></script>
</footer>
</body>
</html>
<?php

$file = "./csv/test.csv";

header('Content-Type: application/octet-stream');
header('Content-Disposition: attachment; filename=test.csv');
header('Content-Transfer-Encoding: binary');
header('Content-Length: '. filesize($file));
echo file_get_contents($file);
"use strict"

import MyRequest from "./libs/MyRequest";
import MyLoader from "./libs/MyLoader";

class MyApp {
    static exec() {
        const obj = new MyApp();
        const target = document.querySelector(".js-csv");
        target && obj.setupCsv(target);
    }

    setupCsv(target) {
        const url = [
            location.protocol + '//',
            location.host
        ];
        const buttons = target.querySelectorAll(".js-csv-post");

        [].forEach.call(buttons, (button) => {
            button.addEventListener("click", (evt) => {
                evt.preventDefault();

                let post_url = url.join('') + button.getAttribute("post_url");
                const loading = new MyLoader();
                loading.show();
                MyRequest.post(post_url, MyRequest.RESPONSE_TYPE_BLOB)
                    .then((response) => {
                        const blob = new Blob([response]);
                        const URL  = window.URL || window.webkitURL;
                        const bu = URL.createObjectURL(blob);
                        const a  = document.createElement('a');
                        a.download = "test.csv";
                        a.href = bu;
                        a.click();
                        loading.hide();
                    })
                    .catch(() => {
                        loading.hide();
                        alert('通信に失敗しました');
                    })
                    .send();
            });
        });
    }
}

MyApp.exec();