個人開発の時に何度か躓いたので、UIViewの角丸と影についてまとめてみます。
UIViewに角丸、影を別々につけることは簡単にできるのですが、角丸と影を両方つけようとするとうまくいかないことがありました。
なぜうまくいかないのか、どうすればうまくいくのかを考えてみました。
使用した環境
Xcode(Playground):10.2.1
角丸のつけ方
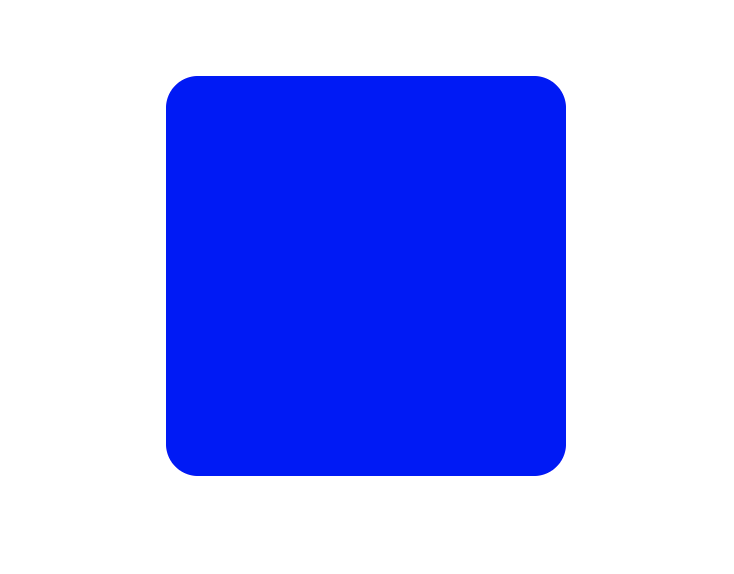
layerのcornerRadiusに値をセットすることでViewに角丸をつけることができます。
roundedView.layer.cornerRadius = 18
たった一行追加するだけで角が丸まります!
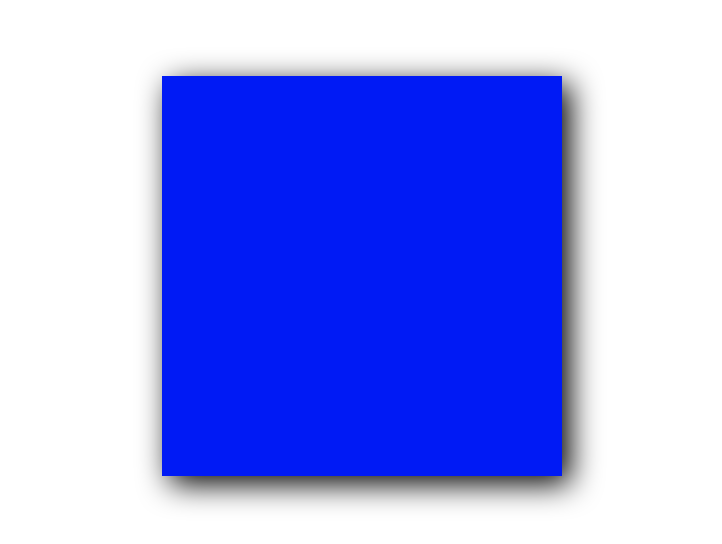
影のつけ方
角丸より設定するプロパティは増えますが、影も以下のように簡単につけることができます。
roundedView.layer.shadowColor = UIColor.black.cgColor //影の色を決める
roundedView.layer.shadowOpacity = 1 //影の色の透明度
roundedView.layer.shadowRadius = 8 //影のぼかし
roundedView.layer.shadowOffset = CGSize(width: 4, height: 4) //影の方向 width、heightを負の値にすると上の方に影が表示される
角丸と影を同時につけてみる
上で紹介した角丸のつけ方と影のつけ方のコードを同時に書くだけで角丸と影がつきました!
roundedView.layer.cornerRadius = 18
roundedView.layer.shadowColor = UIColor.black.cgColor
roundedView.layer.shadowOpacity = 1
roundedView.layer.shadowRadius = 8
roundedView.layer.shadowOffset = CGSize(width: 4, height: 4)
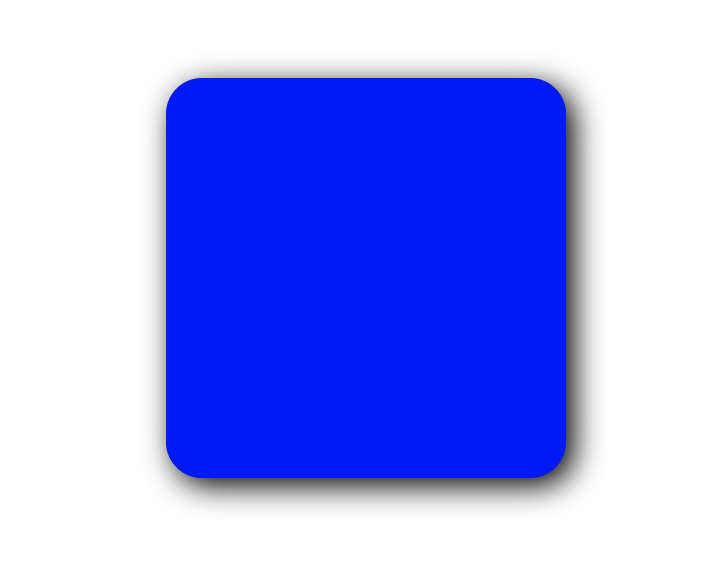
とても簡単に角丸と影をつけることができるとわかったので、これを実際に個人開発しているアプリでやってみようと思いました!
作りたいもの
iOSのマップアプリのように画面下にひっぱれるモーダルを設置しようと思いました。
こんな感じです。
ヘッダーがあって、その下にコンテンツを表示する感じです。
ということで、先ほど上で紹介した通りに実装してみました!
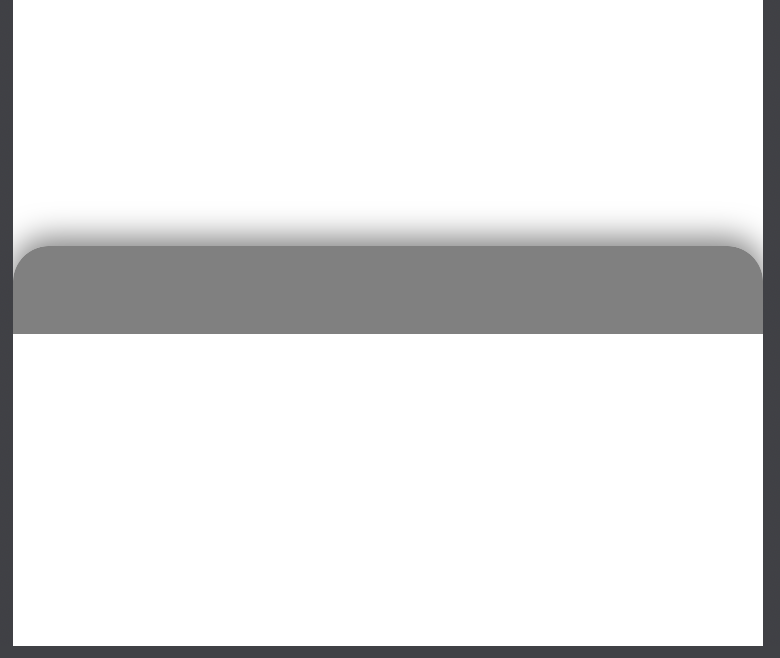
ところが....
簡単に角丸と影をつけられると思っていたのですが、なぜか実際にやってみると角丸がつかなくなりました。
roundedView.backgroundColor = .white
roundedView.layer.cornerRadius = 18
roundedView.layer.maskedCorners = [.layerMaxXMinYCorner, .layerMinXMinYCorner]
roundedView.layer.shadowColor = UIColor.black.cgColor
roundedView.layer.shadowOpacity = 0.5
roundedView.layer.shadowRadius = 8
roundedView.layer.shadowOffset = CGSize(width: 0, height: -4)
roundedView.addSubview(headerView)
headerView.backgroundColor = .gray

なぜ角丸がつかない?
角丸の設定が何か間違っているのかと思い、Googleで色々調べてみると設定し忘れているプロパティがあることが判明しました。
layerのmasksToBoundsをtrueにしないと角丸はつかないようでした!
roundedView.layer.masksToBounds = true

今度は影がなくなった!なぜ?
角丸がついたと思ったら、今度は影がなくなりました!
さっき設定したmasksToBoundsが原因かなと思い、このプロパティがどんなものかを調べてみました。
When the value of this property is true, Core Animation creates an implicit clipping mask that matches the bounds of the layer and includes any corner radius effects. If a value for the mask property is also specified, the two masks are multiplied to get the final mask value.
The default value of this property is false.
どうやら、masksToBoundsがtrueの場合は矩形外にサブレイヤーを描画しないようですね。
つまりは子ビューの一部が親ビューからはみ出ていた場合、表示しないようになります。
これで影が消えて、角丸が戻ってきた原因がわかりました!
masksToBoundsをtrueにしたことで、roundedViewのサブビューであるheaderViewのはみ出ている部分が非表示になって角丸がつきました。
しかし、影もroundedViewからはみ出しているので表示されないようになったということです。
影と角丸を同時につける方法1
まずは一番手っ取り早い方法
はみ出るであろうサブビューにはみ出ないよう角丸をつけます。
roundedView.backgroundColor = .white
roundedView.layer.cornerRadius = 18
roundedView.layer.maskedCorners = [.layerMaxXMinYCorner, .layerMinXMinYCorner]
roundedView.layer.shadowColor = UIColor.black.cgColor
roundedView.layer.shadowOpacity = 0.5
roundedView.layer.shadowRadius = 8
roundedView.layer.shadowOffset = CGSize(width: 0, height: -4)
roundedView.masksToBounds = false //影を表示するのでfalseにする
roundedView.addSubview(headerView)
headerView.backgroundColor = .gray
headerView.layer.cornerRadius = roundedView.layer.cornerRadius //親ビューを同じcornerRadiusを設定
headerView.layer.maskedCorners = roundedView.layer.maskedCorners //親ビューと同じmaskedCornersを設定
この方法は簡単に実装できますが、欠点もあります。
デザインを変更した時にはみ出るサブビューが増えたりすると、新たにそのサブビューにも親と同じ角丸をつける必要があります。
また、複雑なビューだとはみ出しているビューが多く、設定が面倒になるかもしれません。
影と角丸を同時につける方法2
次は少し手間がかかるけど、現実的な方法です
影だけを表示するビューをroundedViewと同じ大きさで作り、同じ場所に配置します。
roundedView.backgroundColor = .white
roundedView.layer.cornerRadius = 18
roundedView.layer.maskedCorners = [.layerMaxXMinYCorner, .layerMinXMinYCorner]
roundedView.layer.shadowColor = UIColor.black.cgColor
roundedView.layer.shadowOpacity = 0.5
roundedView.layer.shadowRadius = 8
roundedView.layer.shadowOffset = CGSize(width: 0, height: -4)
roundedView.masksToBounds = true //サブビューも含めて角丸にするためtrueにする
roundedView.addSubview(headerView)
headerView.backgroundColor = .gray
//shadowViewは影だけを表示するビュー
shadowView.backgroundColor = .white //背景が透明だと影が表示されない
shadowView.layer.cornerRadius = roundedView.layer.cornerRadius
shadowView.layer.maskedCorners = roundedView.layer.maskedCorners
shadowView.layer.shadowColor = UIColor.black.cgColor
shadowView.layer.shadowOpacity = 0.5
shadowView.layer.shadowRadius = 8
shadowView.layer.shadowOffset = CGSize(width: 0, height: -4)
view.sendSubviewToBack(shadowView) //viewはroundedViewとかの親ビュー
少し手間はかかりますが、これで角丸と影を同時につけることができました!
shadowViewに背景色を設定したく無い場合
最後にどうしてもshadowViewを透明にしておきたいという場合の対応策をご紹介します。
shadowView.backgroundColor = .clear
shadowView.layer.cornerRadius = roundedView.layer.cornerRadius
shadowView.layer.maskedCorners = roundedView.layer.maskedCorners
shadowView.layer.shadowColor = UIColor.black.cgColor
shadowView.layer.shadowOpacity = 0.5
shadowView.layer.shadowRadius = 8
shadowView.layer.shadowOffset = CGSize(width: 0, height: -4)
shadowView.layer.shadowPath = UIBezierPath(roundedRect: shadowView.bounds, cornerRadius: roundedView.layer.cornerRadius).cgPath //shadowViewが透明な場合、shadowPathで影の形を指定すると影が表示される
こうすることで、shadowViewを透明にしながら、影を表示することができます。
まとめ
なんとなく理解していたUIViewの角丸・影のつけ方についての知識を整理して、きちんと理解するいい機会になりました。
CALayerのプロパティとかはなんか難しそうで避けていたのですが、いい感じのUIのiOSアプリを作るためには避けて通れなさそうなので、これからどんどん勉強していきたいなと思いました!
明日は、@tsukasa_oishi さんの「プロダクション環境で実行中のRubyプロセスの中で行われていることを見てみた」です。
よろしくお願いします!