#概要
html内に記述されている住所を取得し、それに基づいて作成された地図を表示するページについて紹介します。
Google Cloud Platformに登録し、APIキーを取得する必要があります。
まだお済みで無い方は下記の記事などを参考にAPIキーを取得してください
https://nendeb.com/276
htmlファイルの内容
<!DOCTYPE html>
<html>
<head>
<meta http-equiv="Content-Type" content="text/html; charset=UTF-8">
<meta name="viewport" content="initial-scale=1.0, user-scalable=no" />
<script type="text/javascript" src="http://maps.google.com/maps/api/js?sensor=false"></script>

<!-- Google Maps APIの読み込み。ご自身のAPIキーを入力してください-->
<script src="https://maps.googleapis.com/maps/api/js?key=YOUR_API_KEY" defer></script>

</head>
<body>

   <!-- ここに住所を入力-->
    <p id="mapAddress">東京都港区芝公園4-2-8</p>
   <!-- 地図が表示される-->
    <div id="my_map" style="width: 600px; height: 600px"></div>


<script>
//pタグ内の住所が取得できているか確認するため、ウェブコンソールにメッセージ出力
console.log(document.getElementById("mapAddress").textContent);

//pタグ内の住所を取得し、変数「my_address」に格納
var my_address = document.getElementById("mapAddress").textContent;


function initMapWithAddress() {

    //マップのzoomレベル、タイプの指定
    var opts = {
        zoom: 15,
        mapTypeId: google.maps.MapTypeId.ROADMAP
    };

   //id「my_map」要素を取得、Mapクラスのインスタンスを作成することで地図を作成
    var my_google_map = new google.maps.Map(document.getElementById('my_map'), opts);

    //ジオコードオブジェクト
    var geocoder = new google.maps.Geocoder();
    geocoder.geocode(
      {
        //Geocoderにジオコーディングリクエストに送信。
       //検索する住所文字列と、国コードを指定
        'address': my_address,
        'region': 'jp'
      },
      function(result, status){

        // ステータスがOKの場合
        if(status==google.maps.GeocoderStatus.OK){

            //「result[0].geometry.location;」で緯度経度データを取得
            var latlng = result[0].geometry.location;
       //指定の座標で中心位置を指定
            my_google_map.setCenter(latlng);
       //マーカーを立てる場所の指定
            var marker = new google.maps.Marker({position:latlng, map:my_google_map, title:latlng.toString(), draggable:true});

       //「マーカー」の「ドラッグ操作が終わった時(dragend)」に関数を実行
            google.maps.event.addListener(marker, 'dragend', function(event){
       //マーカーにポインターをホバーした時に、文字列に変換された緯度経度が書かれたツールチップ(吹き出し)を表示
                marker.setTitle(event.latLng.toString());
            });
        }
      }
    );
  }
</script>
</body>
</html>
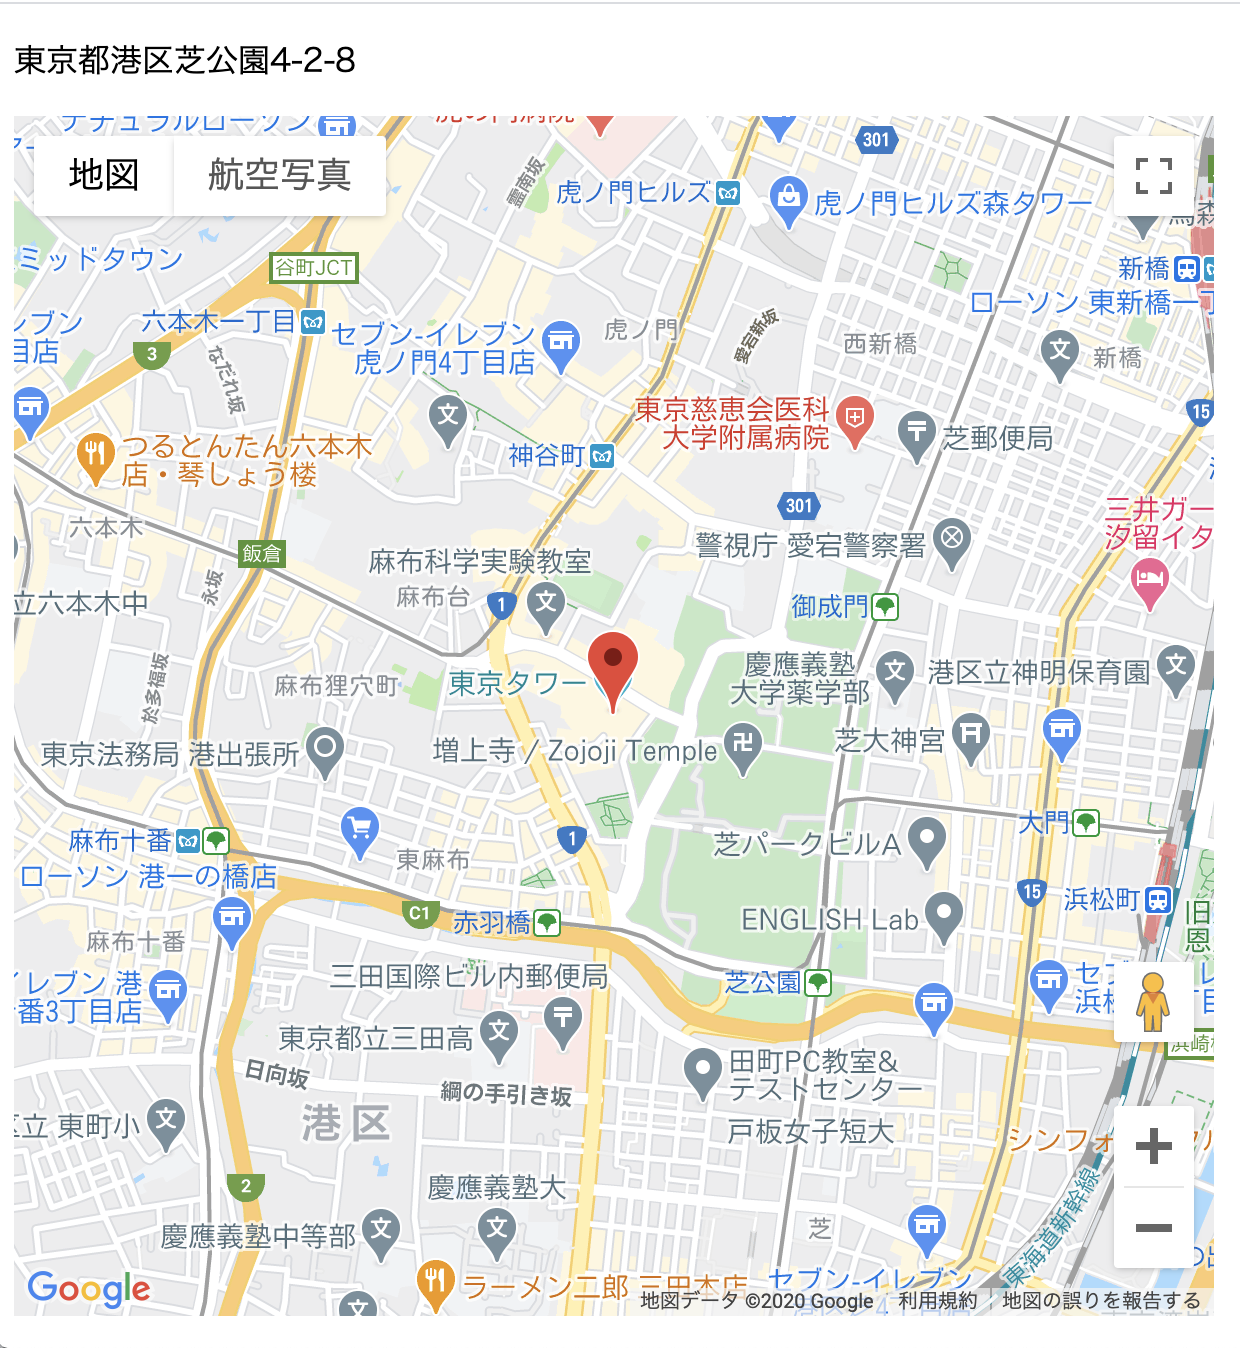
実行結果

「defer」について→
参考:https://pgmemo.tokyo/data/archives/824.html
「mapTypeId: google.maps.MapTypeId.ROADMAP」について→
https://www.javadrive.jp/google-maps-javascript/gmaptype/index3.html
Mapのzoomレベルについて→
https://qiita.com/SnowMonkey/items/795779913be692c12a0b
「var my_google_map = new google.maps.Map(document.getElementById('my_map')」→
https://www.javadrive.jp/google-maps-javascript/gmap2/index2.html
「Geocode」について→
https://www.google-mapi.com/event-data-processing/geocoding/
https://www.tam-tam.co.jp/tipsnote/javascript/post7755.html
「google.maps.event.addListener」について→
https://phpjavascriptroom.com/?t=ajax&p=googlemapsapiv3_event
marker.setTitleについて→
https://lab.syncer.jp/Web/API/Google_Maps/JavaScript/Marker/setTitle/
参考:https://qiita.com/soarflat/items/1a9613e023200bbebcb3