jupyter notebook 環境を手っ取り早くローカルに作って試す(vagrant + centos7 + docker)
目的
- jupyter notebook を試してみたい! ( => http://jupyter.org/)
- できるだけ手早く! ( => vagrant)
- デプロイも可能なように! ( => docker)
環境
- mackbook air
- macOS Sierra
- virtual box
- vagrant
add box
if_needed
% vagrant box list | grep "centos/7"
% vagrant box add centos/7
% vagrant box update --box centos/7
% mkdir -p ./vagrant/docker/centos7/jupyter
% cd ./vagrant/docker/centos7/jupyter
% vagrant init centos/7 -m
ref. https://www.vagrantup.com/docs/networking/private_network.html
insert_line_to_Vagrantfile
config.vm.network "private_network", type: "dhcp"
sample
Vagrant.configure(2) do |config|
  config.vm.box = "centos/7"
  config.vm.network "private_network", type: "dhcp"
end
% vagrant up
% vagrant ssh
install docker
ref. https://docs.docker.com/engine/installation/linux/centos/
$ sudo yum update -y
add_docker_yum_repo
$ sudo tee /etc/yum.repos.d/docker.repo <<-'EOF'
[dockerrepo]
name=Docker Repository
baseurl=https://yum.dockerproject.org/repo/main/centos/$releasever/
enabled=1
gpgcheck=1
gpgkey=https://yum.dockerproject.org/gpg
EOF
install_from_package
$ sudo yum install docker-engine
start_docker
$ sudo systemctl status docker
$ sudo systemctl start docker
$ sudo systemctl enable docker
simple_test
$ sudo docker run hello-world
memo
$ sudo docker --version
Docker version 1.12.5, build 7392c3b
install jupyter onto docker
ref. https://github.com/jupyter/notebook#running-in-a-docker-container
$ sudo docker run -itd --name jupyter-notebook -p 8888:8888 -v "$(pwd):/notebooks" jupyter/notebook:stable
- コンテナIDを確認します
$ sudo docker ps
- コンテナログを確認します
$ sudo docker logs df725b13e70b
(snip)
[I 22:29:30.855 NotebookApp] The Jupyter Notebook is running at: http://[all ip addresses on your system]:8888/
(snip)
- VirtualBox ホストからアクセス可能なIPアドレスを確認します
- コンテナの IP:Port8888 を VirtualBox VM の "private_network" の IP:Port8888 にバインドしています
- つまり、以下のコマンドは vagrant で作成した VM 上で実行し eth1 のアドレスを確認します
[vagrant@localhost ~]$ ip a s eth1
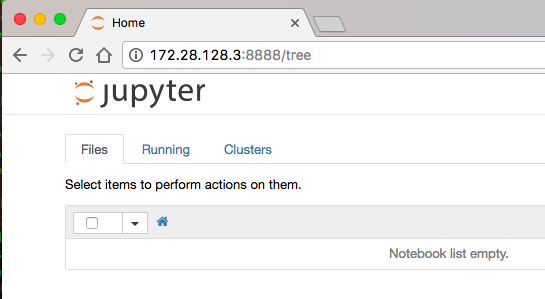
WEB ブラウザからアクセスする
- VirtualBox ホストから VM の private_network Port8888 にブラウザからアクセスします
以下の画面表示が得られれば成功です
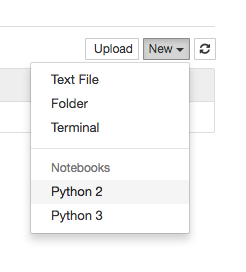
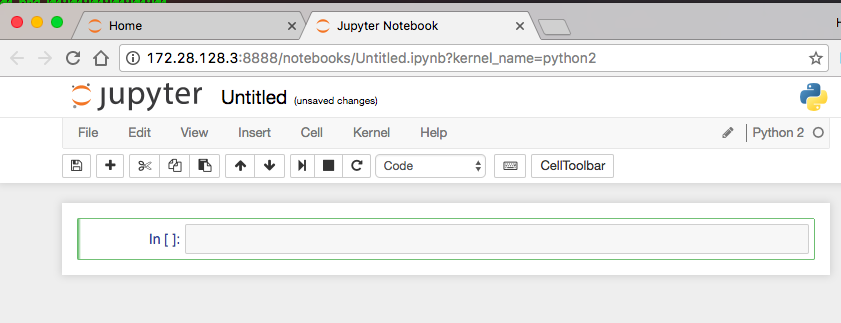
あたらしい Notebook(Python2) を作ってみます
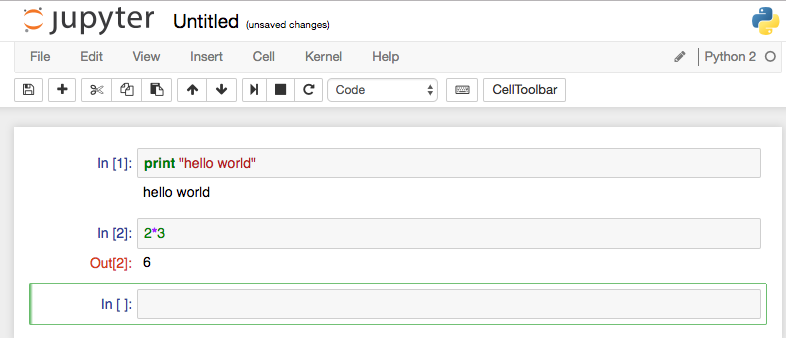
コマンドを実行してみます
- 入力したら Cell > Run Cells を実行するか、>| アイコンを押します
おまけ
VirtualBox Host NW
  vboxnet4: 172.28.128.1/24
     |- GuestVM eth1: 172.28.128.3/24
         |- Docker Bridge Network: 172.17.0.0/16
             |- Container IP: 172.17.0.2/16
- Mapping
172.28.128.3:8888 --- 172.17.0.2:8888