この記事は「Python実行環境を配布して、.NETアプリから利用する。」への追記です。
目標
WiX Toolsetで、WinPythonを、指定したフォルダに配置するセットアップファイルを作成
方法
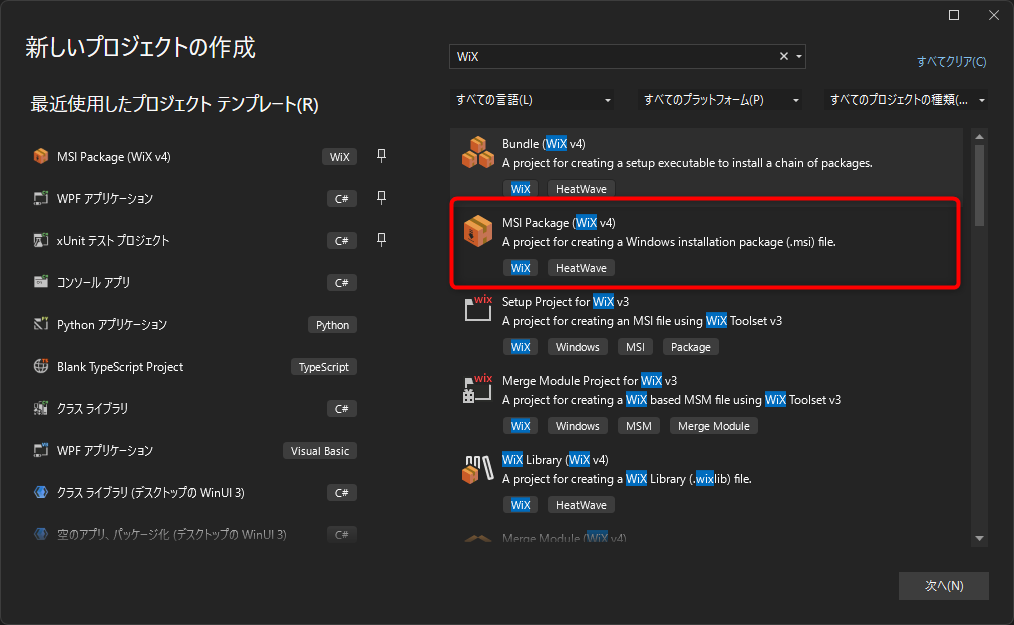
MSI Packageを作成します。
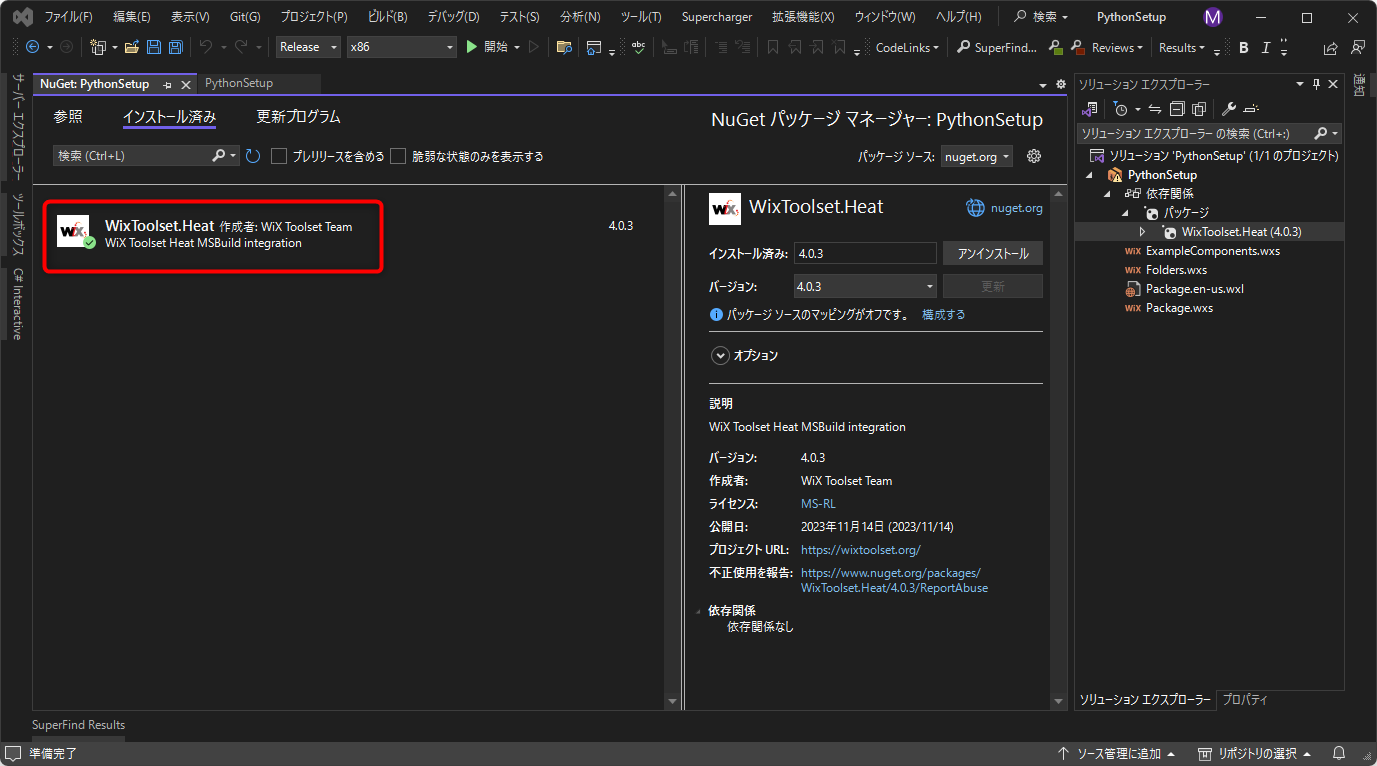
NuGetで、WixToolset.Heatをインストールします。
プロジェクトのプロパティ
<Project Sdk="WixToolset.Sdk/4.0.3">
  <PropertyGroup>
    <!--
    _HarvestedComponents_dir.wxsで、
    error WIX0231: The component '*******' has a key file with path 'TARGETDIR\.\python\python3.12\idle (python gui).exe'. Since this path is not rooted in one of the standard directories (like ProgramFilesFolder), this component does not fit the criteria for having an automatically generated guid. (This error may also occur if a path contains a likely standard directory such as nesting a directory with name "Common Files" under ProgramFilesFolder.)
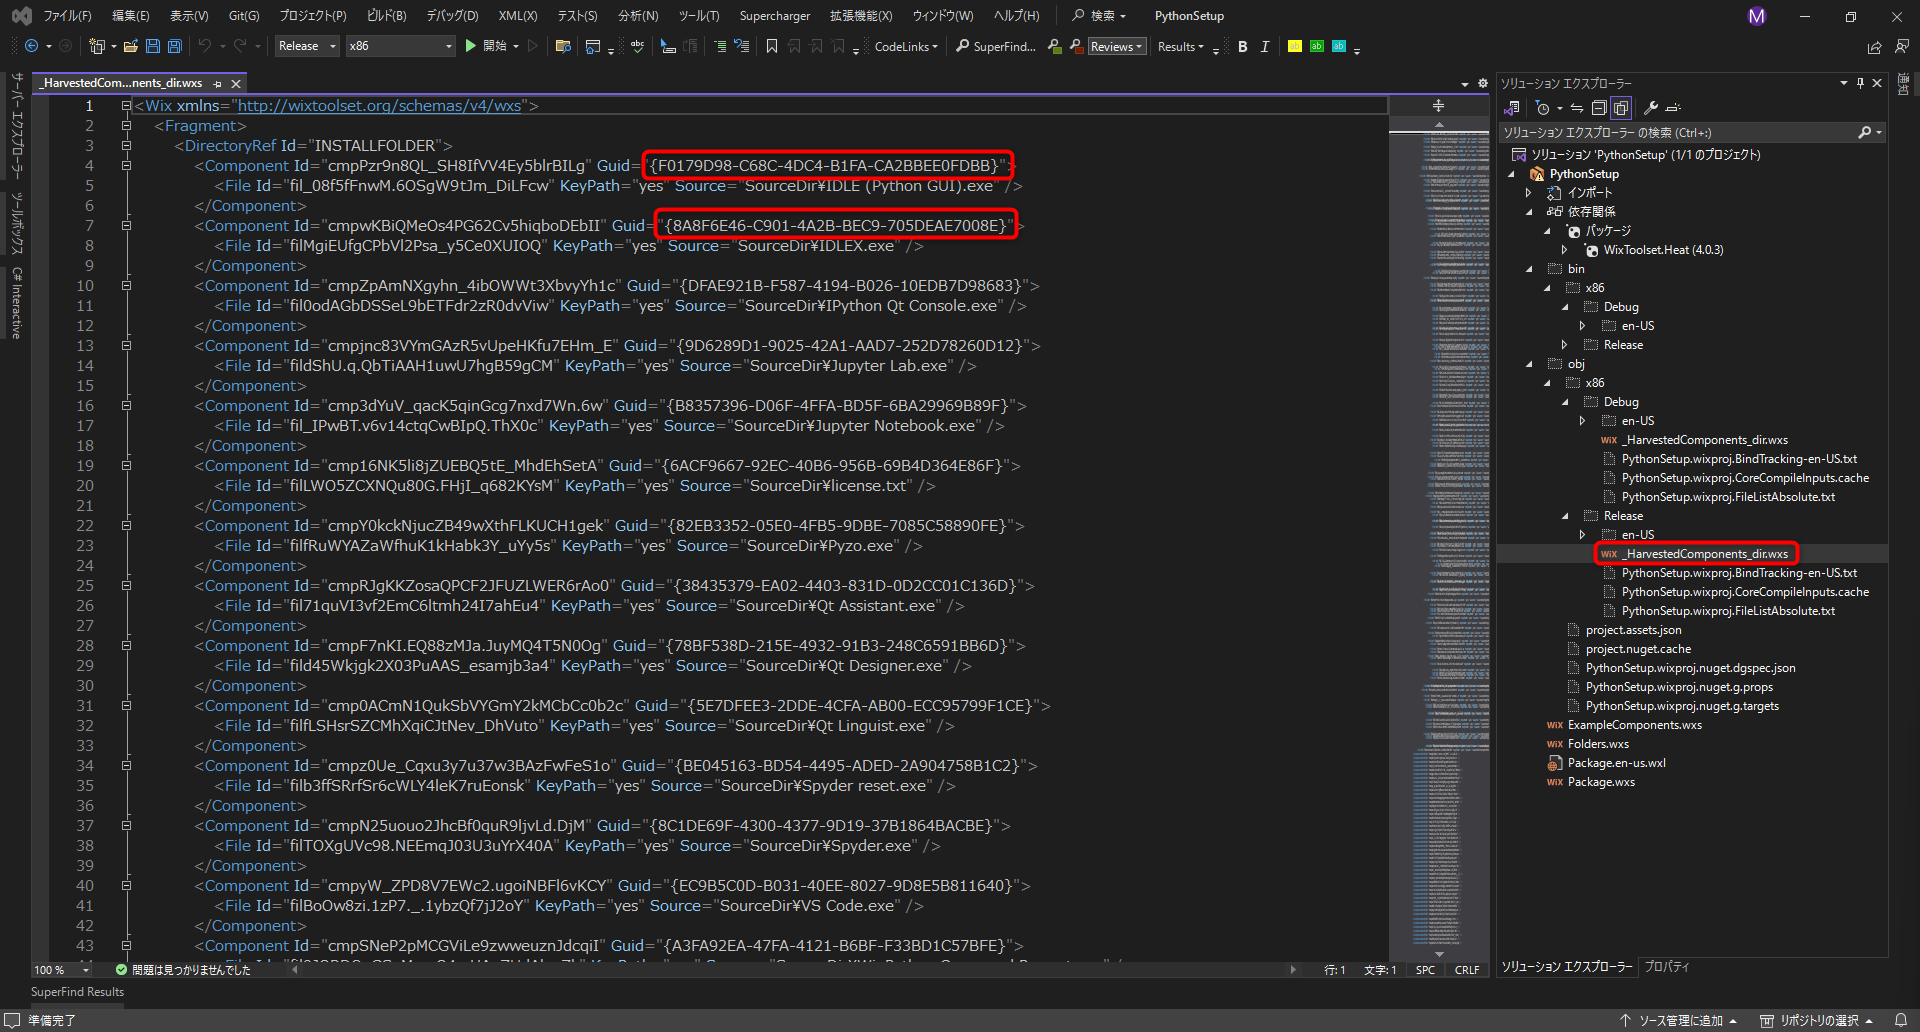
    のエラーを回避するために、Guidの生成をAutoにせず、すぐに作成する。
    -->
    <HarvestDirectoryAutogenerateGuids>false</HarvestDirectoryAutogenerateGuids>
    <HarvestDirectoryGenerateGuidsNow>true</HarvestDirectoryGenerateGuidsNow>
  </PropertyGroup>
  <ItemGroup>
    <!--WinPythonのフォルダを指定-->
    <HarvestDirectory Include="C:\HOGE\FUGA\Python3.12">
      <ComponentGroupName>HarvestedComponents</ComponentGroupName>
      <SuppressRootDirectory>true</SuppressRootDirectory>
      <DirectoryRefId>INSTALLFOLDER</DirectoryRefId>
    </HarvestDirectory>
    <!--WinPythonのフォルダを指定-->
    <BindPath Include="C:\HOGE\FUGA\Python3.12" />
  </ItemGroup>
  <ItemGroup>
    <PackageReference Include="WixToolset.Heat" Version="4.0.3" />
  </ItemGroup>
</Project>
収集するWinPythonを指定
収集するWinPythonのフォルダを、2カ所、設定します。このフォルダのファイルが、Heatで収集(Harvest)されます。
GUID
HarvestDirectoryAutogenerateGuids
HarvestDirectoryGenerateGuidsNow
を上記のように設定することで、
自動的に作成される_HarvestedComponents_dir.wxsが、GUIDが作成された状態で、作成されます。
Folders.wxs
このファイルは使わないので、<Fragment>部分をコメントアウトしておきます。ファイル自体を削除してもいいかもしれません。
<Wix xmlns="http://wixtoolset.org/schemas/v4/wxs">
  <!--<Fragment>
    <StandardDirectory Id="ProgramFiles6432Folder">
      <Directory Id="INSTALLFOLDER" Name="!(bind.Property.Manufacturer) !(bind.Property.ProductName)" />
    </StandardDirectory>
  </Fragment>-->
</Wix>
Package.wxs
次のように設定します。
<Wix xmlns="http://wixtoolset.org/schemas/v4/wxs">
  <Package Name="PythonSetup" Manufacturer="TODO Manufacturer" Version="1.0.0.0" UpgradeCode="PUT GUID">
    <MajorUpgrade DowngradeErrorMessage="!(loc.DowngradeError)" />

    <!--cabファイルをmsiに含める-->
    <MediaTemplate EmbedCab="yes" />

    <Feature Id="Main">
      <!--ExampleComponentsは利用していない-->
      <!--<ComponentGroupRef Id="ExampleComponents" />-->
      <ComponentGroupRef Id="HarvestedComponents" />
    </Feature>
  </Package>

  <Fragment>
    <!--Windowsのあるドライブ>Python>Pthon3.12にインストールする-->
    <SetDirectory Id="WINDOWSVOLUME" Value="[WindowsVolume]"/>
    <Directory Id="WINDOWSVOLUME">
      <Directory Id="WindowsVolume_PythonDIR" Name="Python">
        <Directory Id="INSTALLFOLDER" Name="Python3.12" />
      </Directory>
    </Directory>
  </Fragment>
</Wix>
-
MediaTemplateで、セットアップファイルをcabファイルに分離せず、msiファイルにまとめます。 -
ExampleComponentsは利用していないので、コメントアウトします。ファイルを削除しても良いかもしれません。 -
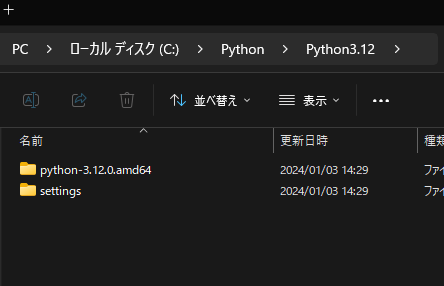
<Fragment>で、Windowsのあるドライブ>Python>Pthon3.12をインストールフォルダに指定しています。
Windowsのあるドライブとは、おおむねCドライブです。
ビルド
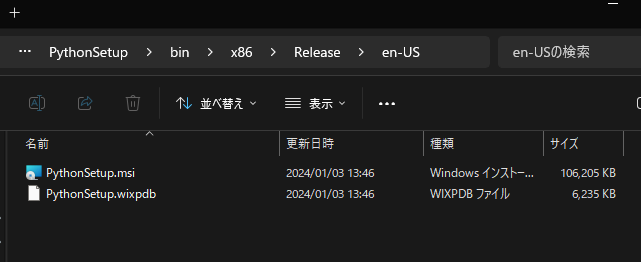
ビルドすると、msiファイルが作成されます。
このmsiファイルは、最小限のものなので、実行すると、すぐにインストールが始まります。
アンインストール
アンインストールした時、インストールしたフォルダには、設定やpycacheが残ります。
WiXで、フォルダごと削除する設定もできるようです(未検証)。
WinPythonをMSIファイルで配置する利点
- WinPythonのフォルダに、運用に必要なPythonのライブラリを含めて、配布できる。
- 展開先を、指定できる。
- アンインストール時も、
Windows標準のアプリ>インストールされているアプリから削除できる。
