# 1000円以下でカラーLEDバルブをPC/raspberrypiから制御する。

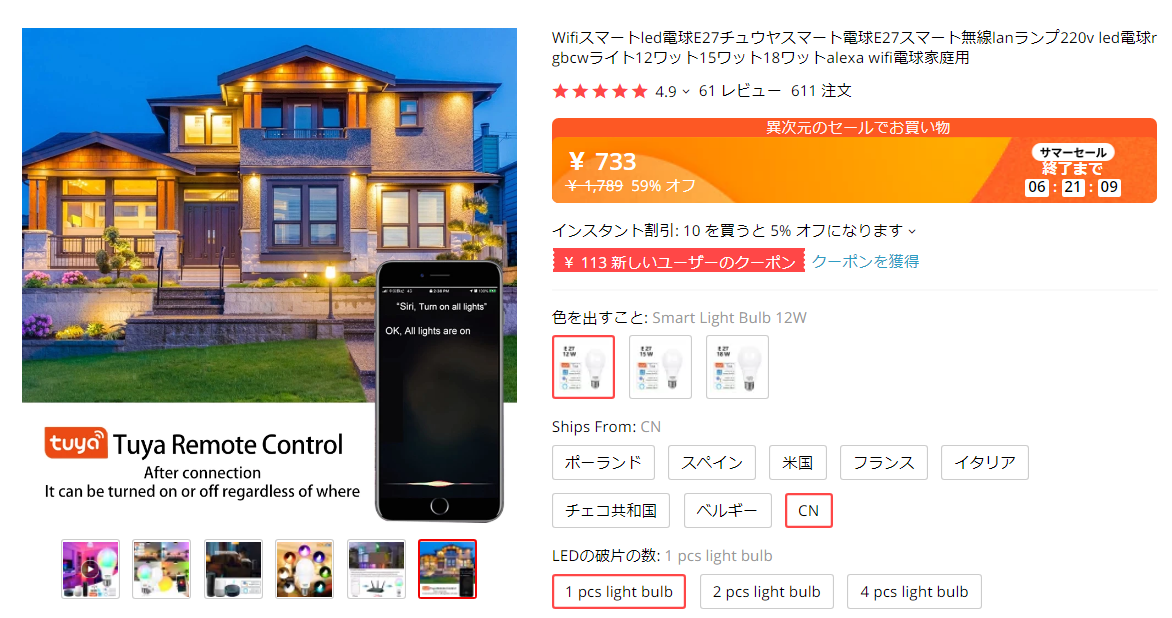
## 注意 tuyaと書いてあるbulbを選ぶ。
### 本説明では、Cloudサービス使わないで直接制御する。
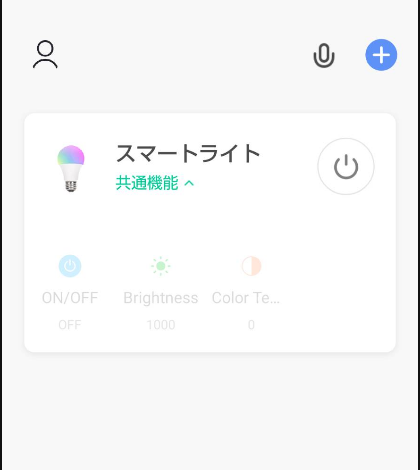
### まず、スマートフォンを用いてwifiに接続します。
### [アプリのダウンロード](https://e.tuya.com/smartlife)

確認ができたらライブラリをダウンロードします。
.sh
pip install tinytuya
今回使用したpythonのバージョンは、古めの!
.sh
(C:\Users\hirat\Anaconda3) C:\Users\hirat\source\repos\blink>python -V
Python 3.6.10 :: Anaconda, Inc.
実行します。
.sh
python -m tinytuya scan
TinyTuya (Tuya device scanner) [1.2.6]
[Loaded devices.json - 1 devices]
Scanning on UDP ports 6666 and 6667 for devices (15 retries)...
スマートライト  Product ID = ad33022eaexxxxxx  [Valid payload]:
    Address = 192.168.1.42,  Device ID = xxxxxfa834baf8806plx,  Local Key = ad33022eaexxxxxx,  Version = 3.3
    Status: {'20': False, '21': 'white', '22': 1000, '23': 0, '24': '004201dd026f', '25': '000e0d0000000000000000c80000', '26': 0}

Scan Complete!  Found 1 devices.
ここで必要とされる情報は、以下の通りです。
Address = 192.168.1.42
Product ID = ad33022eaexxxxxx
Device ID = xxxxxfa834baf8806plx
Local Key = ad33022eaexxxxxx
Version = 3.3
上記のLocal Keyを得るためには、Tuya Accountを設定します。
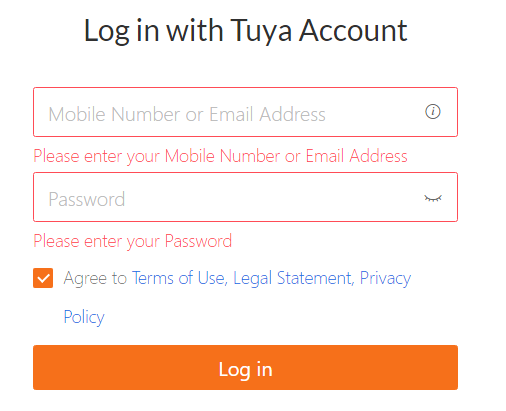
Tuya Accountをクリックし、スマートフォンで作ったUser/Passwordでログインします。

Cloudを選択します。
Createをクリックします。
項目を入力します。
Project Name: 適当な名前をアルファベットでつけましょう。例 test
Discription: 説明を書いてください。
Industry: Smart Homeと書いてください。
Devlopment Method: Smart Home PaaSを選択します。
Availability Zone: usを入力します。
作成すると以下のようになります。
次にwizardを実行します。
local_Keyは、通信を暗号化および復号化するためのセキュリティキーです。 最新のプロトコルバージョン3.3(ファームウェア1.0.5以降など)を実行しているデバイスでは、ステータスを読み取るためと制御するためにデバイスLocal_Keyが必要です。
.sh
 python -m tinytuya wizard
TinyTuya Setup Wizard [1.2.6]
    Enter API Key from tuya.com: xxxxxxxxxxxx36vm4tweu1
    Enter API Secret from tuya.com: xxxxxxxxea84ac6598975db20
    Enter any Device ID currently registered in Tuya App (used to pull full list): xxxxxxx4baf8806plx
    Enter Your Region (Options: us, eu, cn or in): us
>> Configuration Data Saved to tinytuya.json
{
    "apiKey": "xxxxxxxxxxxx36vm4tweu1",
    "apiSecret": " xxxxxxxxea84ac6598975db20",
    "apiRegion": "us",
    "apiDeviceID": "xxxxxxx4baf8806plx"
}
Device Listing
[
    {
        "name": "\u30b9\u30de\u30fc\u30c8\u30e9\u30a4\u30c8",
        "id": "xxxxx834baf8806plx",
        "key": "xxxx22eaed9e0c0"
    }
]
>> Saving list to devices.json
    1 registered devices saved
Poll local devices? (Y/n): Y
Scanning local network for Tuya devices...
    1 local devices discovered
Polling local devices...
    [スマートライト] - 192.168.1.42 - Off - DPS: {'20': False, '21': 'white', '22': 1000, '23': 0, '24': '004201dd026f', '25': '000e0d0000000000000000c80000', '26': 0}
>> Saving device snapshot data to snapshot.json
Done.
準備が整ったのでプログラムを作成します。
test1.py
import tinytuya
import time
import os
import random
DEVICEID = "xxxxxxx4baf8806plx"
DEVICEIP = "192.168.1.42"
DEVICEKEY = "xxxx22eaed9e0c0"
DEVICEVERS = "3.3"
# デバイスの定義(環境変数でもOK)
DEVICEID = os.getenv("DEVICEID", DEVICEID)
DEVICEIP = os.getenv("DEVICEIP", DEVICEIP)
DEVICEKEY = os.getenv("DEVICEKEY", DEVICEKEY)
DEVICEVERS = os.getenv("DEVICEVERS", DEVICEVERS)

# バルブに接続
d = tinytuya.BulbDevice(DEVICEID, DEVICEIP, DEVICEKEY)
if(DEVICEVERS == '3.3'):    # IMPORTANT to always set version
    d.set_version(3.3)
else:
    d.set_version(3.1)
# Keep socket connection open between commands
d.set_socketPersistent(True)
d.turn_on()
d.set_white()
time.sleep(2)
# 色々な色の定義
c = {"red": [255, 0, 0], "orange": [255, 127, 0], "yellow": [255, 200, 0],
           "green": [0, 255, 0], "blue": [0, 0, 255], "indigo": [46, 43, 95],
           "violet": [139, 0, 255]}
for i in c:
    r = c[i][0]
    g = c[i][1]
    b = c[i][2]
    print('    %s (%d,%d,%d)' % (i, r, g, b))
    d.set_colour(r, g, b)
    time.sleep(2)
d.turn_off()
色温度を変える
.py
import tinytuya
import time
import os
import random
DEVICEID = "xxxxxxx4baf8806plx"
DEVICEIP = "192.168.1.42"
DEVICEKEY = "xxxx22eaed9e0c0"
DEVICEVERS = "3.3"
# デバイスの定義(環境変数でもOK)
DEVICEID = os.getenv("DEVICEID", DEVICEID)
DEVICEIP = os.getenv("DEVICEIP", DEVICEIP)
DEVICEKEY = os.getenv("DEVICEKEY", DEVICEKEY)
DEVICEVERS = os.getenv("DEVICEVERS", DEVICEVERS)

# バルブに接続
d = tinytuya.BulbDevice(DEVICEID, DEVICEIP, DEVICEKEY)
if(DEVICEVERS == '3.3'):    # IMPORTANT to always set version
    d.set_version(3.3)
else:
    d.set_version(3.1)
def colortemp():
    # Colortemp Test
    print('色温度')
    for level in range(11):
        print('    Level: %d%%' % (level*10))
        d.set_colourtemp_percentage(level*10)
        time.sleep(1)
d.set_socketPersistent(True)
d.turn_on()
d.set_white()


