はじめに
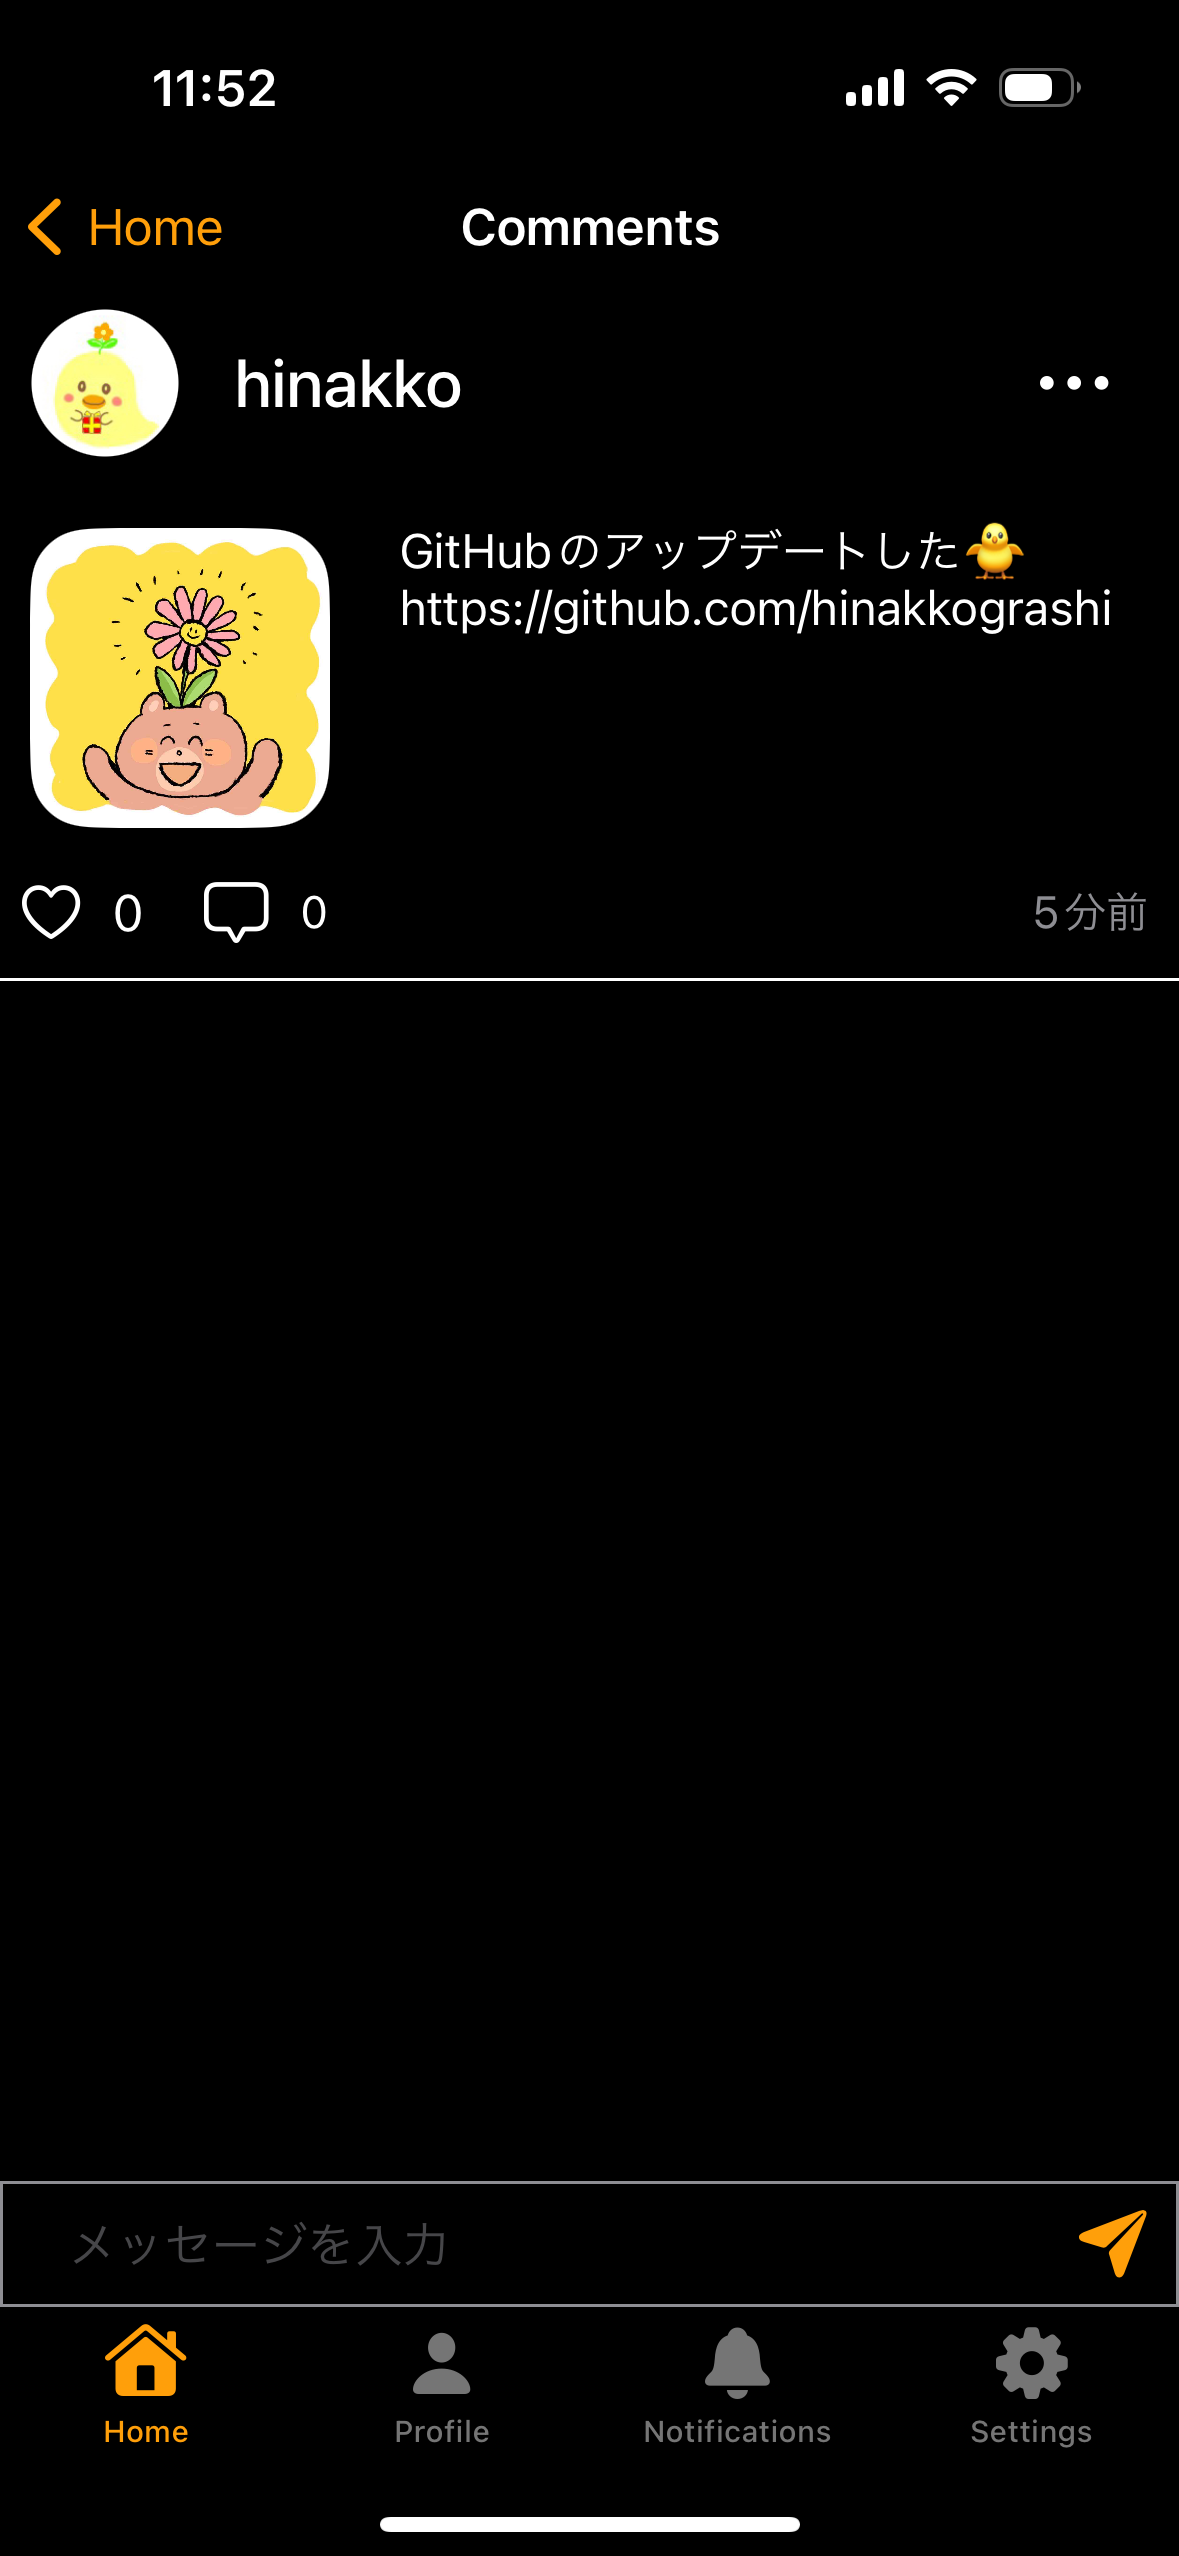
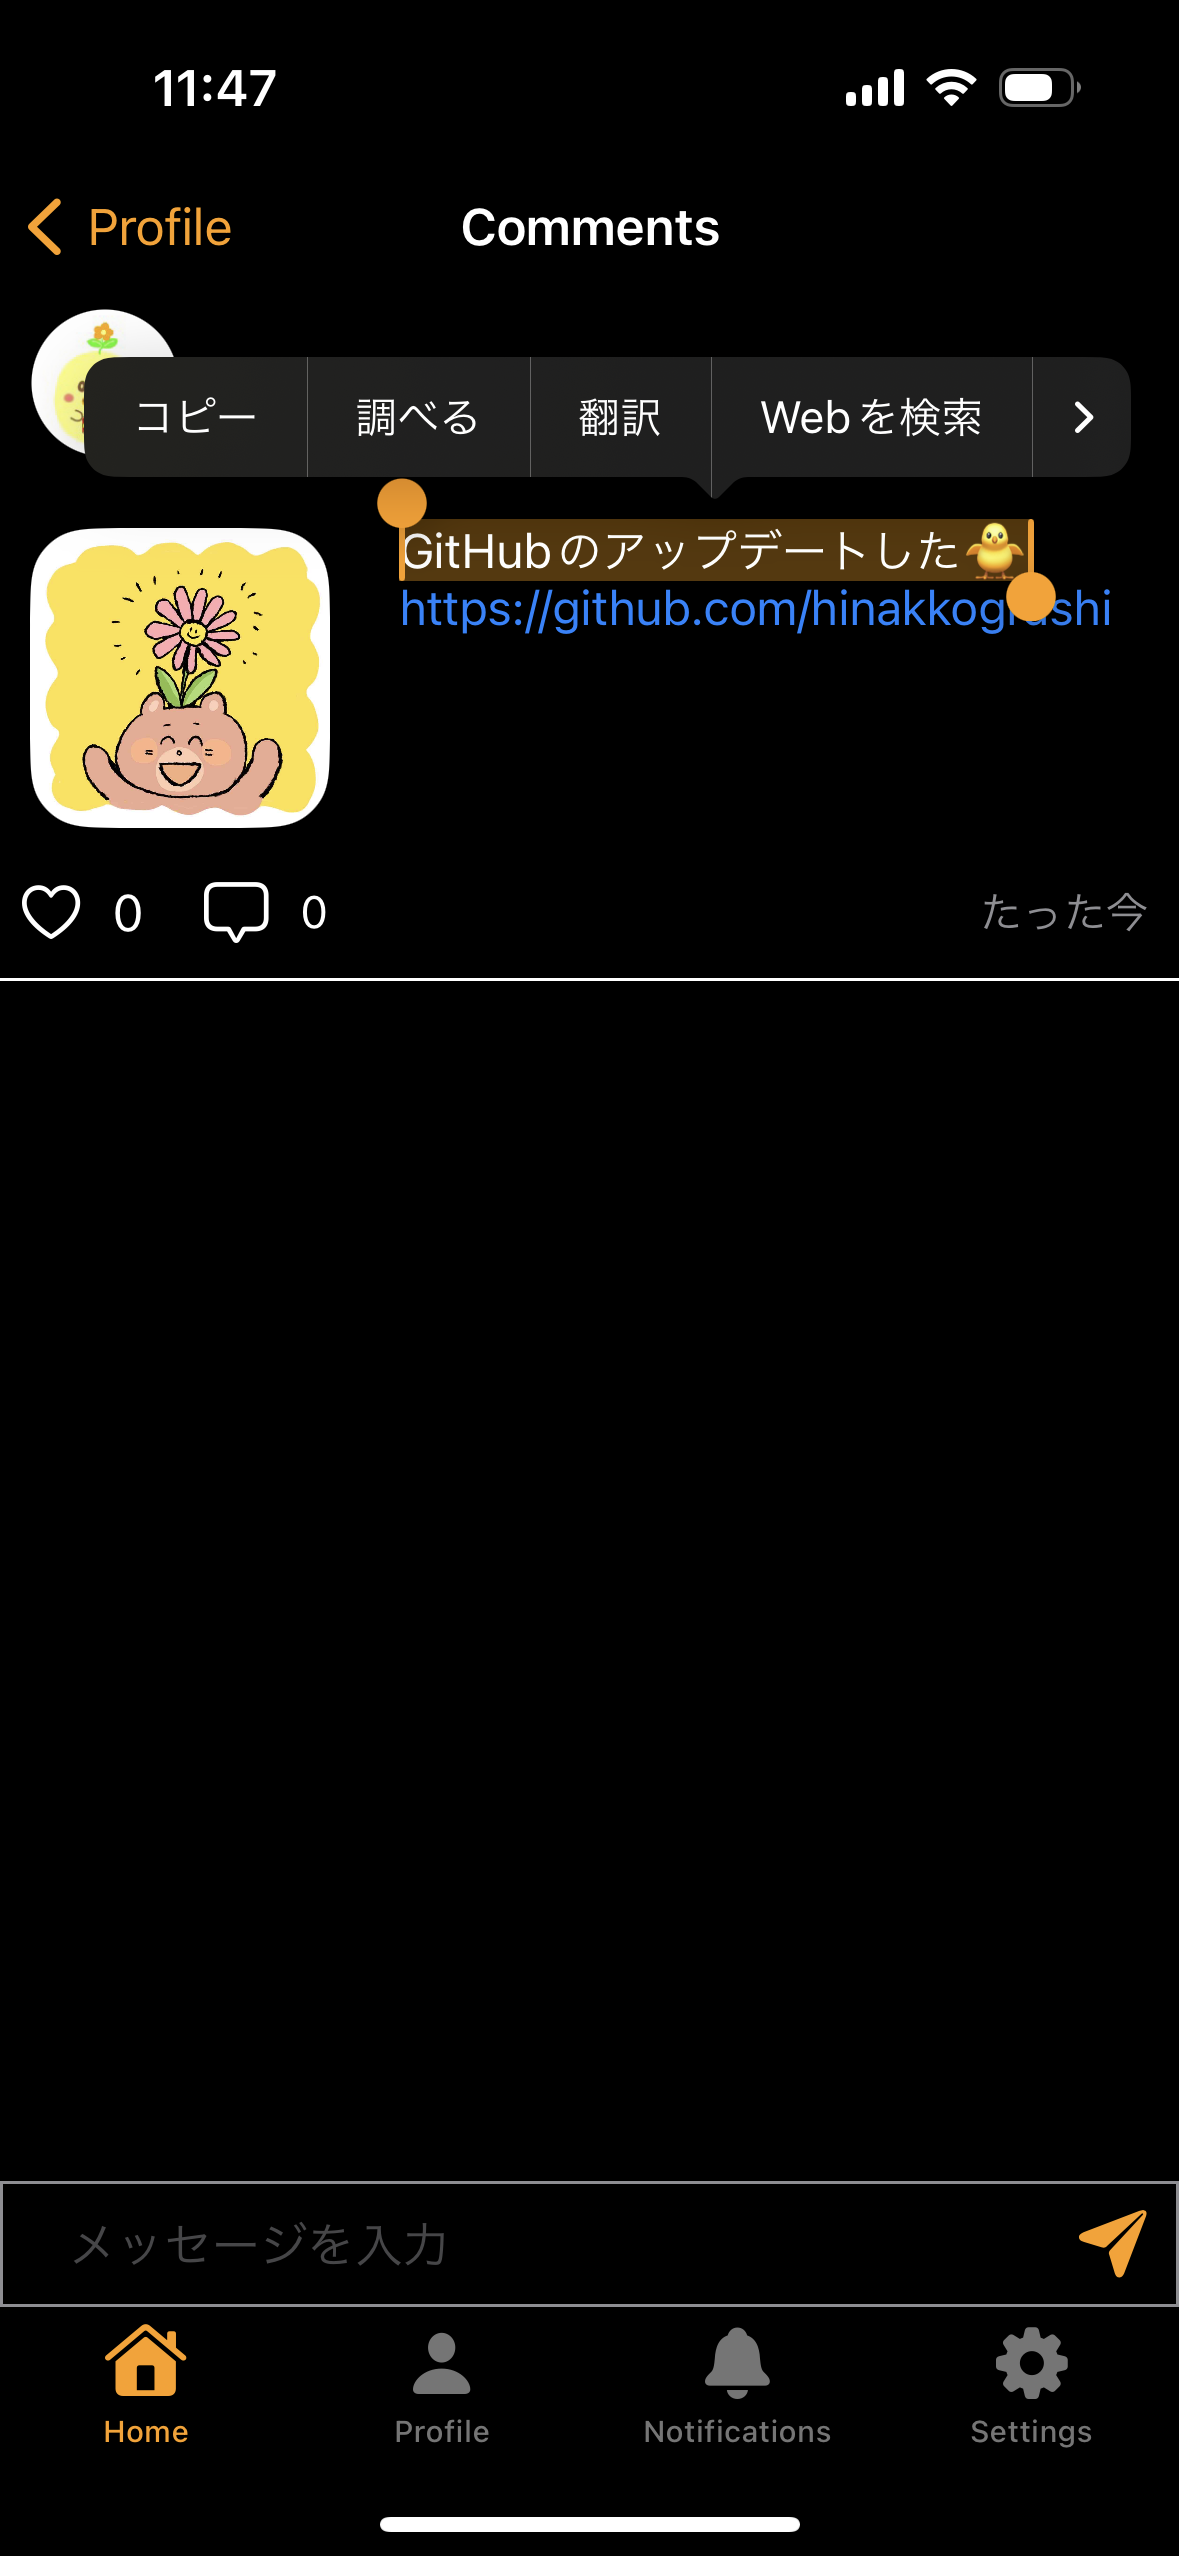
下記の画像のように個人開発のアプリで、ユーザーの投稿内容にURLが含まれていた場合、それを検知し、リンク先に飛ぶことができるようにするリンク機能を実装しました。その機能を実装する中でSwiftUIの足りないところをUIViewRepresentableを使用し、UIKitで補う必要があったのでそこで学んだ内容を紹介したいと思います。
| アップデート前 | アップデート後 |
|---|---|
 |
 |
UIViewRepresentableとは
SWiftUIのViewでUIKitを使用することができるようにするWrapper
// Protocol
public protocol UIViewRepresentable : View where Self.Body == Never {
    // どの型のUIViewをラップするか
    associatedtype UIViewType: UIView
    // ラップするUIViewのインスタンスを作って返す
    func makeUIView(context: Self.Context) -> Self.UIViewType
    // データの更新に応じてラップしているUIViewを更新
    func updateUIView(_ uiView: Self.UIViewType, context: Self.Context)
}
UIViewRepresentableを使用してSwiftUIでは足りないところをUIKitで補う
リンク機能を実装するためにUIKitの下記のUITextViewクラスを使用しました。
上記のメソッドを使用し、TextViewWrapper構造体を作成する
import SwiftUI

struct TextViewWrapper: UIViewRepresentable {
    // 受け取りたいデータをプロパティとして定義
    let text: String
    // UIViewType のインスタンスを生成して返す
    func makeUIView(context: Context) -> UITextView {
        let textView = UITextView()
        // 読み取り専用
        textView.isEditable = false
        // Linkを指定
        textView.dataDetectorTypes = .link
        // リンクの色を指定する
        textView.linkTextAttributes = [.foregroundColor: UIColor.systemBlue]
        textView.font = UIFont.systemFont(ofSize: 16)
        return textView
    }
    // UIViewを更新
    func updateUIView(_ textView: UITextView, context: Context) {
        textView.text = text
    }
}
isEditableはデフォルトでtrueであるが、今回は読み取り専用なのでfalseにする。
dataDetectorTypes URLに自動的に変換するデータのタイプを指定する。
linkTextAttributesでリンクの色を青色に指定します。
fontで本当の大きさを指定。
上記で作成したTextViewWrapperをView側で使用例
          HStack {
                Button {
                    isPostImageViewShowing = true
                } label: {
                    Image(uiImage: postImage)
                        .resizable()
                        .scaledToFill()
                        .frame(width: 100, height: 100, alignment: .center)
                        .clipShape(RoundedRectangle(cornerRadius: 20))
                        .padding(.horizontal, 10)
                }
                TextViewWrapper(text: post.caption)
            }
上記の手順で実装することで、アップデートでリンク機能の実装、文字選択機能の実装ができました。
| リンク機能 | 文字選択 |
|---|---|
 |
 |
参考文献