初心者がぱっとわかるような記事がない(気がする)ので、最低限だけ記述。
読者対象
- Flutterは環境構築済み(このあたりhttps://zenn.dev/kazutxt/books/flutter_practice_introduction/viewer/06_chapter1_environment)の人。
- pythonでのバックエンド実装に興味がある人。
FastAPIとは?
Pythonで実装できる高速&お手軽なWebAPIフレームワーク。
バックエンド実装
まずはFastAPIとuvicornのインストール。uvicornはpythonのwebサーバーとwebアプリが通信するためのインターフェース。
(参考:執筆時点でのfastapi、uvicornのバージョンは0.96.0、0.22.0)
pip install fastAPI uvicorn
任意の場所にsample_api.pyファイルを作成し、以下をコピペ。
from fastapi import FastAPI

#インスタンス作成
app = FastAPI()

#GETメソッド(要はデータ取得)の実装。ルートurlにアクセスされたときの処理。
#ほかのメソッドもデコレータを変えるだけで実装可能。
@app.get("/")
def read_root():
    return {"greeting": "Hello World"}
ターミナルを起動後、sample_api.pyと同じディレクトリに移動し、以下のコマンドを実行
uvicorn sample_api:app --reload --port 8080
別のターミナルを起動し、以下を実行
curl http://127.0.0.1:8080/
すると、以下のdictが出力されるはず。
{"greeting":"Hello World"}
これでひとまずシンプルなGETメソッド=urlをたたくとdictが返ってくる機構、が実装できた。
フロントエンド実装
まずは環境構築時に作成したのと同じカウントアプリを作成する。
VSCodeのコマンドパレットから、"Flutter: New Project"を実行、"Application"を選択し、新たなアプリケーションを作成。
VSCodeの実行から"デバッグの開始"を選択すると、以下のアプリが立ち上がる。

↑が立ち上がったのを確認したら、pubsec.yamlのdependenciesに以下を追加し、上書き保存する。
dependencies:
  flutter:
    sdk: flutter
  http: ^0.13.6 #これを追加。インデントに注意
上書き保存すると、httpライブラリがインストールされる(はず)。
インストールされない場合は、コンソールで、flutter pub getを実行。
main.dartの中身を以下のようにすべて書き換える。
詳細な中身はコメント文を参照。
import 'package:flutter/material.dart';
import 'package:http/http.dart' as http;

void main() {
  runApp(const MyApp());
}

class MyApp extends StatelessWidget {
  const MyApp({super.key});
  @override
  Widget build(BuildContext context) {
    return MaterialApp(
        title: 'Flutter Demo',
        theme: ThemeData(
          primarySwatch: Colors.blue,
        ),
        home: Center(
          child: ElevatedButton(
            child: const Text("push me and get greeting"),
            onPressed: () async {
              //リクエスト先のurl
              Uri url = Uri.parse("http://127.0.0.1:8080/");

              try {
                //リクエストを投げる
                var res = await http.get(url);

                //リクエスト結果をコンソール出力
                debugPrint(res.body);
              } catch (e) {
                //リクエストに失敗した場合は"error"と表示
                debugPrint("error");
              }
            },
          ),
        ));
  }
}
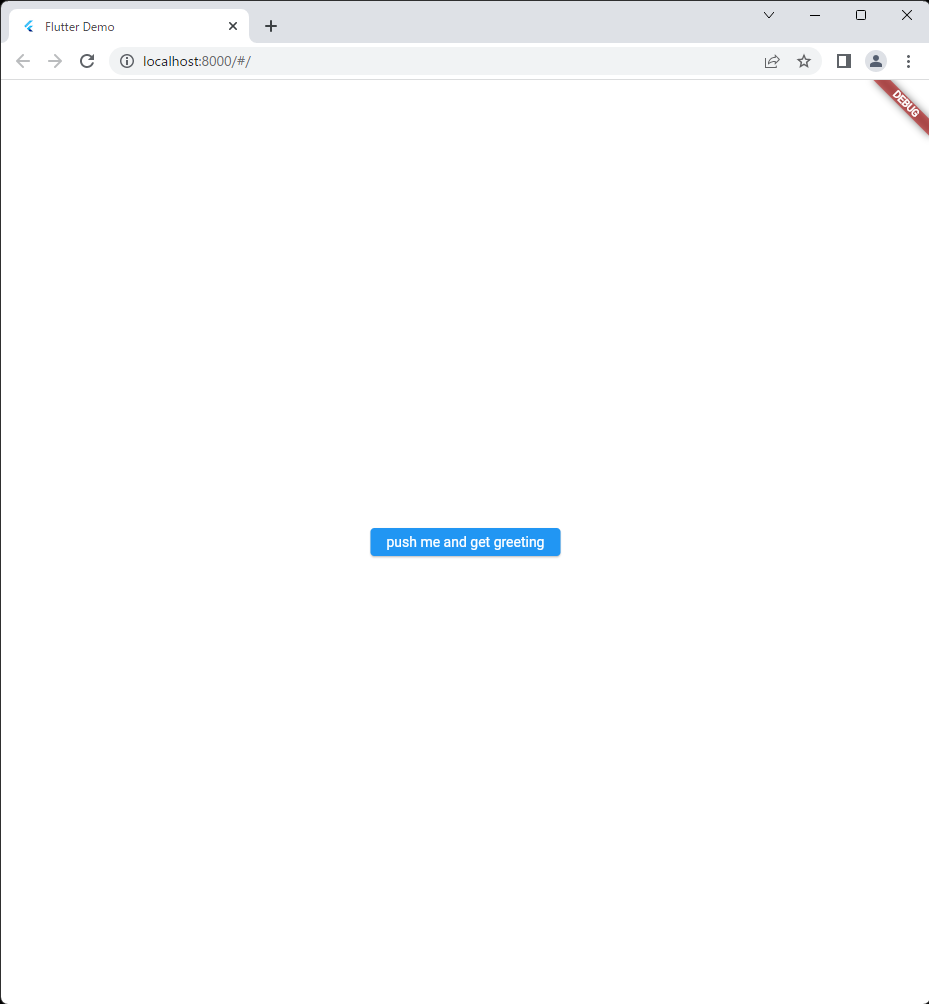
これを上書き保存すると以下のようなアプリに代わっている。
ボタンを押すと指定したurlにリクエストが投げられる。

しかし、ボタンを押してみると、コンソールには、
error
と表示される。あれ?リクエストに失敗している?
CORSの設定
実は、内部でCORS(クロスオリジンリソース共有)ポリシーにより制限がかかり、httpリクエストはエラーとなってしまう。
これを修正するためには、バックエンド側でリクエストを許可してやる必要がある。
Flutterアプリを一回終了し、VSCodeの"実行とデバッグ(Ctrl+Shift+D)"からlaunch.jsonファイルを作成し、中身を以下のように変更する。configurationsの"name"はアプリ名によって異なるため、そのままでよい。
{
    "version": "0.2.0",
    "configurations": [
        {
            "name": "flutter_application_1",
            "request": "launch",
            "type": "dart",
            "args": [
                "--web-port",
                "8000"
            ]
        },
        {
            "name": "flutter_application_1 (profile mode)",
            "request": "launch",
            "type": "dart",
            "flutterMode": "profile"
        },
        {
            "name": "flutter_application_1 (release mode)",
            "request": "launch",
            "type": "dart",
            "flutterMode": "release"
        }
    ],
}
追加しているのは
            "args": [
                "--web-port",
                "8000"
            ]
この部分。Flutterアプリを起動する際に、ポート番号を8000に指定している。
この状態でアプリを起動すると、

見えづらいが、ポート番号が8000になっている。
次にバックエンド側でポート番号8000からのリクエストを許可してやる。
sample_api.pyを以下のように変更する(詳細はhttps://fastapi.tiangolo.com/ja/tutorial/cors/ )。
from fastapi import FastAPI
from fastapi.middleware.cors import CORSMiddleware

app = FastAPI()

origins = [
    "http://localhost:8000",
]

app.add_middleware(
    CORSMiddleware,
    allow_origins=origins,
    allow_credentials=True,
    allow_methods=["*"],
    allow_headers=["*"],
)


@app.get("/")
def read_root():
    return {"greeting": "Hello"}
この状態でFlutterアプリでボタンを押すと、コンソールに
{"greeting":"Hello"}
と出力される。
最後に
ひとまずこれでFlutter+pythonでそれぞれフロントエンドとバックエンド間の通信を実装できた。
参考
・FastAPIの構築
・FastAPIのCORS制御
・Flutterのポート番号指定