IBM Cloud VPC gen2のインスタンス作成からWebSphere Libertyを導入し動かしてみた手順メモです。
IBM Cloud VPC Gen2のインスタンス作成
ローカルPCでの事前準備
- ローカルPCで秘密鍵と公開鍵を作成
コマンドプロンプトなどを起動し、任意のフォルダ上で以下のコマンドを実行
鍵ファイル名、パスフレーズは任意の名前などで設定。
# ssh-keygen
Generating public/private rsa key pair.
Enter file in which to save the key (C:\Users\XXXX/.ssh/id_rsa): ./XXXX_id_rsa
Enter passphrase (empty for no passphrase):
Enter same passphrase again:
Your identification has been saved in ./xxxx_id_rsa.
Your public key has been saved in ./xxxx_id_rsa.pub.
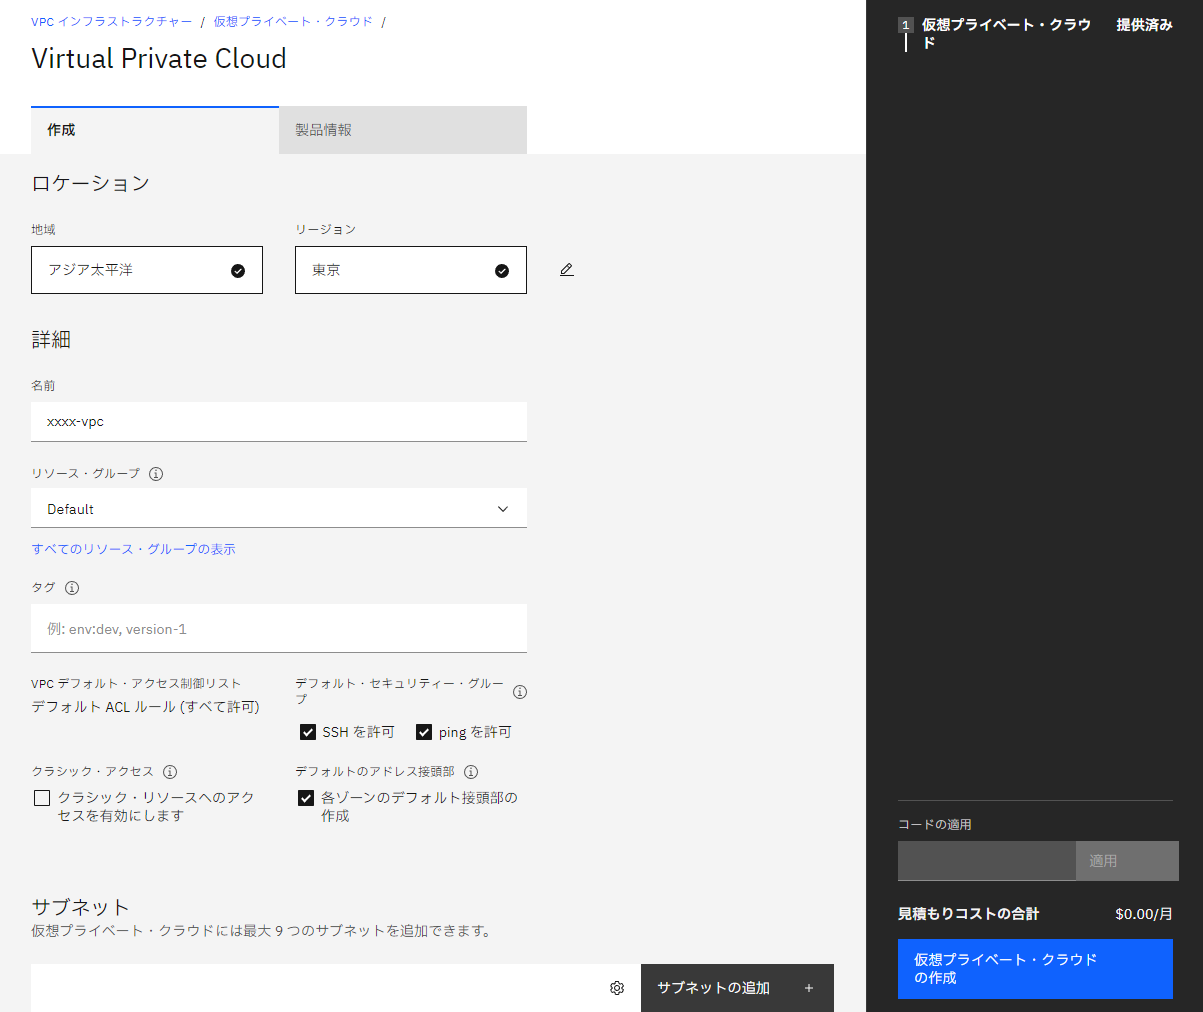
VPCの作成
- ナビゲーションメニュー > VPCインフラストラクチャ > VPC
- 作成ボタンをクリック
VPC用のSSH鍵の追加
- ナビゲーションメニュー > VPCインフラストラクチャ > SSH鍵
- 作成ボタンを押下
- 以下の項目を入力し、SSH鍵の追加をクリック
- 名前:任意の名前
- リソースグループ:任意のリソースグループ
- Region:東京など
- 公開鍵:ローカルPCで作成した公開鍵をコピーして貼り付け
作成した公開鍵を確認
PS C:\Users\XXXX\Documents> cat xxxx_id_rsa.pub
ssh-rsa AAGGB3NzaP1yc2KJYGADAQABAA…(略)…\99999999@LAPTOP-XXXX
PS C:\Users\XXXX\Documents>
仮想サーバーインスタンスの作成
- ナビゲーションメニュー > VPCインフラストラクチャ > 仮想サーバー・インスタンス
- 以下の内容を記入の上、仮想サーバーの作成をクリック
作成後、作成した仮想サーバーの状況が”稼働中”となれば利用可能
VPC用の浮動IPの作成
- ナビゲーションメニュー > VPCインフラストラクチャ > 浮動IP
- 予約ボタンをクリック
- 以下項目を入力し、予約をクリック
- 地域:アジア太平洋など
- リージョン:東京など
- ゾーン:東京2など
- 浮動IP名:任意の名前
- リソースグループ:任意のリソースグループ
- バインドするリソース:作成した仮想サーバーインスタンスを選択
- 対象デバイス:NICを選択
作成した仮想サーバーにアクセス
- telnetターミナルソフトでSSH接続
- IPアドレスは作成し、バインドした浮動IP
- SSH秘密鍵を選択し接続を行う。teratermなどで接続の場合.ppk形式へ秘密鍵の返還が必要
Libertyの導入
Liberty導入手順についてはこちらを参考に導入しました。
https://qiita.com/TTakakiyo/items/bb122f513a1bdf618adc
WebSphere LibertyとJavaをダウンロード
以下からダウンロード
https://www.ibm.com/support/pages/websphere-liberty-developers
https://adoptopenjdk.net/
ダウンロードしたらサーバーの任意のフォルダに配置します。
WebSphere Libertyを導入
/opt配下にLibertyのイメージを配置し、zipを解凍します。
 [root@centos-1 opt]# unzip wlp-jakartaee9-22.0.0.6.zip
 Archive:  wlp-jakartaee9-22.0.0.6.zip
    creating: wlp/
    creating: wlp/bin/
    creating: wlp/bin/tools/
    creating: wlp/bin/tools/win/
    creating: wlp/bin/xmlBinding/
    creating: wlp/bin/xmlBinding/tools/
    creating: wlp/bin/xmlWS/
    (以下略)
JDKの導入
wlp配下にJavaJDKを配置し解凍します
    [root@centos-1 wlp]#gunzip OpenJDK8U-jdk_x64_linux_hotspot_8u332b09.tar.gz
    [root@centos-1 wlp]# tar -xvf OpenJDK8U-jdk_x64_linux_hotspot_8u332b09.tar
     (略)
フォルダ名が長いのでjavaに変更します
[root@centos-1 wlp]# mv jdk8u332-b09 java
JAVA_HOMEのパスを通します。
[root@centos-1 wlp]# export JAVA_HOME=/opt/wlp/java
サーバーの作成
     [root@centos-1 wlp]# ./server create Server01
     Server Server01 created.
サーバーが出来たことを確認
     [root@centos-1 Server01]# pwd
     /opt/wlp/usr/servers/Server01
     [root@centos-1 Server01]# ls -l
     total 8
     drwx------ 2 root root    6 Jul  1 08:58 apps
     drwx------ 3 root root   22 Jul  1 09:00 dropins
     drwx------ 3 root root   39 Jul  1 09:04 logs
     drwx------ 3 root root   26 Jul  1 09:04 messaging
     drwx------ 3 root root   22 Jul  1 09:04 resources
     -rw------- 1 root root   41 Jul  1 08:58 server.env
     -rw------- 1 root root 1625 Jul  1 09:03 server.xml
     drwx------ 5 root root   81 Jul  1 09:06 workarea
     [root@centos-1 Server01]#
おためしjspの配置
     [root@centos-1 dropins]# pwd
     /opt/wlp/usr/servers/Server01/dropins
     [root@centos-1 dropins]# mkdir test.war
     [root@centos-1 test.war]# vi index.jsp
server.xmlの編集
公開用に、server.xmlのdefaultHttpEndPointにhost="*"を追記します。
    [root@centos-1 Server01]# pwd
    /opt/wlp/usr/servers/Server01
    [root@centos-1 Server01]# vi server.xml^C
    [root@centos-1 Server01]# cat server.xml
    (中略)
<!-- To access this server from a remote client add a host attribute to the following element, e.g. host="*" -->
<httpEndpoint id="defaultHttpEndpoint"
              host="*"
              httpPort="9080"
              httpsPort="9443" />

<!-- Automatically expand WAR files and EAR files -->
<applicationManager autoExpand="true"/>

    </server>
    [root@centos-1 Server01]#
Serverの起動
    [root@centos-1 bin]# ./server run Server01

    Launching Server01 (WebSphere Application Server 22.0.0.6/wlp-1.0.65.cl220620220523-1607) on OpenJDK 64-Bit Server VM, version 1.8.0_332-b09 (en_US)
    [AUDIT   ] CWWKE0001I: The server Server01 has been launched.
    [AUDIT   ] CWWKF0011I: The Server01 server is ready to run a smarter planet. The Server01 server started in 17.931 seconds.
セキュリティグループでポート9080のインバウンド通信を許可
- ナビゲーションメニュー > VPCインフラストラクチャ > セキュリティ・グループ
- ルールタブを選択
- 作成をクリック
- 以下項目を入力し作成をクリック
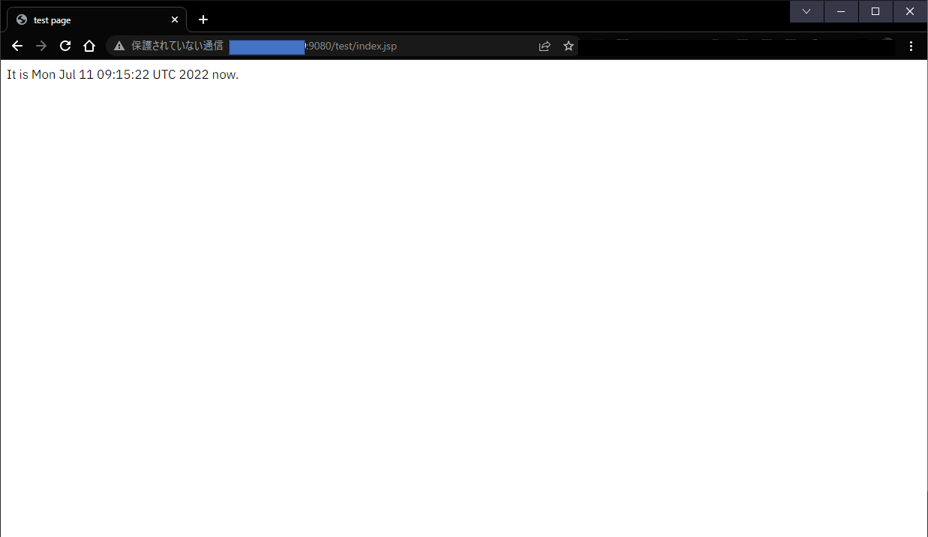
おためしJSPを表示
ブラウザで作成したJSPにアクセス
http://XXX.XXX.XXX.XXX:9080/test/index.jsp

参考


