GitBucket側の公式のリファレンスSetup Jenkins GitHub pull request builder plugin
に従って、作業します。
結構混乱したので、備忘録として画像付きでメモを残します。
前提条件
gitbucketとjenkinsはインストール済みで以下のような構成で確認しました。
| アプリケーション | バージョン | URL | 備考 |
|---|---|---|---|
| jenkins | 1.632 | http://localhost:9090/ |
java -jar jenkins.war --httpPort=9090で起動 |
| gitbucket | 3.7 | http://localhost:8080/ |
java -jar gitbucket.warで起動 |
jenkinsとgitbucketの設定
-
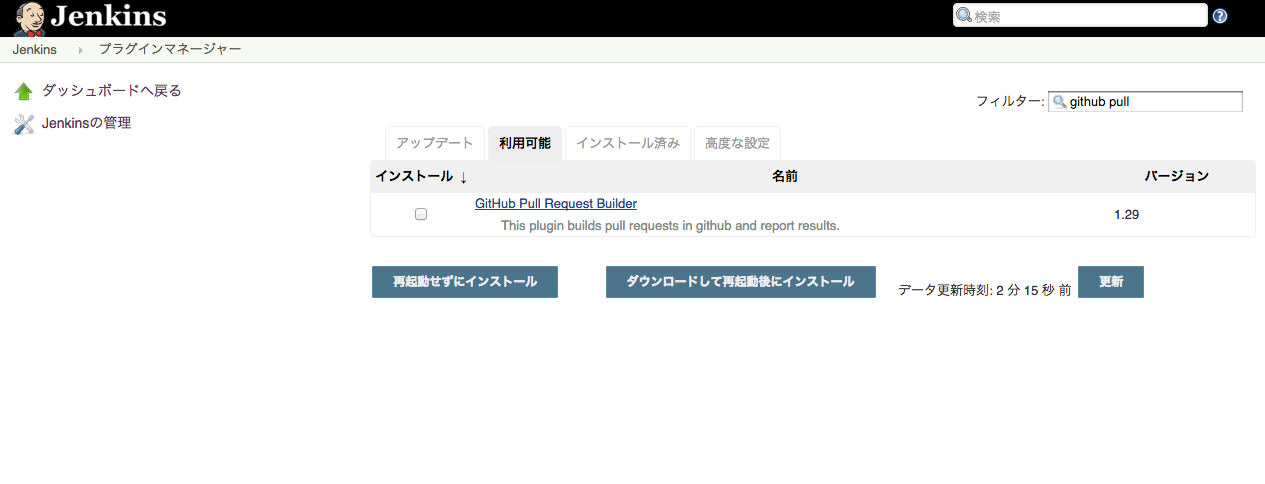
**[Jenkins]**プラグインマネージャーから
GitHub Pull Request Builderをインストールする(確認したバージョンは1.29)。
-
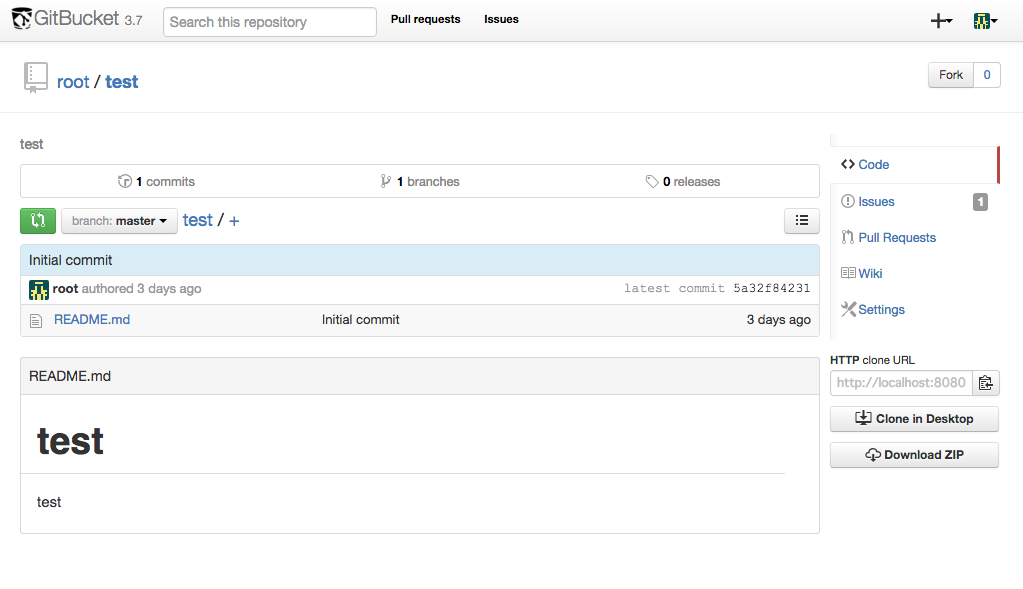
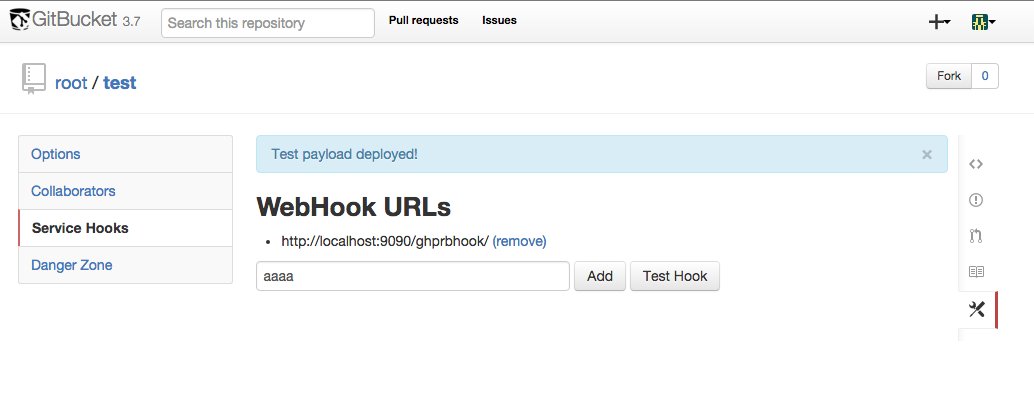
[Gitbucket] root/testのプロジェクトのService HooksでWebHook URL、jenkinsのプラグインのURLとして
http://localhost:9090/ghprbhook/を登録する。
-
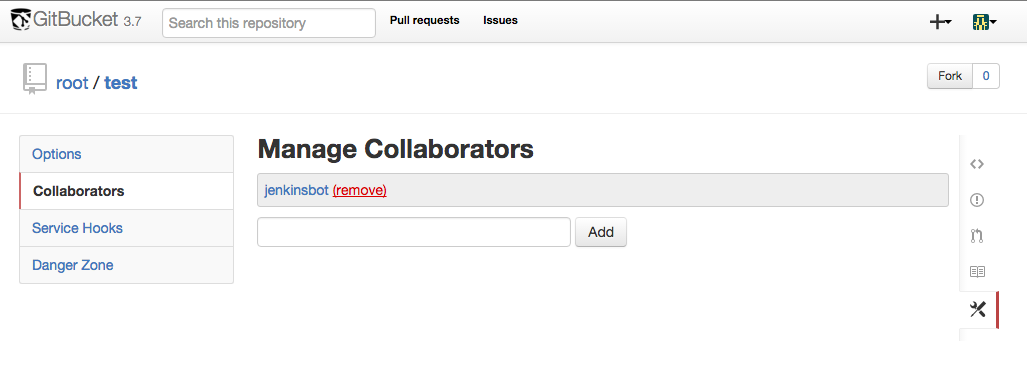
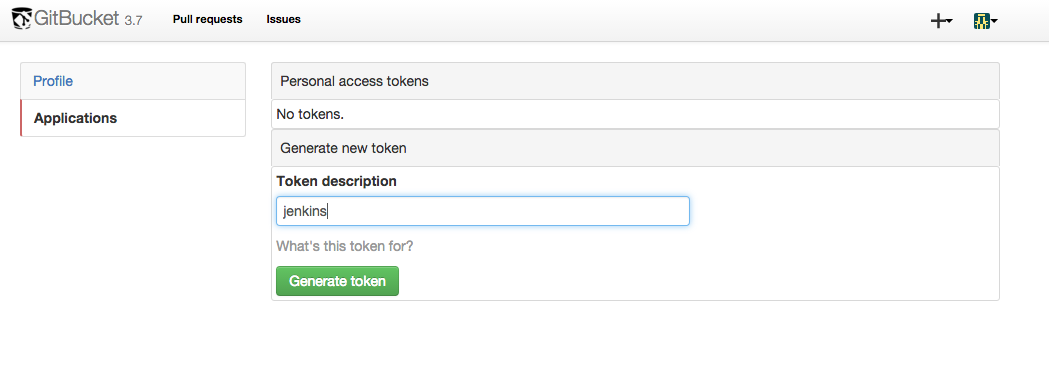
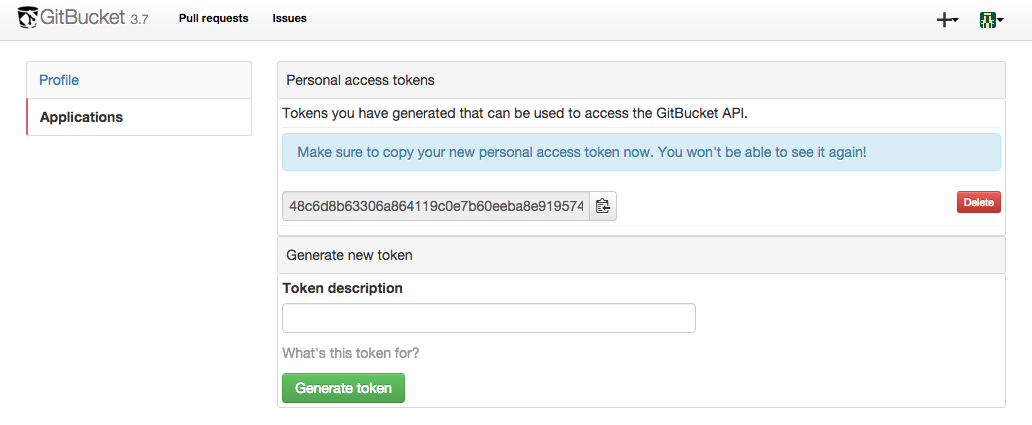
**[Gitbucket]**jenkinsbotでログインして
http://localhost:8080/jenkinsbot/_applicationへアクセスしアクセスキーを払い出し、アクセスキーを保存しておく。
-
**[Jenkins]**jenkinsの管理->システムの設定->GitHub Pull Request Builderで、
GitHub Server API URLにhttp://localhost:8080/api/v3を設定。 -
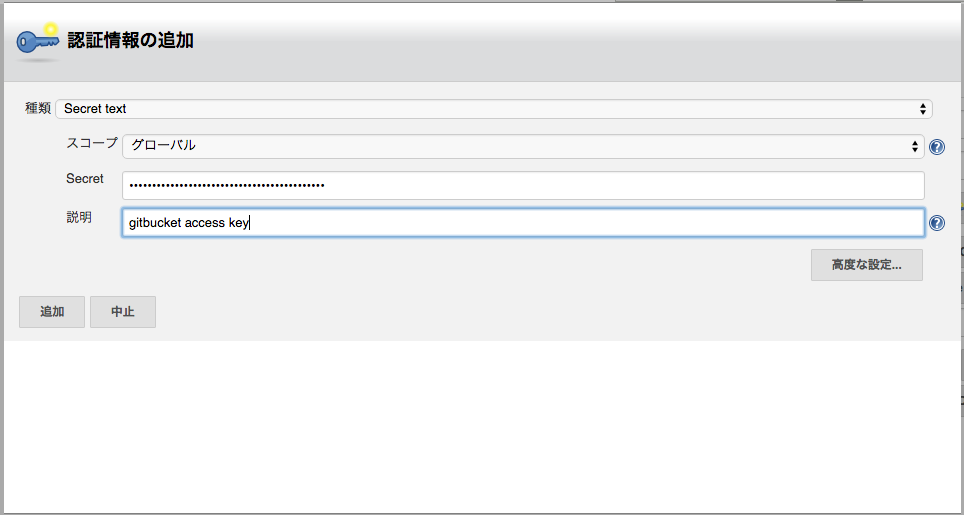
**[Jenkins]**追加をクリックし、種類で
sercret textを選択。secretに先ほどのgitbucketで生成したAPIキーを張りつけ。説明に適当に記入して追加をクリック。
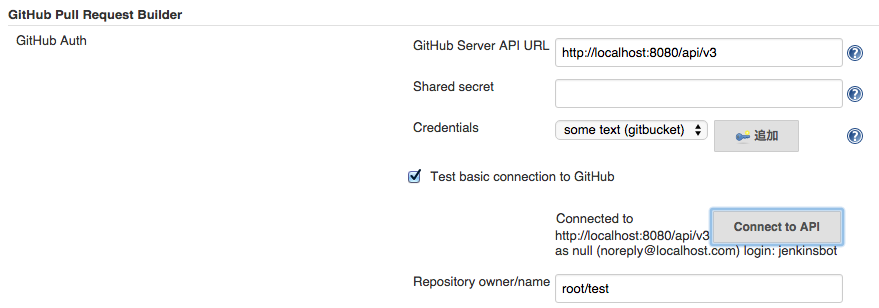
Test Credentials...をクリックし、Test basic connection to GitHubをチェック。Repository owner/nameに検証したいroot/testを設定しConnect to APIで疎通確認をし以下のようなメッセージが表示される事を確認。
-
**[Jenkins]**任意の新規ジョブを作成し、
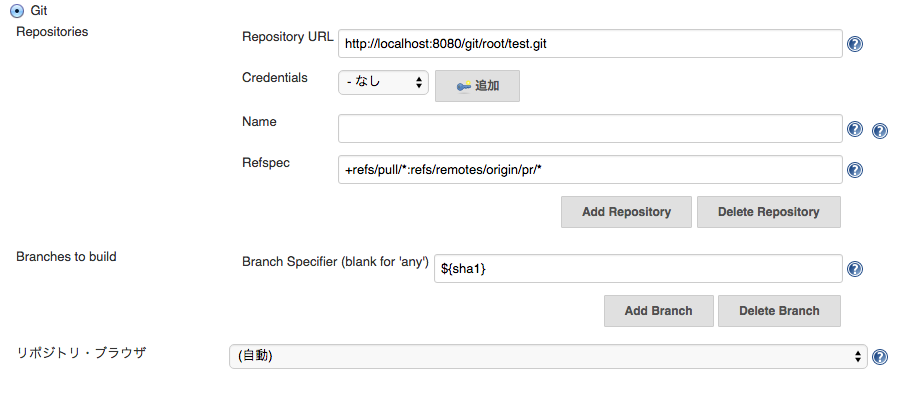
GitHub projectにgitbucketのURLにhttp://localost:8080/root/testを設定。

- Repository URL -
http://localhost:8080/git/root/test.git - Credentials -
指定無し - Refspec(高度な設定から遷移) -
+refs/pull/*:refs/remotes/origin/pr/* - Branches to build -
${sha1}
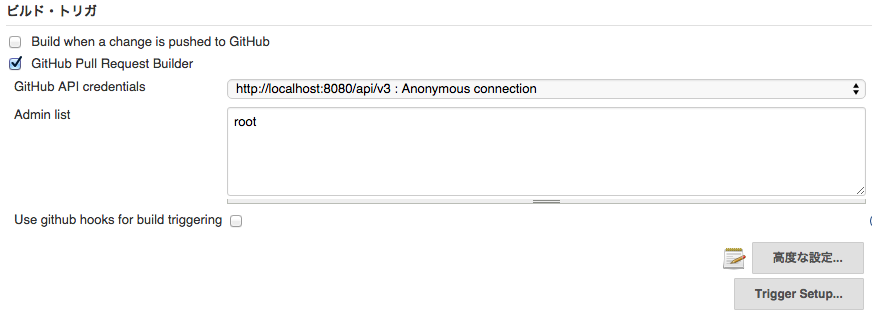
- GitHub API credentials - Jenkinsの設定で設定した通りになっている事を確認
- Admin list - とりあえずroot
- 保存
動作確認(Jenkins単体)
GitHub Pull Request Builderは単純にビルドを実行しても動作確認する事は出来ません。
If you want to manually build the job, in the job setting check "This build is parameterized" and add string parameter named "sha1". When starting build give the "sha1" parameter commit id you want to build or refname (eg: "origin/pr/9/head").
とあるように、`パラメーター付きビルドを利用する事で動作確認可能ですので、この方法で動作確認を取ります。
- GitBucket側で既にPullRequest#1が存在している前提とします。
- ジョブの設定->
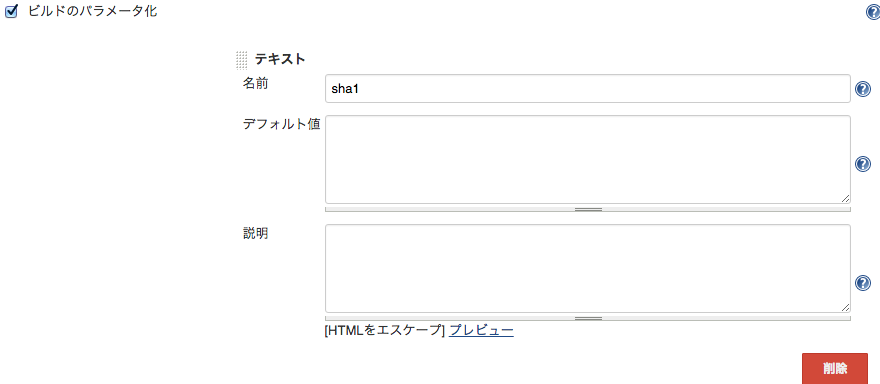
ビルドのパラメーター化をチェックし、テキストパラメーターにsha1を追加します。
- 保存後、パラメーター付きビルドをクリックし、値に
origin/pr/1/headを設定しビルドをクリックします。

- ログを確認すると
Finished: SUCCESSが表示されます。
動作確認(Gitbucketとjenkinsの連携)
- rootユーザーでGitbucketにログイン
- Gitbucketで新規にブランチを作成し、Pullrequestを作成
- PullRequestを作成したタイミングでJenkins側でビルド開始される事を確認
- jenkinsのビルド完了後、Gitbucketにマークされる事を確認。
実際の画像イメージ
※適当に取ったので雑です。
- GitbucketのPullRequest一覧での表示され方

- PullRequest詳細の反映結果(失敗ケース)
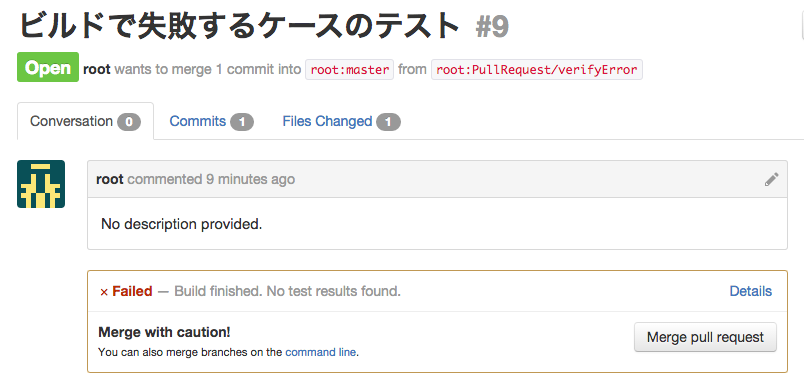
- PullRequest詳細の反映結果(成功ケース)
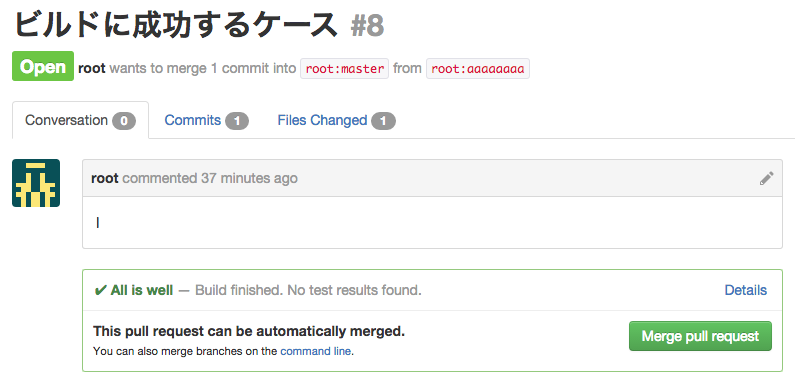
- Jenkins側の実行ログ
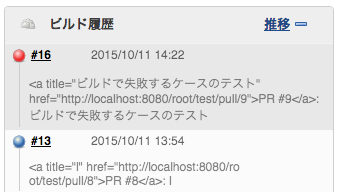
- Jenkins側のビルド詳細(成功ケース)
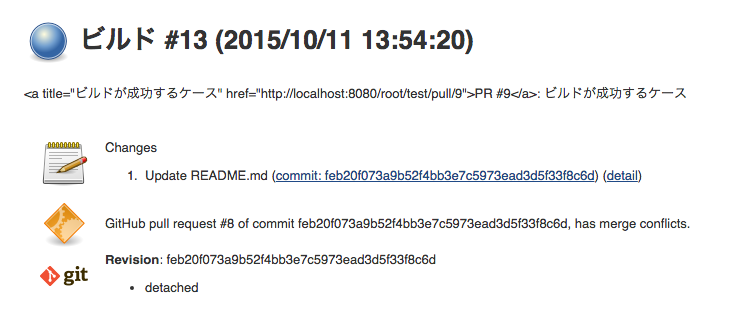
- Jenkins側のビルド詳細(失敗ケース)
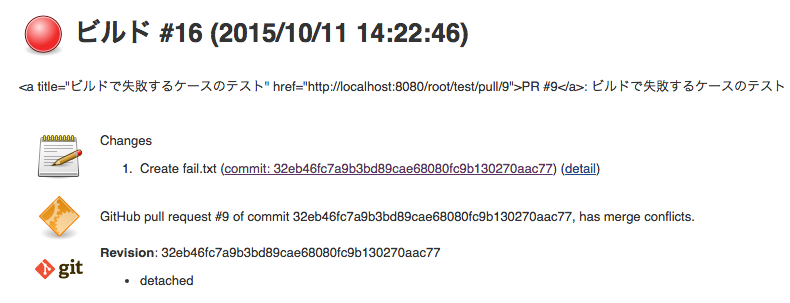
結論
GitbucketのGithubライクな対応っぷりがすげぇ。
