はじめに
このサンプルでは、Microsoftの新しいAzure AI Vision SDKを使って、ディスク上の画像ファイルや画像URLに画像解析を行う方法を紹介します。
※Azure AI Vision SDKはパブリックプレビューです。APIは変更される可能性があります。
前提条件
- Azureサブスクリプションを持っている(無料で作成できます)
- AzureポータルでComputer Visionリソースを作成して、キーとエンドポイントを取得している(無料の価格プラン(F0)でOK)
- SDKが対応しているいずれかの言語(C++,C#,Python,Swift,Kotlin)の実行環境がある
必要なパッケージのインストール
WindowsのコマンドプロンプトやLinuxのターミナルを開き、利用する言語に応じて必要なパッケージをインストールします。例えばPythonであれば以下のように実行します:
pip install azure-ai-vision-imageanalysis==1.0.0b1
Linuxで/usr/bin/python3: No module named pipというエラーが出た場合は、以下のように実行してから、上記のインストールコマンドを再実行します:
curl https://bootstrap.pypa.io/pip/get-pip.py -o get-pip.py
python get-pip.py
Azure AI Vision SDKのダウンロード
GitHubのAzureプロファイルから自分が使用する言語のSDKを探します。命名規則は、
azure-sdk-for-<言語名>
となっているので、例えばPythonであれば azure-sdk-for-python が見つかります。
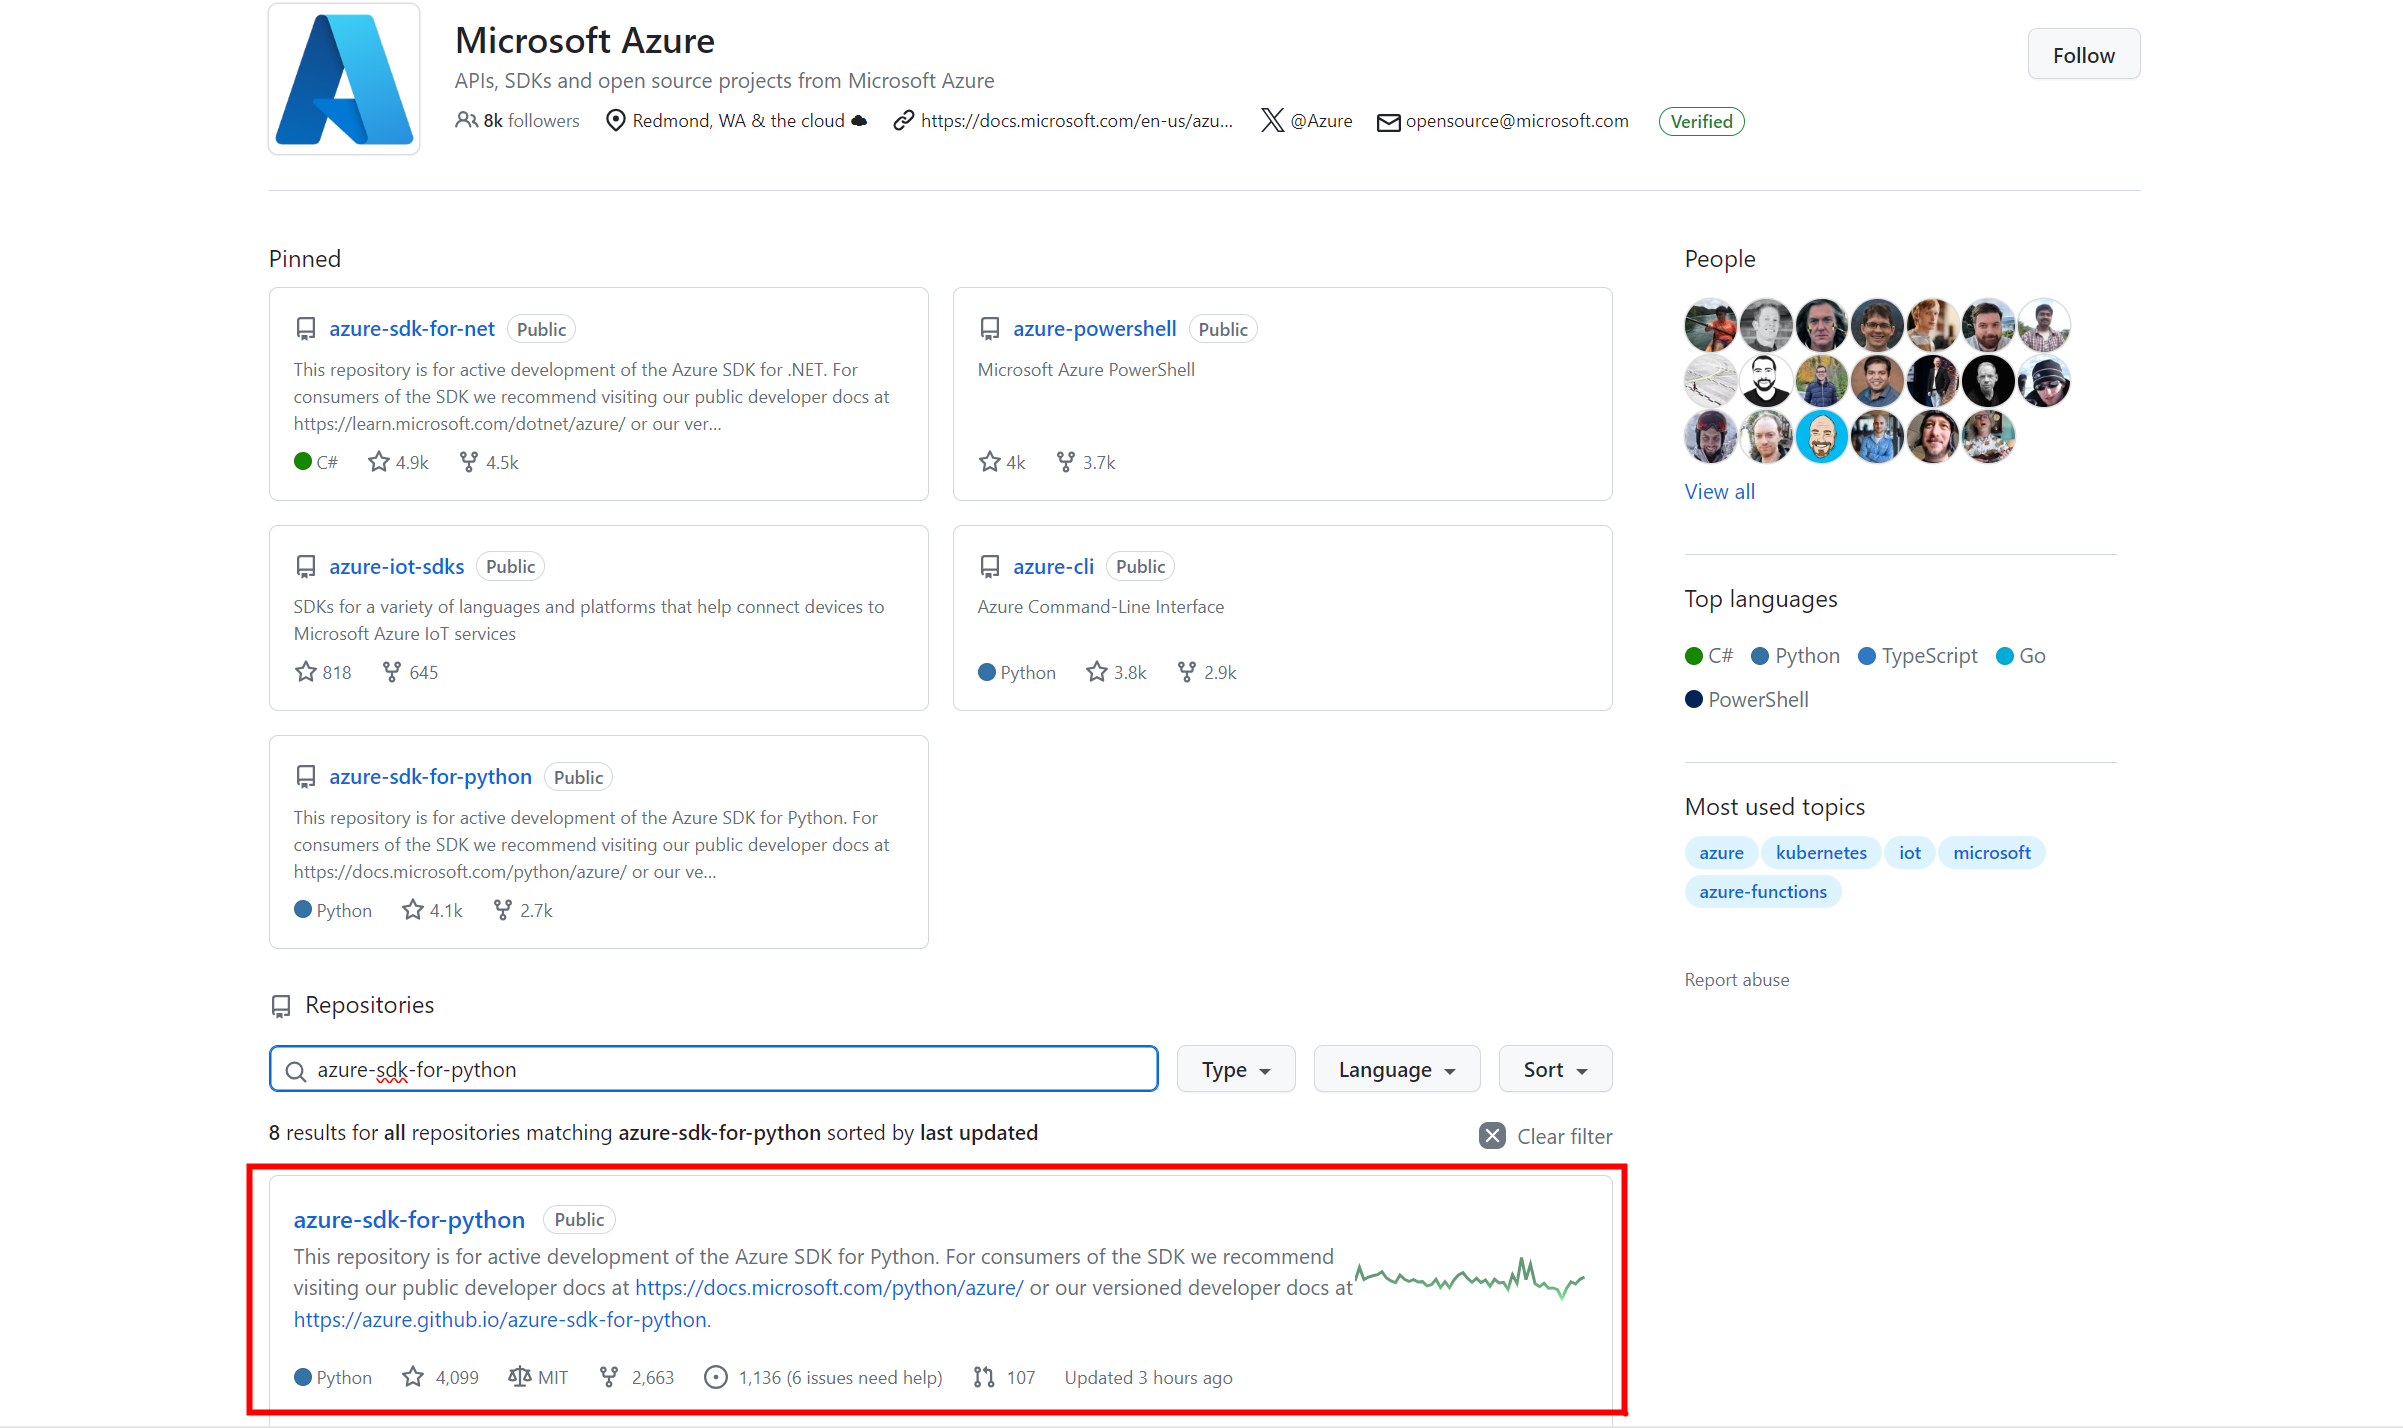
このリポジトリの内容を開発用のPCやLinuxマシンにダウンロードします。(ZIPファイルをダウンロードして展開するか、Gitクライアントを使ってこのリポジトリをクローン)
最後に、自分が検証したい使用に合致するレポジトリを取得すれば準備完了です。例えばAI Vision系のレポジトリは下記のファイルパスに格納されています。
sdk/vision/azure-ai-vision-imageanalysis/samples
今回はこのパスに格納されている、画像ファイルのキャプションを出力するレポジトリ(sample_caption_image_file.py)を利用していきます。見つからない方は下記をそのままコピーして利用してください。
def sample_caption_image_file():
    # [START create_client]
    import os
    from azure.ai.vision.imageanalysis import ImageAnalysisClient
    from azure.ai.vision.imageanalysis.models import VisualFeatures
    from azure.core.credentials import AzureKeyCredential

    # Set the values of your computer vision endpoint and computer vision key
    # as environment variables:
    try:
        endpoint = os.environ["VISION_ENDPOINT"]
        key = os.environ["VISION_KEY"]
    except KeyError:
        print("Missing environment variable 'VISION_ENDPOINT' or 'VISION_KEY'")
        print("Set them before running this sample.")
        exit()

    # Create an Image Analysis client for synchronous operations
    client = ImageAnalysisClient(
        endpoint=endpoint,
        credential=AzureKeyCredential(key)
    )
    # [END create_client]

    # [START caption]
    # Load image to analyze into a 'bytes' object
    with open("sample.jpg", "rb") as f:
        image_data = f.read()

    # Get a caption for the image. This will be a synchronously (blocking) call.
    result = client.analyze(
        image_data=image_data,
        visual_features=[VisualFeatures.CAPTION],
        gender_neutral_caption=True,  # Optional (default is False)
    )

    # Print caption results to the console
    print("Image analysis results:")
    print(" Caption:")
    if result.caption is not None:
        print(f"   '{result.caption.text}', Confidence {result.caption.confidence:.4f}")
    # [END caption]
    print(f" Image height: {result.metadata.height}")
    print(f" Image width: {result.metadata.width}")
    print(f" Model version: {result.model_version}")


if __name__ == "__main__":
    sample_caption_image_file()
サンプルの実行
WindowsのコマンドプロンプトやLinuxのターミナルを開き、samples\python\image-analysis\samplesフォルダに移動します。下記3つの変数を設定すれば準備完了です。
<環境変数>
"VISION_ENDPOINT": Azure AI Vision のエンドポイントを設定
"VISION_KEY":Azure AI Vision のリソースキーを設定
<変数>
"sample.jpg":検証に利用したい画像ファイルへのパスに変更
↓↓結果↓↓
下記のようにキャプションが返ってくれば成功です!

トラブルシューティング
サンプルが実行できなかった場合は、エラーメッセージが表示されます。よくあるエラーとその対処方法は以下のとおりです:
Importing Azure AI Vision SDK for Python failed. Refer to README.md in this directory for installation instructions.
この場合、Vision SDK for Pythonが正常にインストールされていません。上記のインストール手順に従っていることを確認してください。
401: Access denied due to invalid subscription key or wrong API endpoint. Make sure to provide a valid key for an active subscription and use a correct regional API endpoint for your resource.
この場合、入力したComputer Visionキーが間違っている可能性があります。Azureポータルから正しくキーをコピーしたことを確認してください。